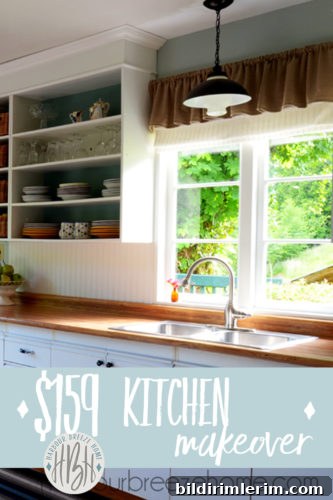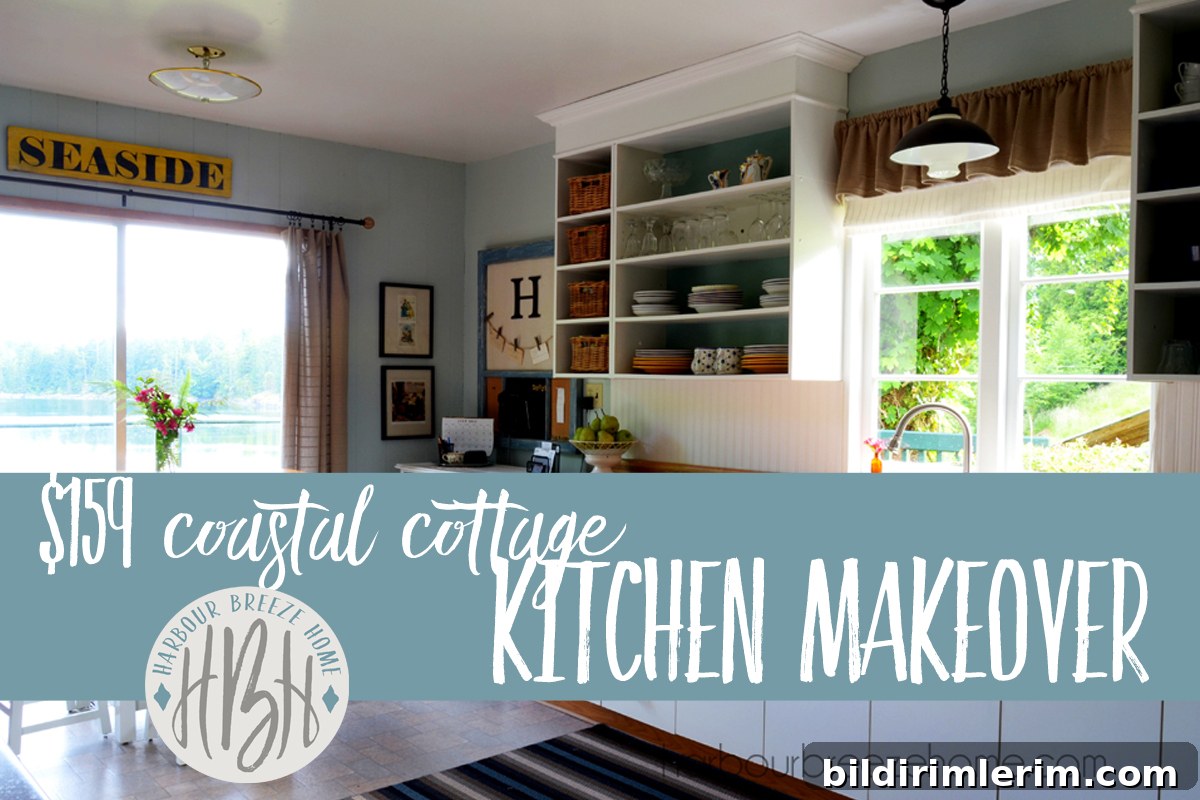
On a shoestring budget? No problem. This small-budget kitchen before-and-after shows how thoughtful, low-cost updates can transform a tired kitchen into a stylish, functional space for under $200.

How to Do a Kitchen Remodel Before & After on a Tiny Budget
1. Assess the “before”: what’s working and what’s not
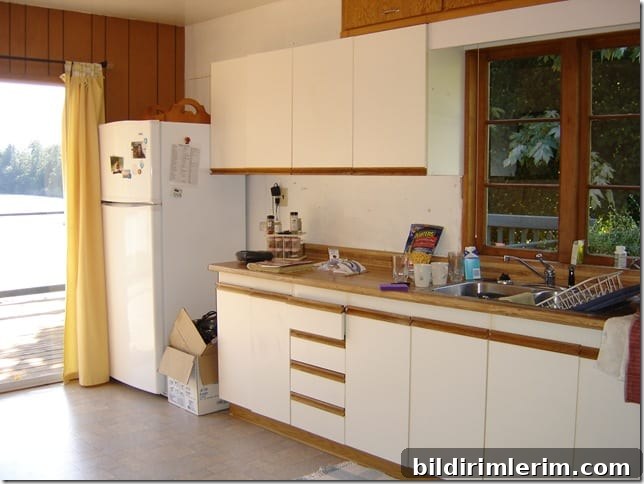
When we moved into our old farmhouse, the kitchen had great potential—the view from the window was exceptional—but the interior felt tired and disjointed. The layout was awkward, some plywood cabinets sat over newer European-style cupboards, and much of the room’s footprint was wasted. Before you start any makeover, take a clear inventory: note awkward spaces, functional problems, and pieces that can be reused or refreshed rather than replaced.
2. Make temporary, inexpensive fixes while you plan bigger changes
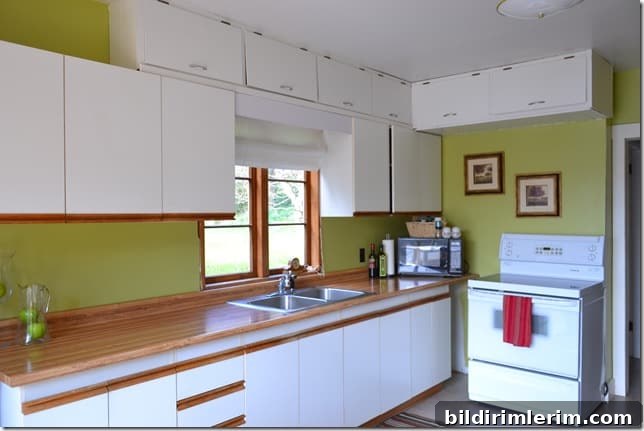
If a full renovation isn’t possible right away, small updates can make a big difference. We painted the upper cupboards white and brightened the walls with a bold candy-apple green for a few years while we saved for other changes. It felt lively in real life, even if it read as unusual in photos—so don’t be afraid to experiment with temporary color choices that lift the space while you plan longer-term updates.
3. Sometimes removing elements is the best improvement
One evening we decided to commit to a low-budget renovation. The first big move was to remove several of the old plywood cupboard units. Stripping away heavy or dated pieces can instantly open a room and create opportunities for new storage arrangements, open shelving, or decorative displays.
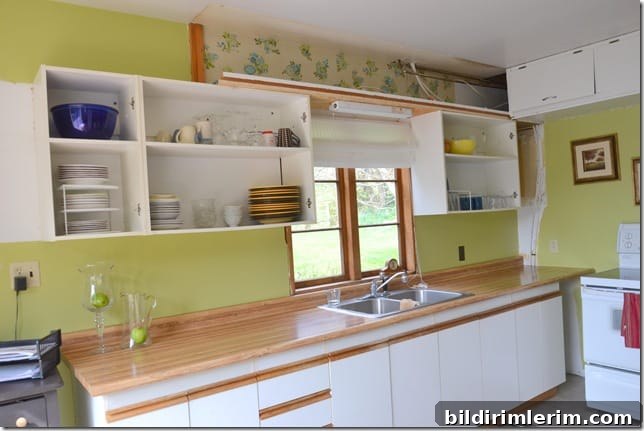
Once we removed the cupboards, the project felt real. From that point on we focused on maximizing what we already had, repurposing items on hand, and hunting thrift stores for affordable pieces.
Inexpensive kitchen makeover ideas used in this remodel
1. Open up upper cabinets and add shelving and crown molding
Removing the doors on the upper cabinets and installing new shelves plus a simple crown molding created a high-impact focal area. We spent about $100 on materials for this change, and it was one of the most visible improvements for the money.
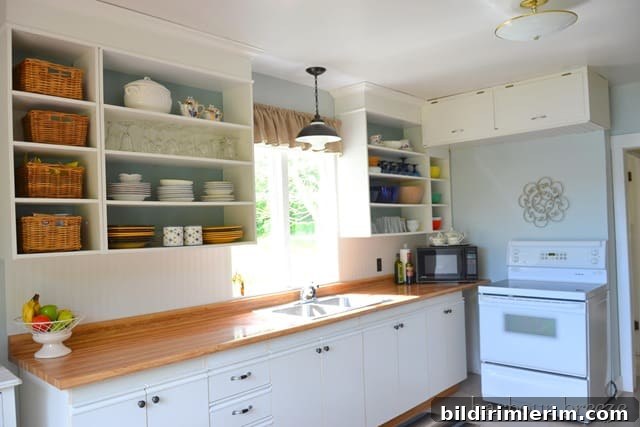
2. Update existing cabinet faces instead of replacing them
Rather than remove the European-style cabinet units, we painted out the wooden trim and added new hardware. Painting or refinishing existing doors modernizes the look without the cost or waste of full replacements.
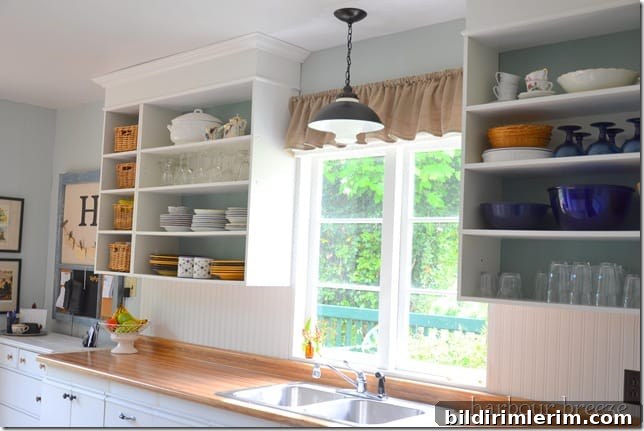
3. Repurpose thrifted finds and inexpensive accessories
A thrift-store light fixture was spray-painted to suit the space, giving a farmhouse feel at minimal cost. An inexpensive IKEA blanket became a curtain for the sliding door and a small curtain over the sink. Scouting secondhand stores and sales is one of the best ways to add character affordably.
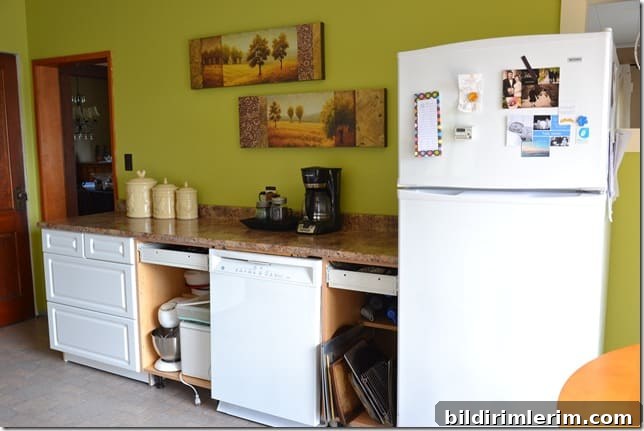
4. Make unused wall space functional with discount cabinetry
An empty wall became much more useful when we added a cluster of discount cupboards—some left without doors for an open, eclectic display. Using secondhand or clearance cabinets lets you fill awkward spaces without overspending.
5. Try fabric cabinet doors for a handmade farmhouse look
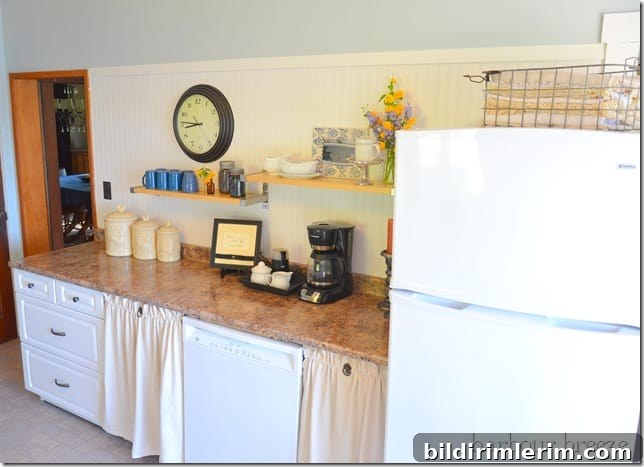
Fabric curtains in place of cabinet doors are a budget-friendly way to soften a kitchen and add a custom touch. Lightweight fabric panels are inexpensive, easy to swap out, and they give a warm, handmade vibe without the price of custom woodworking.
6. Use beadboard-style wallpaper for an affordable backsplash
Thick beadboard wallpaper can simulate the look of real beadboard at a fraction of the cost and installs quickly. It helped tie our coastal farmhouse aesthetic together while keeping the budget low.
7. Finish with a cohesive paint palette
We completed the refresh with Benjamin Moore’s Gray Cashmere on the walls, which unified the various elements and gave the kitchen a calm, modern coastal feel.
Progress photos
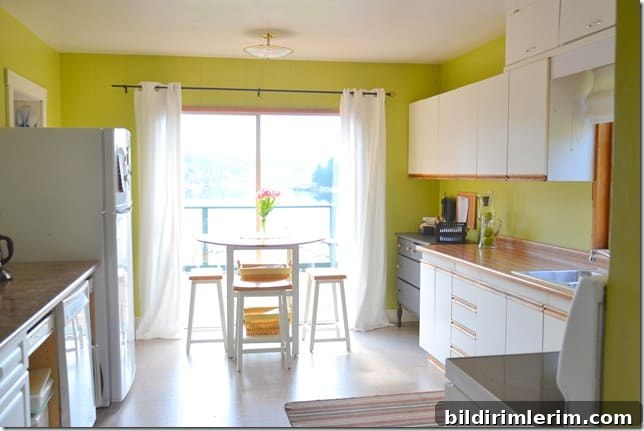
And here it is after the makeover:
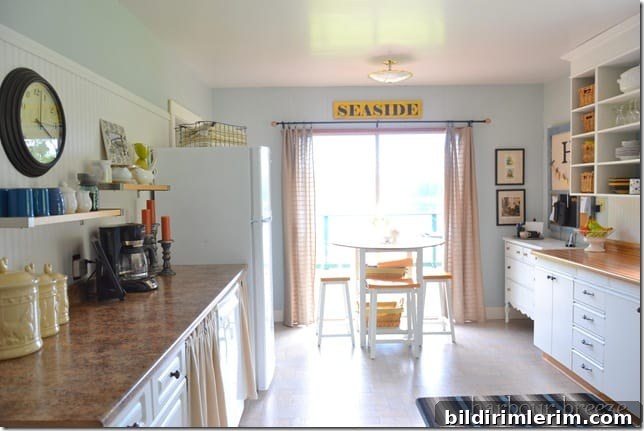
A few well-chosen, budget-conscious changes completely revived this worn kitchen. If you’re hesitant to start, remember that small updates—open shelving, fresh paint, thrifted lighting, or fabric cabinet doors—can transform a room without a full renovation.
Other budget-friendly DIY kitchen ideas
For more project ideas and tutorials, search the blog for posts such as: From Black to White – A Dresser Makeover; DIY Kitchen Curtains; Painting European Cupboard Doors; Restoration Hardware-Inspired Pendant Light; Old Window Message Board; Fabric Cupboard Doors; and Beadboard Wallpaper installation tips. These tutorials walk through materials, paint choices, and straightforward steps to recreate similar results on a small budget.
Paint Colors used in this remodel:
- Walls: Designer Gray from General Paint (close to Benjamin Moore’s Gray Cashmere)
- Backs of cupboards: Stratton Blue from Benjamin Moore
- Trim and cupboards: Cloud White from Benjamin Moore
Other kitchen remodel posts to explore
- The 7-Day Kitchen Makeover
- Best paint color options for a small kitchen
- Adding kitchen storage with clever solutions
- How to make a pendant light for above the sink
- Before-and-after ideas for small kitchen remodels
If you want guided help to plan a room makeover, a free course is available that walks through where to start and how to make design decisions. Consider signing up to get step-by-step support for your next project.

If you enjoyed this budget-friendly kitchen makeover, you might also like a simple beach-cottage bedroom reveal we completed, which follows many of the same affordable principles.