
Learn the simple steps for mounting a photo to foam board using spray adhesive.
Have you ever started a project with complete confidence, only to encounter unexpected problems partway through?
That’s what happened when I mounted a large photo on foam board. I’d done smaller versions before, so I felt prepared—but a few small mistakes taught me some valuable lessons that will help you get a professional result.
Below you’ll find clear, practical instructions for mounting photos on foam core (foam board), the supplies I used, and tips to avoid the issues I ran into. I originally demonstrated this on a livestream, but the written step-by-step below is easier to follow at your own pace.
Mounting Photos Using the Foam Core Mounting Method
Note: Some product names are mentioned for clarity. You can find comparable items at local craft stores or online retailers.
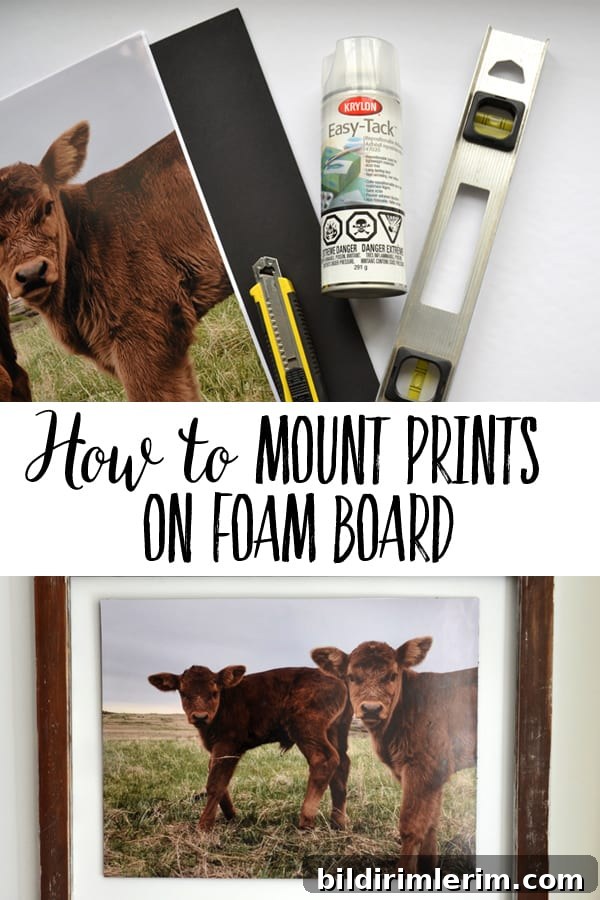
Supplies for mounting photos on foam board
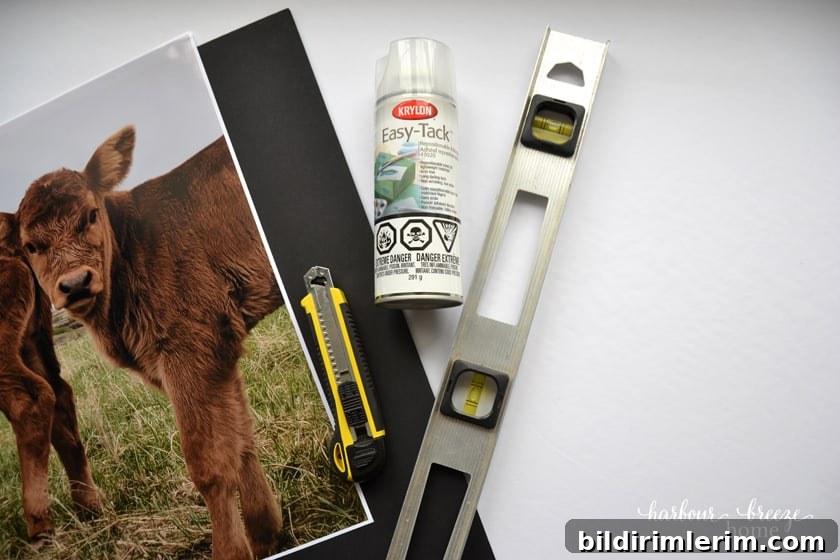
- Photo or print to be mounted (example: 18 x 24 glossy digital print)
- Foam core board (black or white foam board works)
- Drop cloths, towels, or kraft paper to protect your work surface
- Heavy-duty craft or utility knife with replaceable blades
- Long, completely flat metal straight edge or ruler (not a level)
- Paper brayer or soft roller (optional, for smoothing)
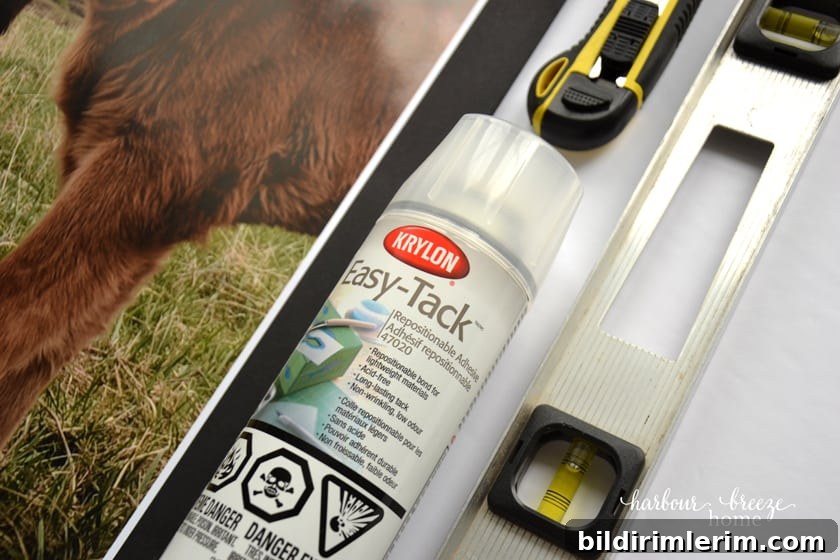
- Spray adhesive formulated for mounting photos (example: Krylon Easy Tack Spray Adhesive)
- Large cutting mat or cutting board
- Sawtooth foam hanger or other picture hanging hardware
Step-by-step instructions for mounting on foam board
1. Prepare the print and work area
Clear a large, flat workspace and protect it with drop cloths or towels. If your print has a white border you don’t want, use a straight edge and a craft knife to trim the excess paper carefully before mounting. Work slowly for a clean edge.
2. Apply spray adhesive to the foam board
Place the foam core board on your protected surface. Following the spray adhesive manufacturer’s directions, apply an even coat to the foam board. Work in a well-ventilated area and keep the spray can at the recommended distance from the surface. Let the adhesive become tacky—usually a short wait—before placing the print.
3. Position and smooth the print
Carefully align the print over the foam board and gently lay it down from one edge to the other to avoid trapping air. Use a paper brayer or your hands (protected by a clean cloth) to smooth the print from the center outward, pressing firmly to ensure full adhesion and to remove any bubbles or wrinkles.
4. Trim the foam board to size
Once the adhesive has set, trim the excess foam board. Place a long, perfectly flat metal straight edge on the board edge and hold it firmly. Using a sharp heavy-duty knife, score the board repeatedly along the straight edge. You may need several passes; don’t try to force a single deep cut. Break off dull blade segments or replace the blade so each pass is clean—this step determines whether the finished edge looks professional or ragged.
Important tips for trimming:
- Use a flat straight edge rather than a level or curved tool that lifts off the surface.
- Make sure the knife blade is sharp; a dull blade will tear the foam core rather than cut it cleanly.
- Apply steady pressure and make multiple shallow passes until you cut through the full thickness.
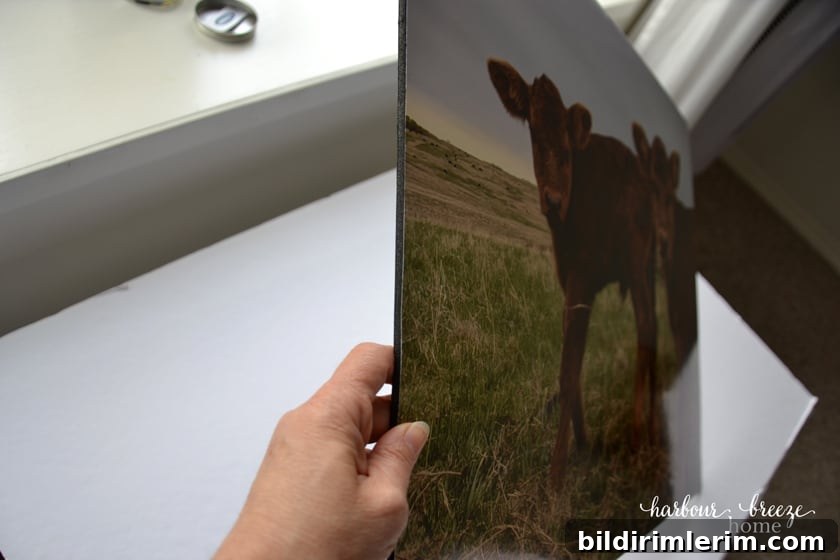
After trimming with a sharp knife, the edges should be smooth and crisp. Foam board is available in black and white; choose the color that best complements your image and decor.
How to hang a photo mounted on foam board
To hang the finished piece, inset a sawtooth hanger into the back of the foam core and hang it on a small nail, picture hook, or wall hanger suitable for the weight. For heavier pieces, consider adding two hangers or using a more secure bracket. Mounting prints on foam board is a budget-friendly way to fill large wall spaces without the cost and weight of traditional framing.
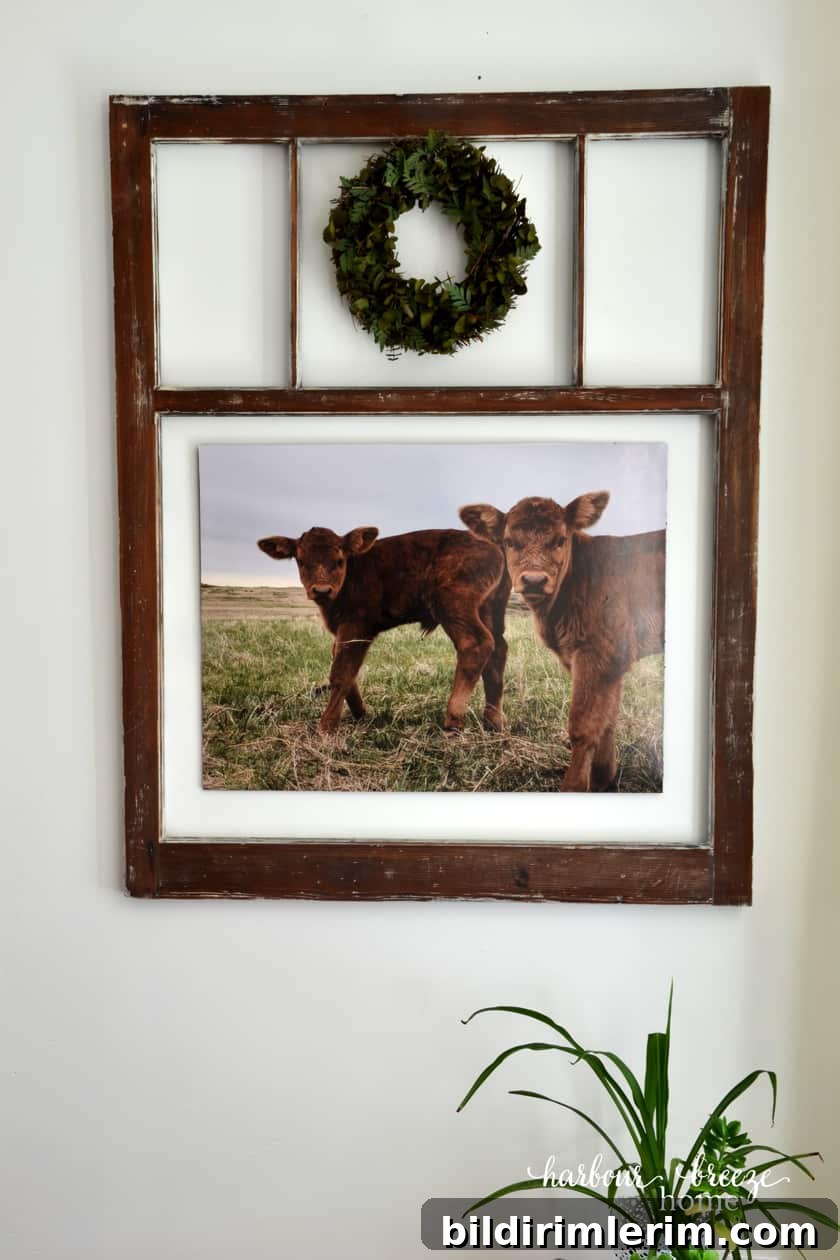
Other creative uses and ideas:
- Create a gallery wall by mounting multiple prints to foam board for a cohesive display.
- Use an old window frame or custom frame as a decorative border for a mounted print.
- Attach adhesive Velcro to the back of mounted panels for removable trade show displays or temporary exhibits.
- This lightweight mounting method is ideal for dorm rooms, rental spaces, or temporary installations where low cost and easy hanging matter.
Want more ideas for crafts, décor, and printing projects?
Sign up with your preferred newsletter provider to receive project ideas, printable art, and seasonal inspiration right to your inbox. Many creators also offer printable bundles and step-by-step guides for members.

Mounting photos on foam board is fast, affordable, and yields striking results when you take the time to prepare, use the right tools, and trim carefully. Follow the steps above and keep the trimming tips in mind to avoid common pitfalls and achieve clean, gallery-ready edges.