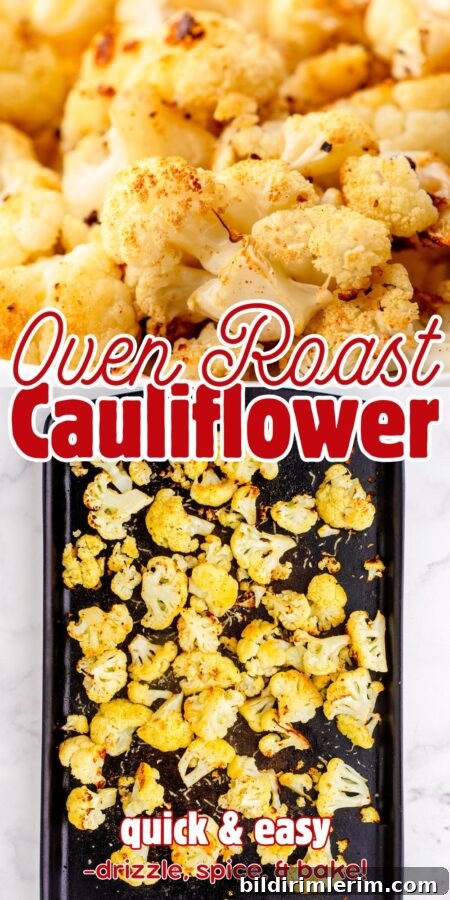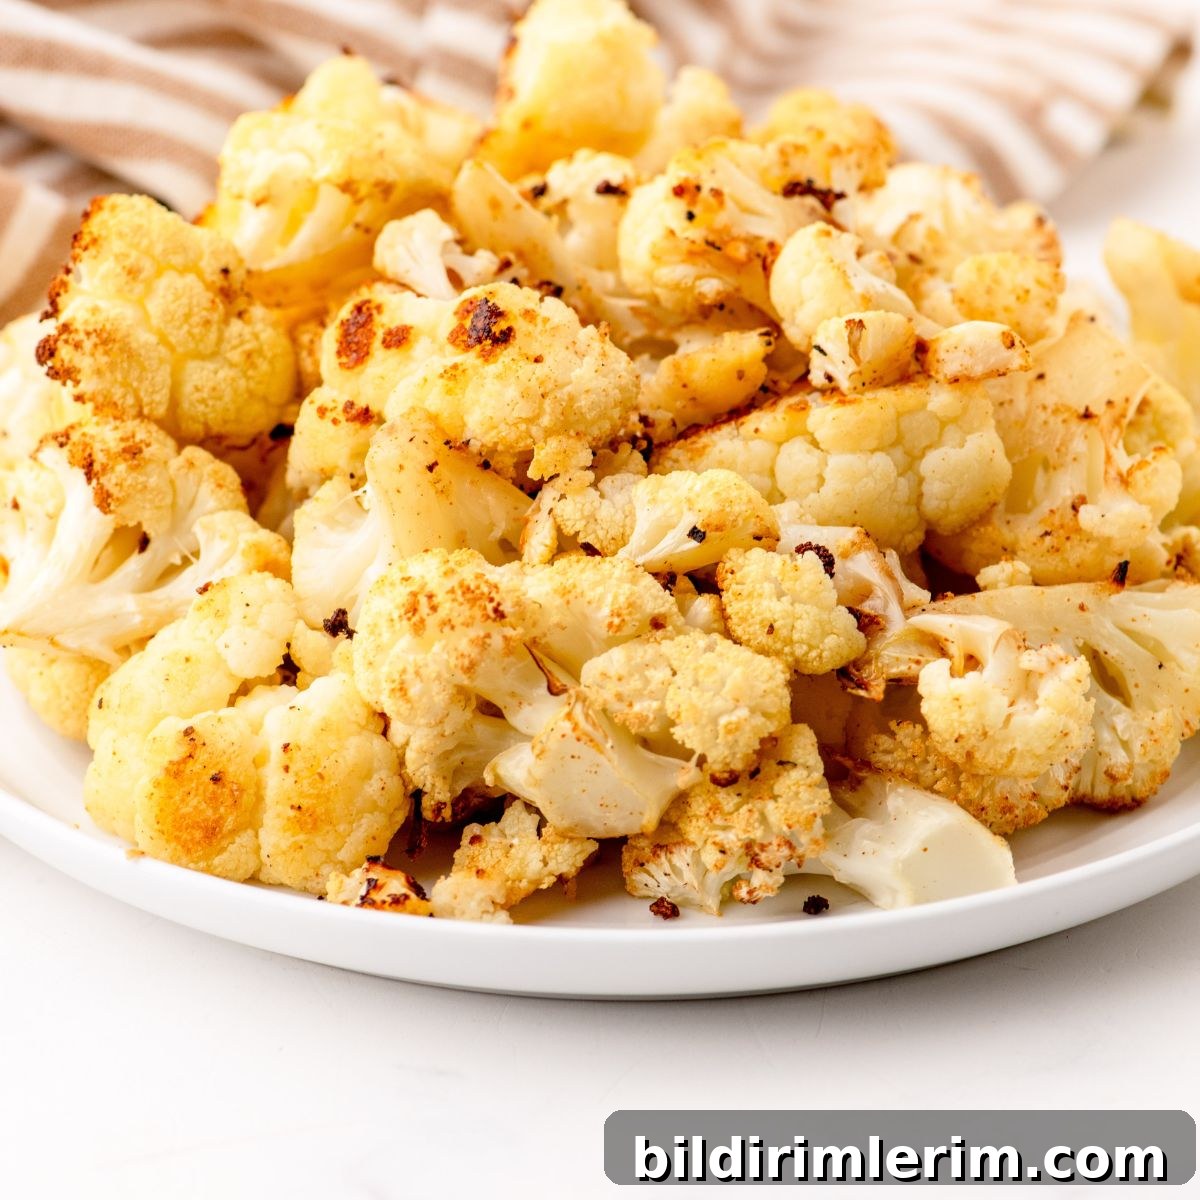
With a drizzle of olive oil and a sprinkle of seasoning, this simple roasted cauliflower has earned a permanent spot in my “healthy comfort food” rotation — proof that vegetables can feel like a warm hug on a busy day.
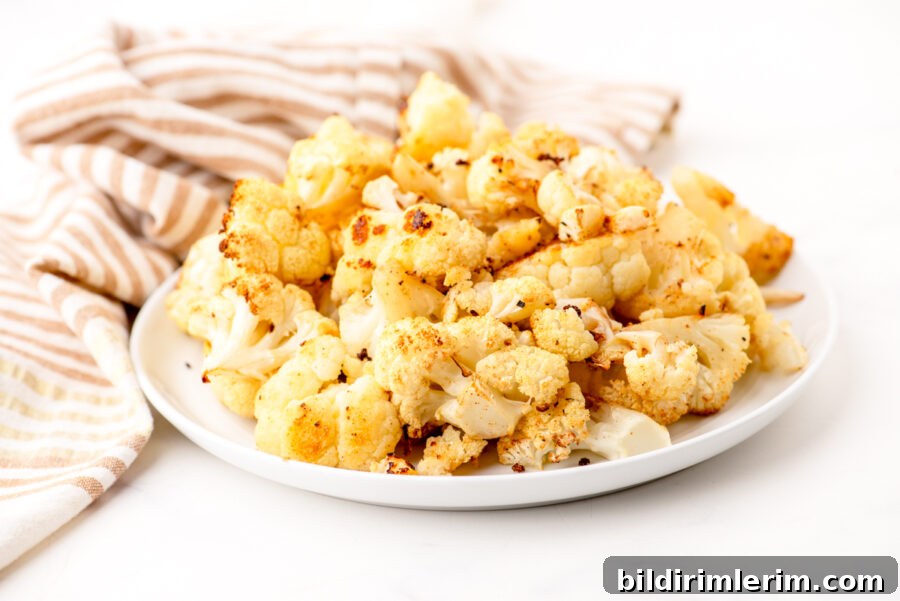
Want the recipe right now?
If you’re here just for the quick, delicious recipe: you’ll find the ingredients and instructions below. If you have time, read on for tips, substitutions, and the little story about why this recipe matters to me. If you’re in a hurry, jump to the recipe card section.
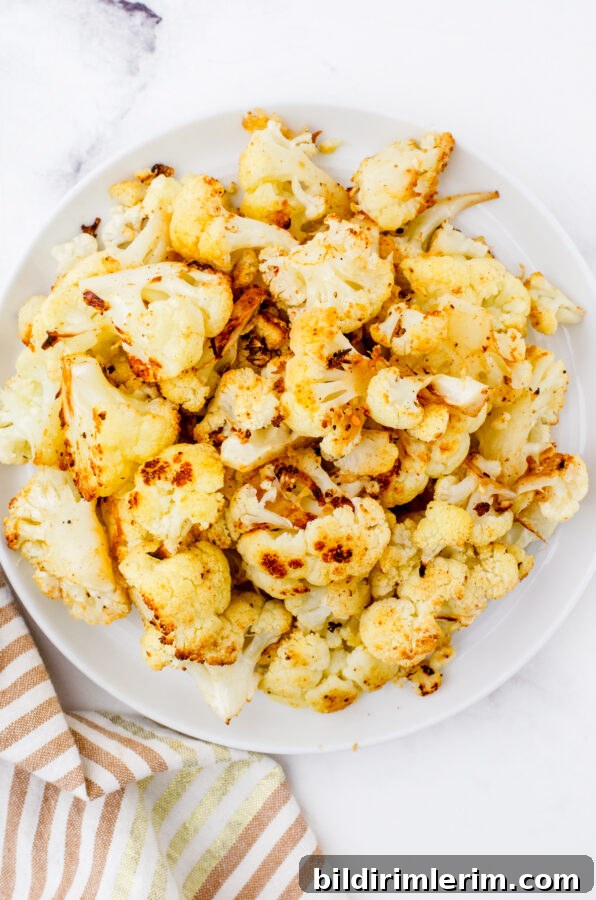
I call this Comfort Food Roasted Cauliflower because it checks all the boxes: warm, savory, filling and full of flavor. It’s fast to make, requires no fancy tools, and the leftovers are often even better. Let’s get cooking.
Why You’ll Love This Roasted Cauliflower
- Easy and fast — one baking sheet and a few minutes of prep.
- Tastes great reheated the next day — perfect for meal prep.
- Customizable: swap in whichever spices you prefer.
- Comforting and nourishing — a satisfying vegetable side or snack.
- Optional: a sprinkle of cheese turns it into an indulgent treat.
Just a few ingredients
- 1 head of cauliflower (choose a large one)
- 2 tablespoons olive oil (or more if you like it well-coated)
- Salt and freshly ground black pepper
- 1–2 teaspoons of your favorite seasoning blend (examples: Southwest seasoning, garlic & herb, or pizza-style seasoning)
- Freshly grated Parmesan cheese (optional)
How to Make Comfort Food Roasted Cauliflower
Below are simple, straightforward steps. Oven times assume a standard home oven set to the temperatures shown.
- Preheat the oven to 435°F (about 220°C).
- Remove the core and cut the cauliflower into bite-sized florets.
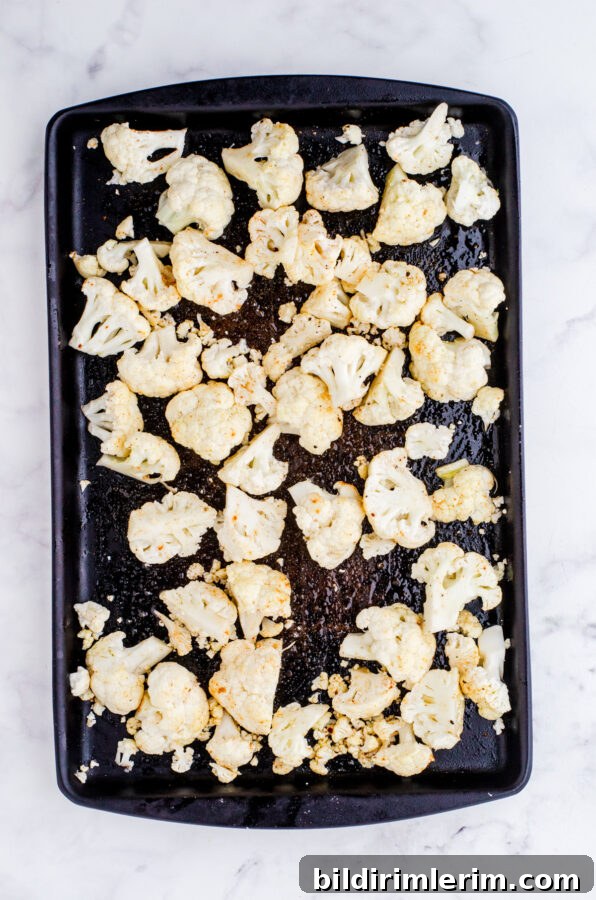
- Drizzle olive oil onto a large rimmed baking sheet. Add the cauliflower and toss to coat evenly. If the florets look dry, add a little more oil.
- Season with salt, pepper, and your chosen spice blend; toss again so everything is well coated.
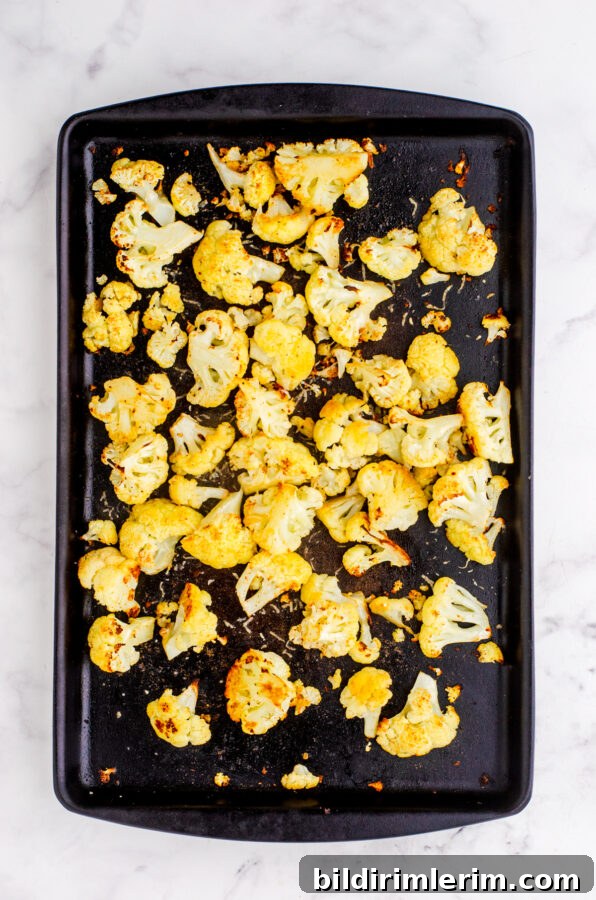
- Spread the florets in a single layer on the pan and roast for about 20–25 minutes, until tender and golden at the edges.
- Optional: in the last few minutes, sprinkle with grated Parmesan and return to the oven until the cheese is melted and lightly browned.
- For extra crispiness, broil for 1–2 minutes at the end — watch closely to avoid burning.
Tips & Substitutions
- Crispy edges: Broil for the last 1–2 minutes, watching carefully so it doesn’t burn.
- Milder flavor: Use garlic & herb seasoning instead of spicy blends.
- Dairy-free: Skip the Parmesan; it’s still delicious without cheese.
- Short on time: Use pre-chopped cauliflower from the grocery store.
- Leftovers: Add roasted cauliflower to salads, wraps, omelets, or grain bowls the next day.

Easy Roasted Cauliflower
Drizzled with olive oil and seasoned simply, this roasted cauliflower is a quick, flavorful side that’s perfect for weeknight dinners and meal prep.
Prep time: 5 minutes
Cook time: 20–25 minutes
Ingredients
- 1 head fresh cauliflower
- 2 tablespoons olive oil
- Salt and pepper, to taste
- 1–2 teaspoons seasoning blend of your choice
- Optional: fresh grated Parmesan cheese
Instructions
- Preheat oven to 435°F (220°C).
- Cut cauliflower into bite-sized florets.
- Toss florets with olive oil, salt, pepper and seasoning.
- Spread on a rimmed baking sheet in a single layer and roast 20–25 minutes until tender and browned at the edges.
- Optional: top with Parmesan and bake a few minutes more until golden.
Nutrition (per serving, approximate)
Calories: 65 · Total Fat: 5g · Saturated Fat: 1g · Sodium: 332mg · Carbohydrates: 4g · Fiber: 2g · Protein: 2g
Other Side Dish Ideas
- Roasted Diced Potatoes
- Roasted Giant Sweet Potato
- Scalloped Potatoes with Mushroom Soup
A Little Backstory: Why This Recipe Matters
I recently realized I’ve been blogging for many years, and my cooking has evolved with life’s seasons. These days I’m focused on foods that make my body feel comfortable and energized — especially during life transitions like menopause. That means choosing meals that are simple, satisfying and repeatable.
This roasted cauliflower became a reliable favorite for me because it’s effortless, nourishing, and versatile. It fits into a busy week, supports meal prep, and still feels comforting without being heavy. I’ve been leaning into small changes — more water, daily walks, and simple recipes like this — and it’s helped me feel better overall.
Save This Recipe
Pin or save the recipe image so you can find it when you need a quick, healthy side. If you try it, leave a note or photo — I’d love to hear how you seasoned it and what you served it with.