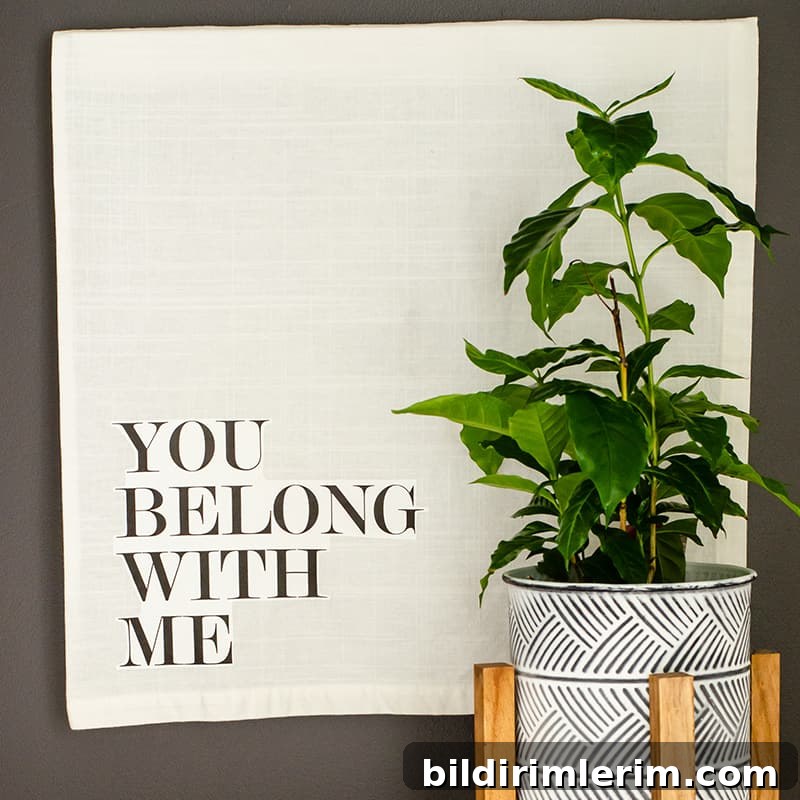
Create a quick, budget-friendly farmhouse sign using fabric and free printables. This simple DIY adds charm to any wall and is perfect for a modern farmhouse or boho bedroom.
I love browsing decor stores for inspiration, but if you don’t have access to big craft retailers nearby, you can easily recreate the same look at home. This project blends farmhouse wood-sign style with textile wall hangings and uses supplies you may already have on hand.
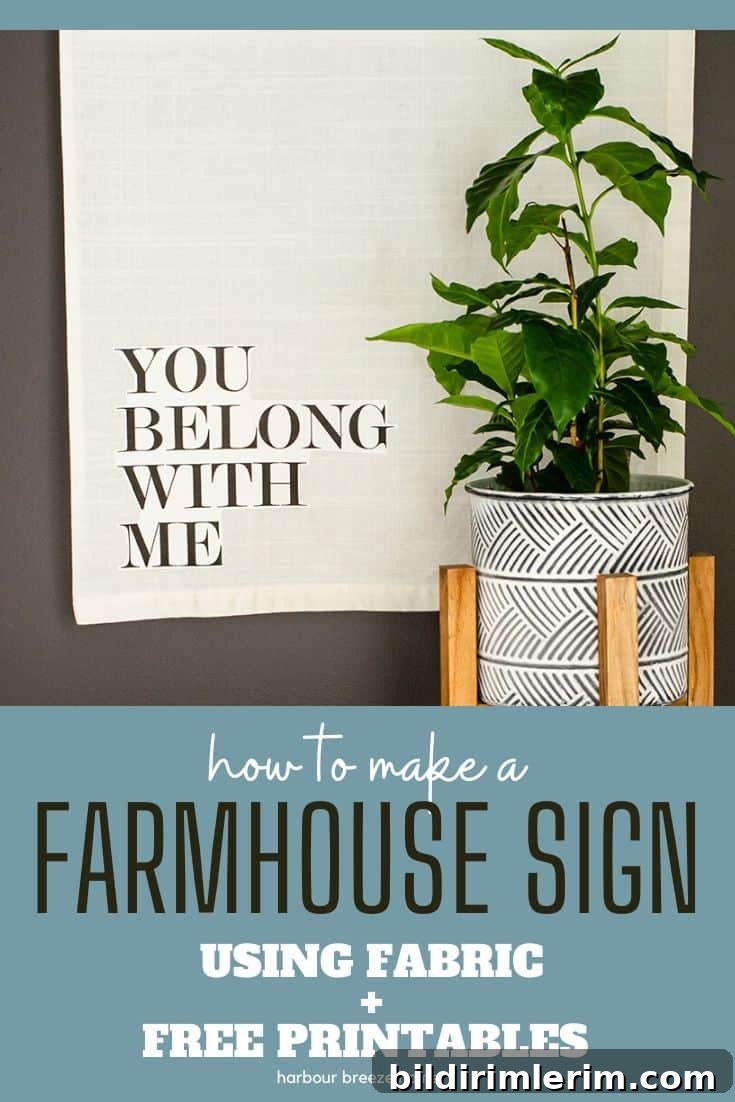
How to Make a DIY Farmhouse Sign with Fabric & Free Printables
Note: this guide refers to printable designs available in a printable library that you can download and print at home.
Supplies needed:
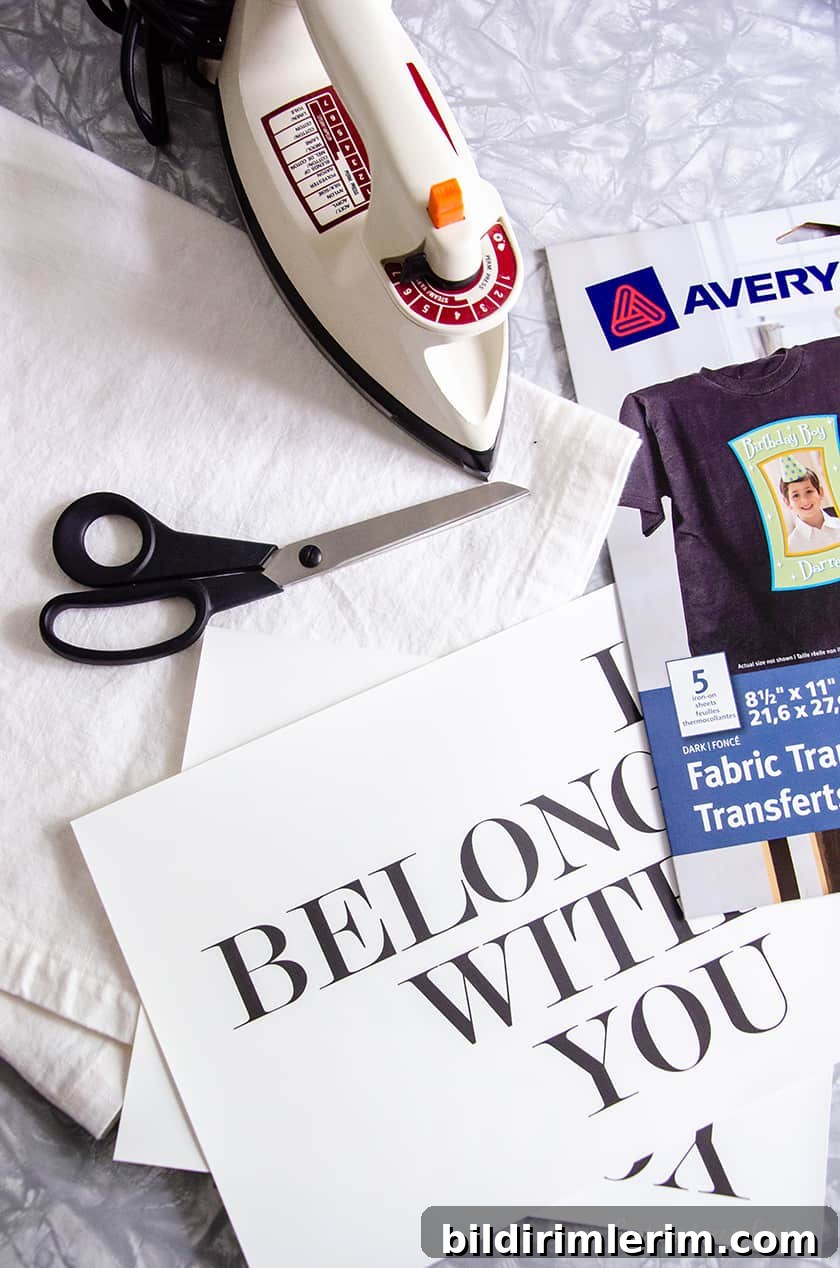
- Fabric remnant large enough for an 18.5″ x 20″ finished piece (cotton, linen or a blended textile works well)
- Avery iron-on transfer sheets designed for fabric (choose the type recommended for your fabric color)
- Household iron and ironing surface
- Sharp fabric scissors or craft knife
- Hemming tape or basic sewing supplies for a clean edge
- Narrow wood slat or board for the top and bottom (about 1″ x 2″ or 1″ x 3″; length to match fabric width)
- Staple gun or strong craft glue
- Two small sawtooth hangers or other picture-hanging hardware
- Pencil and measuring tape
- Free printable designs (downloadable from a printable library or create your own using a simple design program)
Step 1: Print your design onto iron-on transfer paper
Prepare your printable file so the design fits nicely within the area you want on the fabric. Follow the instructions included with your transfer paper for printing—this usually includes printing as a mirror image if the design contains text. Use transfer sheets designed for fabric for best adhesion and durability. If you prefer, these printables can also be printed on 8.5″ x 11″ cardstock and framed instead of transferred to fabric.
Step 2: Prepare and hem the fabric to the finished size
Trim the fabric and hem the edges so the finished size measures 18.5 inches wide by 20 inches tall. Hemming tape or a quick machine stitch will produce a neat edge. Iron the fabric flat and make sure the surface is clean and free of lint before applying any transfer.
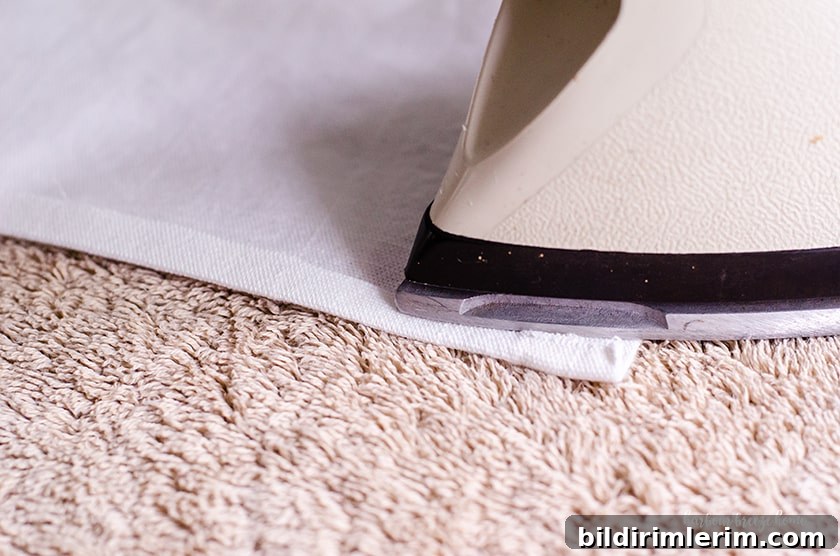
Step 3: Apply the iron-on transfer
Carefully trim close to the printed edges of your design to avoid excess clear film. Position the trimmed transfer where you want it on the fabric—decide whether the design will sit centered, off-center, or toward one edge if you plan to hang the signs as a pair. Follow the transfer paper instructions for heat, pressure and timing; press firmly with the iron and allow the transfer to cool before peeling the backing.
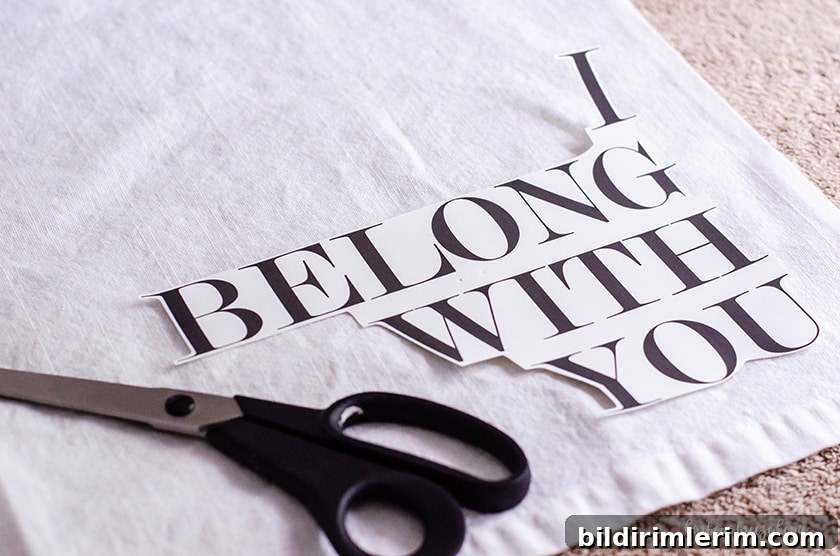
Step 4: Attach the wood slats and hanging hardware
Measure 18.5 inches down from the top edge of the finished fabric and lightly mark that line with a pencil. Position your top wood slat along this line and fold the fabric over the slat, overlapping neatly. Use a staple gun or strong craft glue to secure the fabric to the wood. Repeat at the bottom edge with a second wood slat to weight and stabilize the hanging.
Attach two sawtooth hangers or other picture hardware to the back of the top wood slat, spaced so the sign hangs level. Use nails, picture hooks or wall anchors appropriate for your wall material to hang the finished piece.
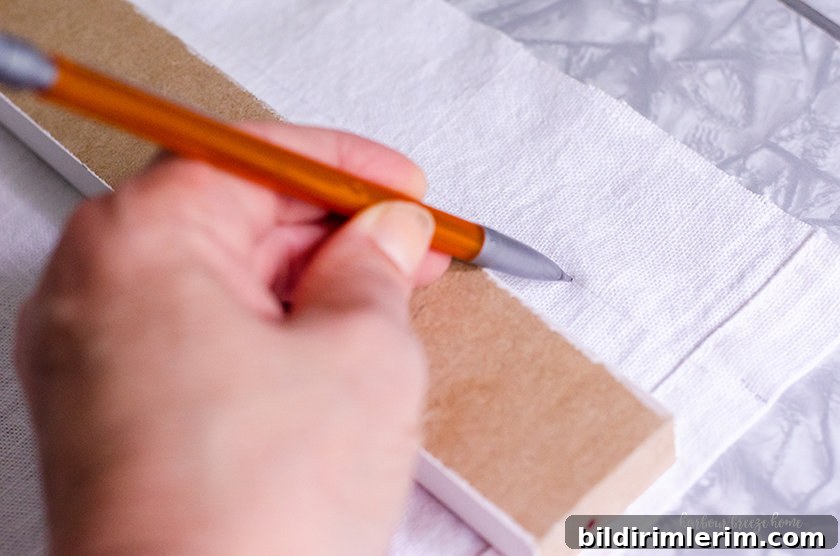
Finishing touches and styling tips
These fabric signs look beautiful flanking a bed, above a console or in an entryway. For a boho look, sew or glue a row of tassels, pom-poms or fringe along the bottom edge of the fabric. Distress the wood slats with a light whitewash or sand them slightly for a weathered farmhouse feel.
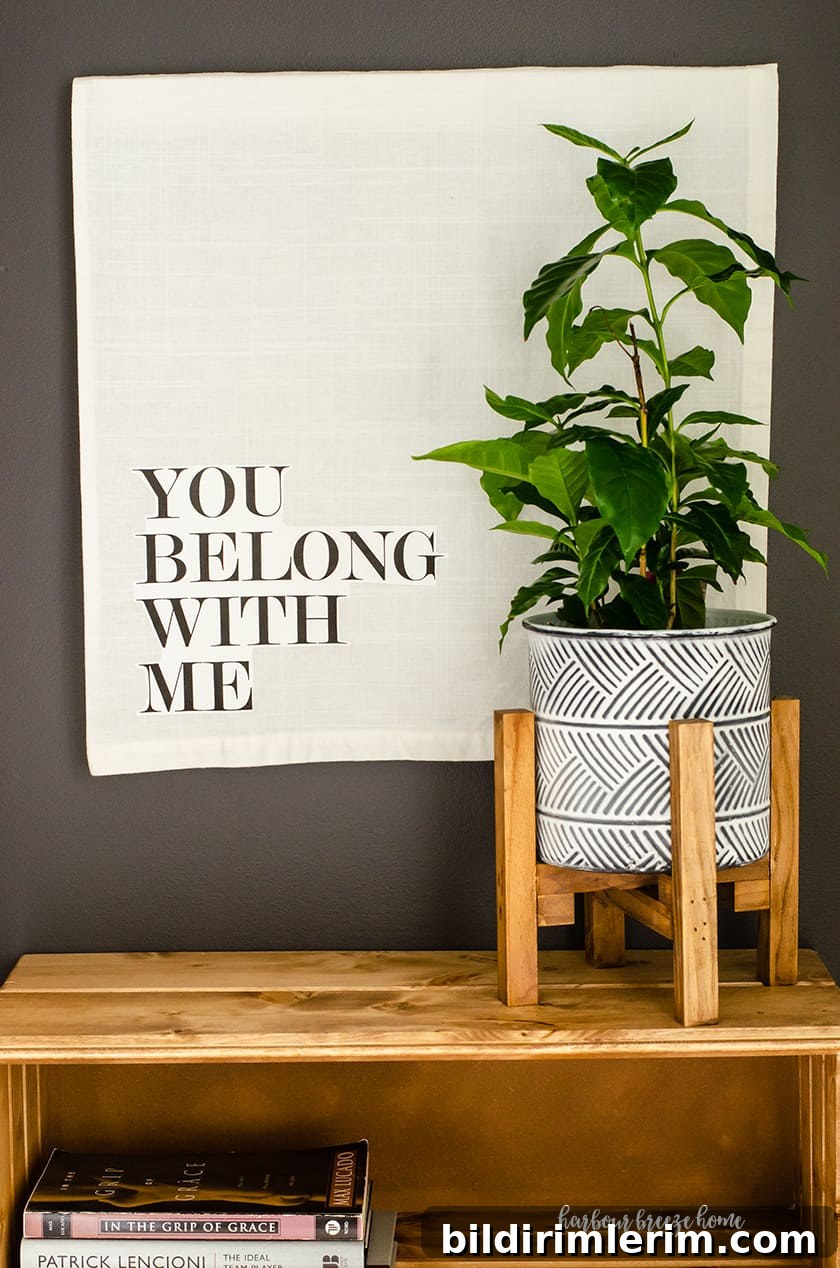
These easy, inexpensive signs are an excellent way to fill a large wall area without the cost of framed art. The soft fabric keeps the room feeling cozy, while the printed text or graphic adds personality and style.

Other project ideas using free printables
- Make decorative throw pillows using printable designs
- Create a printable gallery wall for above the couch
- Design simple farmhouse-style printable signs for seasonal swaps
Room makeover help
If you feel overwhelmed by a room makeover, break the project into small, manageable steps: plan your color palette, choose a focal wall, add layered lighting, and incorporate textiles and art like these DIY fabric signs. Small, budget-conscious projects can transform a space without a major renovation.