No-Bake Oreo Peanut Butter Lush Dessert
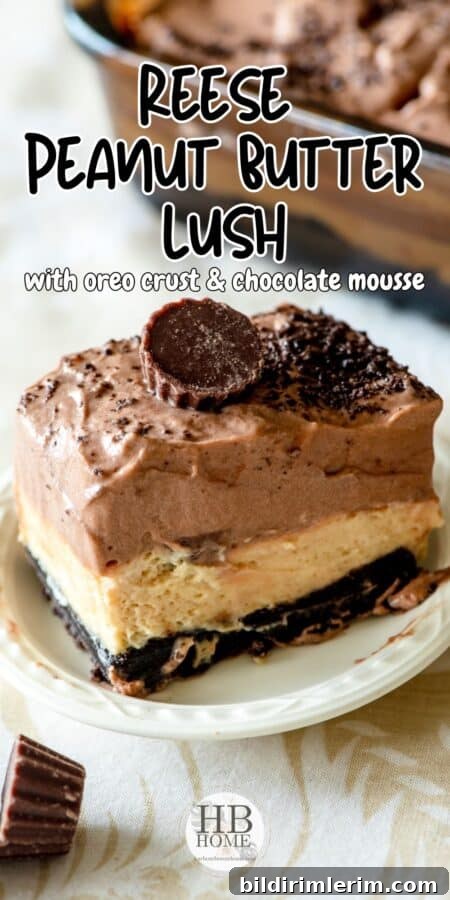
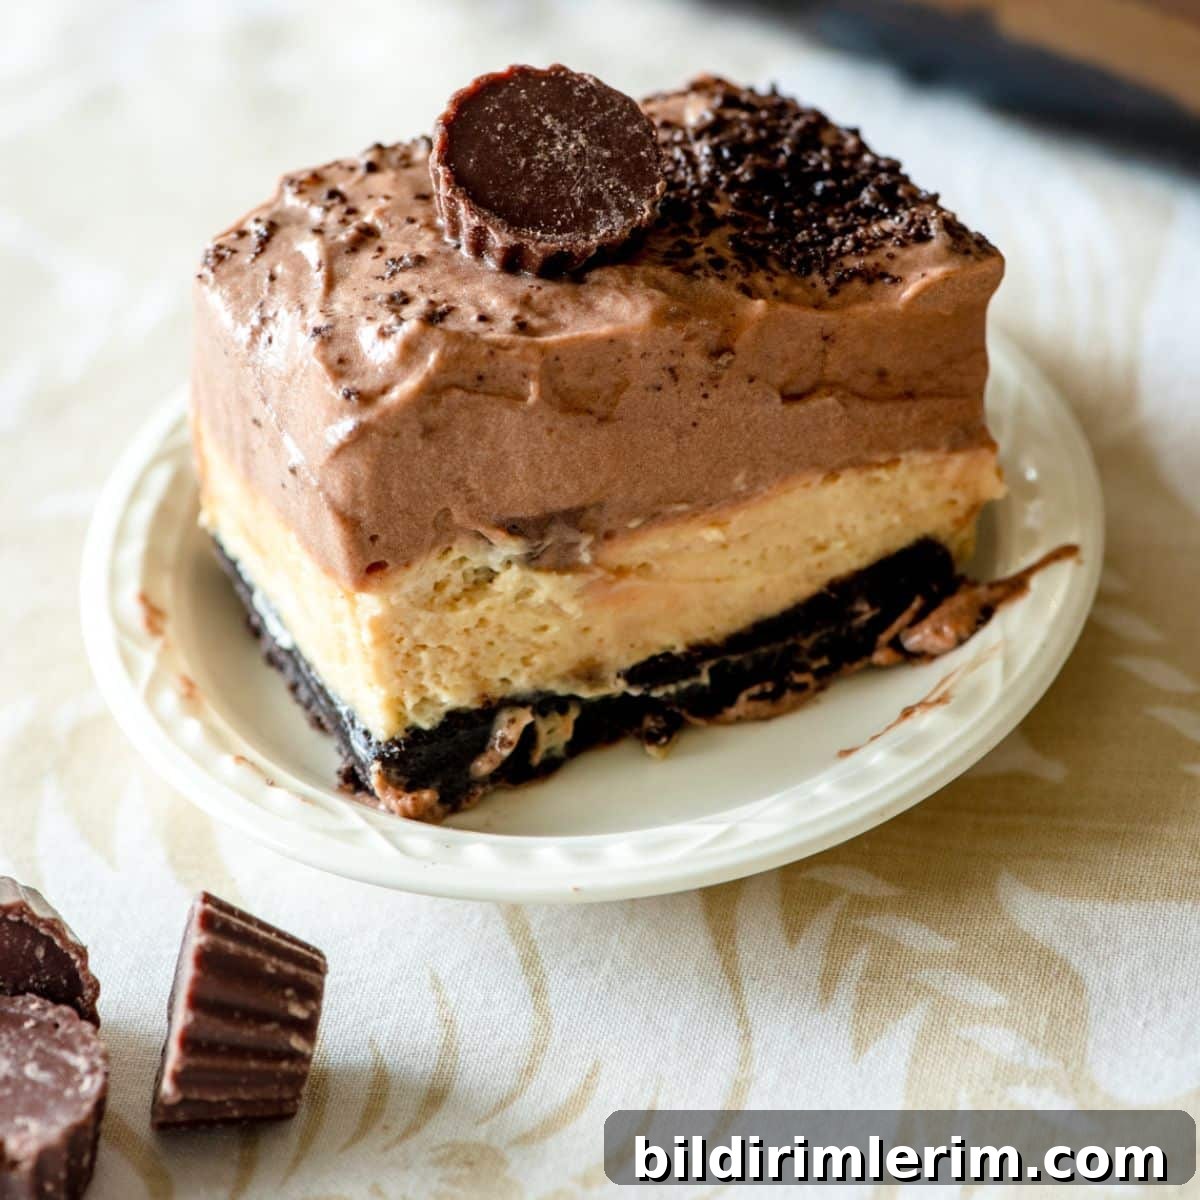
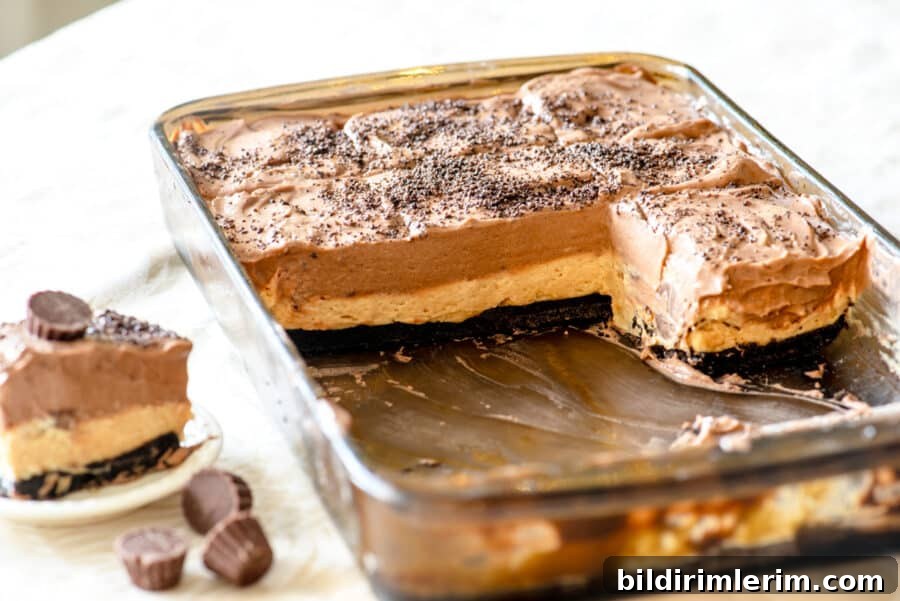
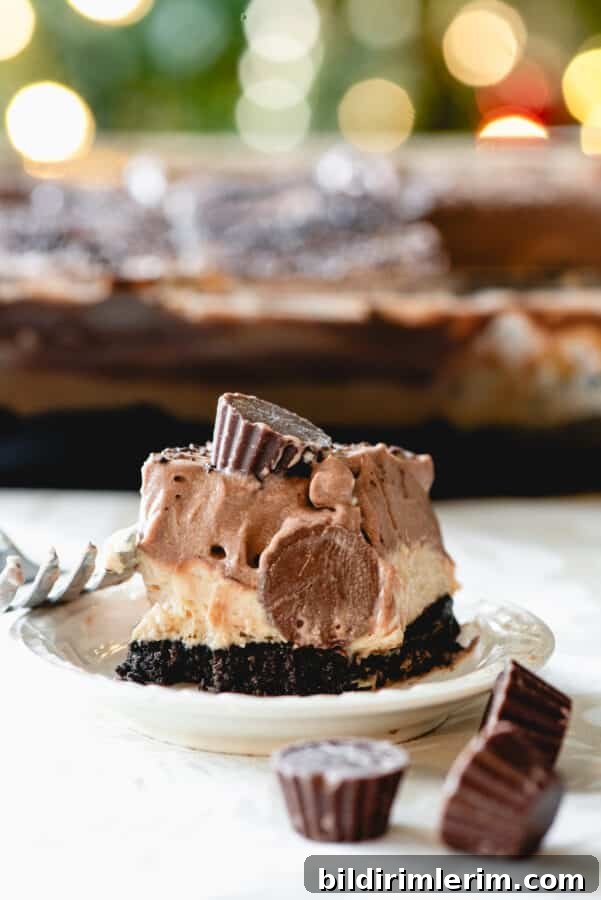
This no-bake peanut butter lush is a layered refrigerator dessert featuring a crunchy Oreo crust, a creamy peanut butter cheesecake layer studded with mini Reese’s cups, and a silky chocolate mousse topping. It’s easy to make ahead and ideal for holidays, potlucks, and family gatherings.
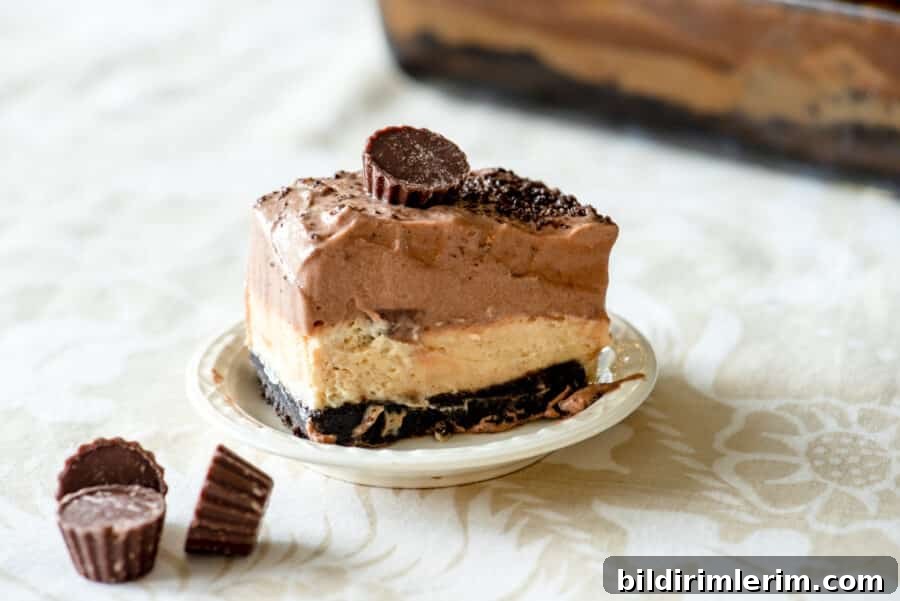
I made this dessert for our Christmas dinner and it was an instant favorite. It photographs beautifully next to tree lights and comes together quickly when you use a few handy shortcuts. Below you’ll find the recipe, step-by-step instructions, tips for saving time, and helpful notes to ensure success.
Recipe Overview
This layered dessert requires no baking and can be prepared in advance. The recipe yields about 15 servings. Prep time is roughly 30 minutes plus at least 2–4 hours chilling time; overnight chilling gives the best texture.
- Yield: 15 servings
- Prep Time: 30 minutes
- Chill Time: 2–4 hours (or overnight)
- Total Time: Approximately 2 hours 30 minutes including chill
Ingredients
Stabilized Whipped Cream (or use whipped topping)
- 2 cups heavy whipping cream
- 1/4 cup white sugar
- 1 teaspoon vanilla extract
- 4 tablespoons instant vanilla or white chocolate pudding mix
- Shortcut: Use two 8-oz containers of whipped topping instead of making stabilized whipped cream
Oreo Crust
- 24 Oreo cookies, crushed
- 1/2 cup unsalted butter, melted
Peanut Butter Cheesecake Layer
- 8 oz spreadable cream cheese, softened
- 1/2 cup creamy peanut butter
- 1 cup powdered sugar
- 1/2 of the prepared stabilized whipped cream
Chocolate Mousse Layer
- 1 small package instant chocolate pudding mix
- 2 cups milk
- 1/2 cup powdered sugar
- Remaining half of the stabilized whipped cream
Other
- Mini Reese’s Peanut Butter Cups (about 30) — whole or chopped
Instructions
1. Make the Stabilized Whipped Cream
- Chill the mixing bowl and whisk attachment in the freezer until cold.
- Pour in the heavy cream and begin whipping on medium speed. When it starts to thicken, add the sugar and vanilla. Continue whipping until soft peaks form, then add the instant pudding powder and whip again until soft peaks hold.
- Transfer to a bowl and refrigerate until ready to use.
2. Make the Oreo Crust
- Crush the Oreo cookies in a food processor until fine crumbs form.
- Reserve about 1/8 cup of crumbs for sprinkling on top later.
- Mix the remaining crumbs with the melted butter until evenly moistened.
- Press the crumb mixture firmly into the bottom of a 12 x 7.5 inch pan (a 9×9 pan also works).
- Refrigerate the crust while you prepare the next layer.
3. Peanut Butter Cheesecake Layer
- Beat the softened cream cheese until smooth and fluffy.
- Add the peanut butter and powdered sugar; beat until fully combined and smooth.
- Gently fold in half of the stabilized whipped cream until the mixture is light and airy.
- Spread the peanut butter cheesecake evenly over the chilled Oreo crust.
- Press mini Reese’s cups gently into the peanut butter layer, leaving them whole or chopping them into pieces as you prefer.
4. Chocolate Mousse Layer
- In a bowl, whisk the chocolate pudding mix with milk and powdered sugar using an electric mixer until the mixture thickens.
- Fold in the remaining stabilized whipped cream until smooth and light.
- Spread the chocolate mousse evenly over the peanut butter layer and Reese’s cups.
5. Finish & Chill
- Sprinkle the reserved Oreo crumbs over the top for a decorative finish.
- Cover the pan with plastic wrap and refrigerate for at least 2–4 hours, or overnight for the best texture.
- Slice into small squares and serve chilled. Because this is rich, smaller portions are ideal.
Notes & Tips
- If mini Reese’s cups aren’t available, chop regular-sized Reese’s into pieces and press them into the peanut butter layer.
- Short on time? Use store-bought whipped topping (Cool Whip) as a substitute; let it soften slightly before folding into layers.
- Pan size: The recipe was originally written for a 9×9 pan, but a 7.5 x 12 inch pan works well and may yield slightly different thickness.
- Serving size: This dessert is rich and filling — small squares are satisfying and allow the flavors to shine.
- Make-ahead friendly: Prepare the dessert a day ahead and keep refrigerated until serving to save time on the day of your event.
Nutrition Information (Estimated)
Amount per serving (approximate): Calories 515; Total Fat 33g; Saturated Fat 17g; Unsaturated Fat 15g; Cholesterol 74mg; Sodium 221mg; Carbohydrates 50g; Fiber 1g; Sugar 39g; Protein 6g.
A Little Story Behind This Recipe
My sister recommended this dessert after she made it for Thanksgiving. The inspiration came from a popular layered peanut butter and Oreo dessert, and I made a few small adjustments — swapping in homemade stabilized whipped cream instead of store-bought topping — which made the texture lighter and the flavors shine. It was a hit with family and friends.
More No-Bake Dessert Ideas
- Mocha refrigerator dessert — another layered, make-ahead refrigerator treat.
- Original scotcheroos — a classic no-bake bar with peanut butter and chocolate.
- No-bake peanut butter chocolate oatmeal cookies — quick, portable, and perfect when time is tight.
Share & Save
Make this recipe ahead for holiday dinners, potlucks, or any occasion where a show-stopping, no-bake dessert is welcome. Pin a photo or save the recipe to try later — small slices are wonderfully indulgent and go a long way.