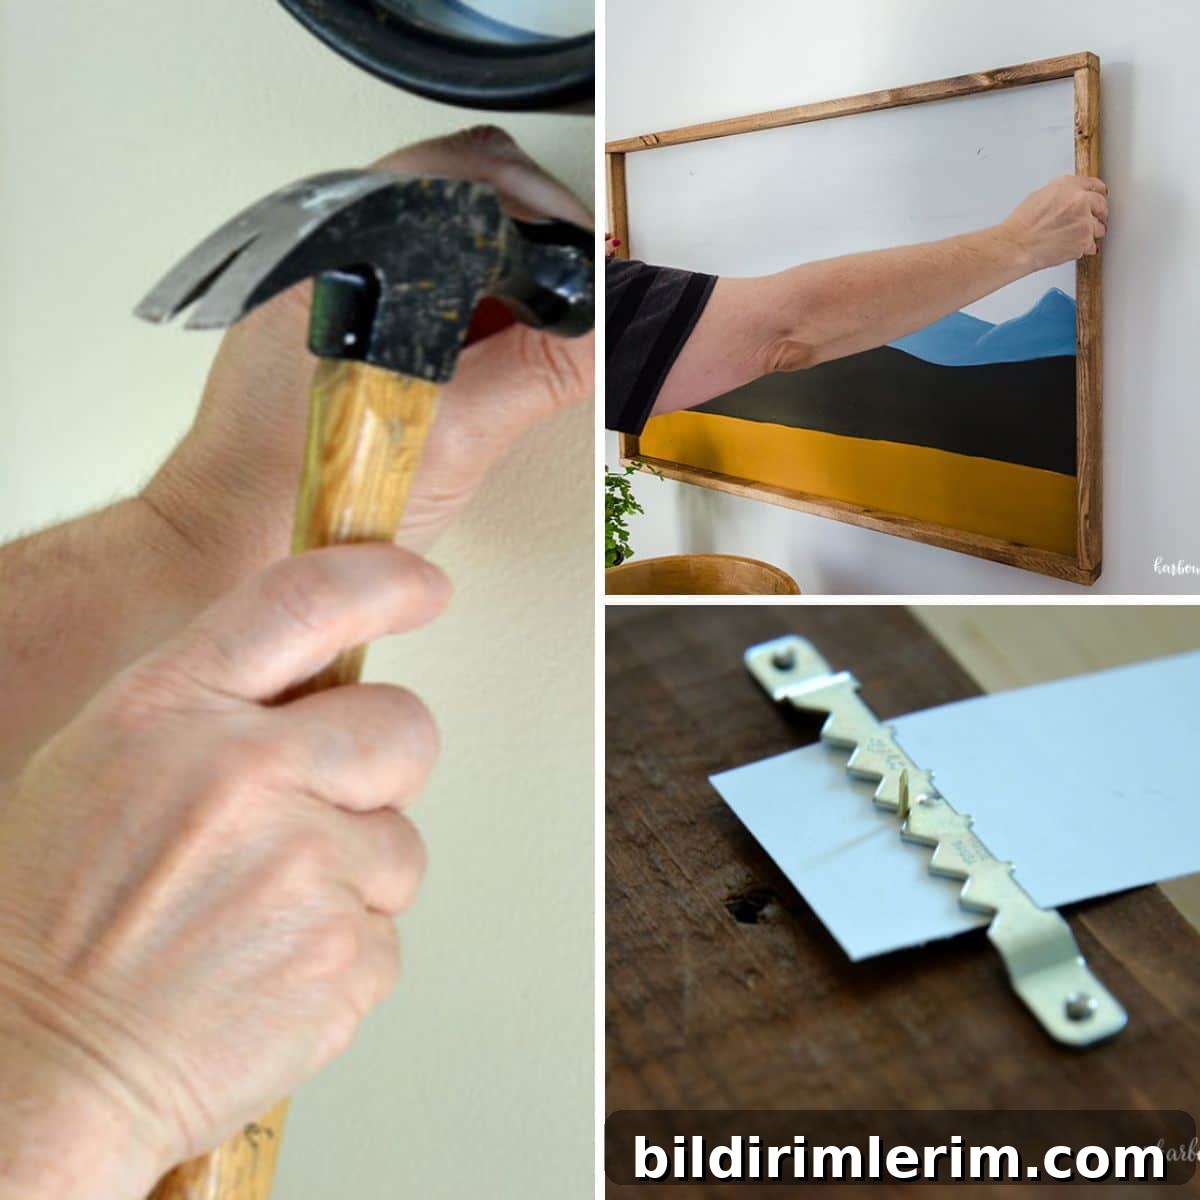
Struggling to hang things on your walls just right? Below are practical, proven tips and simple hacks for picture placement, hanging heavy items safely, and installing curtain rods and shelves so your walls look polished and stay secure. These are lessons learned over years of trial and error—so you don’t have to make the same mistakes.
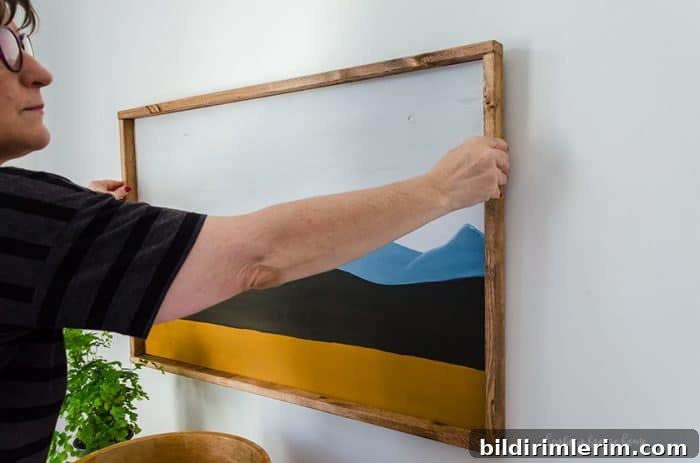
Are You Avoiding Hanging Things on Walls?
You’re not alone. Many people collect beautiful art, mirrors, and décor that sit in closets or lean against furniture because hanging feels intimidating. With a few clear techniques and the right hardware, hanging can be simple, fast, and low-risk. The goal is confident placement and secure mounting so your pieces enhance the room without worry.
I’ve Made the Wall Hanging Mistakes—So You Don’t Have To
When I first started decorating, I lived in older homes with imperfect walls and figured nothing I did could make them worse. That freedom led to trial-and-error: crooked nails, mismatched hardware, and a few too many rehangs. Over time I learned better methods for choosing hardware by weight, locating studs, and getting consistent placement for single pieces or entire gallery walls.
Below are clear, useful solutions for common wall-hanging dilemmas—how to achieve perfect picture placement, how to secure heavy décor, and how to hang curtains and shelves so they stay put.
Wall Hanging Tips for Picture Placement
No matter the wall surface—drywall, plaster, or paneling—you want your artwork centered and level when it’s up. These hacks make placement faster and more accurate.
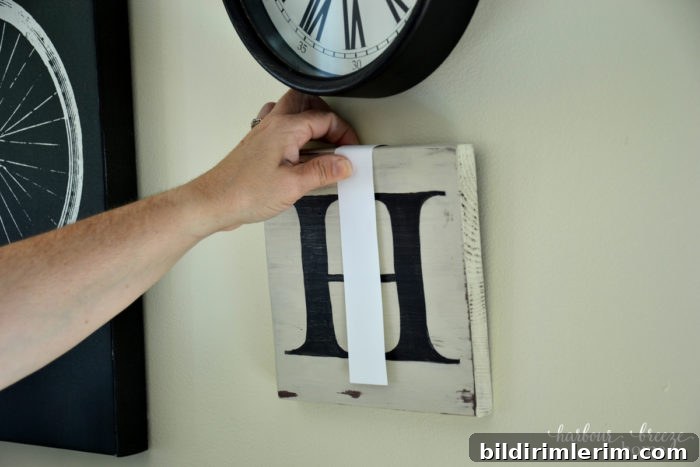
1. How to Hang a Picture — A Simple Hack
For single-hanger frames, mark the hanger location on the back, measure the distance to the top of the frame, then transfer that measurement to the wall from your desired top or center point. Use painter’s tape to mark the spot first so you can step back and confirm placement before making any holes.
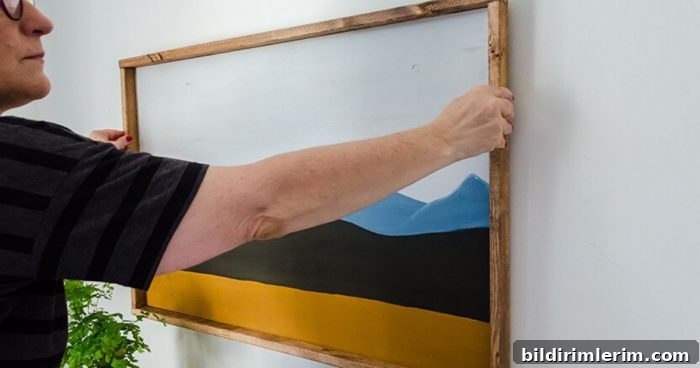
2. Hanging Frames with Two Hangers
When a frame has two sawtooth hangers, measure the distance between hangers and place two corresponding marks on the wall. Use a small level between marks so the frame hangs evenly. If you want extra stability, add a small felt bump on the bottom corners to keep the frame flush and prevent shifting.
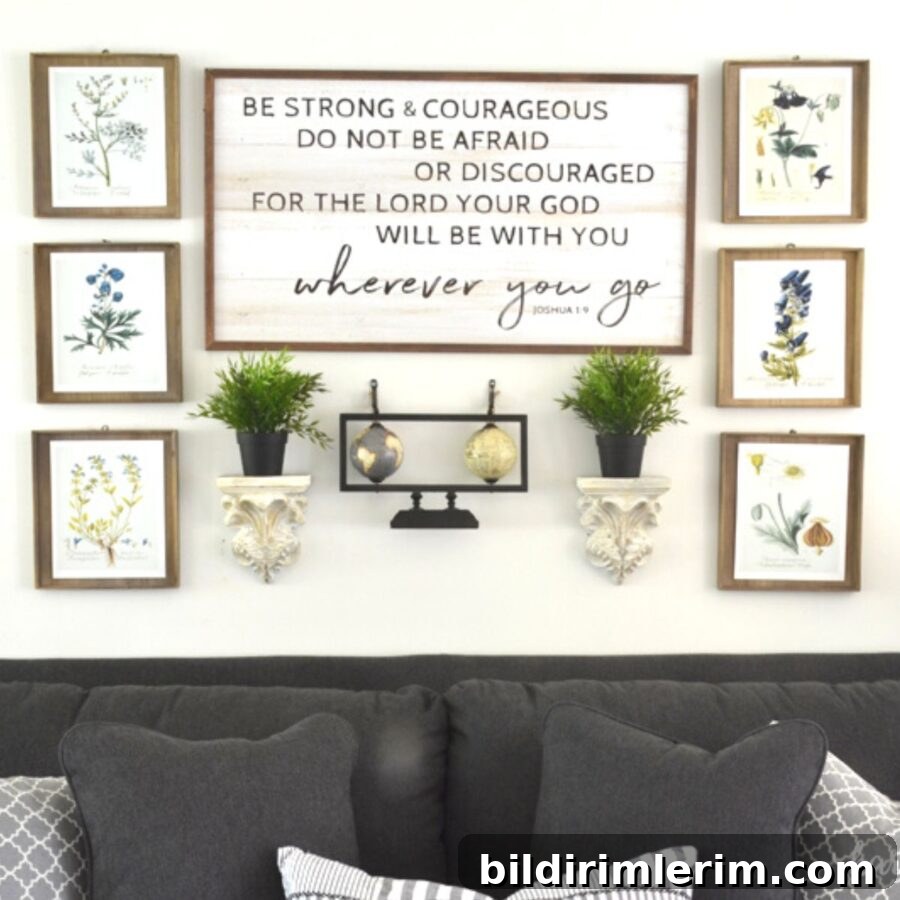
3. Gallery Wall Setup Trick
For multi-frame arrangements, make paper templates of each frame on kraft or wrapping paper, tape them to the wall, and adjust spacing until the composition looks right. This approach saves holes and lets you rehearse the final layout at eye level before committing.
Wall Hanging Tips for Hanging Items Securely
Choosing the right hardware and installing it correctly is essential so items don’t fall. Use anchors rated for your wall surface and for the weight you expect. When in doubt, opt for stronger anchors or attach to studs.
4. How to Hang Heavy Objects with a French Cleat
A french cleat is a reliable method for heavy mirrors, headboards, or reclaimed wood pieces. One board is mounted to the wall (preferably into studs) and the matching angled board is attached to the item. The two boards lock together to distribute weight and keep the piece securely flush to the wall.
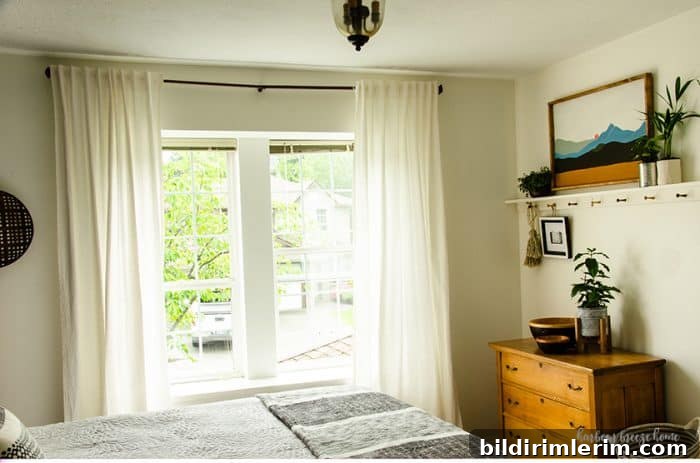
5. Curtain Hanging Made Easy
Hang curtain rods higher and wider than the window frame for a roomier look and better light control. Measure consistently and use anchors or screws into studs for heavier rods. Brackets should be placed at least 6 inches from the window frame on each side for standard setups, but adjust based on window size and desired style.
Hanging Tips for Shelves
DIY wall shelves are both decorative and functional. Choose mounting hardware that matches shelf depth and expected load. For lightweight shelves, concealed dowel mounts work well; for heavier loads, consider bracket support or metal anchors secured into studs.
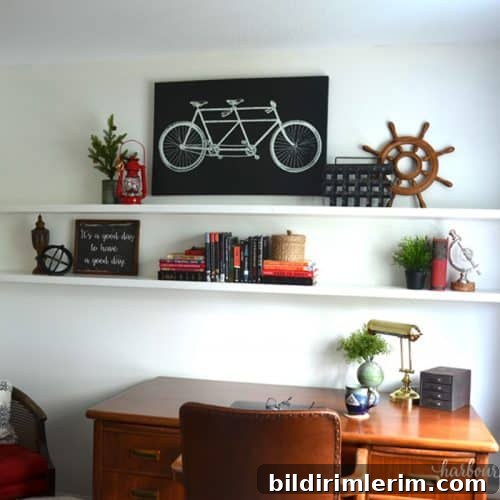
6. DIY Floating Shelves
Make budget-friendly floating shelves by drilling sturdy wooden dowels into the wall plate and sliding a hollowed shelf over them. Ensure dowels are long enough to engage studs or use heavy-duty wall anchors when studs aren’t available. Proper installation prevents sagging and keeps the shelf level under load.
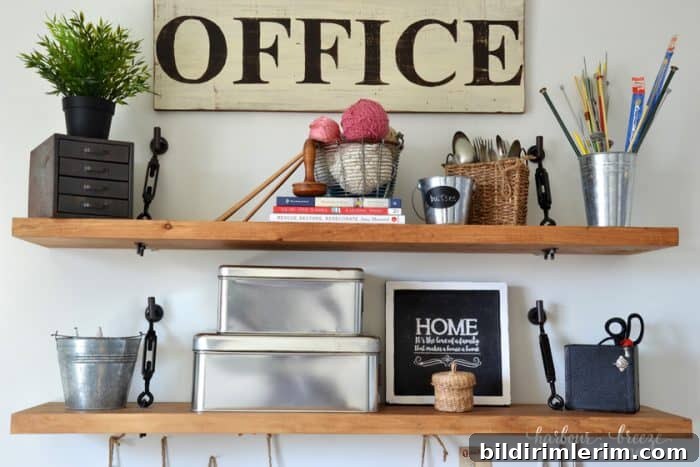
7. Decorative Floating Shelves with Turnbuckle Hardware
For a visually striking look, suspend shelves with turnbuckle hardware anchored to the ceiling or wall. This method blends structural support with decorative flair, but be sure anchor points are secure and rated for the combined weight of shelf and contents.
I hope these tips give you the confidence to hang your prettiest pieces and make your space feel complete. Start with smaller items to build your comfort level, then move on to larger installations once you’ve practiced measuring, leveling, and choosing the right anchors.
Pin this to remember later
For more home ideas, tips, and seasonal projects, consider subscribing to a newsletter or following a trusted home resource.
Subscribe to receive printable templates, step-by-step project guides, and seasonal decorating ideas delivered to your inbox. Look for options to join newsletters offered by home and lifestyle creators you trust.