Tired of hammering nails in the wrong spot? This simple paper-template method lets you plan your entire gallery wall on the floor first, then transfer it perfectly to the wall—no complicated measuring required.
A few years ago I spent three busy days at my sister Becky’s house helping her decorate and organize, with our sister Susan dropping by to assist as well. We dove into the project with enthusiasm and teamwork, and even though I forgot to take true “before” photos, I captured shots from midway through and after we finished. The result was a gallery wall above Becky’s couch that transformed the room, and I’m sharing the exact method we used so you can recreate it.
Why use a paper template for a gallery wall?
Creating a gallery wall can be intimidating: you want the spacing to feel balanced, the pieces to line up, and the final arrangement to sit properly above furniture. The paper template method removes guesswork. By arranging frames and objects on the floor and transferring their outlines and hanger locations to a paper template, you can test layouts quickly and place nails precisely—no trial-and-error on the wall.
Materials you’ll need
- Large sheet or roll of paper (print shop rolls, craft paper, or taped-together newspapers work well)
- Frames, shelves, mirrors, or other wall pieces you plan to use
- Pencil or marker for tracing
- Level to ensure horizontal alignment
- Scotch tape or painter’s tape to attach the template to the wall
- Nails, screws, or wall anchors appropriate for the weight of each item
Step-by-step: create and hang a perfect gallery wall
1. Lay out all the items on the floor until a composition forms that you like. Move things around, try different groupings, and experiment with spacing until the overall balance looks right. Using the floor lets you see the entire arrangement at once, which is much easier than trying one item at a time on the wall.
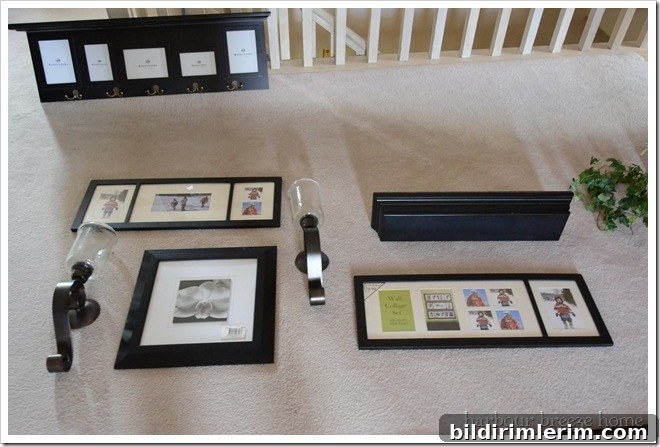
2. Measure the width and height of the area on the wall where you want the arrangement to sit, then cut a piece of paper to those dimensions. Large wrapping paper or kraft paper from a roll is ideal. If you have gridded wrapping paper, it makes alignment even easier because the grid gives you a visual guide for spacing and leveling.
3. Place your arranged items on top of the paper. Use a level to make sure items that should be horizontal are straight. Trace around each object with a pencil so the outline is clearly marked on the paper.
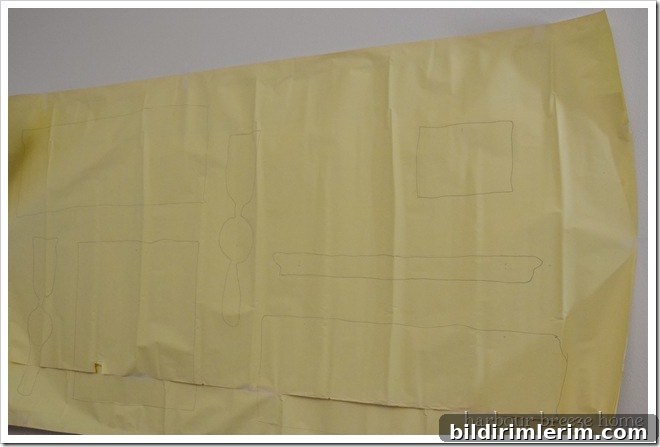
4. Flip each item over while it sits on the traced paper and note exactly where the hanging hardware or bracket is located. Mark a small “x” on the paper at the spot where the nail or screw needs to go. This step is especially helpful when you need to use anchors in drywall or when some pieces require precise placement to hang level.
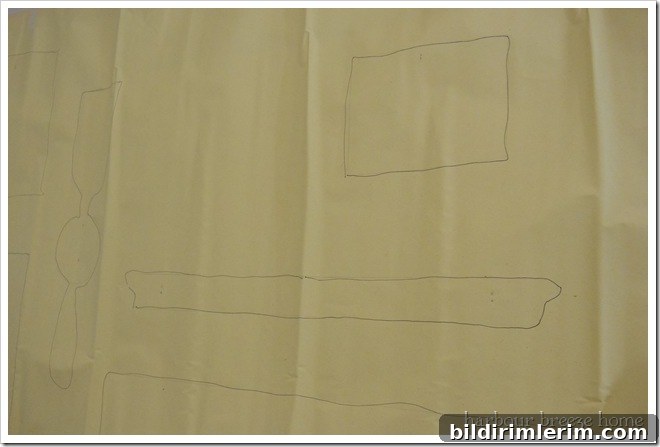
5. Tape the paper template to the wall at the correct height and position using scotch tape or painter’s tape. Check with a level one more time to ensure the whole template sits straight. Because you’ve already traced and marked the hang points, the placement on the wall should match what you planned on the floor.
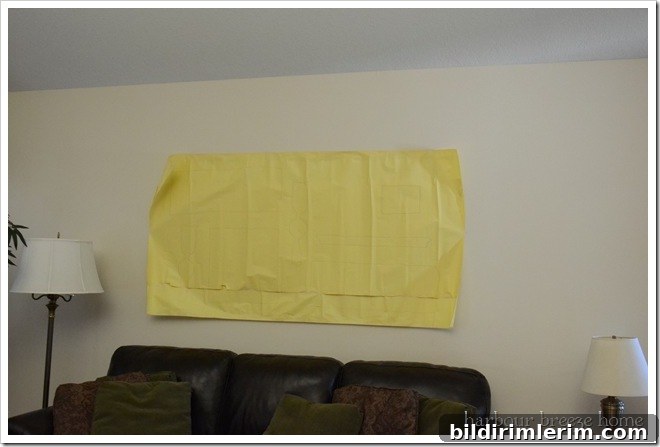
6. Drive nails, screws, or anchors into the wall at the marked “x” positions. Use smaller nails for lightweight frames and proper anchors or screws for heavier pieces. Once all fasteners are in place, carefully remove the paper template and hang each item on its corresponding hardware. Step back and make small adjustments as needed.
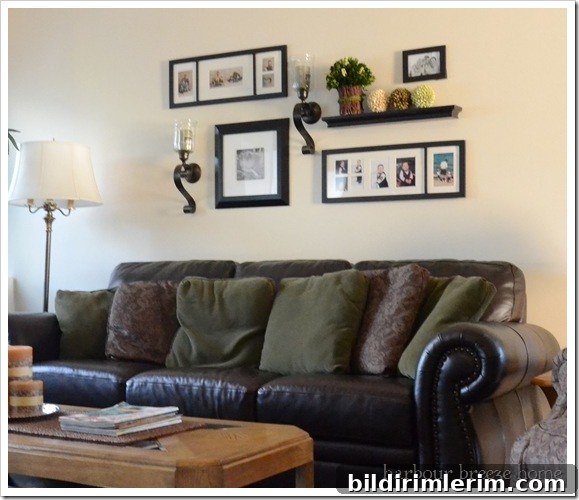
For our gallery wall, I quickly added some family photos so the space felt personal; Becky planned to swap in final photos later. The shelf that started in the original layout was relocated to the nearby entryway, showing how flexible this method can be when you decide to move pieces around after the main arrangement is complete.
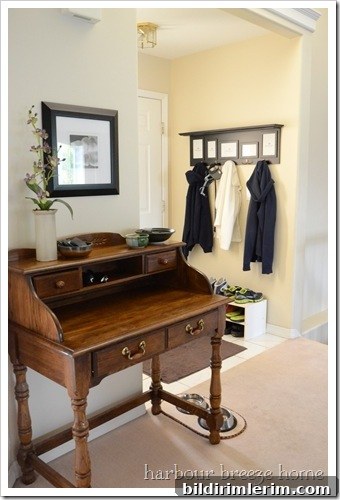
All items used in this gallery wall arrangement were purchased at common home decor retailers such as Hobby Lobby, Target, and Herbergers.
Want more ideas for decorating your home year-round?
Sign up for a newsletter or follow decorating blogs and resources to get printable art, layout tips, and seasonal ideas. Many creators offer free printable galleries and templates you can use with this paper method to speed up the process.