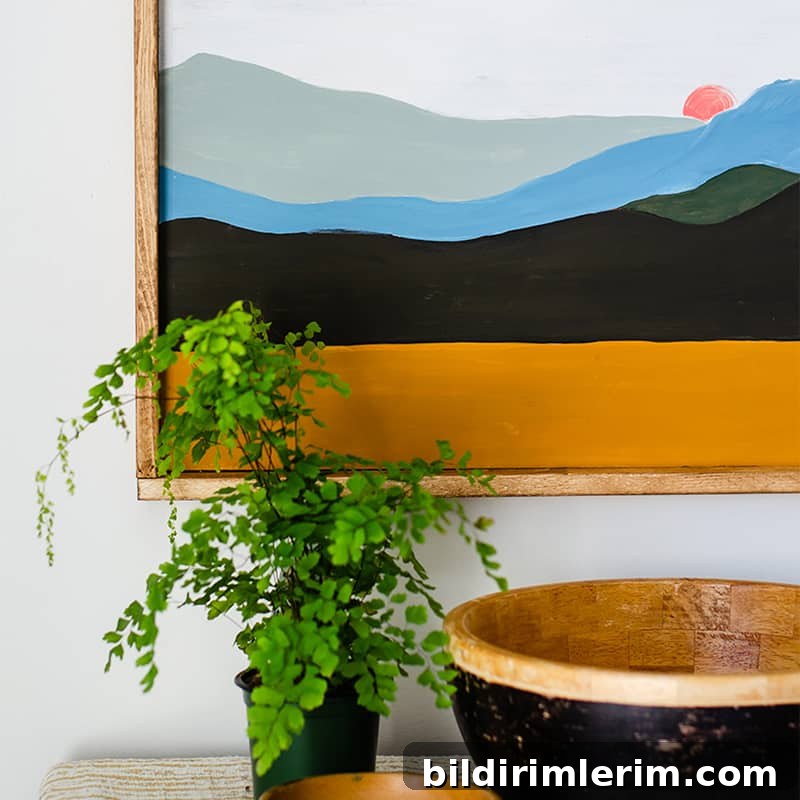
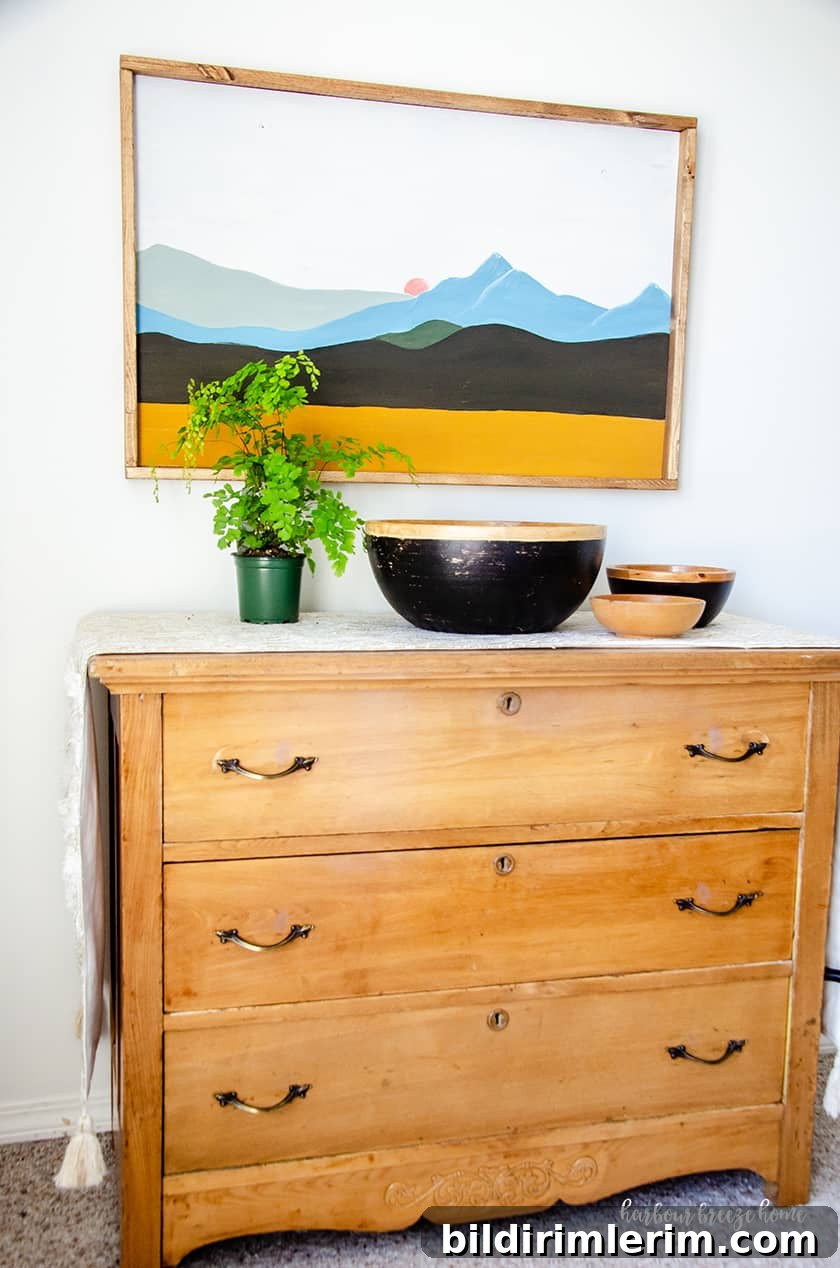
Dress up a bare wall with this simple DIY boho landscape (easy mountain) painting.
When I chose “boho” as part of my Master Bedroom makeover style, I wasn’t entirely sure what it meant beyond a relaxed, layered aesthetic. After a quick look-up, I learned boho draws from the free-spirited, artistic influence of the 1960s and 1970s — a look that embraces natural textures, simple shapes, and eclectic color palettes. While I may not be a full-time hippie, I love the effortless warmth and creative feel that boho art brings to a room.
Hunting for bedroom decor ideas on Pinterest, I found a piece of art described as “boho” that immediately spoke to me: minimal lines, soft color blocks, and a soothing landscape silhouette. It looked simple enough to recreate, so I decided to try my hand at a DIY version. The result was an easy, modern boho landscape painting that refreshes the space and ties the room together.
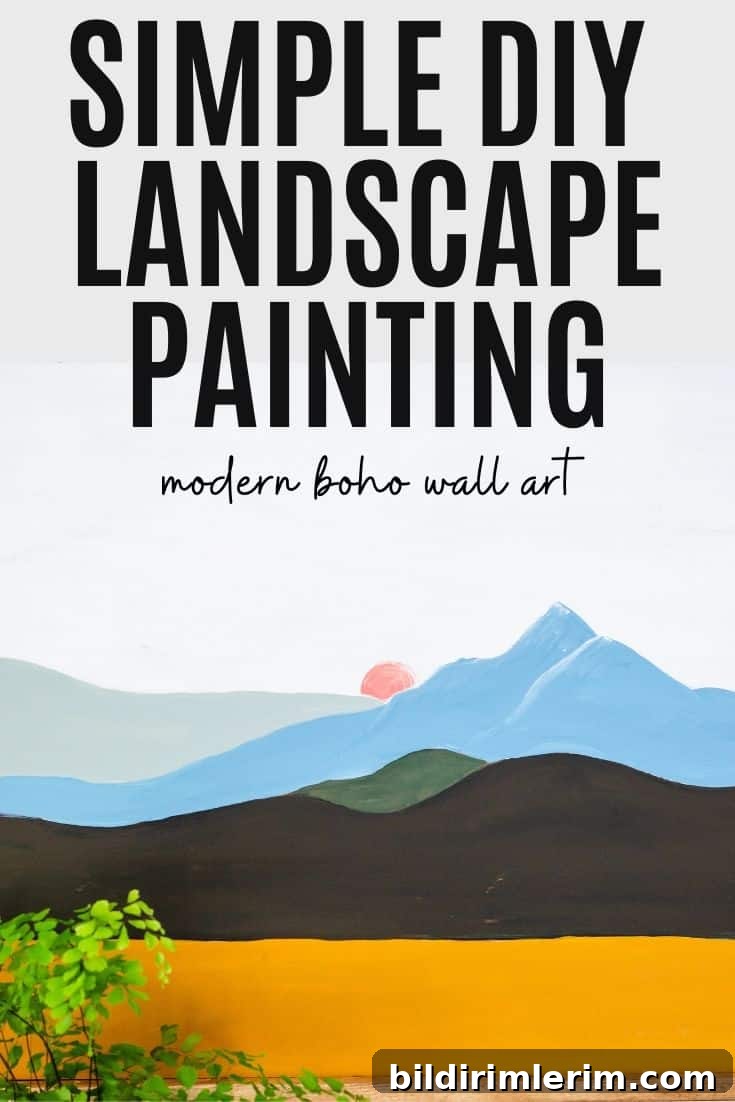
How to Make a Simple Boho Landscape Painting
Supplies used for this DIY Wall Art:
One of our goals for the Master Bedroom makeover was to reuse what we already had, so this painting started as a recycled project. The panel I used was a wooden sign I made years ago from MDF (31.5 inches wide by 20 inches tall). Reworking an existing piece of art or an old sign is a great way to save time and materials.
Other basic supplies you’ll need:
- Acrylic craft paints in several colors
- House paint or craft paint for the base coat
- Assorted craft paint brushes (flat and round)
- 1 x 2 inch boards to build a simple frame
- Wood stain for framing (or paint if you prefer)
Find your inspiration
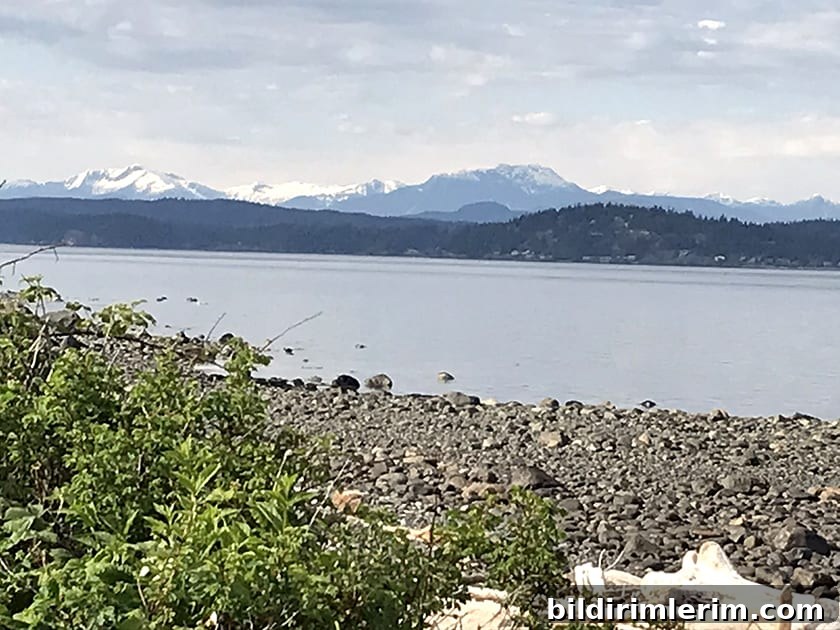
I wanted the artwork to have personal meaning, so during an evening walk I snapped a few photos of the layered mountains and ocean. Those photos guided my composition and color blocking: multiple ridgelines, a hint of sky, and a small sun or moon peeking from behind the peaks. Using a real landscape as reference helps keep the layers natural and balanced while still letting you simplify forms into clean color blocks.
Step 1: Base coat the wood with white paint.
Start by sanding the surface lightly if it’s rough, then apply two thin coats of white house paint or acrylic gesso for a clean base. Thin coats avoid drips and give a smoother finish. Allow each coat to dry completely before moving on — a hairdryer can speed things up if you’re short on time.
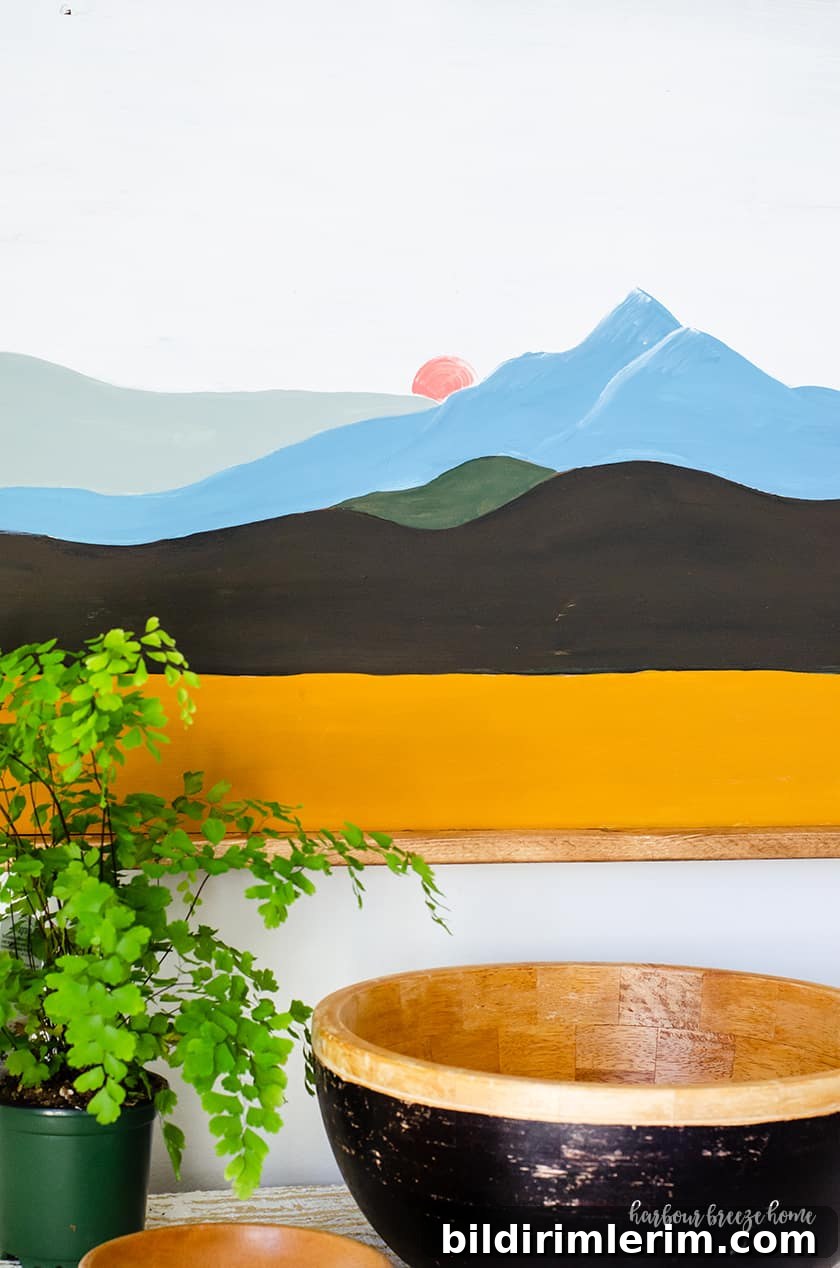
Step 2: Lightly pencil in the lines of your color block layers.
Use a pencil to sketch the horizon lines and the layered ridgelines. Keep shapes simplified — smooth curves and broad, flowing lines work best for the boho look. Refer to your inspiration photo but don’t worry about exact realism; the charm of boho landscapes is their simplified, graphic feel.
Step 3: Start at the bottom and paint each landscape layer a different color.
Paint from the bottom up so you can layer colors cleanly. I mixed custom hues from craft acrylics to get the right muted tones — olive greens, desaturated blues, soft grays, and a warm blush for the sun or moon. If color selection feels daunting, pull two or three colors you like and mute them with a touch of gray or white to create a cohesive palette. Use a steady, flat brush for crisp edges and a small round brush for tight spots.
Tips for color and texture
Mixing paint allows you to customize the palette to your room. Test swatches on a scrap board and view them next to each other to ensure harmony. If you want subtle texture, dry brush a lighter or darker shade over a layer before it dries completely, or add a hint of glaze to tone down brightness.
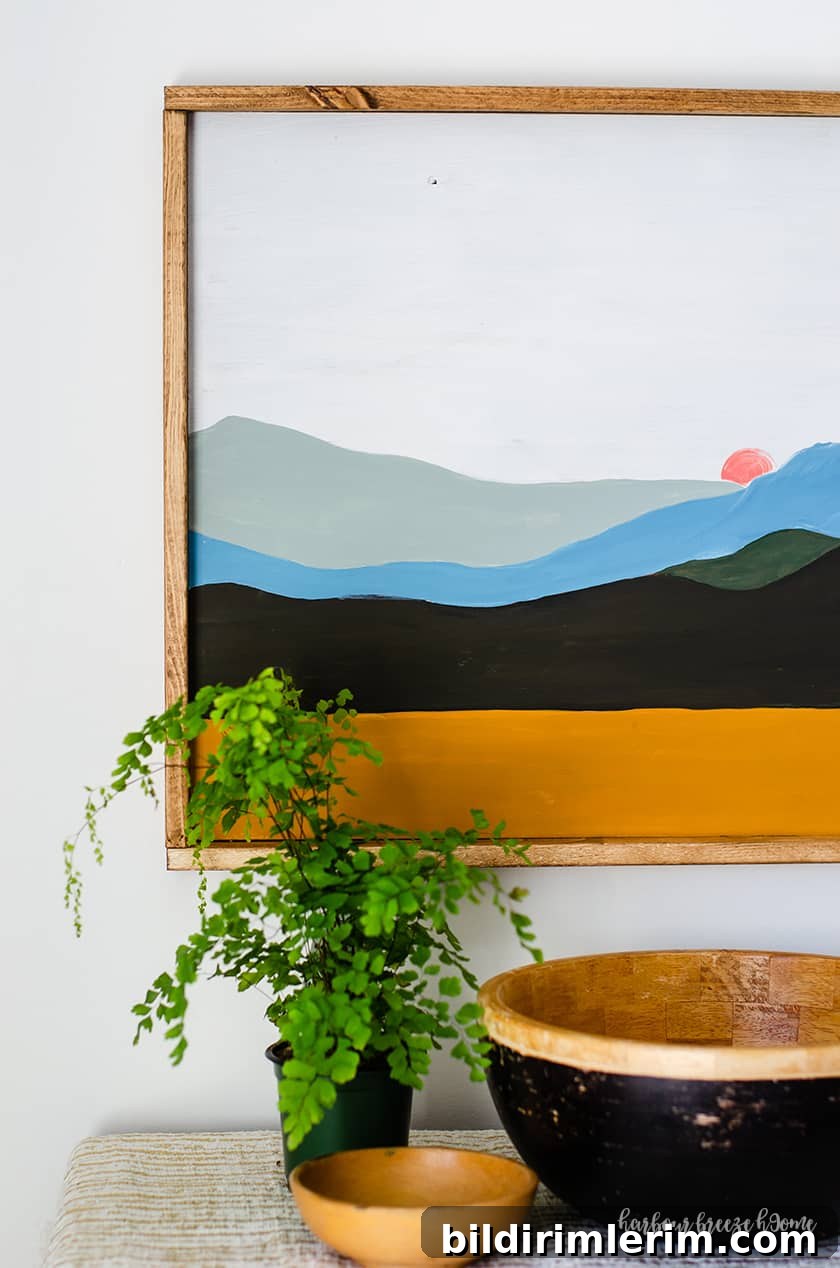
Step 4: Finish off your picture by adding a wood frame.
Framing gives the piece a finished, gallery look. We used simple 1 x 2 boards stained in a warm tone and attached them with glue and finishing nails. A slim, rustic frame complements the boho aesthetic without overwhelming the minimal composition. If you prefer a cleaner look, paint the frame white or black instead.
Step 5: Hang it up!
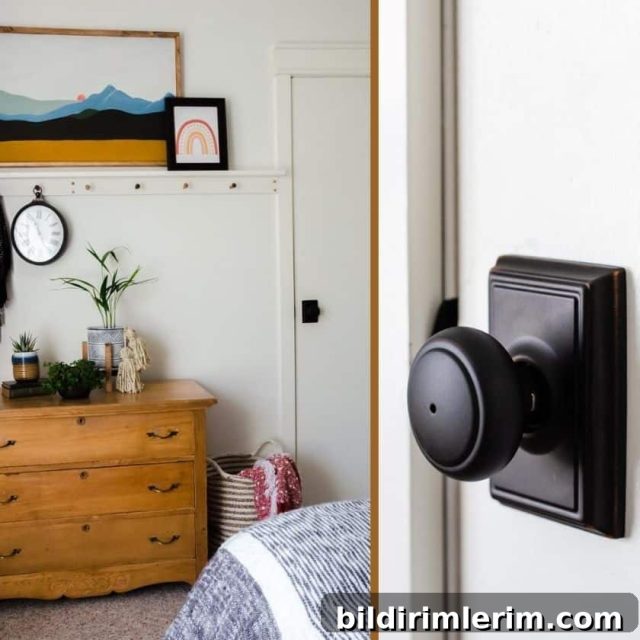
Hang the finished artwork at eye level and step back to adjust placement so it balances with the furniture. For heavier pieces, use appropriate anchors or a French cleat for secure mounting. Once hung, style the surrounding area with natural textures — woven baskets, plants, and wooden accents enhance the boho vibe.
More boho wall art ideas
- These free boho printables are budget-friendly and instantly stylish.
- This boho rainbow printable pairs well with simple landscape pieces for a layered gallery wall.
Want more DIY ideas, recipes, and budget home décor?
Join my VIP group for exclusive projects and simple decorating tips that won’t break the bank.