Enjoy a timeless plaster of Paris craft that’s perfect for kids and adults. Personalize plaster molds by painting them to create unique decorations, gifts, and keepsakes.
For more than 20 years my husband and I worked at a year‑round camp and retreat center. Of all the activities available, crafts were consistently the favorite. When campers had a choice, hands‑on plaster projects—painting plaster molds—were always in high demand.
Each summer I organized the craft program, and one project never went out of style: pouring plaster of Paris into molds and then painting the finished pieces. It’s economical, easy to scale, and endlessly customizable, which makes it ideal for groups of children and adults alike.
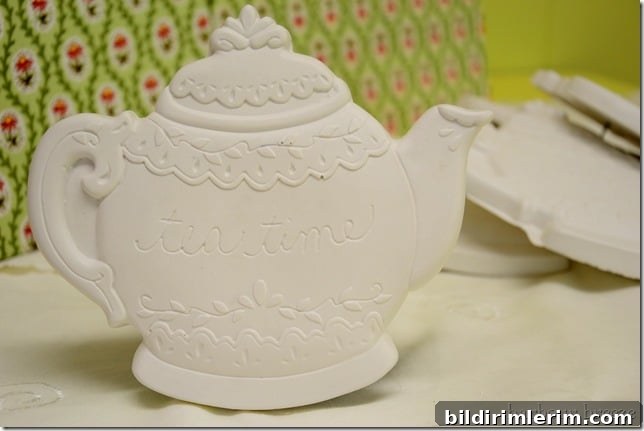
We would pour hundreds of plaster pieces to supply craft sessions throughout the season. This guide walks you through the process we used—what supplies you need, how to mix and pour, tips for adding hangers, and ideas for finishing and painting your plaster creations.
What type of plaster of paris should you use for plaster crafts using moulds?
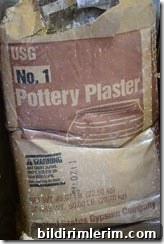
For large batches we used a high‑quality pottery plaster often sold in 50 lb bags. If you’re making smaller quantities, hobby‑grade plaster of Paris sold in smaller bags works fine. Check local craft stores, pottery supply shops, or building‑supply retailers for suitable plaster. Always read and follow the manufacturer’s safety instructions before you begin.
Safety note: This is a messy job. Protect your workspace with cardboard or paper, wear an apron and rubber gloves, and follow all safety and handling recommendations on the plaster bag. Work in a well‑ventilated area.
The method below was taught to me by our long‑time camp craft coordinator and refined over decades of pouring batches for summer programs. It’s straightforward and repeatable once you get the hang of the mix consistency.
Supplies needed for pouring plaster of paris moulds
Note: buy standard craft supplies and pottery plaster from local stores or online craft suppliers.
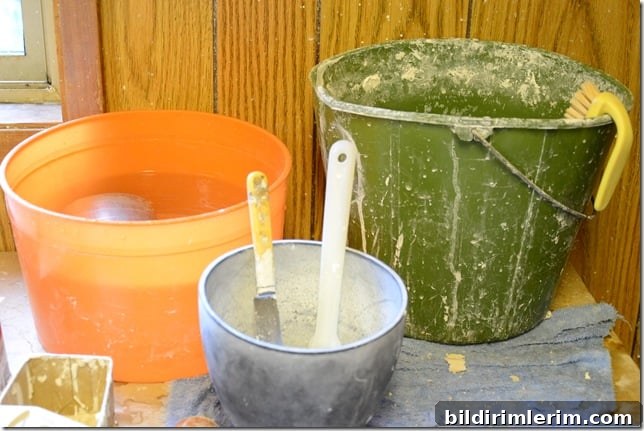
- Bucket of clean, lukewarm water with a 1‑cup scoop
- A second bucket of rinse water for tools
- A scrub brush for cleaning molds and tools
- A flexible rubber mixing bowl for plaster
- Old knife for stirring
- Measuring cup for powder
- A spatula for scraping the bowl
- Plaster molds in the shapes you want
- Wire bent into small hangers if you plan to display pieces
Where to purchase plaster moulds
Plaster molds come in many styles and sizes. You can collect molds over time from craft fairs, thrift shops, or estate sales, or buy new ones from pottery and craft suppliers. Common options include:
- Handmade or commercial 3D plaster molds such as vases, animals, and decorative shapes
- Silicone soap molds, which are often suitable for plaster projects
- Novelty molds like cars or themed shapes for children
- Traditional plaster molds sold through craft suppliers specializing in mold casting
How to pour plaster of paris moulds for crafts
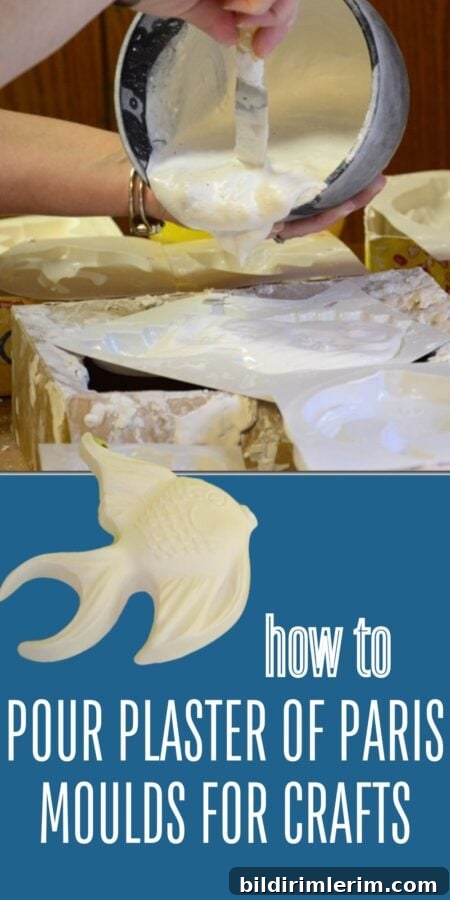
- Arrange your molds on a stable surface so they won’t tip while you pour. Recycled boxes or containers make quick platforms to hold multiple molds steady.
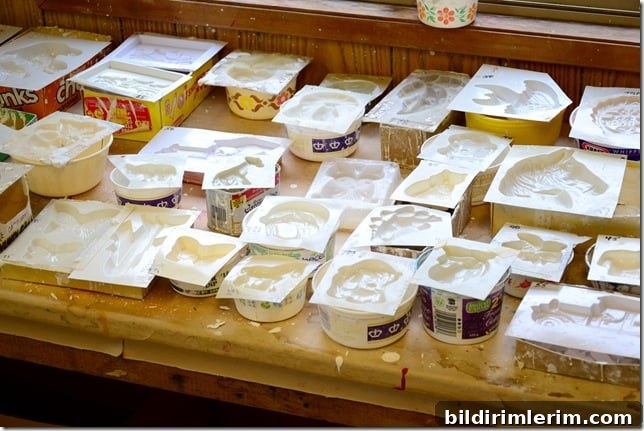
2. Pour about 3/4 cup of lukewarm water into the mixing bowl for each small batch. Lukewarm water helps the plaster mix smoothly and reduces clumping.
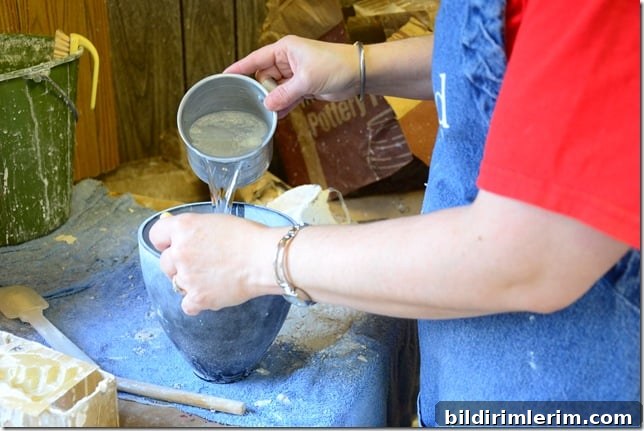
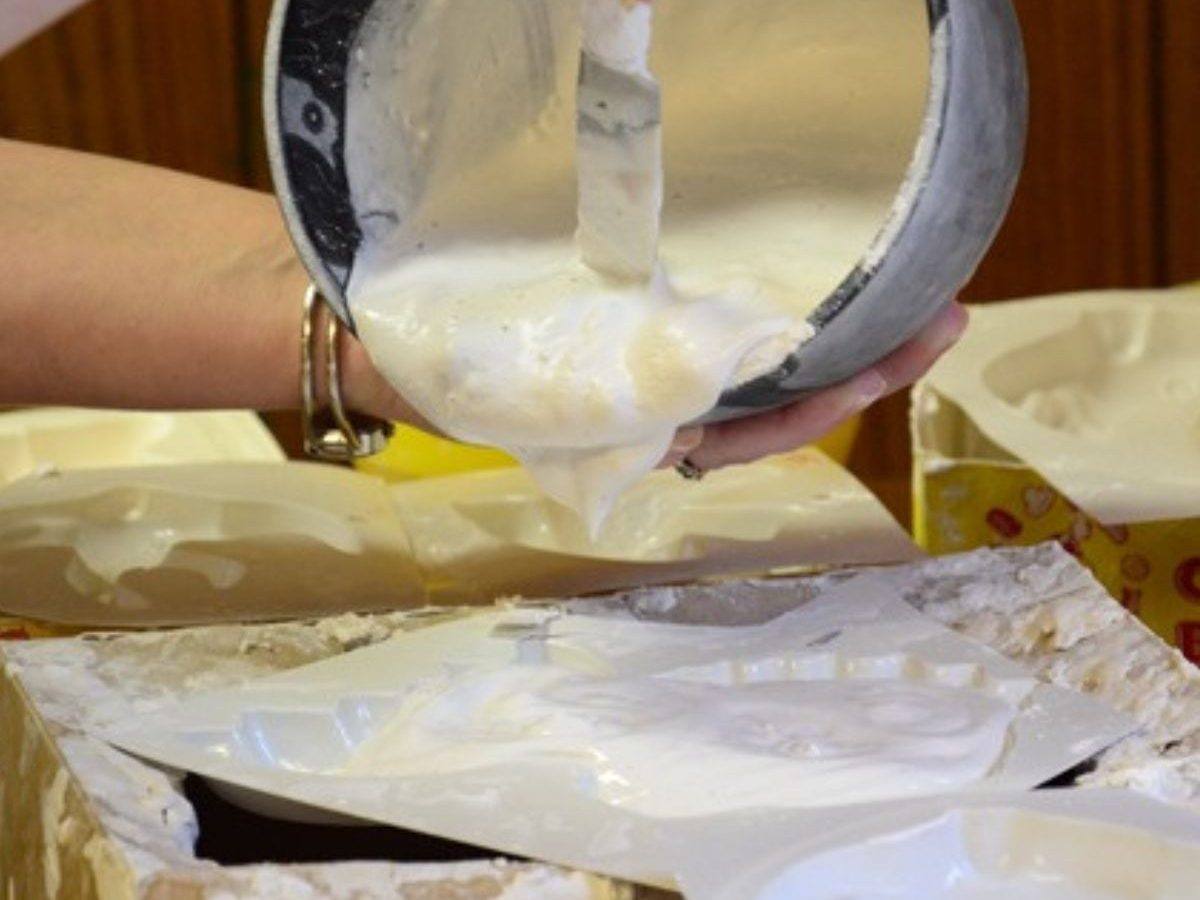
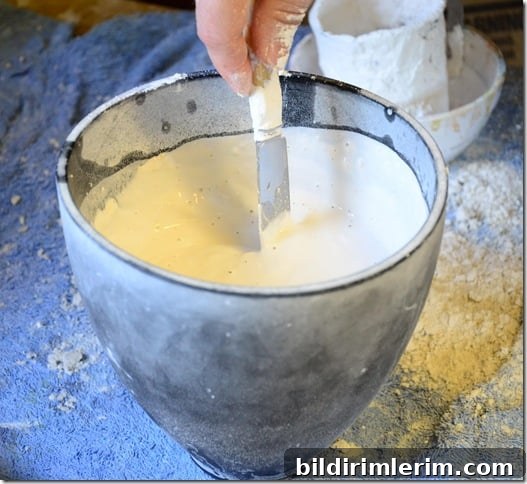
3. While stirring, sprinkle plaster powder into the water. The exact amount varies with room temperature and humidity, but a good starting point is about 3 1/2 cups of plaster powder per batch. Aim for a consistency similar to thin pancake batter—smooth but slightly thick.
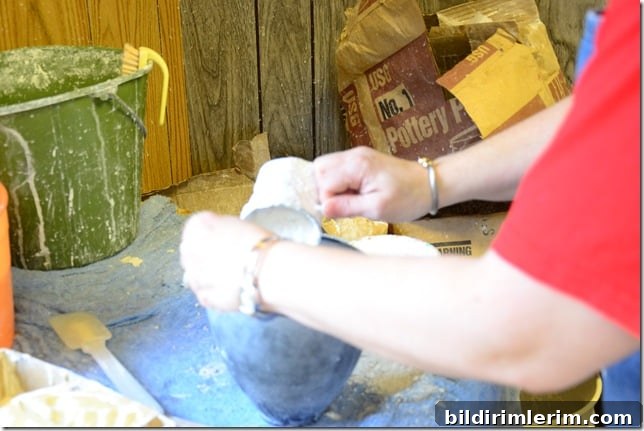
Avoid making the mix too thick—if it sets before you pour, it will be difficult to work with. After a few batches you’ll quickly learn the ideal ratio for your environment.
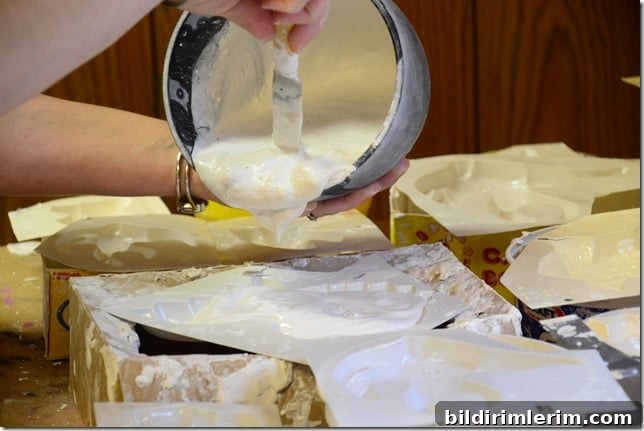
4. Pour the plaster quickly into the molds. Plaster begins to set as soon as it contacts water, so work efficiently. Fill each mold to the desired depth.
5. After pouring, gently tap and shake each mold to help air bubbles rise to the surface and ensure the plaster settles evenly. This reduces voids and creates a smoother finish.
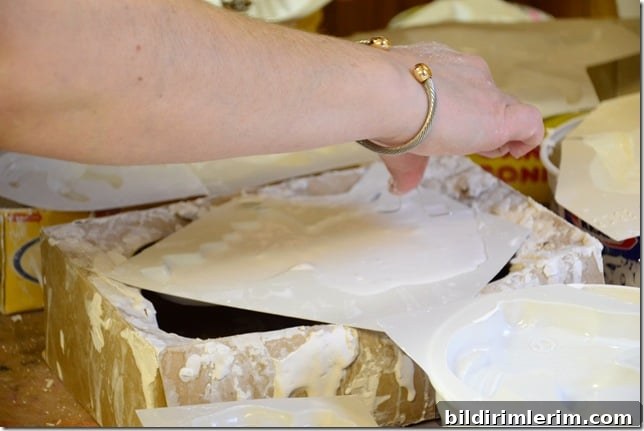
6. If you want to hang the finished piece, insert a small bent wire into the back while the plaster is still damp. Position the wire so it won’t protrude through the molded surface.
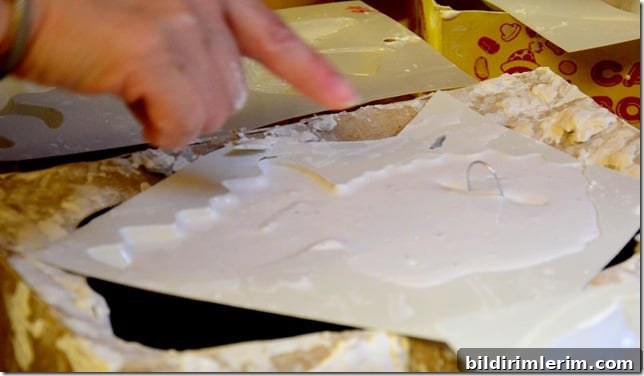
One typical batch filled seven small to medium molds. Larger molds will require proportionally more plaster.
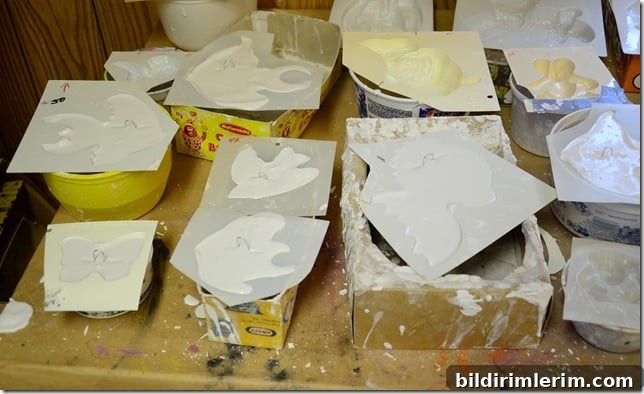
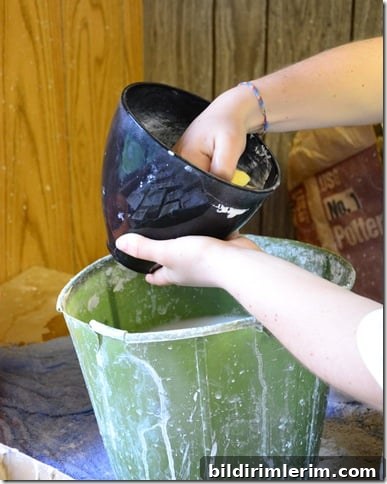
7. Immediately scrape the mixing bowl and tools as clean as possible, then rinse them in the rinse bucket. Never rinse plaster down a household sink—the residue can harden and clog pipes.
Molds typically harden within an hour, depending on plaster type and environmental conditions. The pieces will warm slightly as they cure; when they feel cool again, they are ready to be removed. Flip the mold gently and give it a light tap to release the cast. With careful handling, molds can last for many years.
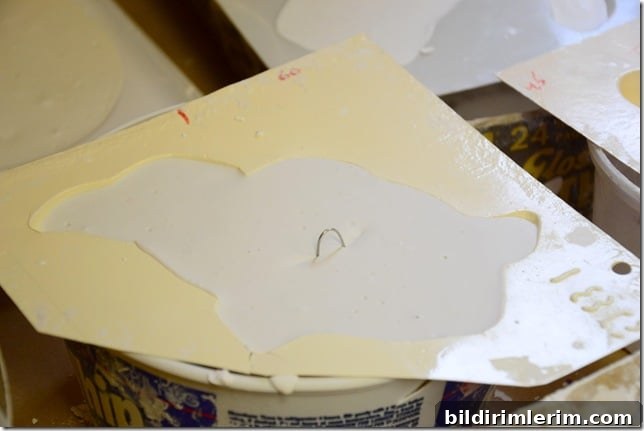
We repeated this cycle for several intensive sessions and estimated that a 50 lb bag of plaster will yield roughly 150 small-to-medium pieces or about 60 larger ones—your mileage will vary by mold size and thickness.
Allow adequate air circulation around drying pieces, especially the backs, to prevent trapped moisture and possible mold growth. Arrange casts so air can flow freely between them during the drying stage.
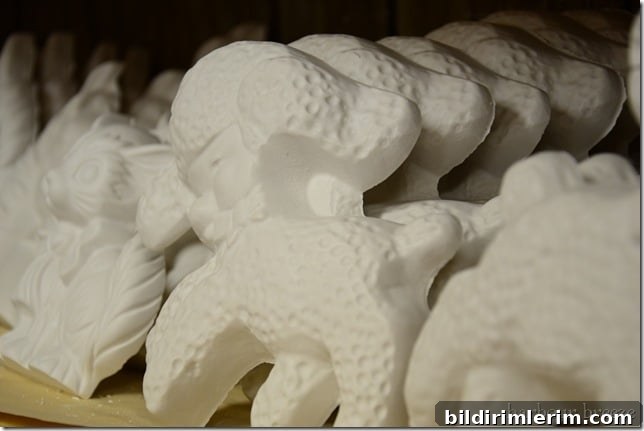
How do you use these plaster moulds for crafts for kids and adults?
The fun part is decorating. Painting plaster molds is a versatile craft suitable for all ages: children can use washable tempera paints, while teens and adults may prefer acrylics for richer color and durability. Once paint is fully dry, protect the surface with a clear acrylic sealer or varnish to make the piece more durable and to enhance colors. Hang finished pieces using the embedded wire hanger, or use them as ornaments, magnets, or shelf décor.
Other camp craft ideas & tips
- Plan craft sessions with a mix of quick and longer projects to accommodate different age groups.
- DIY mosaic mirrors using beach rocks or tiles make attractive group projects.
- Watercolor painting exercises are a calm, inclusive activity suitable for all skill levels.