
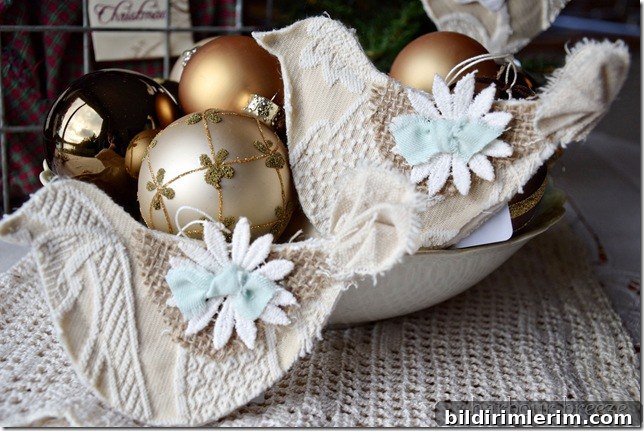
Learn how to create charming bird ornaments for your Christmas tree using fabric scraps for a vintage, shabby-chic look.
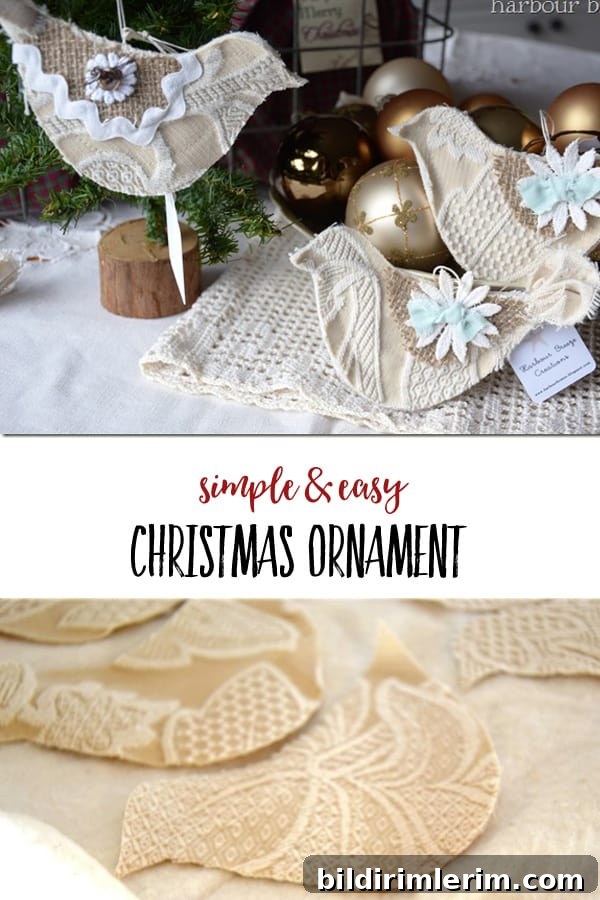
How to Make Easy Bird Ornaments Using Fabric
I like to be honest about my process: I photographed the project as I worked, without staging, so you’ll see the real, slightly messy steps I take. My ironing board doubles as my craft table most of the time, and these little birds are an easy, forgiving project you can finish in an afternoon.
Supplies You’ll Need:
- Cardboard template of a simple bird shape (choose the size you prefer)
- Heavy fabric for the bird tops (damask, linen, canvas, or similar)
- Iron-on Heat n Bond or fusible interfacing
- Batting (lightweight batting such as “Warm & Natural”)
- Fabric scissors and small trimming scissors
- Pins for holding layers together
- Sewing machine (or hand-sewing supplies, if preferred)
- String or ribbon for hanging loops
- Hot glue gun and glue sticks
- Optional embellishments: burlap, rick rack, fabric flowers, buttons, torn canvas for tails
Step-by-step Instructions
1. Trace your bird template onto the wrong side of the heavy fabric. Trace as many as you like; these ornaments work well in groups, so cutting several at once saves time.
2. Cut out each bird shape carefully with fabric scissors, keeping smooth, even edges for sewing.
3. On a separate piece of your heavy fabric, press Heat n Bond or fusible interfacing to the wrong side according to the manufacturer’s directions. This step adds body and stiffness so the ornaments hold their shape.
4. Once the interfacing is adhered, remove the paper backing. Lay a sheet of batting on top of the glued side, then position your cut bird shapes on top of the batting so that each bird has three layers: backed fabric, batting, and the bird cutout as the top layer.
5. Pin through all the layers around each bird to keep them aligned. Roughly trim the excess so each pinned bird is easier to handle under the sewing machine.
6. Using a sewing machine, topstitch around the edge of each bird about 1/2 inch from the edge; using the machine foot as a guide works well. When you reach the top center of the bird, insert a loop of string or ribbon into the seam and stitch over it so the loop is secured for hanging.
7. After stitching completely around the shape, trim the two inner layers (the interfaced backing and batting) to match the outer bird layer more closely. Clip curves and remove excess bulk, taking care not to cut the stitched seam.
8. Decorate each bird with hot glue or small stitches. I like using burlap for wings, tiny rick rack, fabric flowers, and buttons for eyes. For tail feathers, tear a narrow strip of canvas, press it into gentle accordion folds, and glue it in place. You can “fluff” and shape the glued pieces until the look is right.
Tip: Keep embellishments light so the ornaments hang straight. Small clusters of tattered fabric flowers, little ruffles, or a stitched eye make sweet, vintage-style birds. If you prefer a fully sewn option, hand-stitch the wings and tails instead of gluing.
Other Easy Ornament Ideas
- Fabric Christmas ornaments that are personalized with initials or small stitched motifs
- Book page or paper star ornaments for a rustic or literary tree
- Simple winter wonderland decorations made from inexpensive supplies like felt, twine, and small craft items
For more recipes, crafts & home ideas all year round, become a VIP!
Join the VIP newsletter for instant access to a growing library of free printables, gift tags, and seasonal decor ideas. Sign up to receive project updates, seasonal inspiration, and printable resources delivered straight to your inbox.