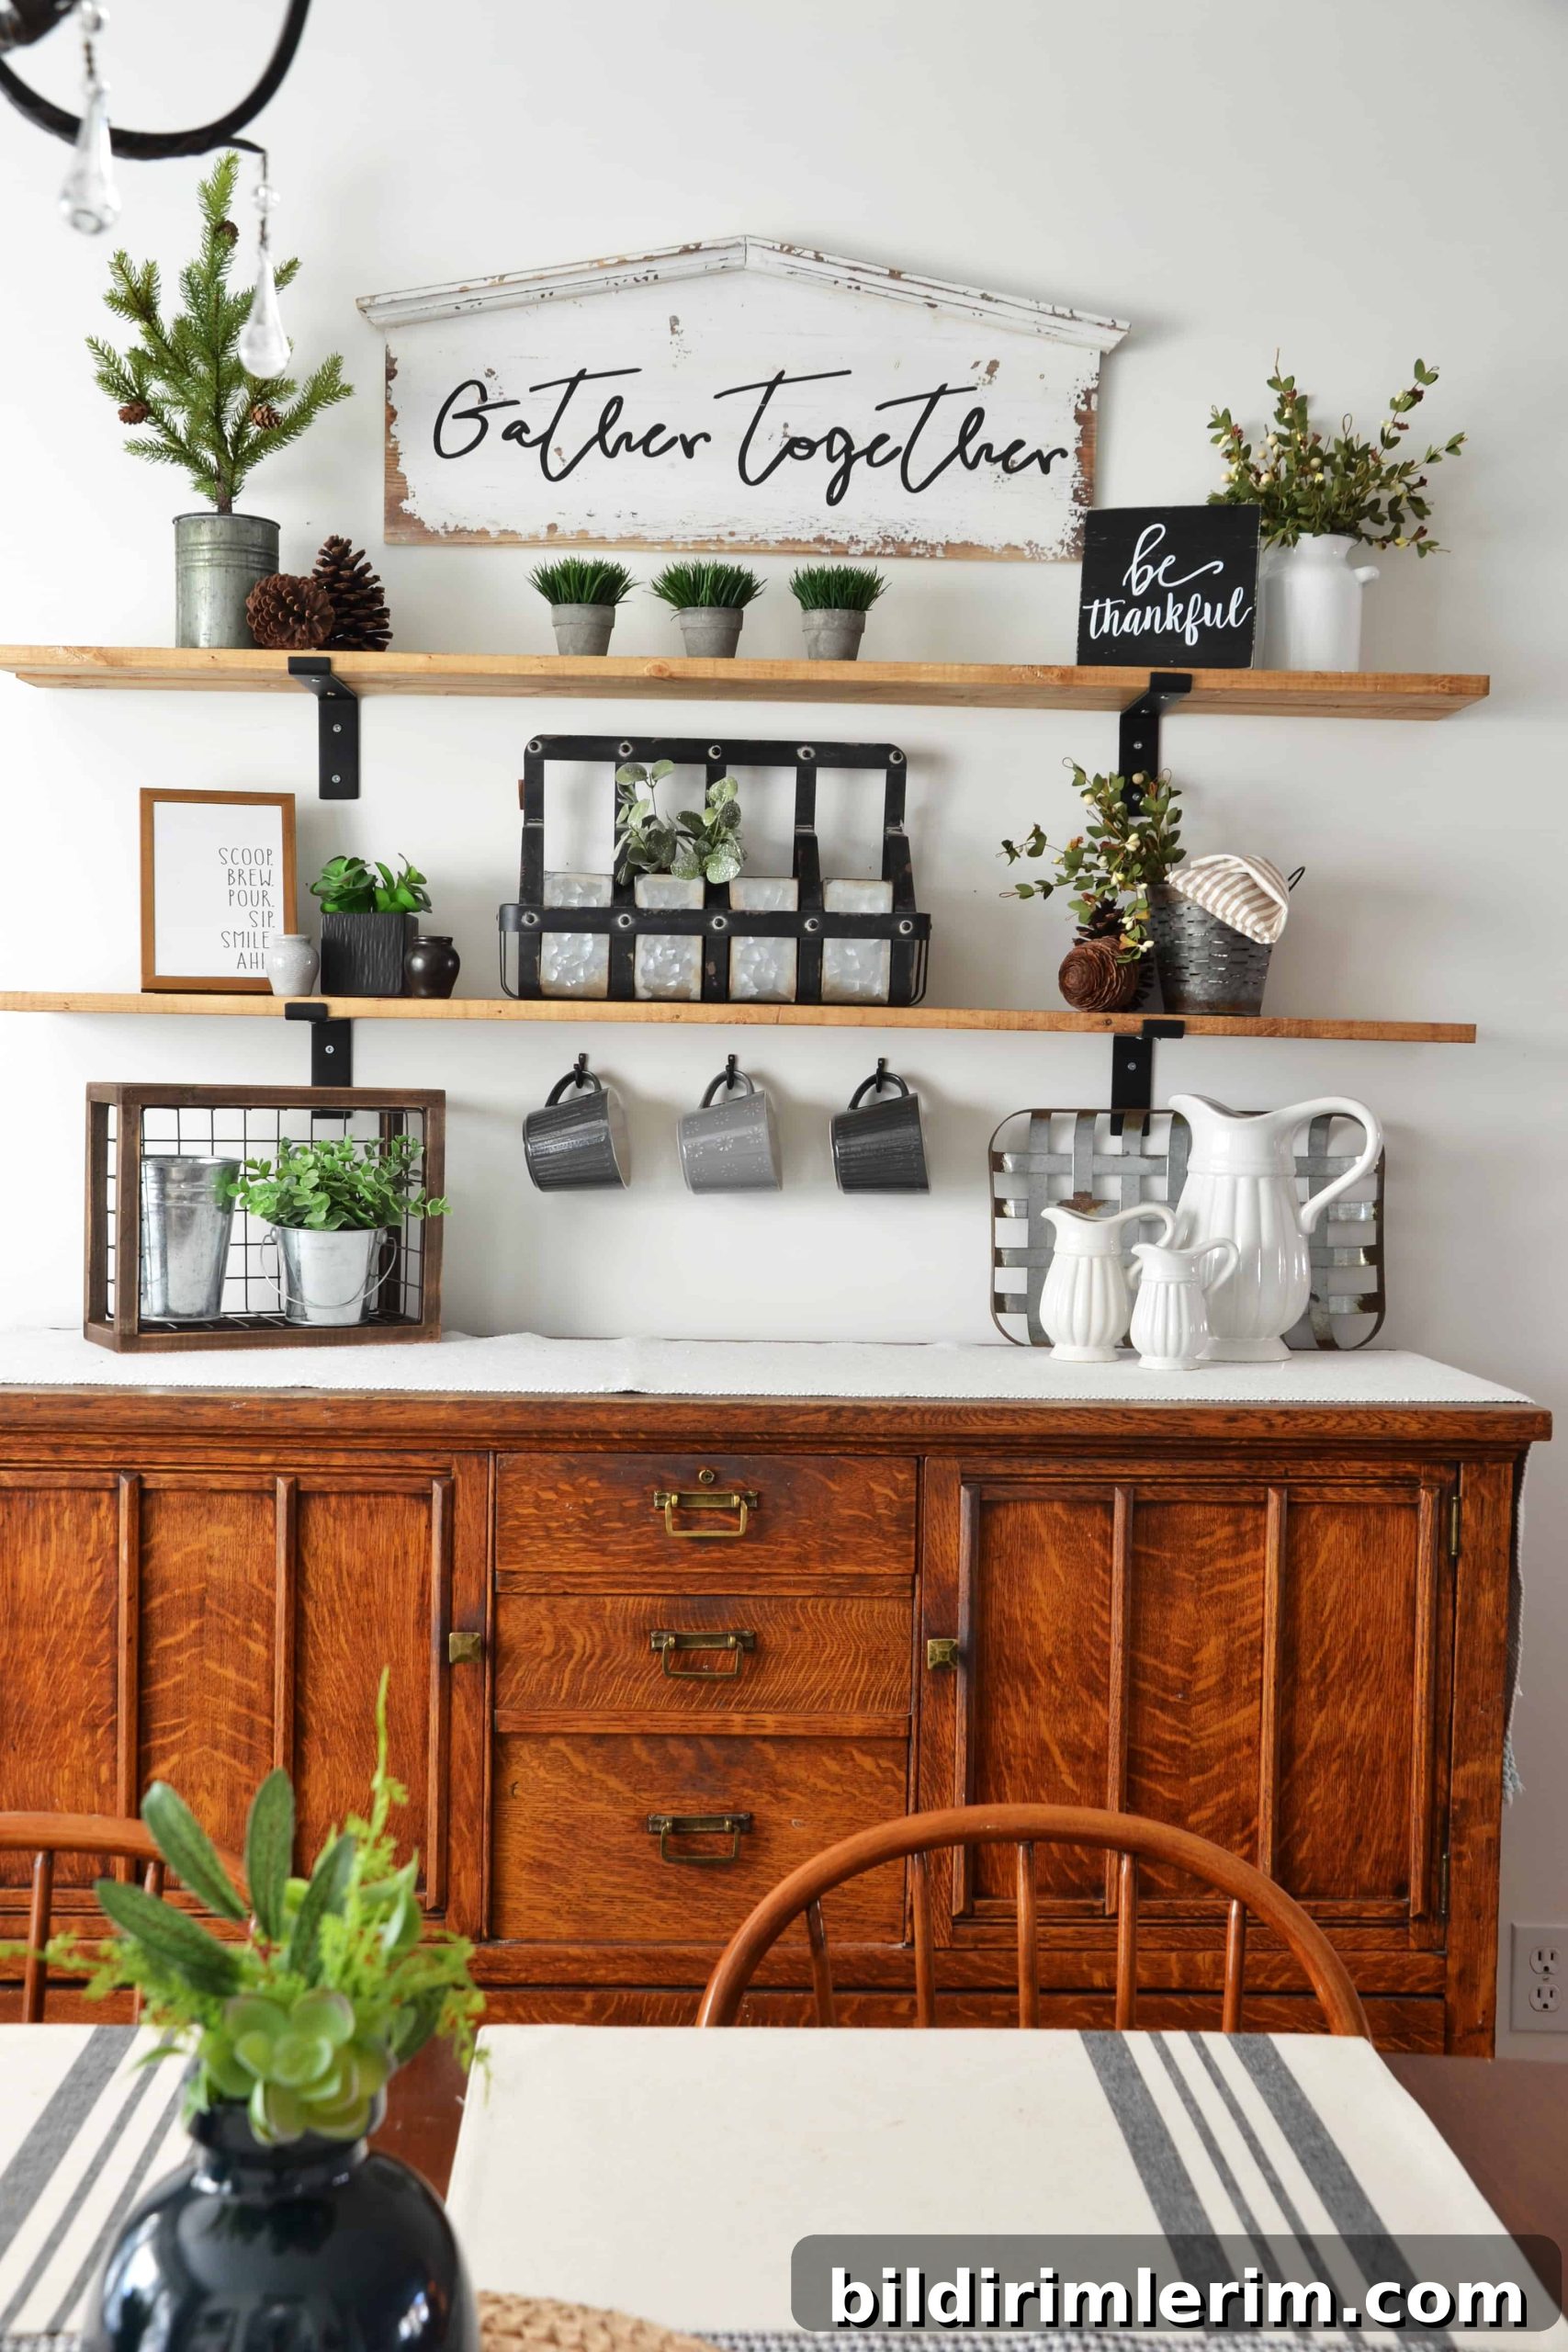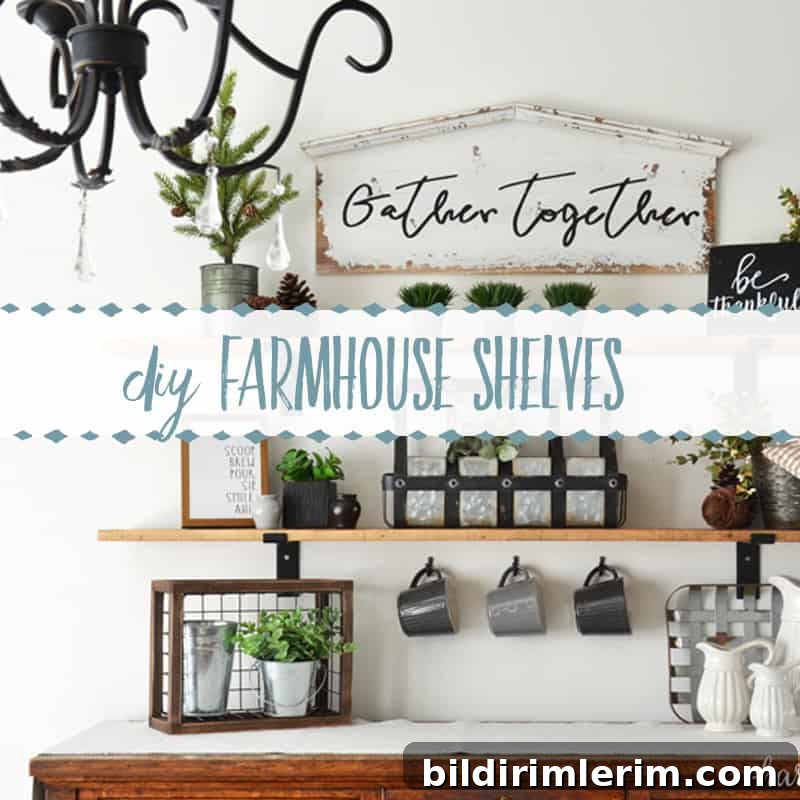
Learn how to build simple DIY shelves with metal brackets to achieve a Fixer Upper farmhouse look. These shelves are stylish, budget-friendly, and straightforward to install.
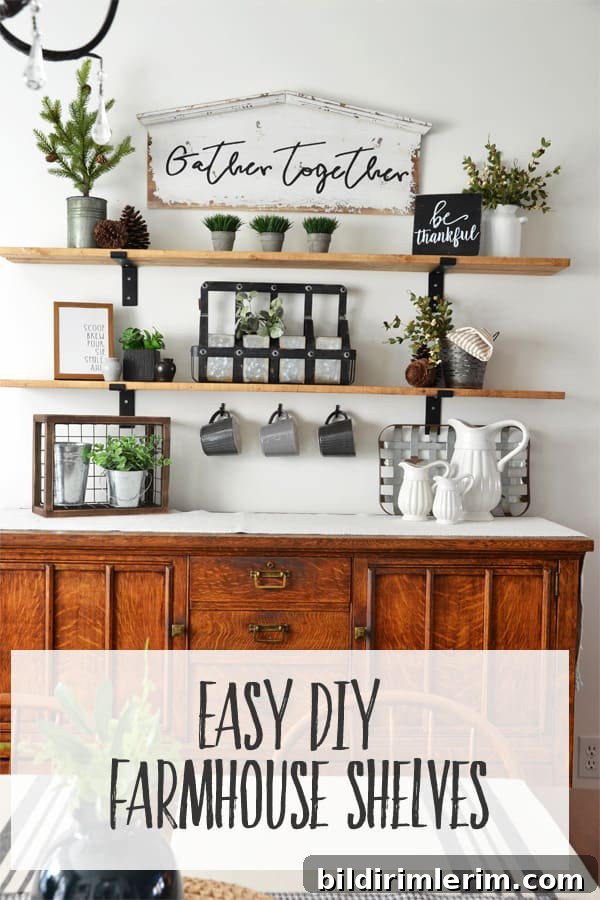
Inspirational DIY Wall Shelf Ideas Inspired by Joanna Gaines
I fell in love with the Fixer Upper aesthetic from the first episode. Joanna Gaines’s layered, warm approach—mixing wood tones, blacks, metal accents, greenery, and vintage finds—inspired me to bring a modern farmhouse feel to our home.
Watching her final styling moments on each episode was my favorite part. One recurring element I admired was the farmhouse-style open shelving—simple, functional, and effortlessly beautiful.
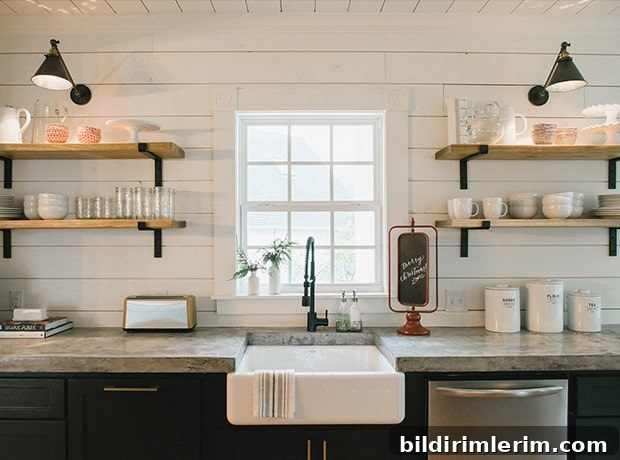
(Styling inspired by Joanna Gaines)
After we moved into our townhouse two years ago, I slowly worked to layer that Fixer Upper farmhouse look into our builder-basic rooms. We started with a DIY shiplap wall and updated bookcases to set a cozy, neutral foundation for the living area.
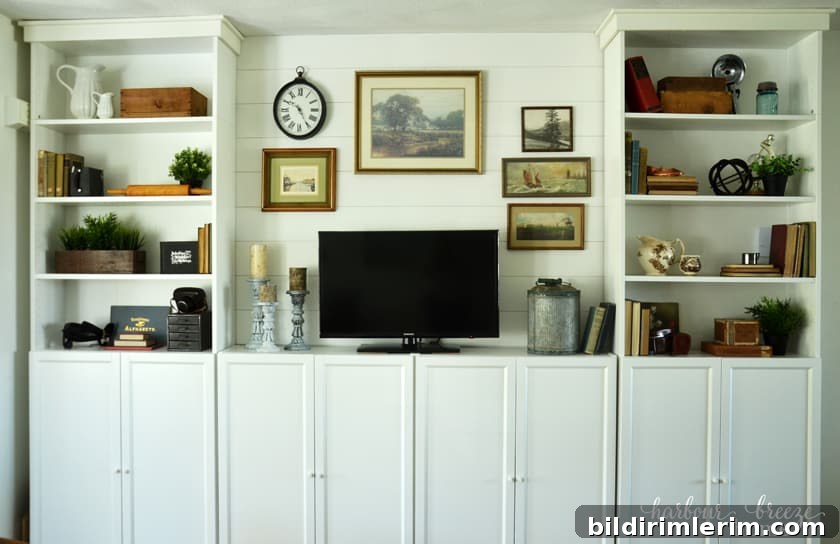
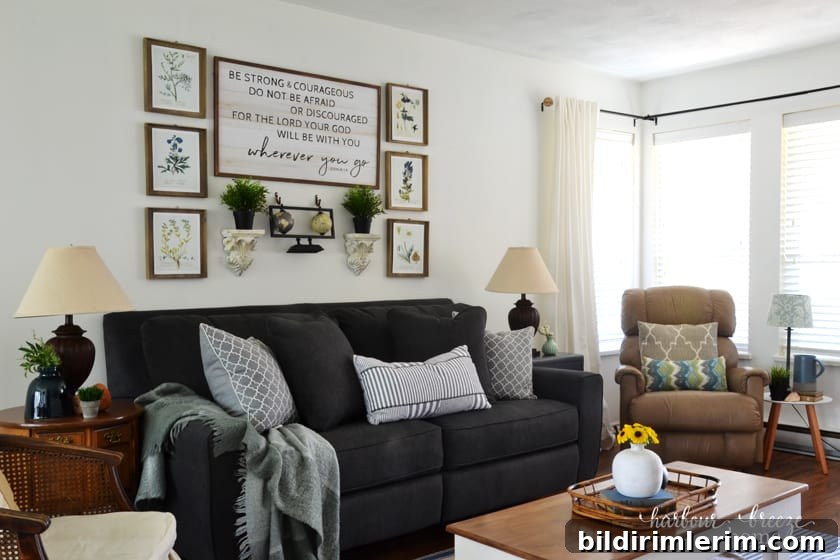
A gallery wall over the new couch helped define the space, and most recently I added farmhouse shelves in the dining room above the buffet. The result is a warm, layered vignette that echoes the Fixer Upper style—on a modest budget.
How to Make Fixer Upper-Style Farmhouse Shelves
This post may include affiliate links for convenience. Purchases through these links can support the blog at no extra cost to you.
Supplies Needed for Wood Shelves with Brackets
- Black metal L-brackets sized to support a 7″ board (similar brackets can be found at craft and hardware stores)
- 1×4 boards cut to length to match your buffet or desired shelf span
- Level
- 1½” wood screws
- ¾” wood screws
- Drill or screwdriver with driver bits
- Measuring tape and pencil
- Wood stain (we used Minwax in Early American)
- Stud finder
- Optional: drywall anchors if you can’t align brackets with studs
Prep the Shelf Boards
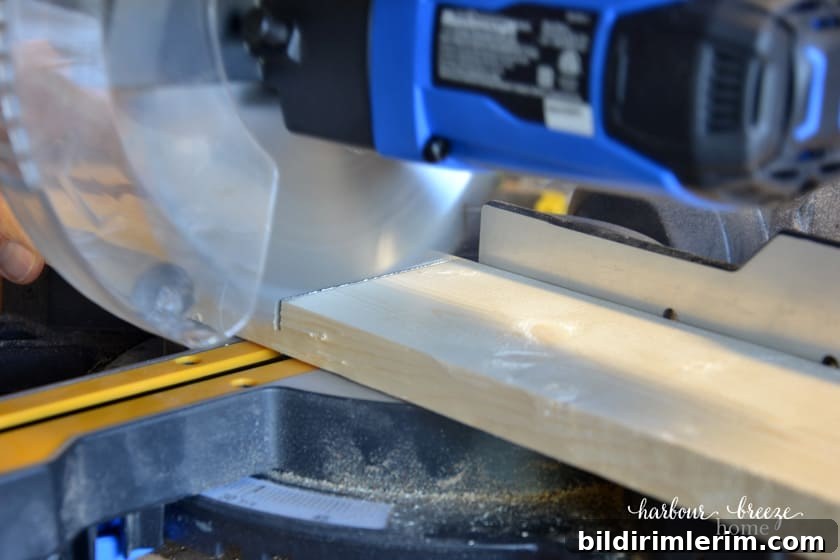
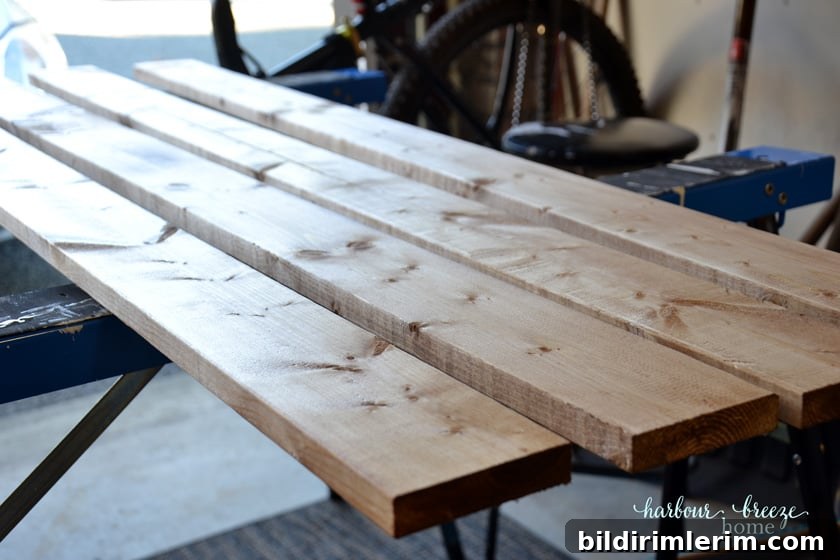
Instead of one wide plank, I used two 1×4 boards per shelf with a small gap between them for a relaxed, farmhouse look. We had the boards cut to the same length as the dining buffet, sanded lightly, and wiped on stain with a rag. Allow the stain to dry fully before installing.
Locate Wall Studs
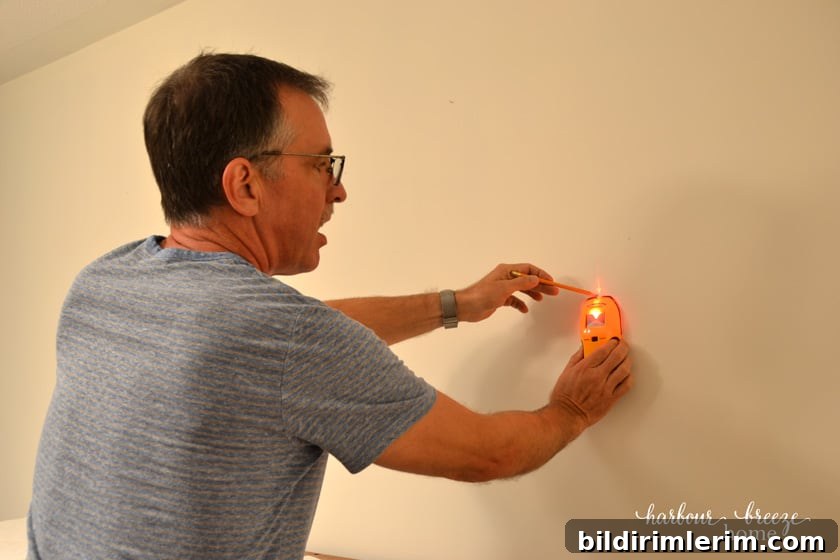
Shelves will hold décor and possibly heavier items, so secure the brackets into wall studs whenever possible. If the studs don’t align where you want the brackets, use quality drywall anchors rated for the expected load.
Hang the First Bracket at Your Desired Height
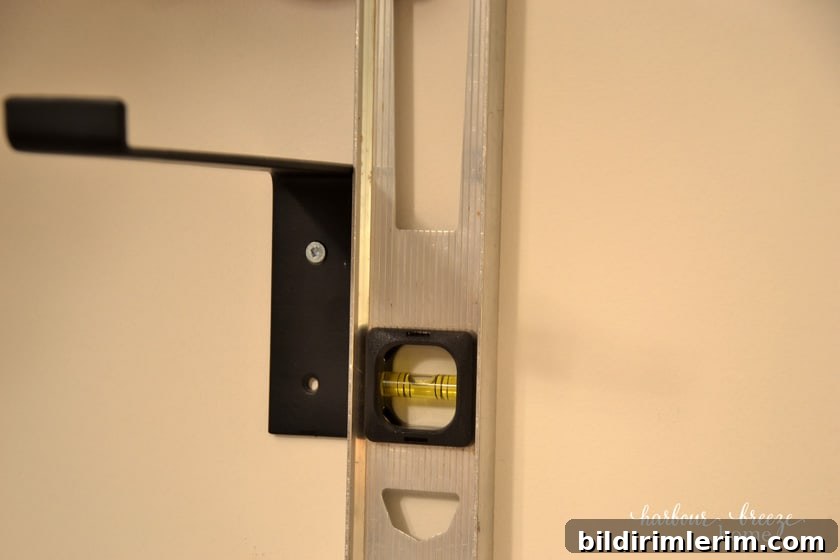
Measure the height you want and attach the top screw to the first bracket. Use a level to make sure the bracket is perfectly vertical before adding additional fasteners.
Mark and Install the Second Bracket
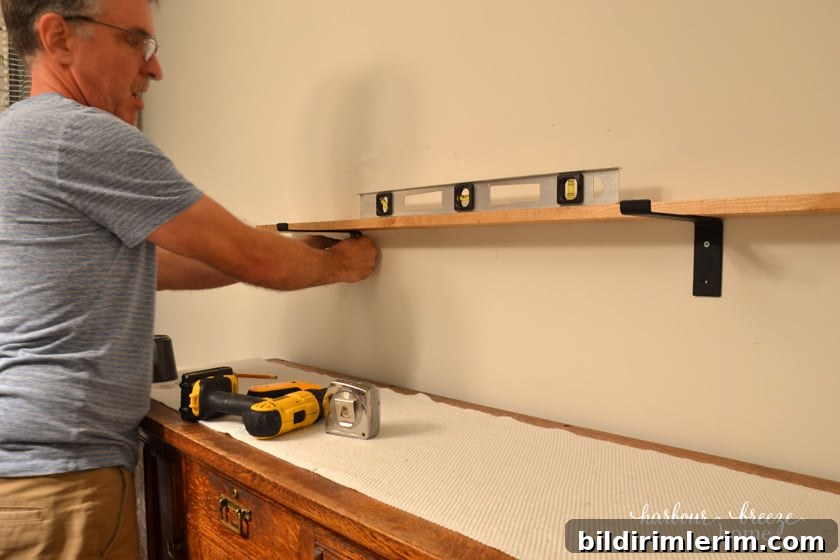
Place a board across the first bracket and use a level to mark where the second bracket should go. Adjust the second bracket until the board is level, then secure it to the wall.
Attach Boards to Brackets
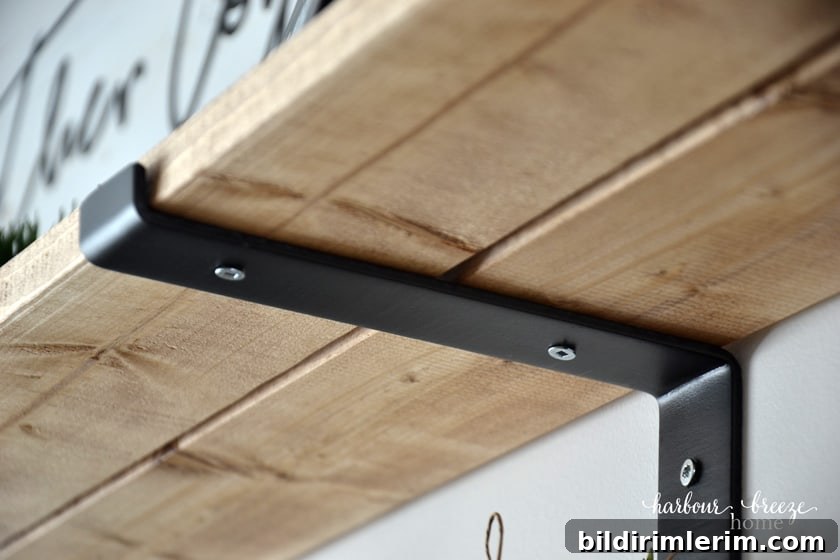
Set the boards on the brackets and fasten them from underneath using ¾” wood screws so the tops remain clean and smooth. Repeat the same steps for any additional shelves.
Style the Shelves
Once the shelves are securely installed, enjoy the creative part—styling. Layer greenery, metal accents, vintage finds, and textured pottery to achieve that cozy farmhouse vibe.
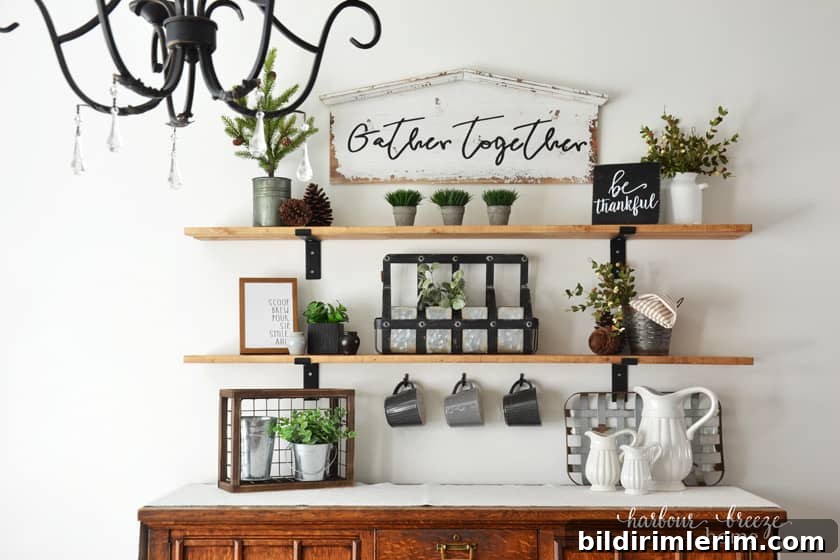
I found many of my décor pieces on sale, which kept this project affordable—the brackets and boards alone cost around $28 during a half-price sale. The decorative items added more, but the overall look is worth it for a space that feels layered and personal.
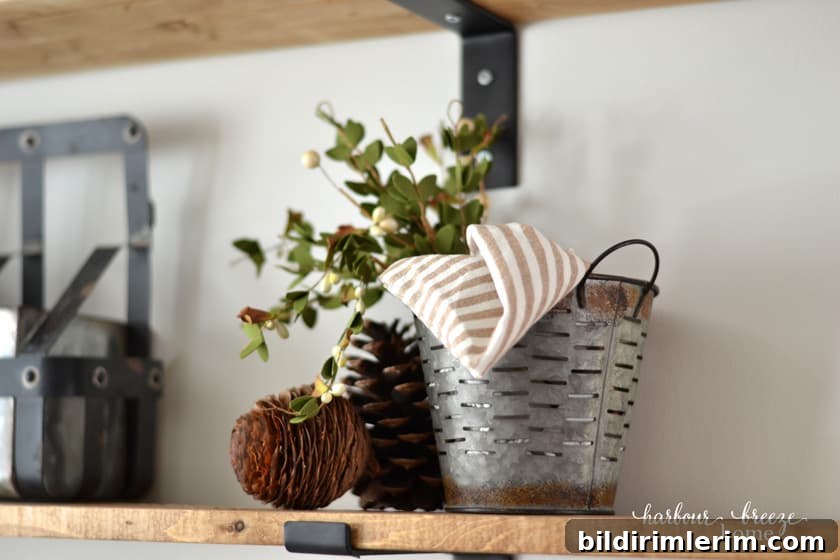
If you love Joanna Gaines’ Fixer Upper style and want a similar farmhouse look, these DIY shelves are an easy, affordable way to introduce warmth and character to any room.
Have tips on thrifted styling or sourcing great decor finds? I’d love to hear how you decide among so many beautiful options when you shop for home accents.
More DIY Shelf Ideas
Explore other DIY wall shelf projects to see variations in size, finish, and styling that work throughout the home.
Click here for all the DIY Wall Shelves featured in our house!