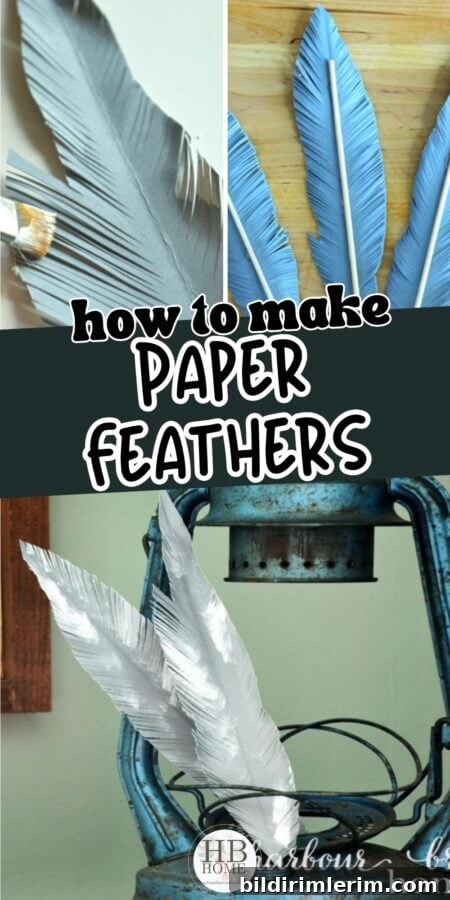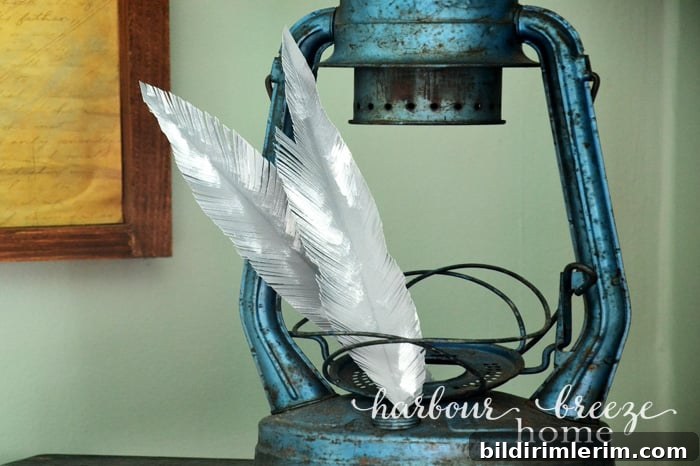
Learn how to make simple handmade paper feathers using scrapbook paper or book pages. An easy, budget-friendly DIY craft for home decor.
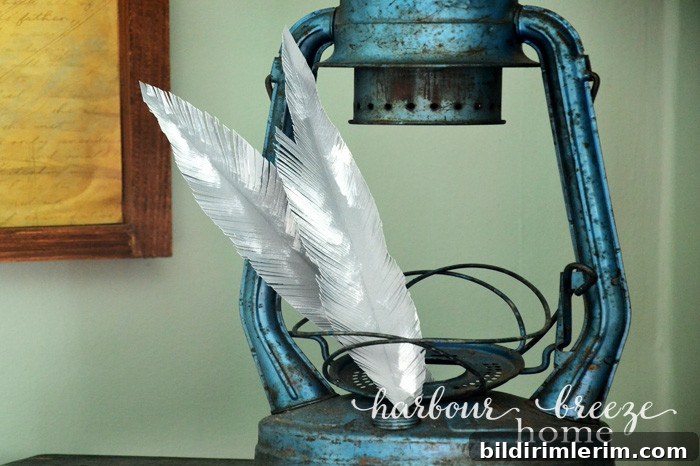
I’ve always been drawn to paper crafts. Years ago, when scrapbooking and card making were popular pastimes, I dove in completely—cutting, layering, embossing and experimenting with paper of all kinds. Those days left me with a small stash of beautiful papers and supplies I couldn’t bring myself to throw away. If you have a similar stash, this simple handmade paper feather project is a satisfying way to use leftover cardstock, scrapbook paper or even old book pages.
This project is low-cost, quick, and forgiving. You don’t need perfect tools or precision—just a pair of sharp scissors and a little patience. Paper feathers lend a soft, handmade touch to seasonal displays and everyday decorating. They’re also a fun, easy craft to make with kids or to include in a casual craft afternoon with friends.
Supplies Needed to Make Paper Feathers
- Cardstock, scrapbook paper, or book pages (choose colors or patterns you like)
- Pencil for sketching shapes
- Scissors (a sharp pair for cleaner cuts)
- White acrylic craft paint and a small paintbrush
- Bamboo skewers (optional, for stems)
- Glue (optional, for attaching skewers or layering)
You can mix and match papers—sheet music, vintage book pages, patterned scrapbook sheets, or solid-color cardstock all create different looks. Using lighter-weight paper will create a softer, more delicate feather; heavier cardstock will hold shape better for upright displays.
Step-by-step instructions for making paper feathers
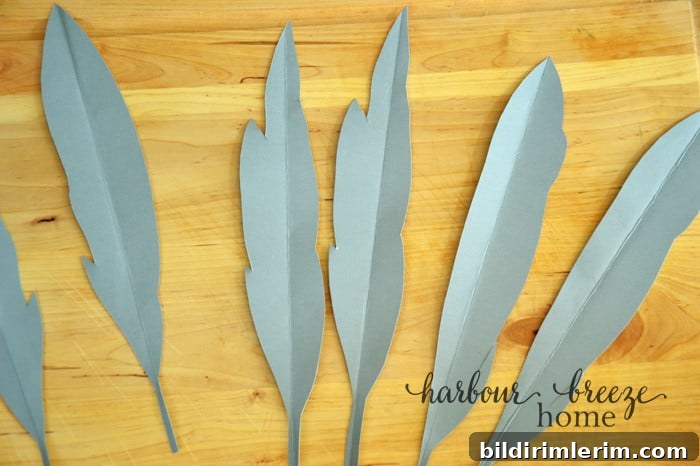
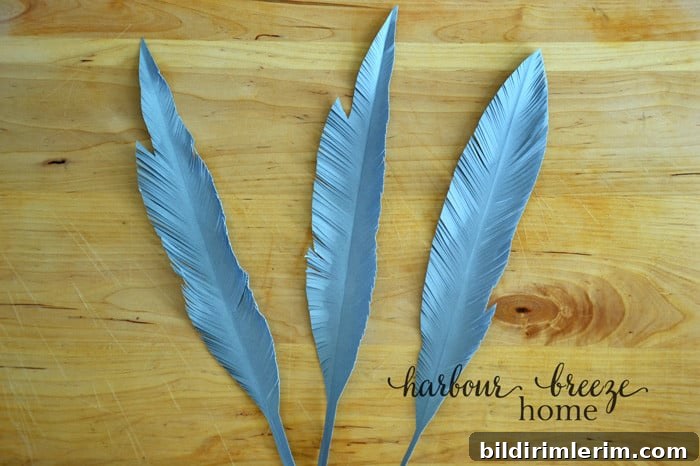
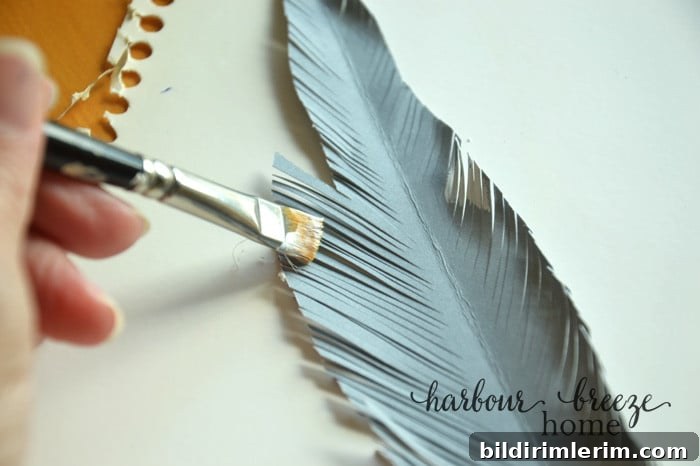
- Sketch a feather shape freehand on your chosen paper. Sizes can vary—small feathers are great for garlands, while longer ones work well in vases.
- Cut out each feather shape carefully. A smooth cut gives a clean outline, while a slightly jagged edge creates a more natural look.
- Fold each feather in half lengthwise to create a central spine. This fold gives structure and makes the feather look more realistic.
- Make small, slanted snips along each side of the folded feather, leaving the centerfold intact. These tiny cuts form the barbs of the feather—vary the spacing and angle for a natural effect.
- Gently unfold and curl the snipped edges around a pencil to add subtle three-dimensional shape. Curling just a little creates movement and realism.
- Lightly brush white acrylic paint along the tips or edges to add contrast and depth. You can dry-brush for a faded effect or apply more paint for a chalky accent.
- If you want the feathers to stand in a vase or be sturdier, glue a bamboo skewer to the back along the centerfold. Trim the skewer as needed.
- Let paint and glue dry completely before arranging or handling the feathers.
Tip: For a softer, aged look, use tea-stained book pages or gently sand the edges of thicker cardstock. For a modern or bold look, choose bright patterned scrapbook papers and skip the paint step.
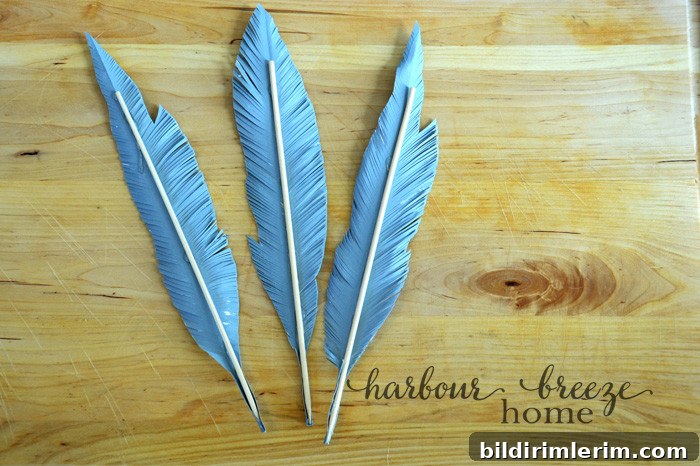
How to Decorate With Paper Feathers
Paper feathers are surprisingly versatile and work well with many decorating styles. Here are easy ways to use them around your home:
- Arrange several in a vase or jar to create a soft, textural display on a shelf, console table, or mantle.
- Tuck a few into a lantern, decorative bowl, or woven basket for a layered look.
- Create a seasonal centerpiece by mixing feathers with natural elements like pinecones, twine, or small pumpkins for fall.
- Hang small feathers on a tree or garland as delicate ornaments.
- Scatter a few along a holiday or dinner table as handmade place accents or to add a rustic touch.
Swap papers and colors to match seasons and celebrations—neutral book pages for vintage charm, metallic or patterned paper for festive occasions, or colorful cardstock for a vibrant display.
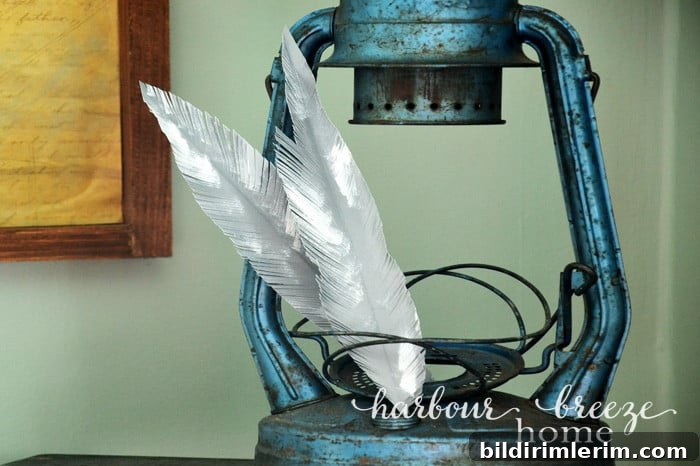
More tips, storage and safety
- Store finished feathers flat in a shallow box or between sheets of tissue paper to keep their shape.
- If children are helping, supervise scissor use and keep small supplies, paint and glue within reach but monitored.
- Experiment with layering two feather shapes glued together off-set slightly for fuller, dimensional pieces.
- To make a garland, punch a small hole at the quill end and string onto twine or thread.
Prep time for this project is minimal—about five minutes to cut and five minutes to shape each feather—so it’s perfect for a quick afternoon craft. Whether you’re using leftover scrapbook paper, book pages, or printed sheet music, these handmade paper feathers are an inexpensive, creative way to add handmade charm to your home decor.
Pin this to save the idea!