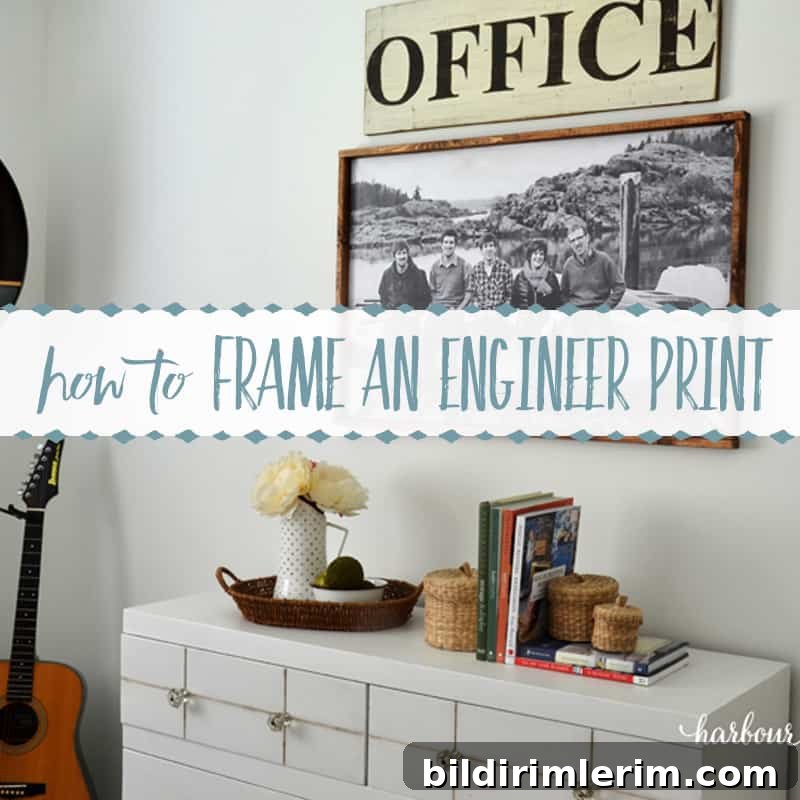
In this article: Learn how to frame an engineer print from Staples with this budget-friendly large art project.
Filling a large wall can be challenging. I’m always looking for affordable ways to add big impact without spending a fortune. Framing a large engineer print is a low-cost, high-style solution that works well in living rooms, offices, and entryways.
Some other projects that solve large blank-wall problems include:
- A gallery wall above a couch
- Using free printable art collections
- Mounting large prints on foam core board
Today’s step-by-step covers how to print, mount, and frame an engineer print you can get at a local copy center like Staples.
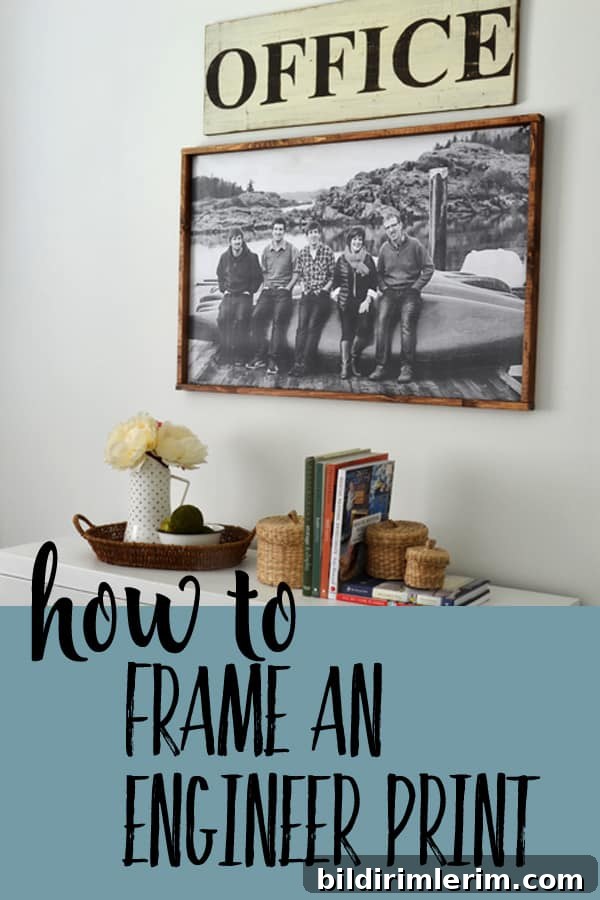
HOW TO FRAME AN ENGINEER PRINT
Disclosure: This post contains affiliate links. If you click a link and make a purchase, I may earn a small commission at no extra charge to you.
What an engineer print is
An engineer print is a large-format print typically produced at copy centers. Originally intended for line drawings and blueprints, these prints are offered in sizes such as 18″ x 24″, 24″ x 36″, and 36″ x 48″. The paper is thin—similar to standard printer paper—so it must be handled gently. Until recently, many shops printed engineer prints only in black and white, but some locations now offer color options.
The main advantages are the print quality at very low cost; large sizes can be surprisingly inexpensive. The print I used cost just $2.
How and where to get an engineer print made
There are two common ways to order an engineer print:
- Place your order online with a local copy and print center and pick it up when it’s ready.
- Bring your file on a USB drive into the print shop and work with an associate in person.
I prefer option two. An experienced print associate can check image resolution, confirm scaling, and help ensure the final print will look crisp at a large size.
Note: Some print shops now restrict engineer prints to line drawings only. It’s wise to call ahead and confirm they will print photographic images as engineer prints in black and white or color.
How to mount an engineer print
Supplies needed:
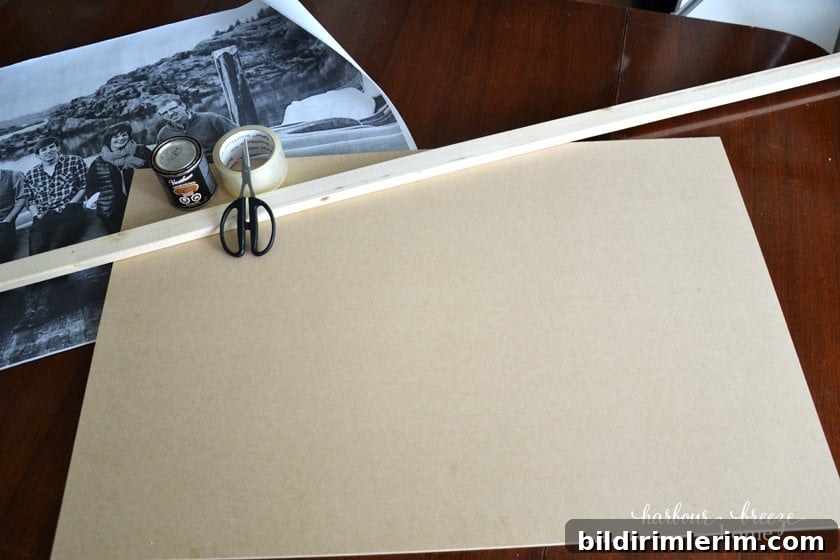
- Engineer print (example size: 24″ x 36″)
- 1/2″ MDF board cut slightly smaller than the print (example final size: 22″ x 34″)
- Scotch tape
- Scissors
- Clear packing tape
- 1 x 2 unfinished pine boards for the frame
- Wood stain
- Brad nailer with 1-1/2″ brads
- Picture hanging kit or wire and screws
How to mount the engineer print
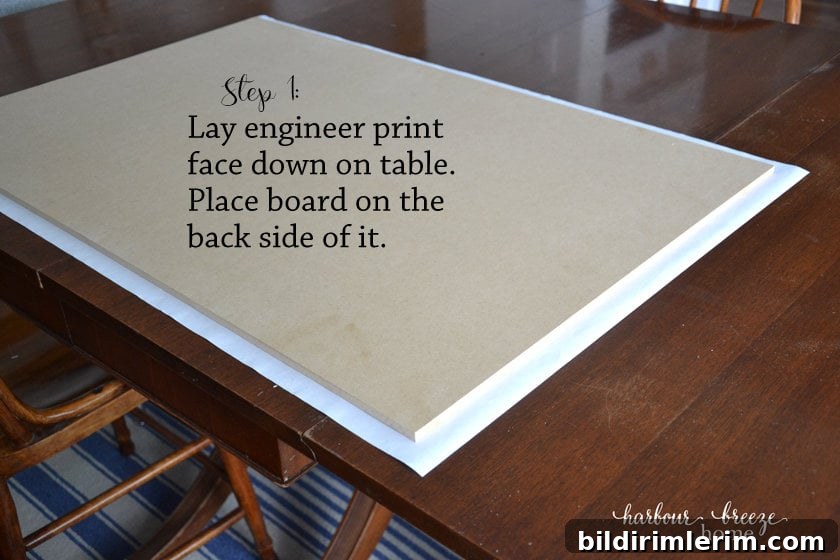
1. Lay the print face down on a clean, flat surface and center the MDF board on top of the back of the print. Centering ensures even borders when you fold the paper around the board.
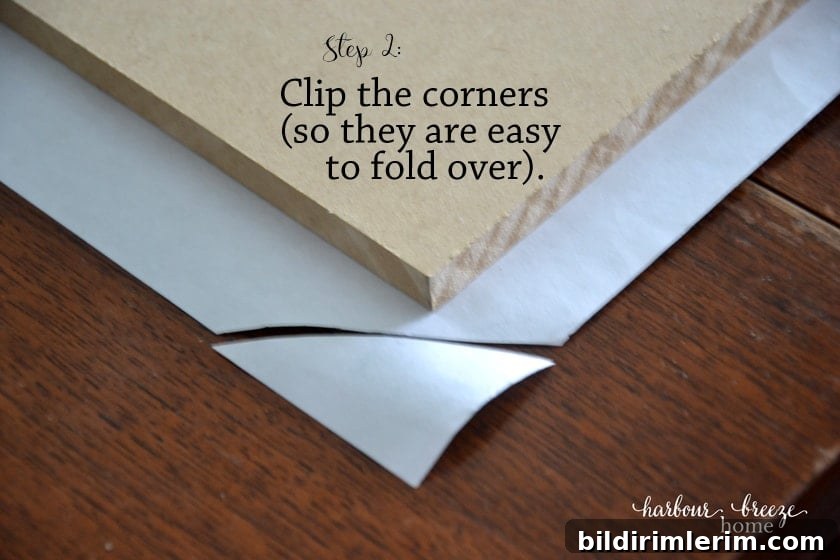
2. Trim the corners. Approach the corners the same way you would when upholstering—cut small notches so the paper folds cleanly without bunching.
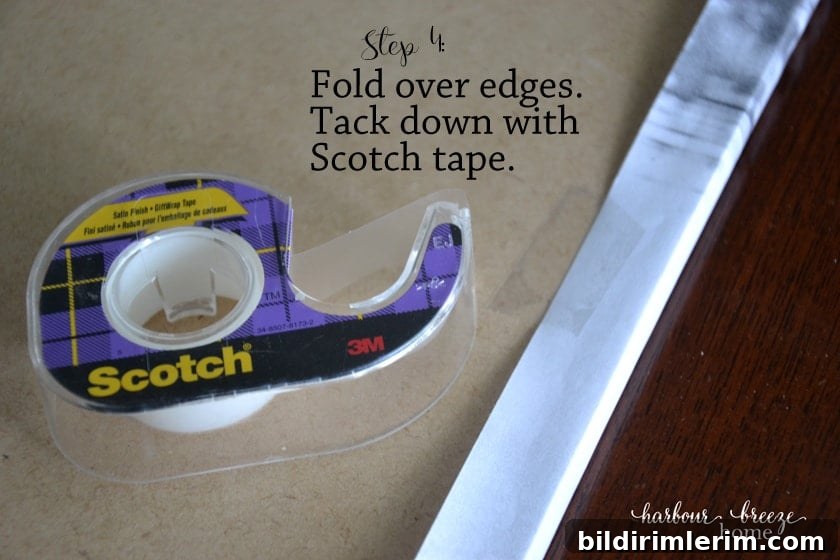
3. Fold the sides over the MDF and secure them with small pieces of Scotch tape. Start by taping the middle of each side, then work toward the corners so the paper is pulled snug but not stretched.
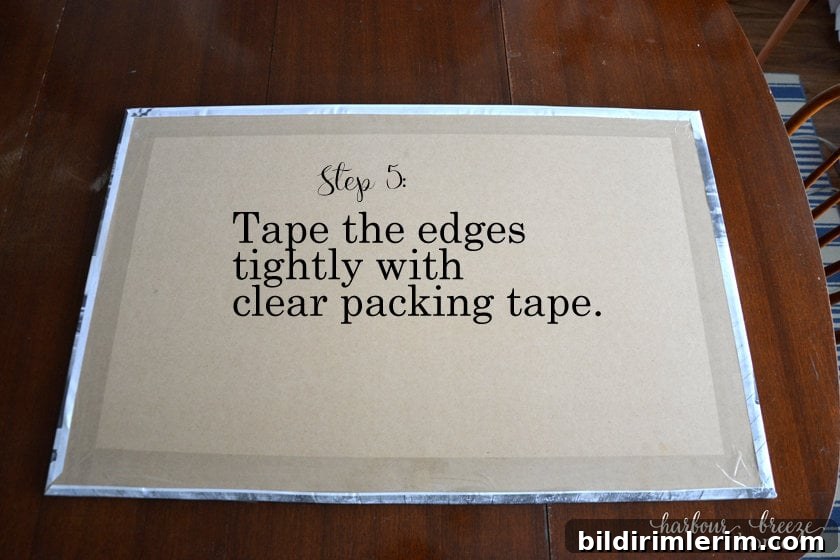
4. Finish by applying clear packing tape along the folded edges on the back of the board. This gives a clean, secure bond and protects the edges from peeling.
Tip: Some people use spray adhesive to mount engineer prints, but reports are mixed—over time the paper can bubble or lift. Taping the edges is a simple, reversible method that holds up well.
How to frame the mounted engineer print
The frame finishes the piece and makes it look polished and intentional.
1. Measure the mounted MDF board. Cut two vertical frame pieces to the board’s height and two horizontal pieces that fit across the top and bottom, accounting for the thickness of the side pieces. Dry-fit the frame before final assembly to ensure everything aligns.
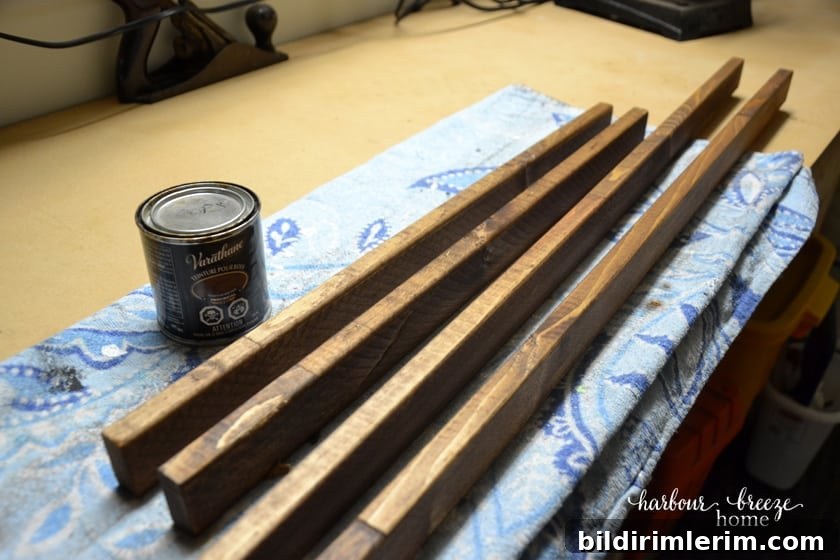
2. Sand and stain the frame pieces in your preferred color. Allow the stain to dry completely before attaching the frame to avoid smudging the print.
3. Attach the frame to the MDF-mounted print with a brad nailer. Line up the sides first, then the bottom, and finish with the top. Drive nails straight and flush for a neat, sturdy join.
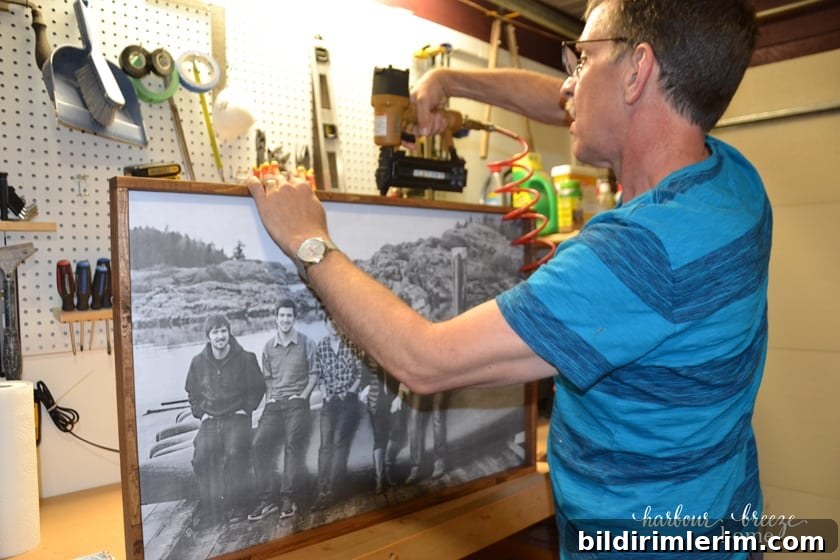
I also did a Facebook Live showing this project and explaining each step if you want to see the process in motion.
4. Install a hanging system on the back. We used picture wire attached to two screws on the sides, creating a secure and balanced hanging point.
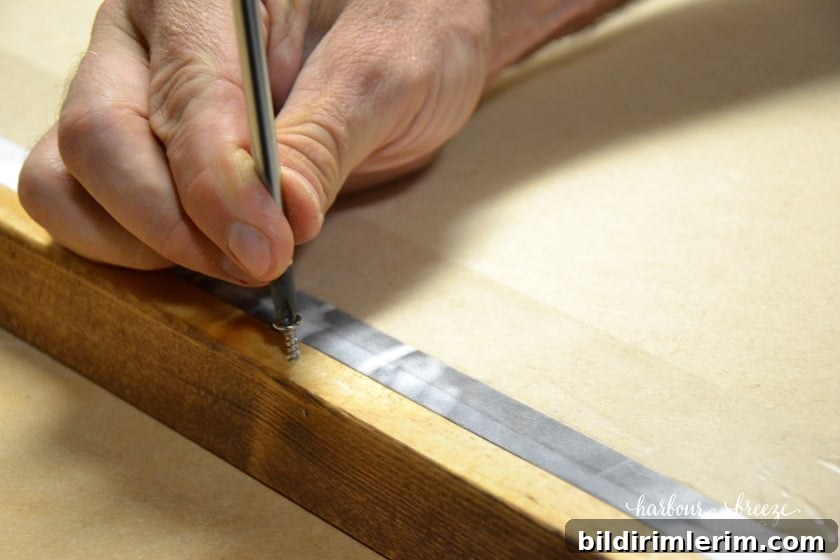
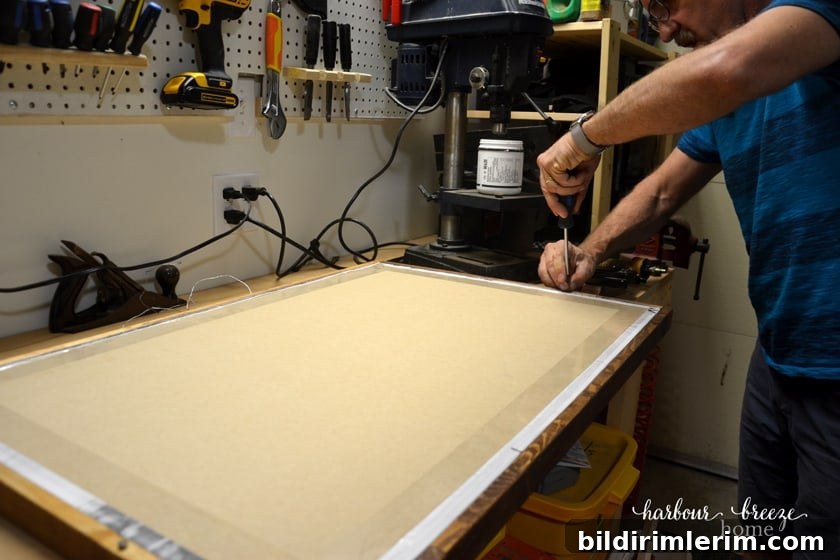
And that’s it—a large, custom art piece made on a budget. This framed engineer print now hangs in my new office and adds the scale and personality the wall needed.
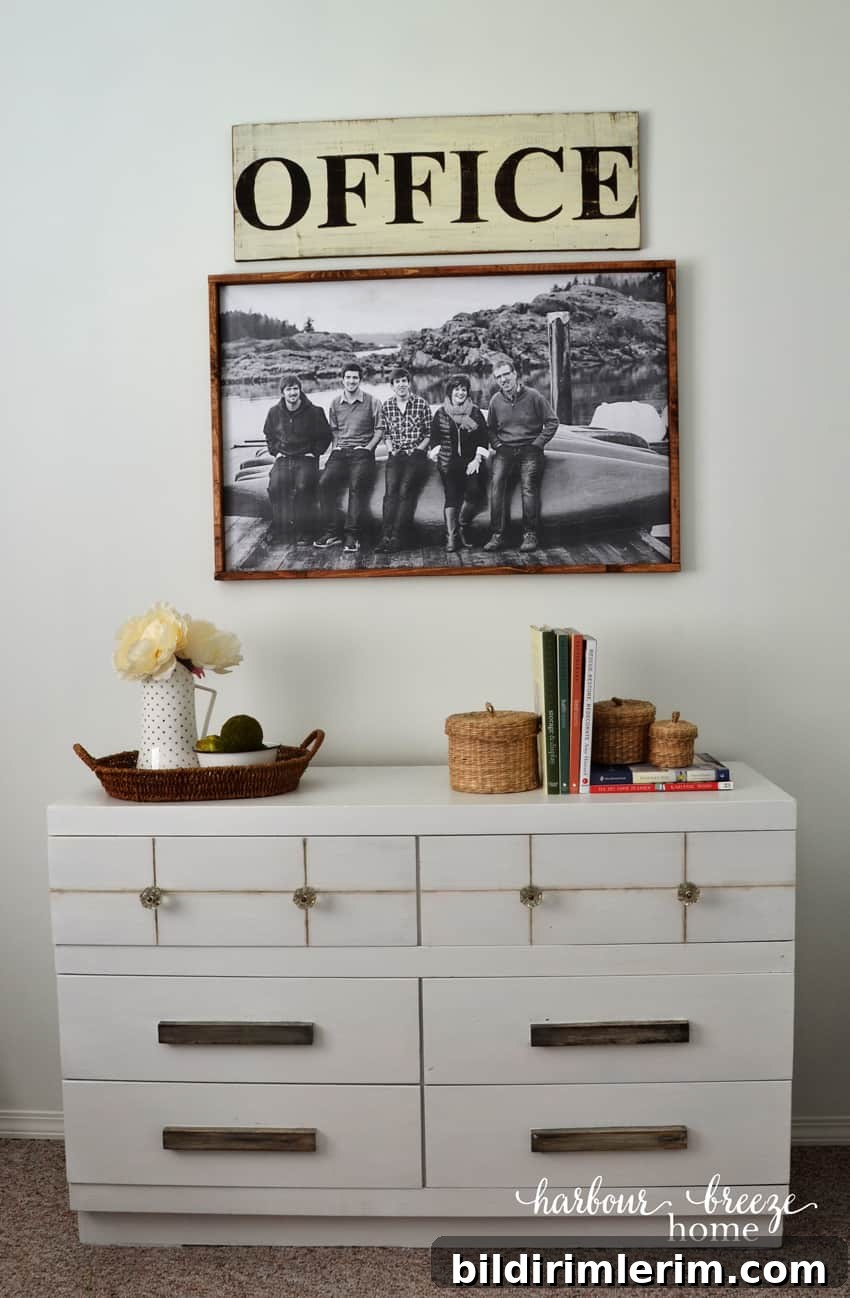
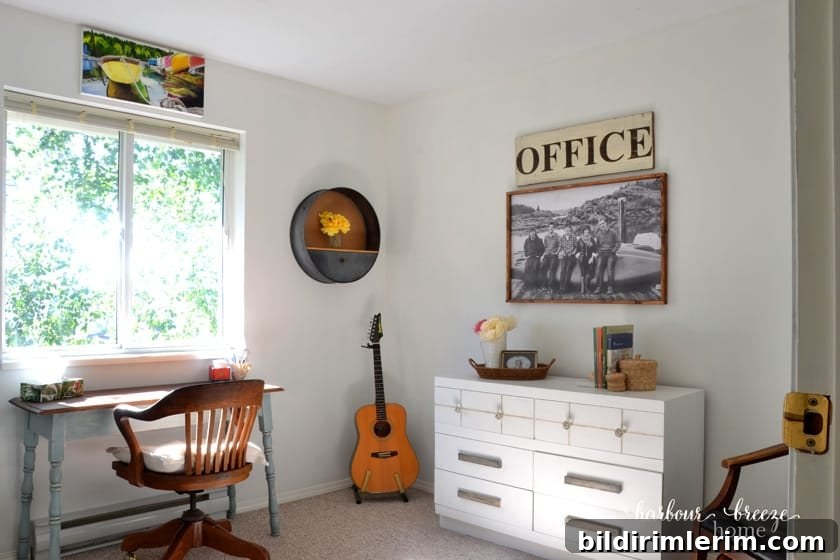
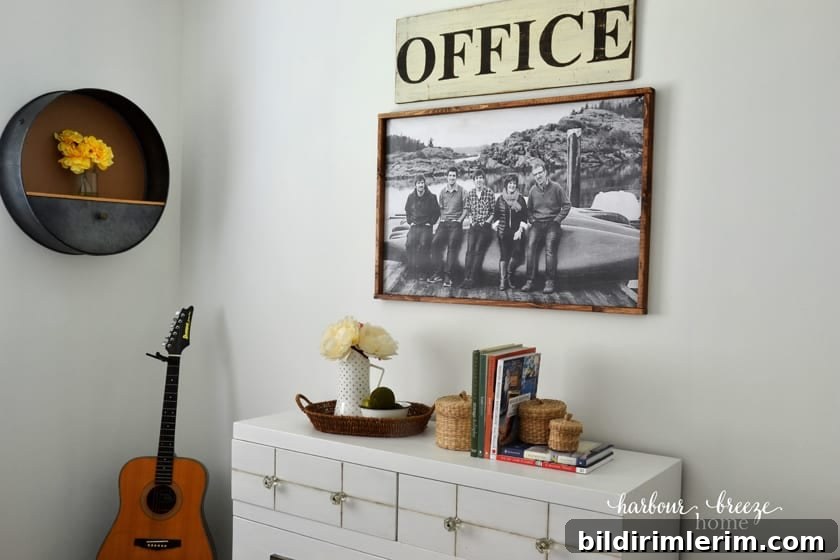
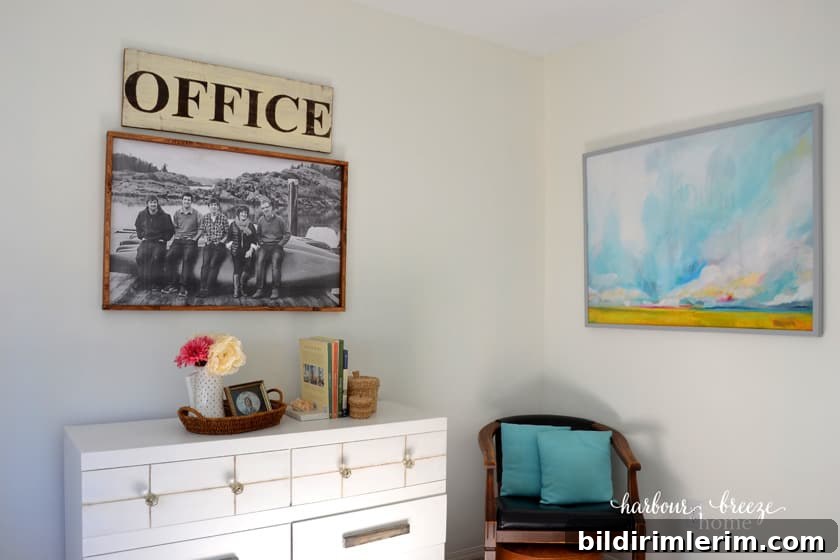
Now that I’ve completed this piece, I have a few ideas for other prints and layouts. Have you used an engineer print in your decor?
Other posts with DIY large wall art:
- How to make a DIY frame for posters or large art
- How to mount a photo to foam board
- How to hang a gallery wall above a couch—the easy way