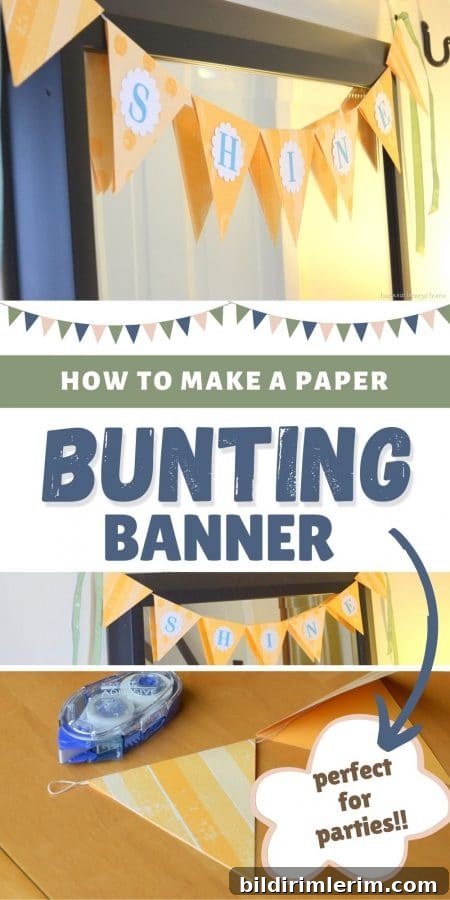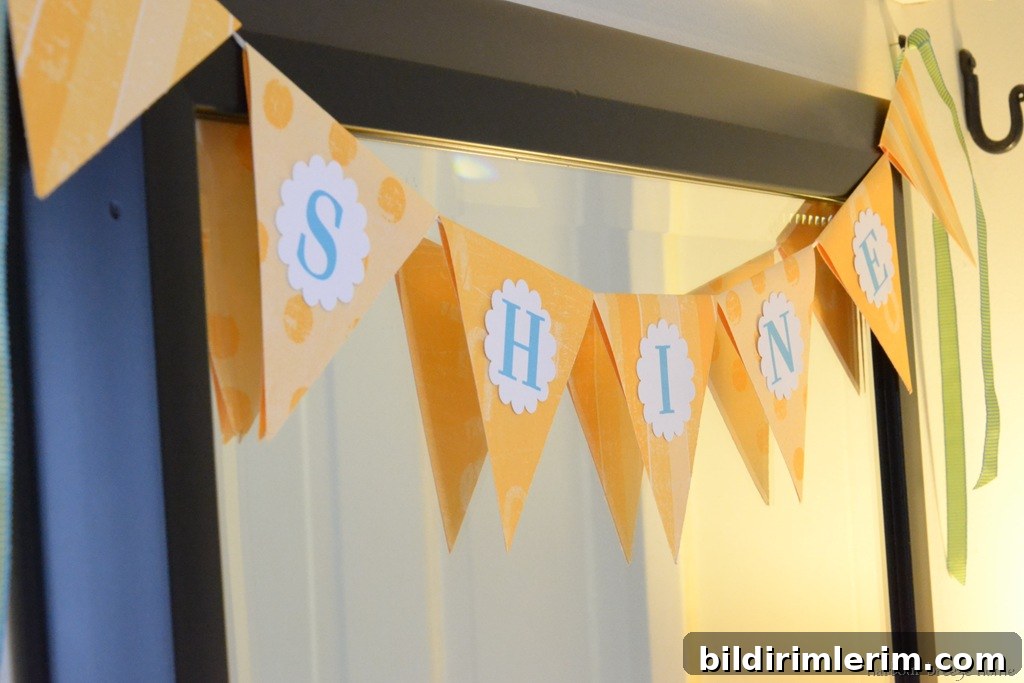
Add color and style to any space with a simple paper bunting banner. With basic supplies you probably already have, you can make one in minutes for a party or seasonal decor.
Refreshing your home doesn’t have to mean buying new items. A DIY paper bunting banner is an affordable, cheerful way to brighten an entryway, mantel, nursery, or party space using scrapbooking paper or any pretty sheets of paper you have on hand.
Quick overview: This tutorial shows how to make a triangle paper bunting banner using three coordinating 12″ x 12″ papers, lightweight string, and a few basic tools. The banner is lightweight, reusable, and easy to customize with letters, shapes, or patterned papers to match any theme.
How to make an Easy Paper Bunting Banner
Disclosure: This article describes a DIY project for personal use.
Supplies you’ll need
- About 61 inches of lightweight string or baker’s twine
- Three sheets of 12″ x 12″ patterned scrapbooking paper with coordinating designs
- Paper cutter or scissors and a ruler
- Double-sided tape or a strong craft glue
- White cardstock for letters or labels
- Round paper punch (approximately 2-inch scallop or similar) or scissors
- Letter stamps, stickers, or printed letters from a computer
- Decorative ribbon for the ends and for covering attachment points
Step-by-step instructions
1. Cut a length of lightweight string approximately 61 inches long. Fold the string in half and knot the two cut ends together so you have a looped center and two tails for hanging.
2. From each 12″ x 12″ sheet of patterned paper, cut a piece that measures 8″ x 12″. You will work with three such pieces (one from each pattern) so the banner has a repeating look.
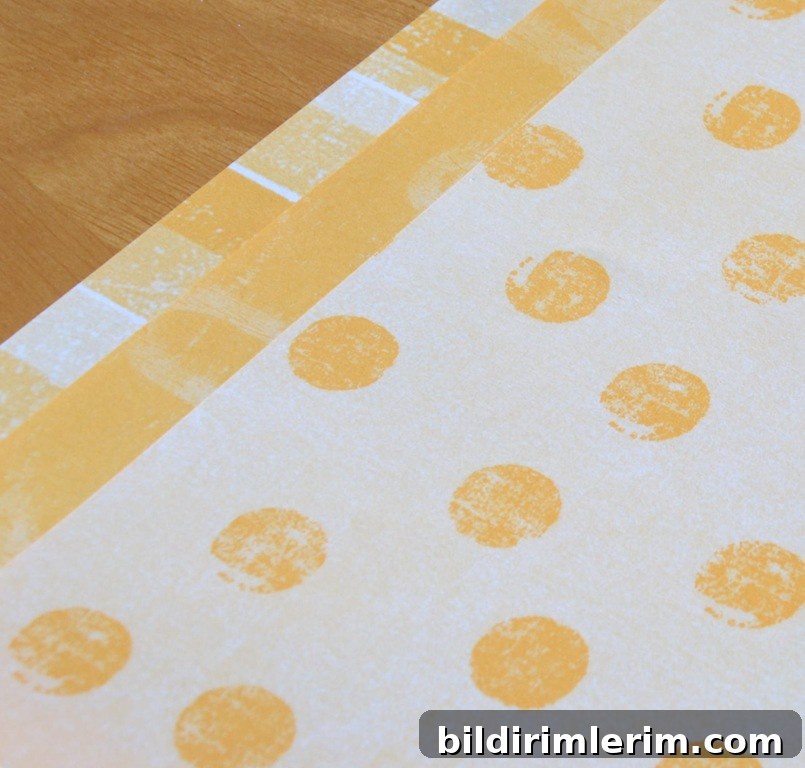
3. Fold each 8″ x 12″ piece in half along the long edge so it measures 4″ x 12″ when folded. Cut along the folded edge at every 4 inches to create 4″ x 4″ folded squares. When folded, each square will form a triangle pennant once you cut the point.
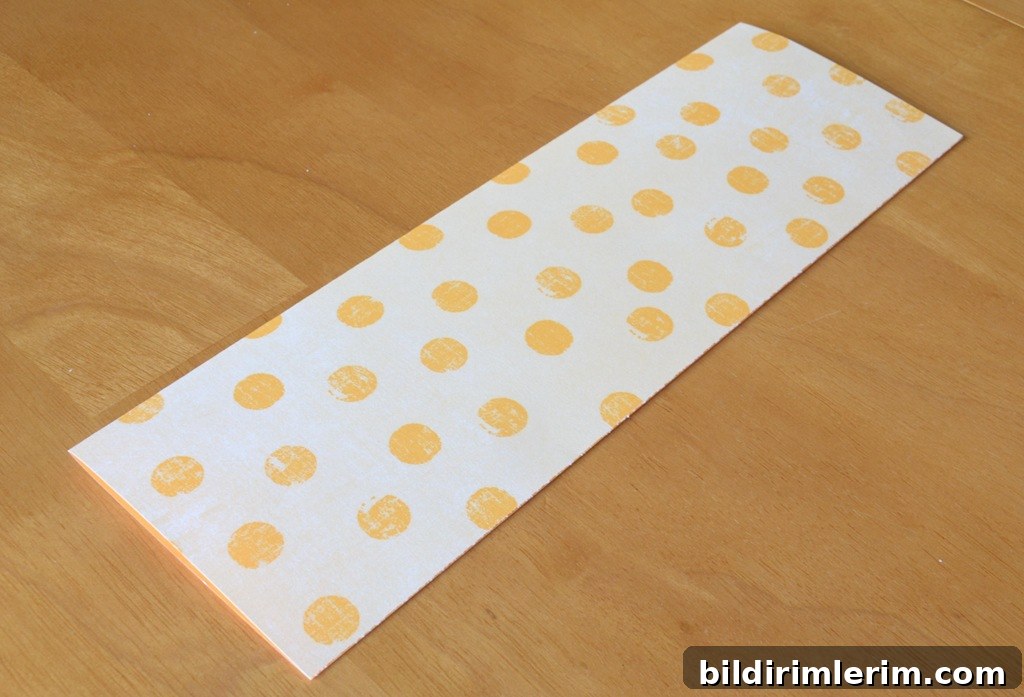
4. On each folded square, measure 2 inches from the folded edge at the open side and mark the center. Cut diagonally from each top corner down to the mark to form a triangle point when opened. This creates classic triangular pennants that fold over the string for a clean, finished look.
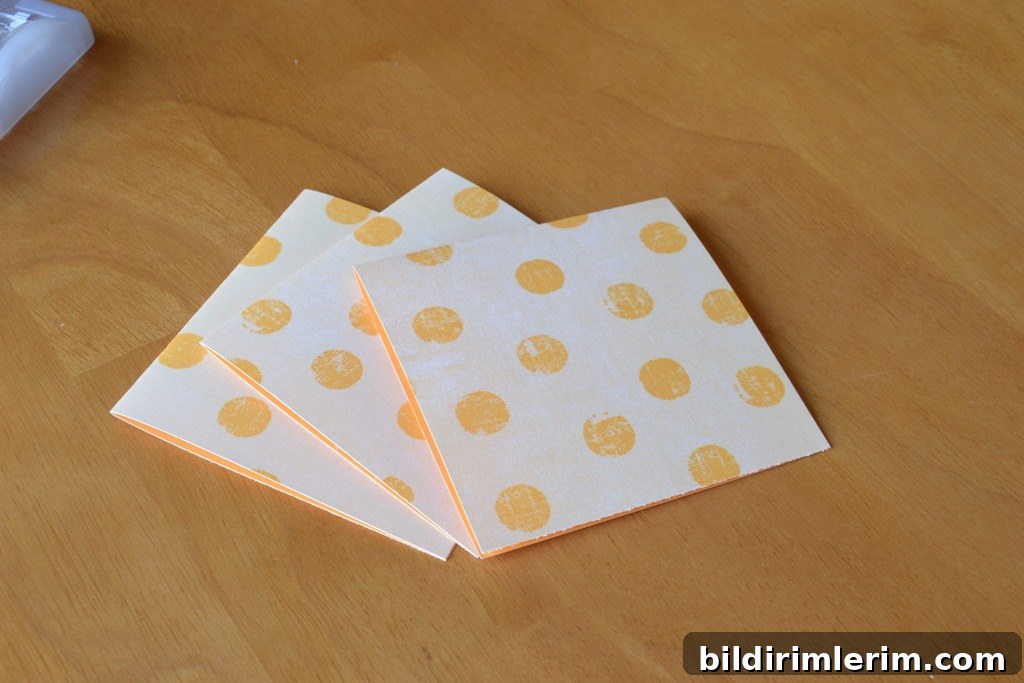
5. Arrange the folded triangle pennants along the string, placing the string inside the crease of each folded triangle. Space them evenly and decide whether you want a repeating pattern or a random mix. You may have extra triangles depending on the length of banner you prefer—save extras for future projects or smaller banners.
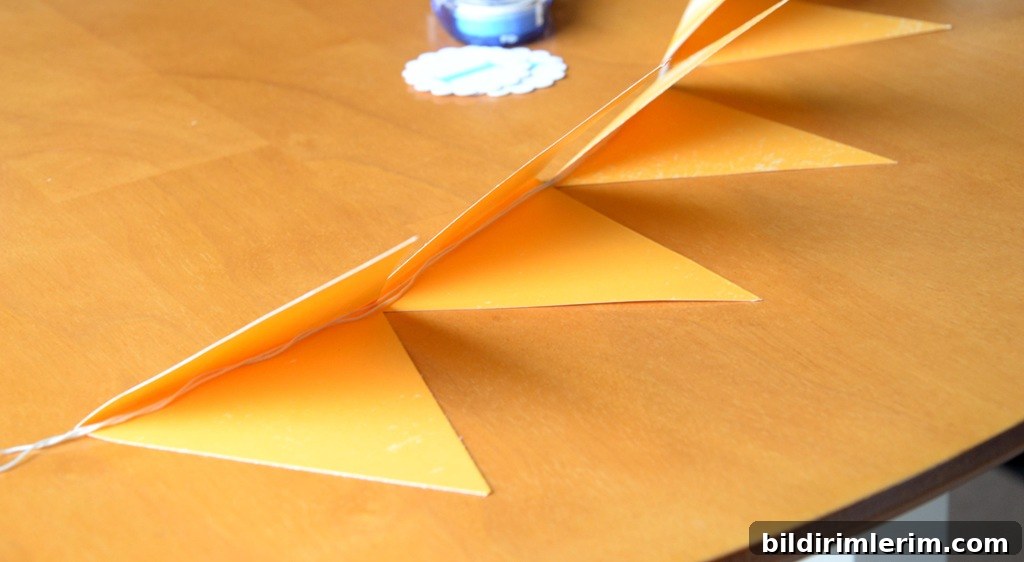
6. Secure each pennant by applying a small strip of double-sided tape on the inside fold, pressing the paper closed over the string so the tape holds the triangle shut. If you prefer a stronger hold, apply a thin bead of craft glue and press for a few seconds until set.
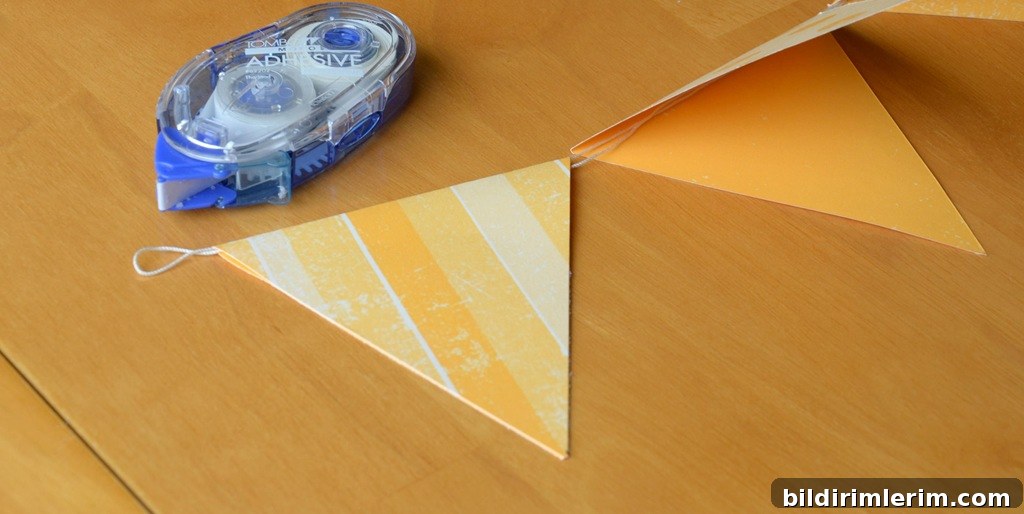
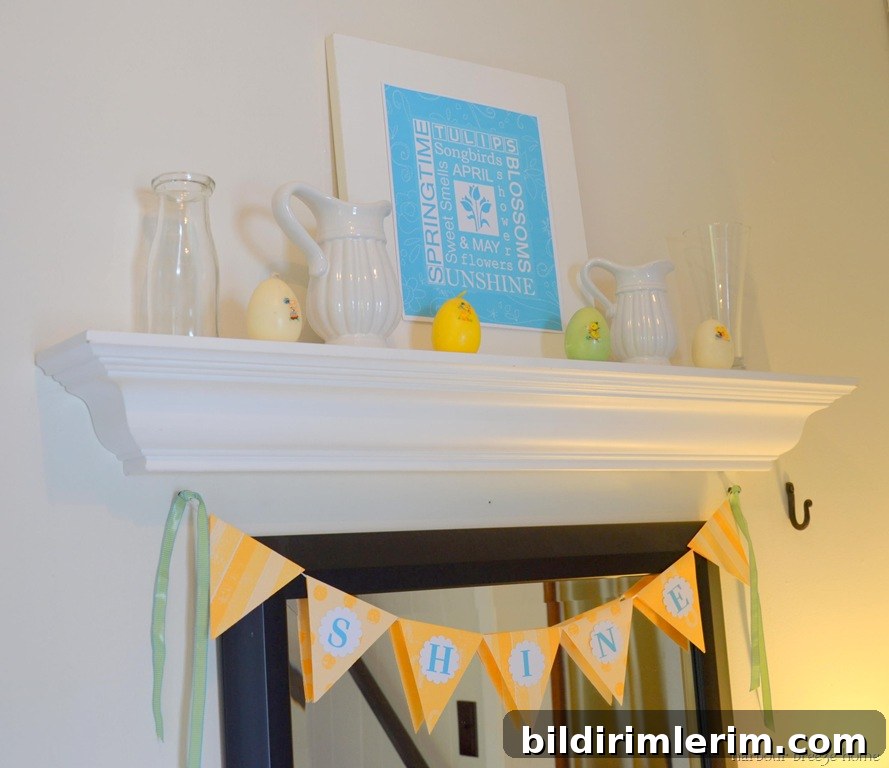
7. Create letter medallions from white cardstock if you want a word or message on your banner. Print letters on cardstock or use letter stamps, then punch each letter out with a scallop circle punch (about 2 inches) or cut simple circles by hand. Attach each letter medallion to the center front of a pennant using double-sided tape.
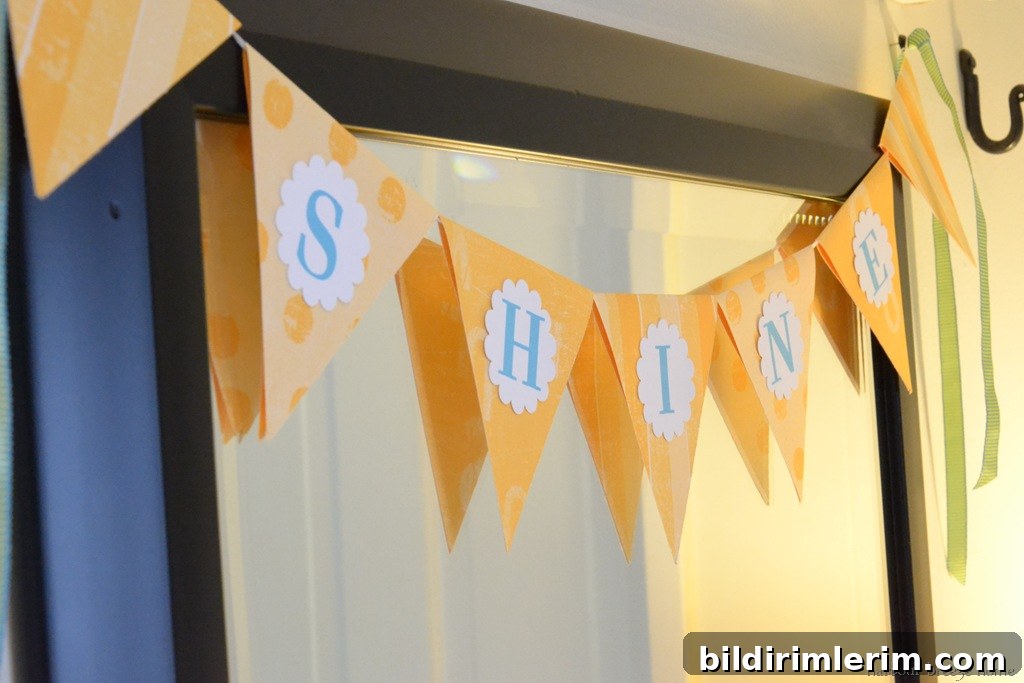
8. Hang your banner with thumbtacks, small nails, removable wall hooks, or tape. Tie decorative ribbon around the attachment points or knot ribbon over the ends of the string to give the banner a polished look and hide any fasteners.
Tips, variations, and decorating ideas
- Use cardstock, book pages, recycled maps, or sheet music for a different aesthetic—thicker paper gives more structure, while lightweight patterned paper folds easily.
- Make smaller banners for shelves, picture frames, or gifts by reducing the pennant size proportionally.
- Instead of letters, glue small paper shapes, buttons, or die-cuts to personalize the banner for birthdays, baby showers, or holidays.
- For a sturdier, weather-resistant outdoor banner, use laminated paper or adhere patterned paper to thin craft foam or plastic sheets.
- To store, slide the banner into a flat box or wrap it loosely around a piece of cardboard so it stays neat between uses.
That’s it — a simple, fast DIY project that adds instant charm and color. Whether you use it for seasonal flair, a celebration, or everyday decor, a paper bunting banner is a low-cost way to refresh a room in under 30 minutes.
Originally published Feb. 23, 2012. Updated with new content and format Feb. 2, 2022.