Can’t find (or afford) the perfect accent pillow? Learn how to make a DIY striped throw pillow cover in under 15 minutes using a fast painted-pillow technique.
I’d been searching for the perfect yellow throw pillows for months. When I refreshed my living room for spring, I decided to make my own—and discovered a simple, satisfying way to turn plain IKEA cushion covers into bold, nautical-style striped pillows in minutes.
Here’s a clear, step-by-step method to stencil large stripes on a pillow cover with minimal tools and no measuring required.
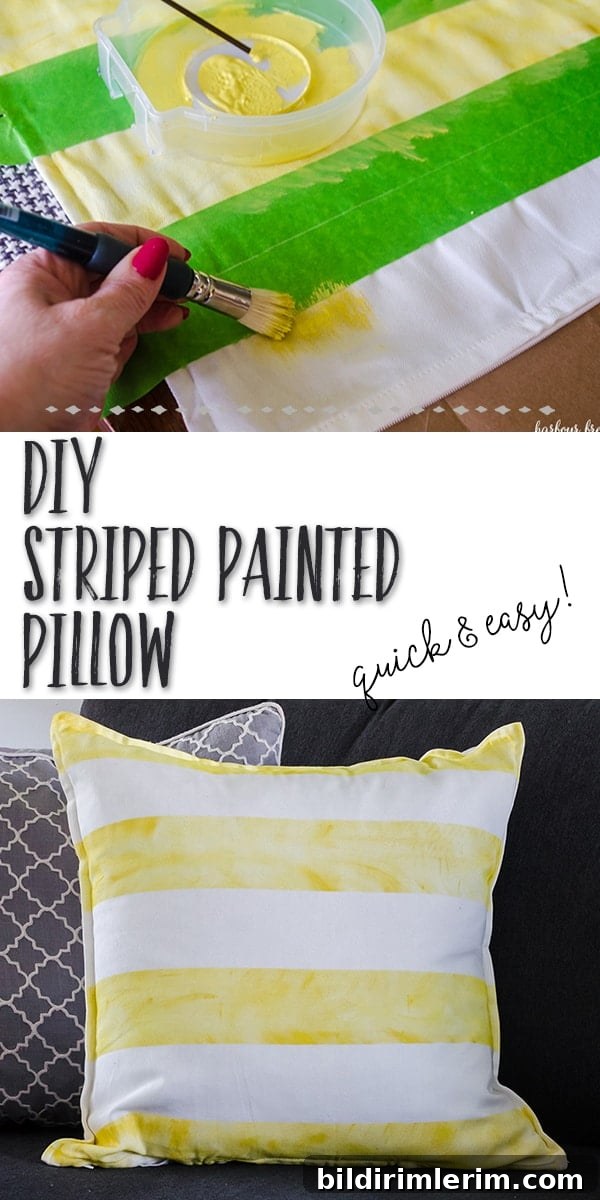
DIY Striped Pillow using Paint
Disclosure: This post originally included affiliate links for shopping convenience.
Supplies Needed for this Striped Pillow Craft:
- White pillow cover (I used the GURLI cover from IKEA)
- FrogTape or similar painter’s tape
- Fabric textile medium to mix with acrylic paint for use on fabric
- Yellow fabric paint or acrylic paint mixed with textile medium (I used a mustard tone)
- Stencil brush
- Scrap paper (a grocery bag works well)
Step 1: Fold the pillow in half to find the center. Place a strip of tape above the center line and another directly below it.
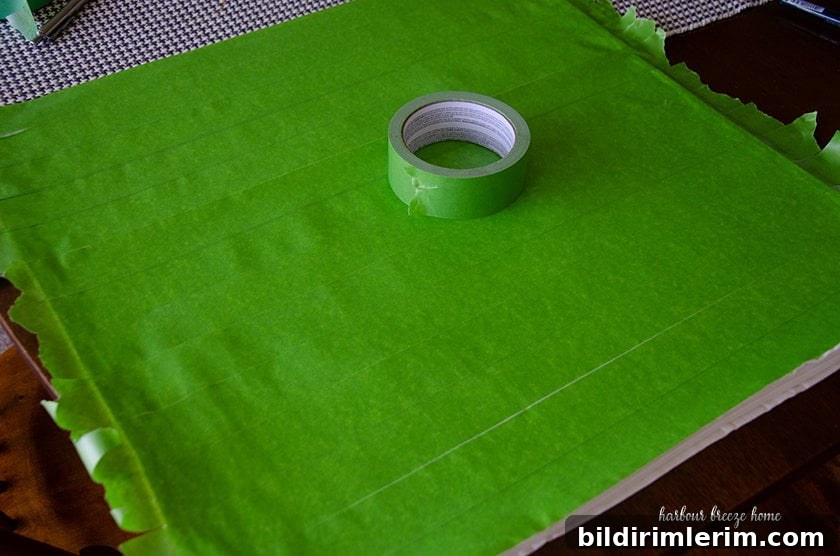
Continue applying tape across the front of the cover so the entire surface is covered in parallel strips. This creates evenly spaced stripes without measuring.
Step 2: Remove tape where you want the painted stripes to appear.
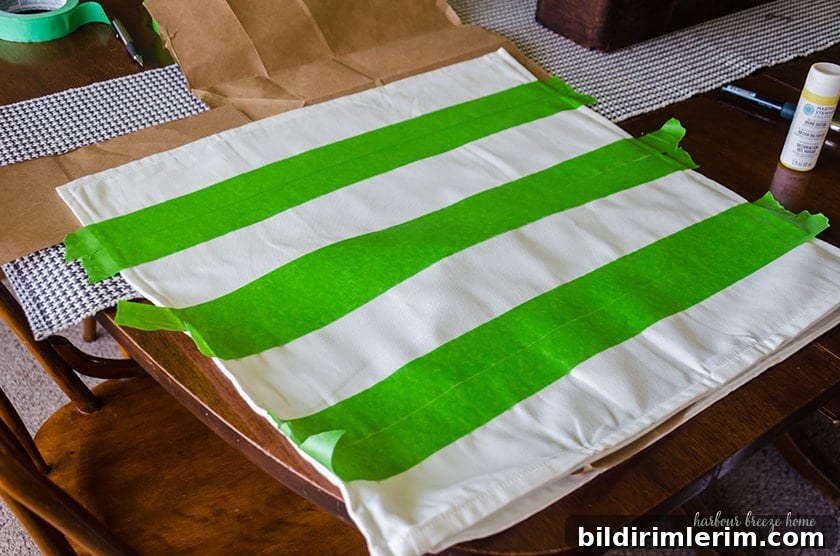
Although it may feel odd to tape the whole cover and then peel away parts of the tape, this technique guarantees consistent stripe widths and straight lines with minimal fuss.
Step 3: Insert scrap paper between the layers of the cover to prevent paint bleed-through.
The paper will protect the back of the pillow and any insert from stray paint. It’s an easy precaution that keeps the finished pillow looking clean.
Step 4: Mix paint with textile medium to make it safe for fabric.
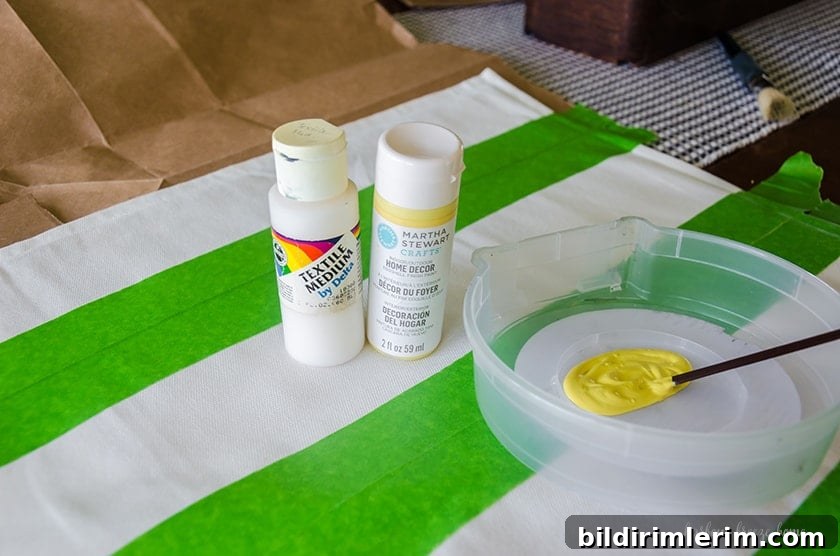
Textile medium thins acrylic paint and improves its flexibility and adhesion on fabric. For stenciling you only need a small amount of paint—about a teaspoon—mixed with an equal amount of textile medium. Stir until the color and medium are fully combined.
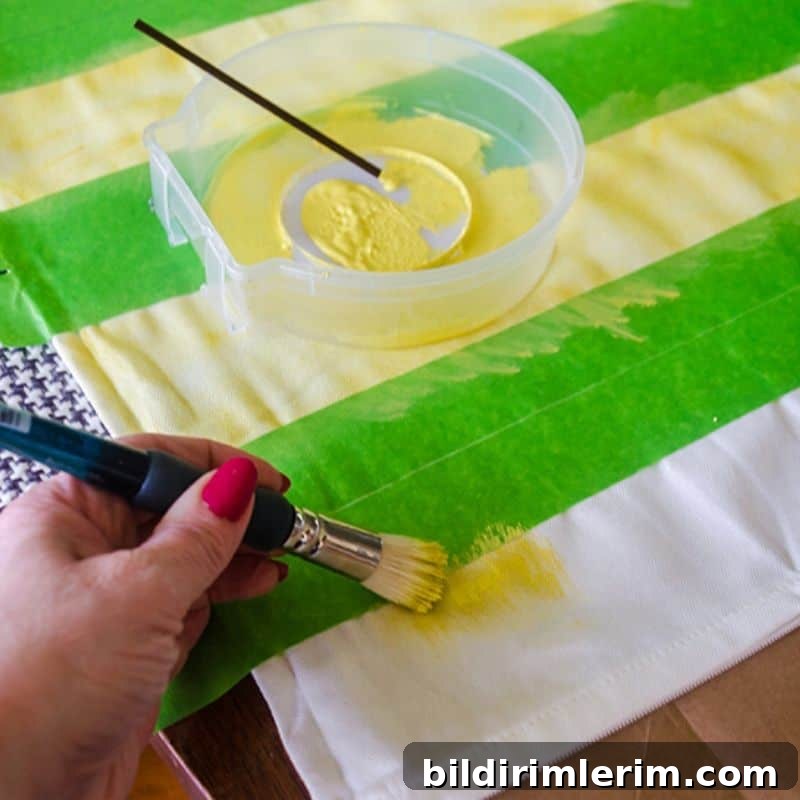
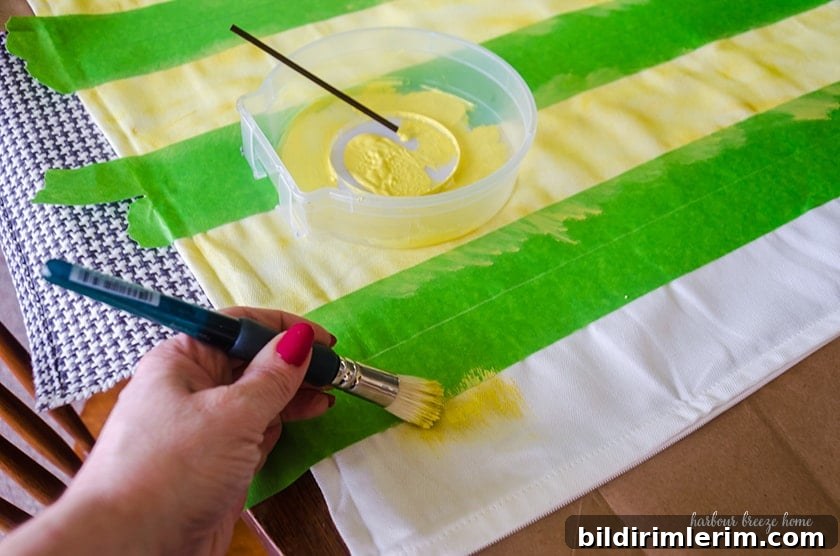
Step 5: Use a stencil brush to apply paint to the exposed stripe areas.
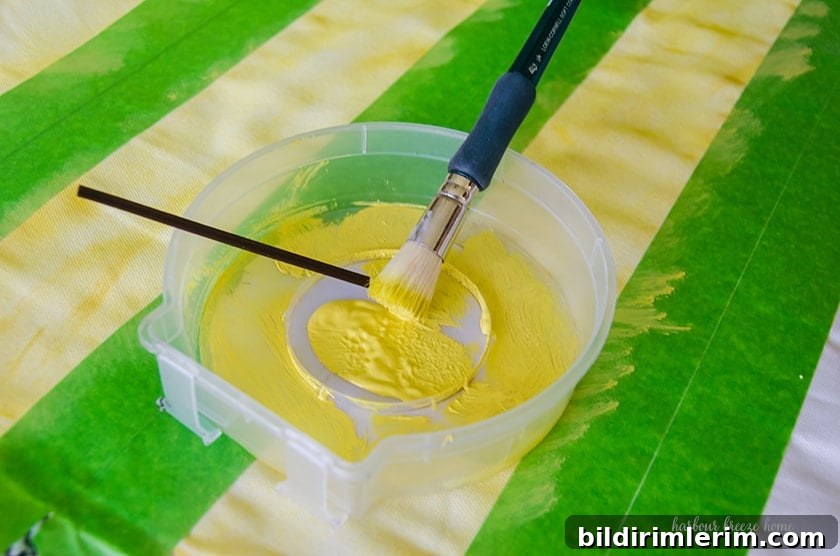
Load the stencil brush lightly and wipe off most of the paint on a paper towel or the edge of the container—less paint reduces bleeding under the tape. Start at the top stripe and work downward, using short, circular motions to build color until you achieve the desired opacity. This technique produces a slightly soft, watercolor-like finish that looks natural on fabric.
Set the paint according to the textile medium instructions.
Most textile mediums recommend heat setting—pressing the painted areas with a warm iron on the reverse side or covering with a thin cloth—so the stripes remain durable through washing. Follow the specific directions on the product you use to ensure lasting results.
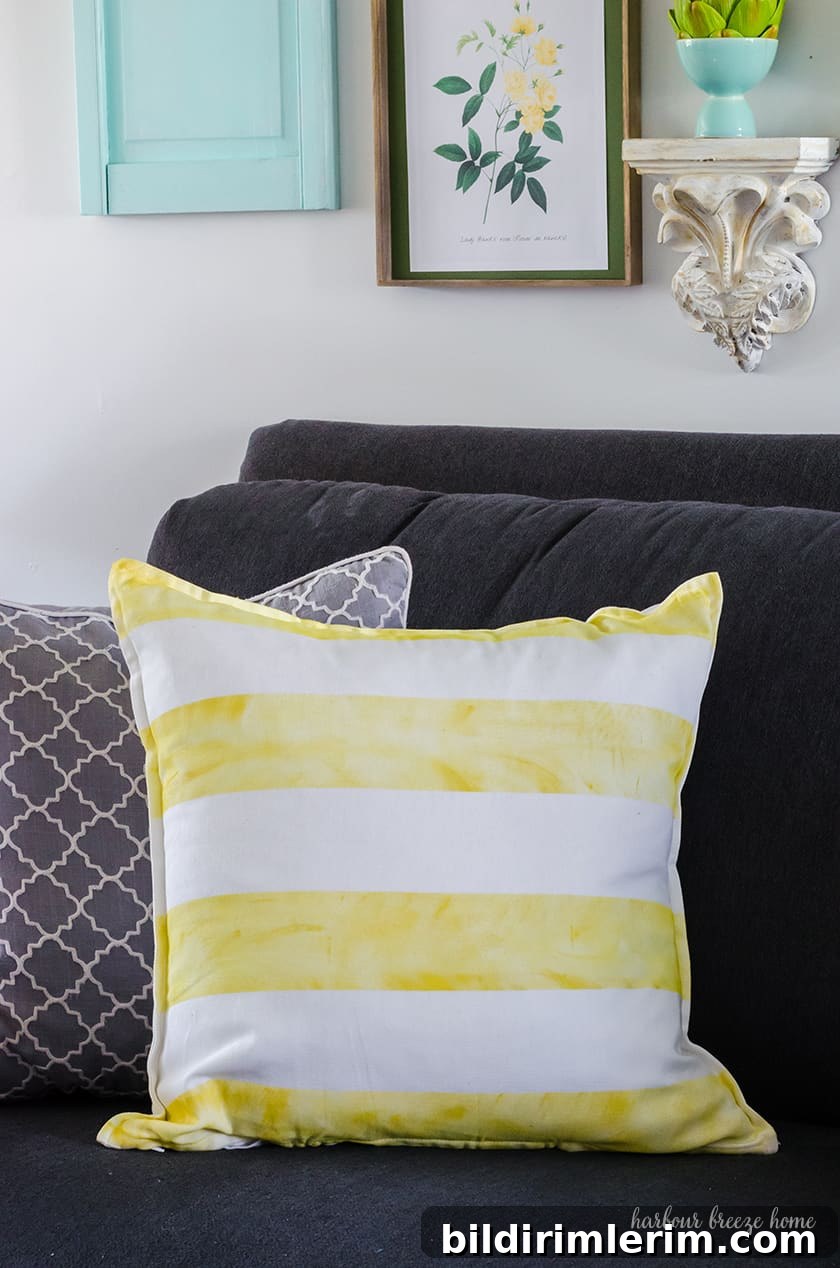
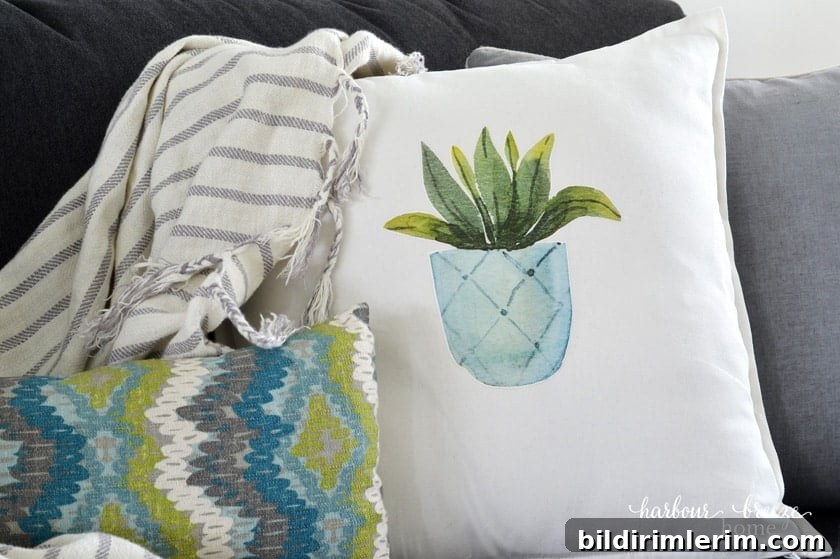
These bright striped throw pillows make an uplifting spring accent and are easy to customize by changing the paint color or stripe width. On the pillows I made, the reverse side features a separate iron-on design from a previous project—so one cover can serve two looks depending on how it’s displayed.
More pillow ideas
- Hand-paint words or simple graphics on fabric for a custom look.
- Mix and match painted stripes with printed or iron-on designs for reversible covers.

Spring craft inspiration
If you enjoy quick, satisfying projects like this painted striped pillow, a craft blog hop or a round-up of spring crafts can be a great source of fresh ideas and new techniques. Visiting other creators is an easy way to discover projects that match your style and skill level.
Now pick a pillow cover, a color you love, and give this fast painted-pillow method a try—no measuring, minimal supplies, and a big impact for small effort.