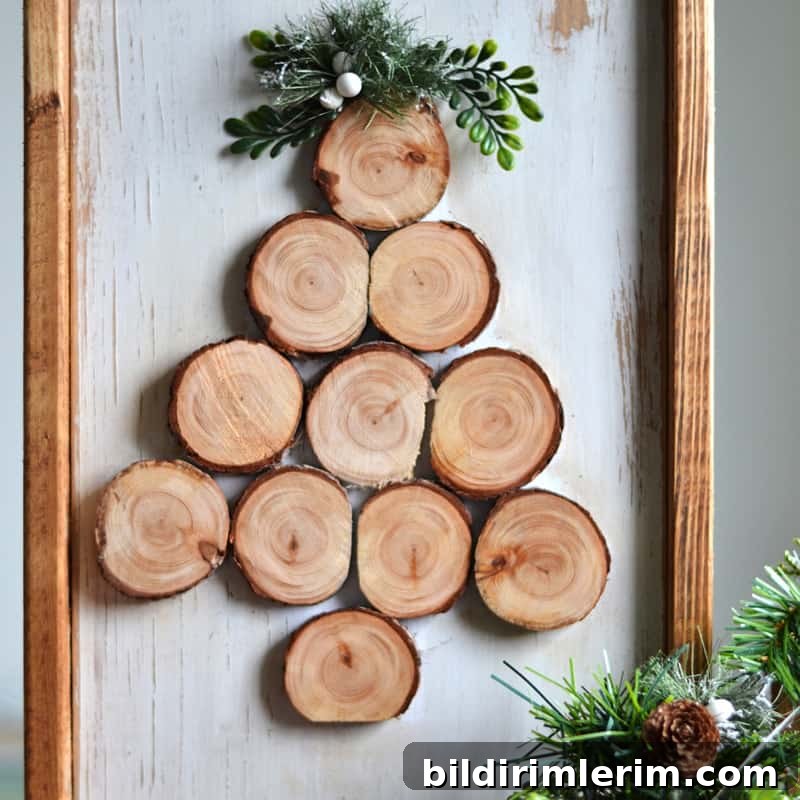
If you’re searching for a charming handmade gift idea for a Christmas gift exchange, this might be the perfect option. This DIY wood slice Christmas tree sign brings a cozy, rustic touch to winter decor. It’s also a great alternative if you live in a small space and don’t want—or don’t have room for—a full-size Christmas tree.
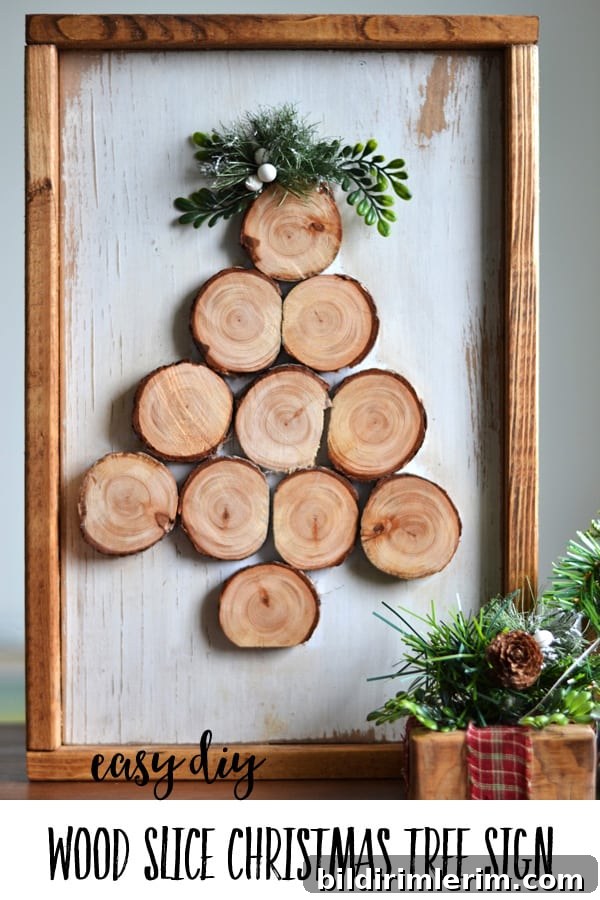
How to make an easy DIY Wood Slice Christmas Tree Sign
Disclosure: this post mentions materials that may be purchased from craft and hardware suppliers.
Gather the supplies
- Scrap board for the sign base (approximately 11 inches wide x 10 inches tall is a good starting size)
- Wood stain — for a warm, rustic finish, choose a medium to dark stain such as Minwax Provincial
- Wood slices in assorted sizes for the tree shape
- Paint in the color of your choice (chalk-style paint or acrylic both work well)
- Hot glue gun and glue sticks
- 1×2 inch boards if you plan to add a simple frame
- Faux greenery, berries, or small decorative accents for a tree topper
- Sawtooth hanger or other hanging hardware
Stain and paint the wood base
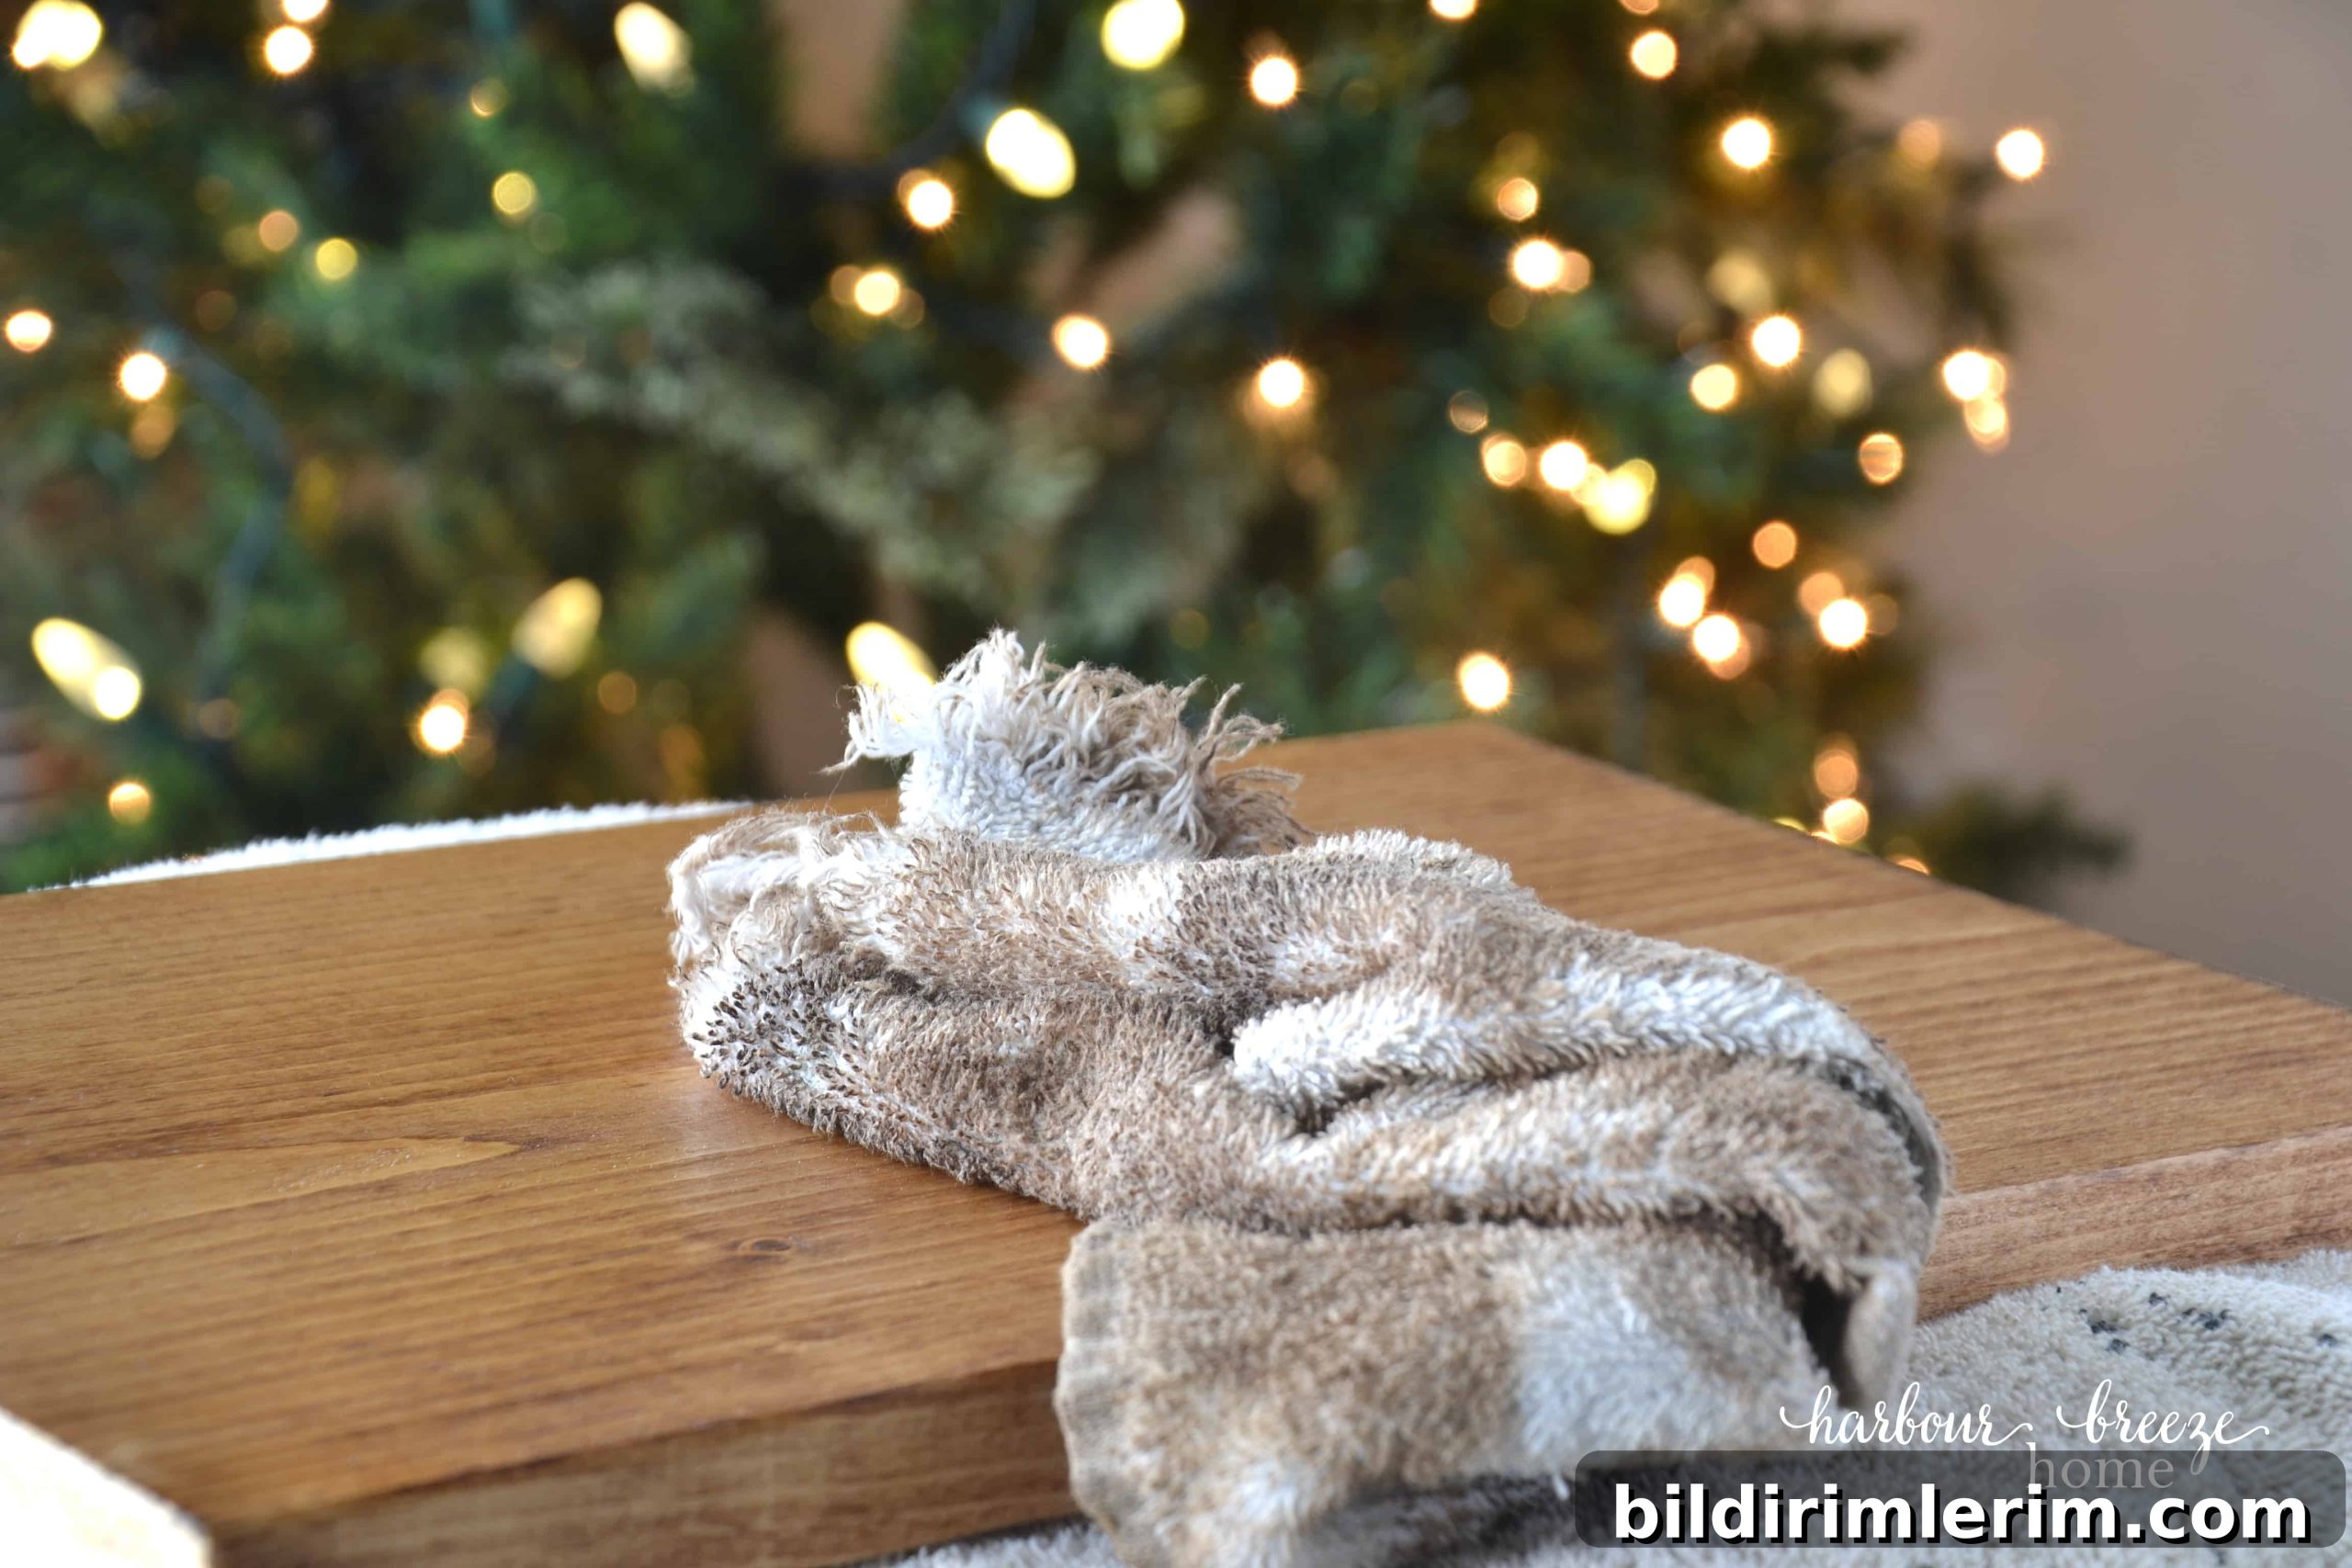
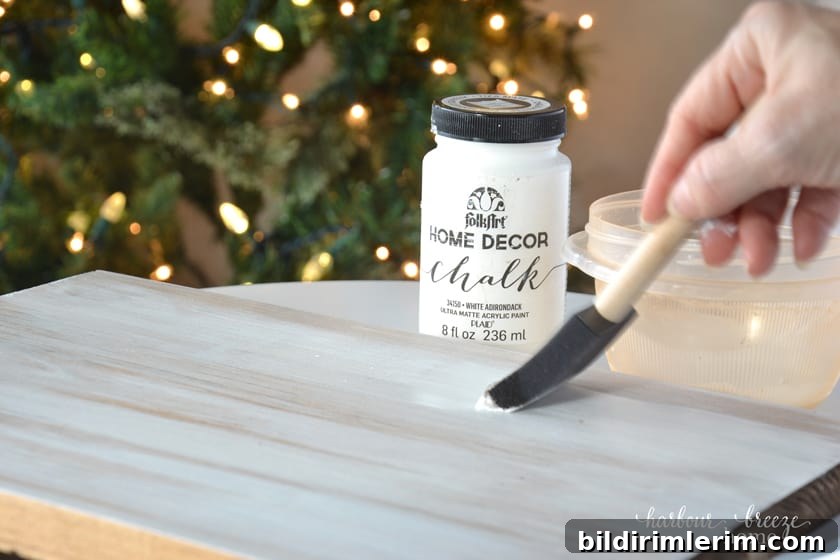
Begin by sanding the scrap board smooth and applying a coat of wood stain. Let the stain dry thoroughly to achieve a deep, even tone. After the stain cures, paint the sign face with a light neutral—Adirondack White or a soft cream works nicely—so the wood slices will stand out and the finished sign maintains a farmhouse look.
Distress by sanding off some of the paint
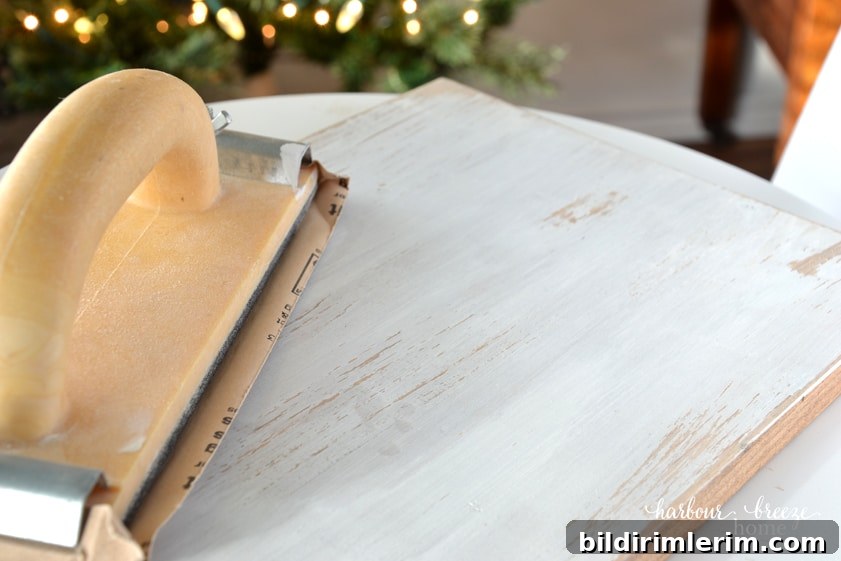
To create a slightly aged, farmhouse-style finish, use fine-grit sandpaper to lightly sand the painted surface. Focus on the edges and a few areas in the center so the stained wood beneath shows through. This distressing gives the sign character and helps the wood-slice tree blend beautifully with the background.
Arrange the wood slices into a tree shape
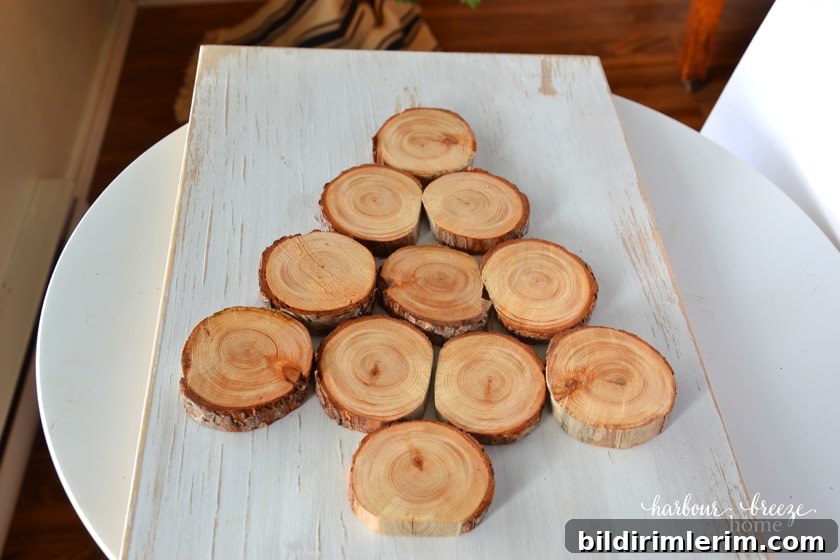
Lay out the wood slices on the sign to form a triangular tree silhouette, starting with the larger slices at the base and smaller ones toward the top. Take a moment to experiment with spacing and orientation so the tree looks balanced. Once you’re happy with the arrangement, attach each slice to the board using hot glue. Apply glue to the back of each slice and press firmly onto the board for several seconds until set.
Add hanging hardware
Before adding any heavy embellishments, turn the sign over and secure a sawtooth hanger or preferred hanging hardware to the back. Attach it centered near the top edge so the sign hangs level on the wall. If you plan to display the sign on a shelf or mantel, you can skip this step.
Decorate the tree top
Finish the piece with a small cluster of faux greenery, berries, or a tiny bow at the top of the wood-slice tree. These accents add color and a seasonal touch without overwhelming the simple, natural look of the wood slices.
Optional: frame the sign
Framing the sign with simple 1×2 boards elevates the finished look. Stain the frame pieces to match or contrast with the base—darker stain like Provincial creates a nice edge—and attach them to all four sides using a pneumatic stapler, brad nails, or wood glue for a clean, finished appearance.
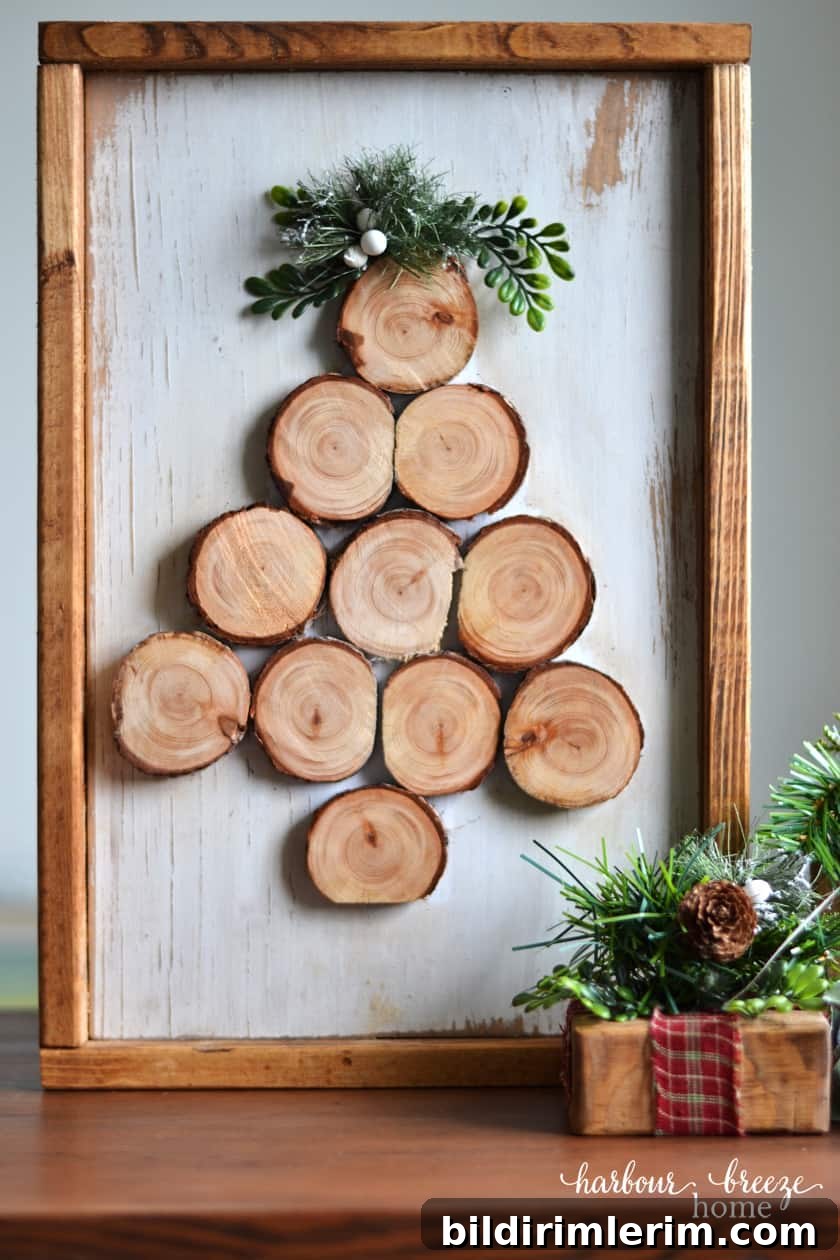
That’s all there is to it—your rustic wood slice Christmas tree sign is ready to hang, display, or give as a thoughtful handmade gift. It makes a lovely addition to a gallery wall, entryway, or cozy corner during the holiday season.
If you enjoy simple handmade holiday projects, here are a few other DIY ideas you might like: Burlap Wrapped Gifts Shelf Decor, Wood Block Gift Decor, DIY Farmhouse Sign with free printables, Christmas Place Card Holders, Mini Flocked Faux Christmas Tree made from basic supplies, Winter Wonderland DIY Christmas Tree Ornaments, Shabby Chic Bird Christmas Ornaments, and Felt Christmas Ornaments.
Join the VIP newsletter for more home and holiday ideas