Yesterday I shared the backstory of my sweet old farmhouse table and why it was time for a refresh. I stripped, sanded, stained, and sealed the tabletop; those steps are covered in my previous post about stripping paint from wood. The other part of the makeover focused on the apron and legs: painting, distressing, glazing, and waxing to preserve the table’s character while giving it a fresh look.
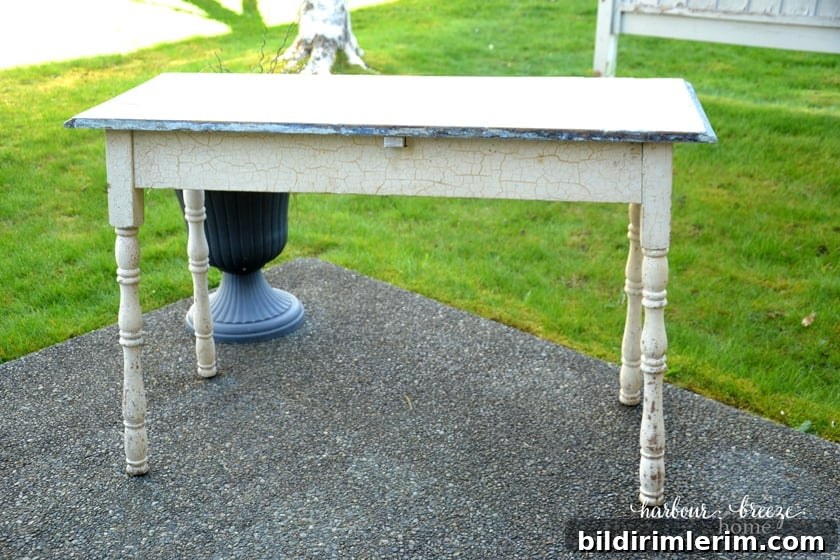
I wanted a paint finish that felt special but didn’t erase the original patina and crackle paint beneath. I drew inspiration from an interior mood board for my living room project, particularly a little blue dresser that set the tone for the color choice.

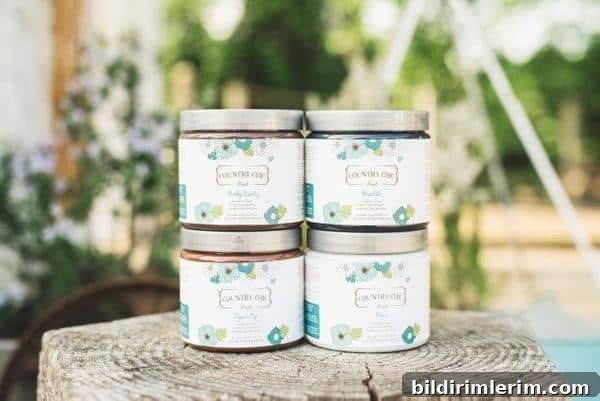
When it was time to paint, I loaded the table into my car and took it to my friend Jan’s workshop. Jan teaches chalk-paint workshops and sells Country Chic Paint, and she was kind enough to host a painting day for us. I spent the day working on the table with five other creatives, and though I got carried away painting and didn’t take many process photos, I’ll walk you through the steps I used so you can recreate this look on your own projects.
How to Create a Painted Farmhouse Table with Country Chic Paint
Supplies Needed:
-
Bucket of warm water and a clean rag
-
Country Chic Paint in your chosen color (I used “Elegance”)
-
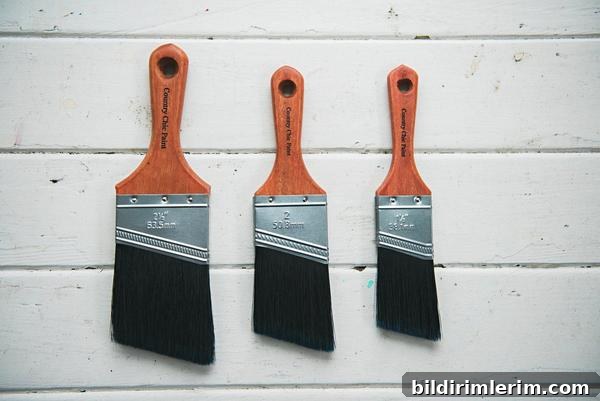
Good-quality paint brush
-
Country Chic glaze (I used “Graphite”)
-
Small, flat brush for applying glaze
-
Blow dryer (optional, to speed drying)
-
Country Chic wax (I used clear/natural)
-
Small microfiber cloth for applying wax
Step 1: Clean the piece thoroughly
Start by wiping the table with a rag and warm water. Paint won’t adhere well to dust, dirt, or cobwebs, so a clean surface ensures better coverage and a smoother finish.

Step 2: Apply the paint
Using a good-quality brush, apply one thin, even coat of paint. I used the color “Elegance” and worked carefully around the apron and each leg, watching for drips. For spindles and detailed legs, handle-less brushes or small brushes without long handles are easier to maneuver into tight spots.
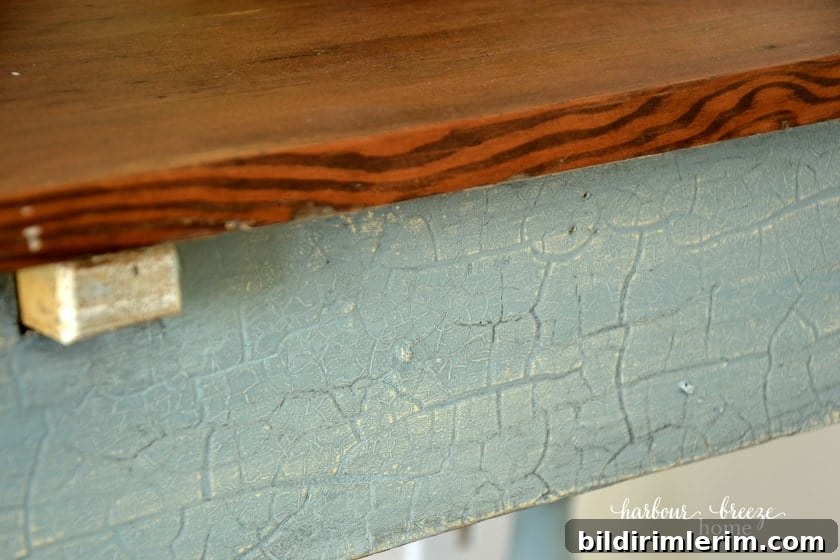
I kept the paint layer relatively light because I wanted to preserve some of the original crackle finish beneath; a thin coat gives coverage while allowing the previous texture to remain visible.
Step 3: Distress the painted surface
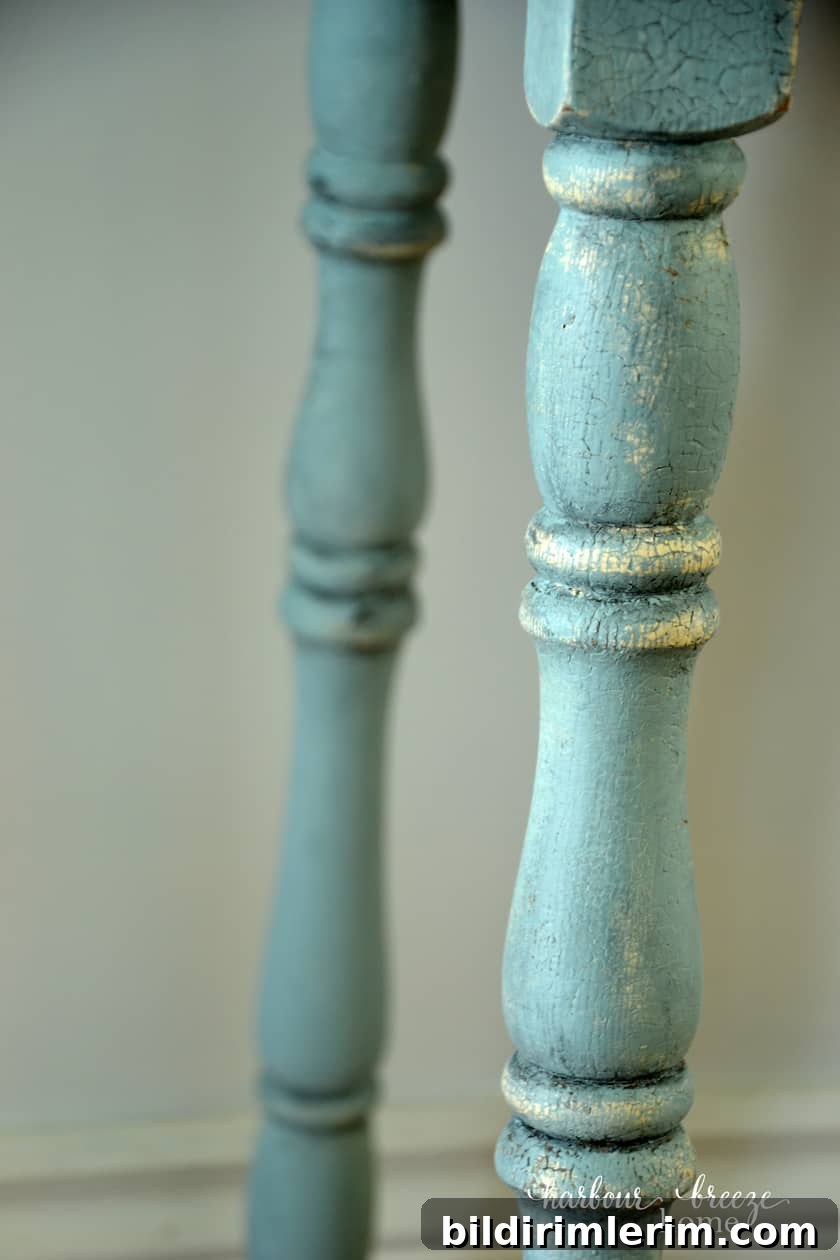
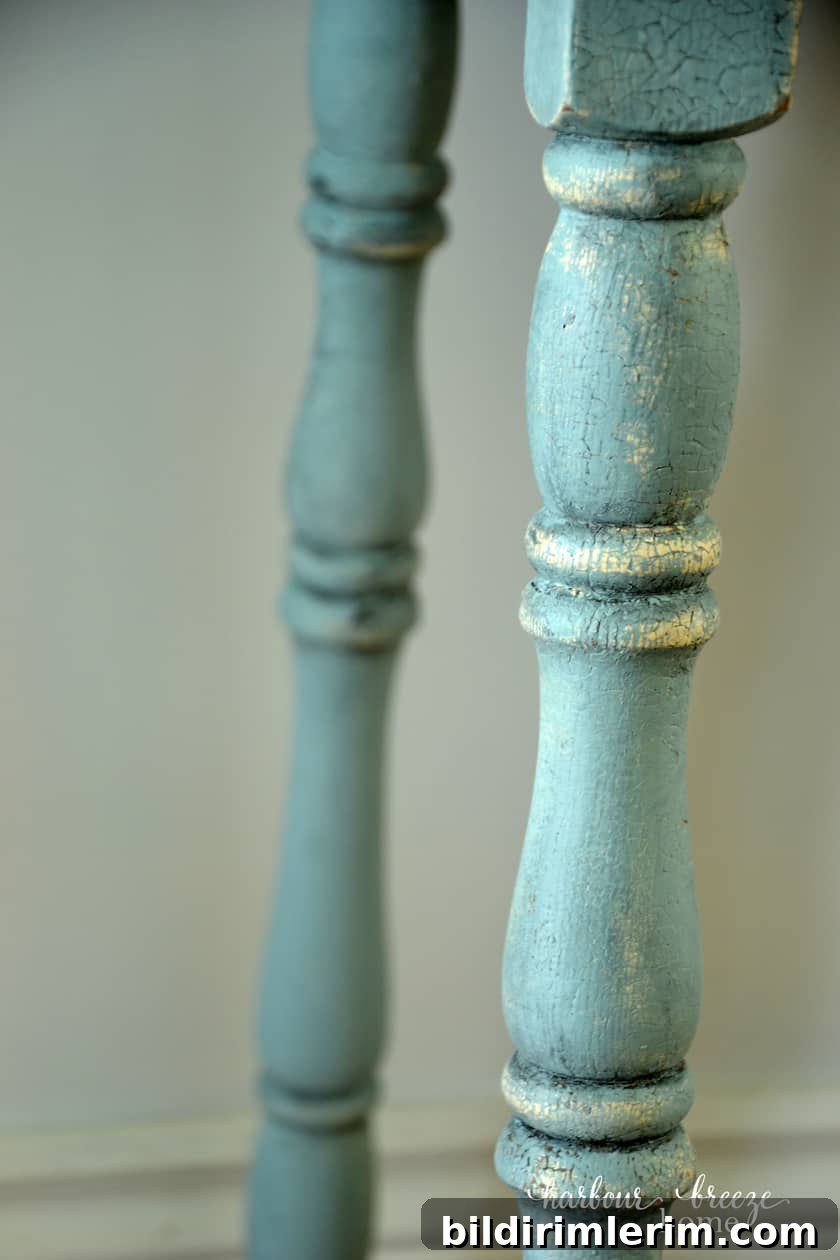
After the paint dried, I used a rag dampened with warm water to gently rub away paint in selected areas. This soft distressing technique allows the old paint and wood tones to peek through, especially on edges and along the curved parts of the legs. One advantage of this paint is how easily it wipes off while still damp—no sanding required when distressing immediately after painting.
Step 4: Apply glaze for depth and definition
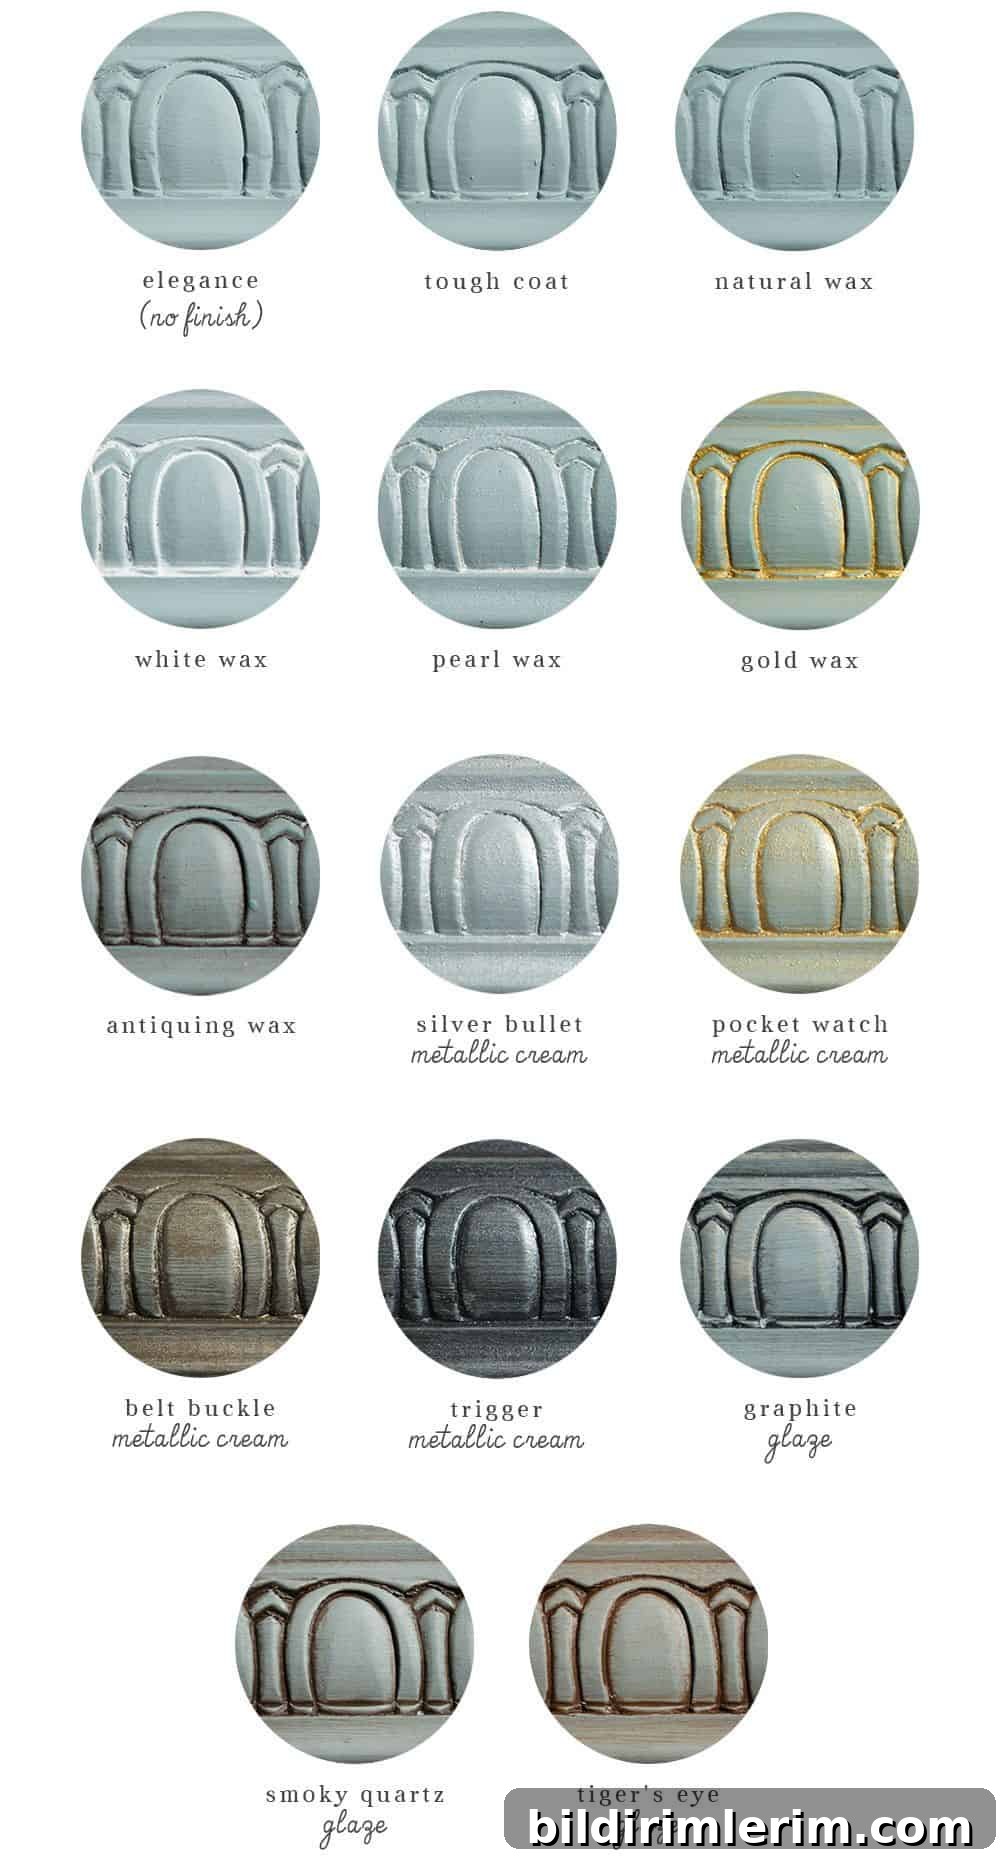
To enhance the detailing and make the crackle and curves stand out, I applied a graphite-colored glaze. Glaze will subtly alter the paint’s appearance and add depth—use a color chart or sample swatches to preview how a glaze will affect your base color.
Brush the glaze into small areas, then immediately wipe the excess away with a damp rag. Apply more glaze in recesses and less on flat surfaces to create natural shadows and highlight carved details.
Step 5: Seal the finish with wax
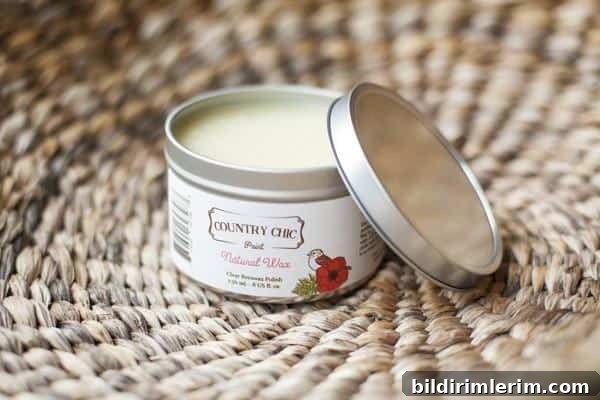
The final step is sealing the painted and glazed surfaces with wax to protect the finish. Since chalk-style paints are porous, waxing is essential. I used natural clear wax, which had no strong odor, and applied it sparingly with a microfiber cloth. Work in small sections, buffing as you go until the surface develops a subtle sheen and feels protected to the touch.
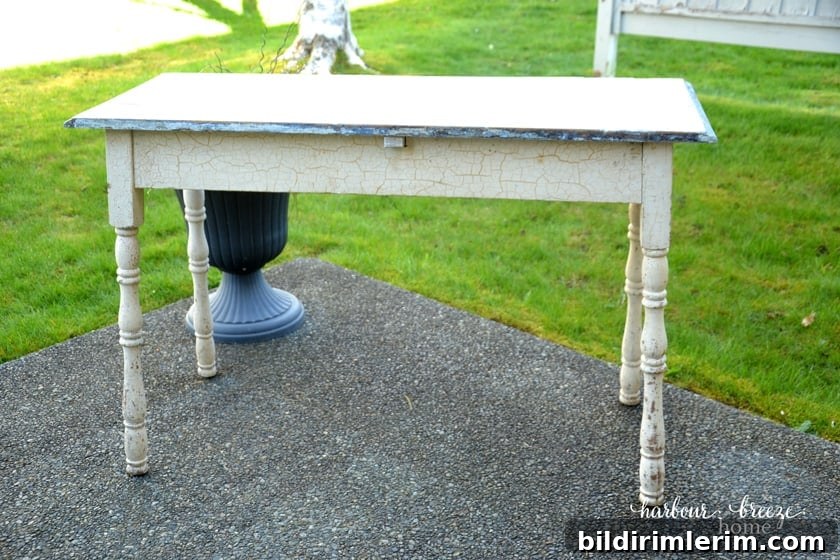
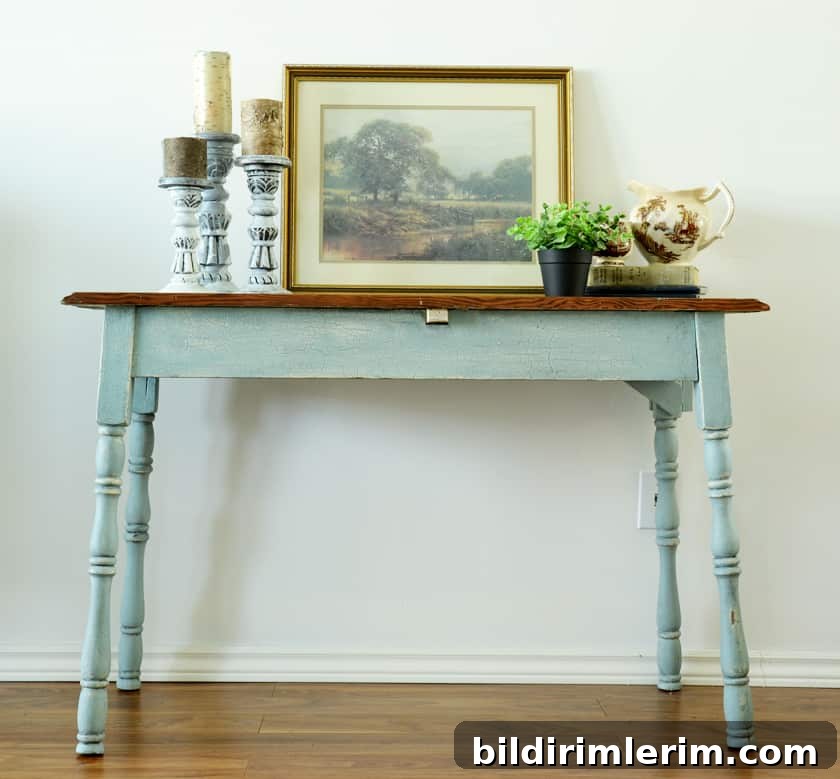
And that completes the makeover. Below is a reminder of the table before the update and the final result. Although it’s technically a table, I use it every day as my desk. I love that the finish preserves the piece’s history and charming wear that only time can give.

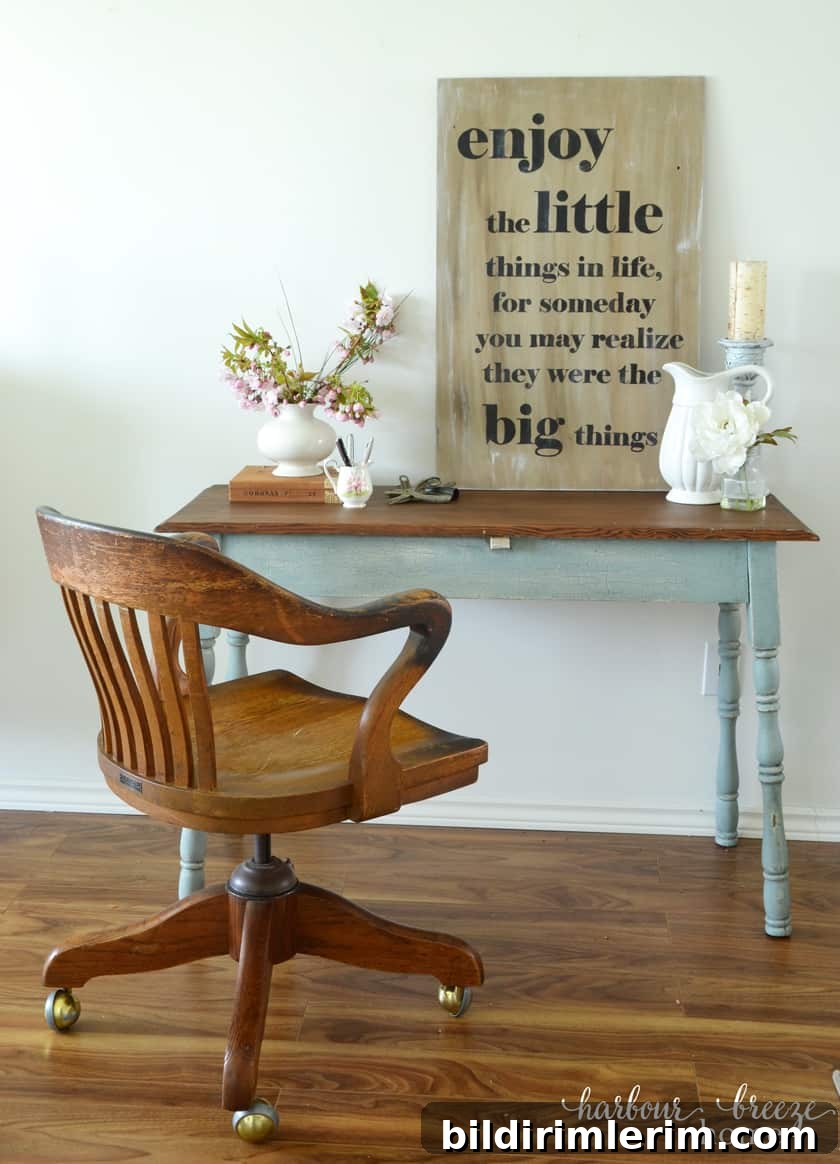
If you’re curious about the paint products I used, search for Country Chic Paint for more details on colors, glazes, and waxes. Many local workshop instructors and stockists can demonstrate the products and techniques in person, which is a great way to learn hands-on.
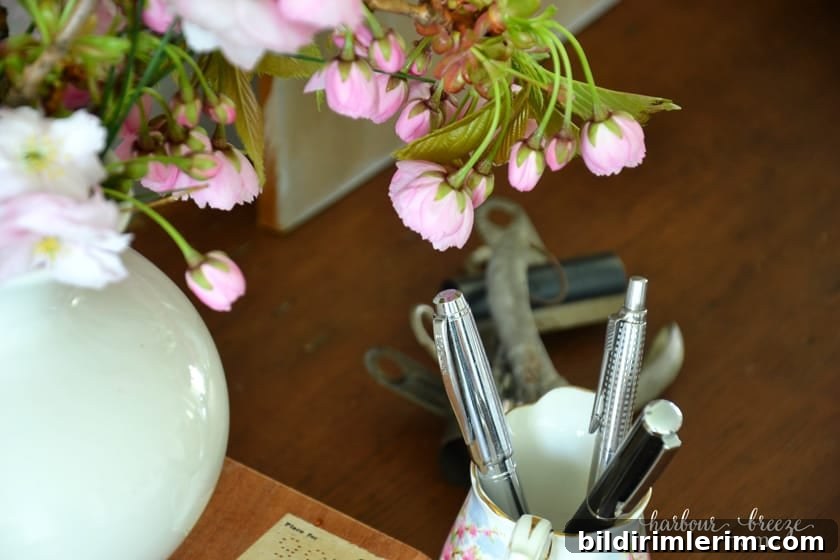
Thank you to Jan for hosting such a fun workshop and helping bring this makeover to life. The finished table blends preserved history with a fresh, painted farmhouse style—perfect for daily use as a one-of-a-kind desk.
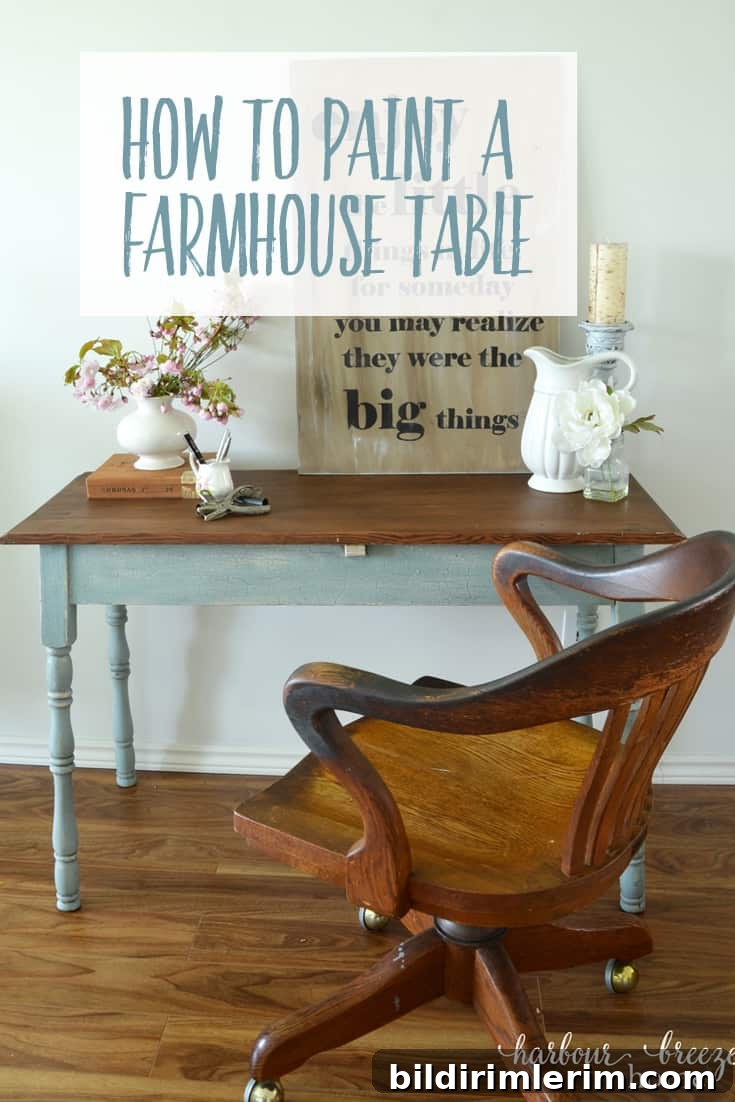
Note: Product photos used in this post were sourced from the paint manufacturer’s materials. This was not a sponsored project.