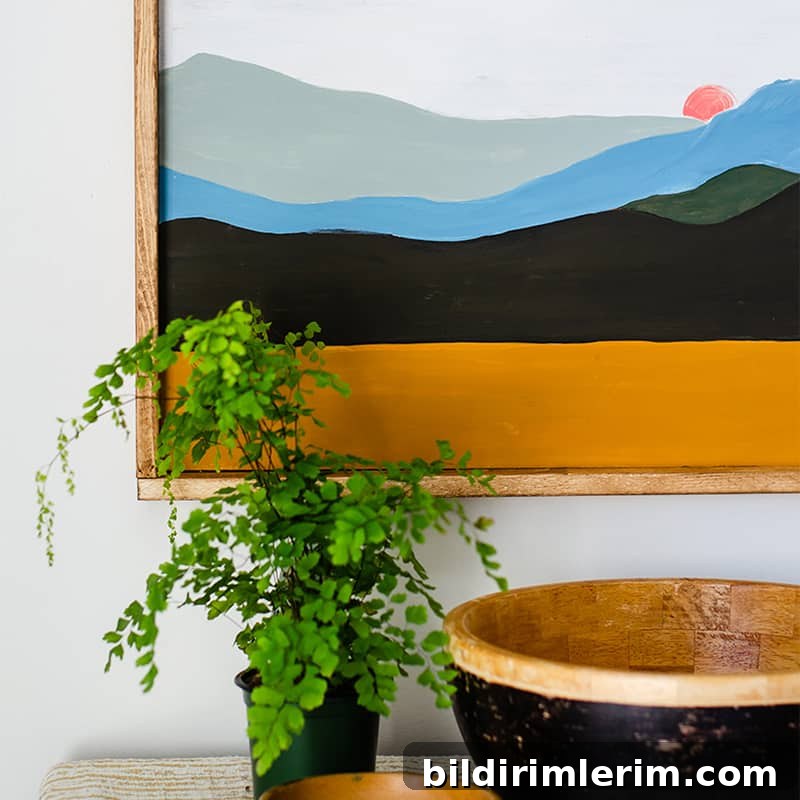
Dress a blank wall with this simple DIY boho landscape — an easy, modern mountain painting you can customize to suit any room.
When I chose “boho” as part of my Master Bedroom makeover style, I didn’t fully understand the term. I later learned that boho draws on the free-spirited, artistic sensibilities associated with the 1960s and 1970s, which for me meant embracing natural textures, layered colors, and simple, expressive art.
Even if you don’t identify as a lifelong free spirit, boho elements can add warmth and personality to a room. While hunting for inspiration I found several pieces described as “boho” on Pinterest and was drawn to the clean lines and color-blocked shapes in modern boho art. That led me to try painting my own simple landscape with bold, layered mountain shapes — and it turned out to be an easy, enjoyable project.
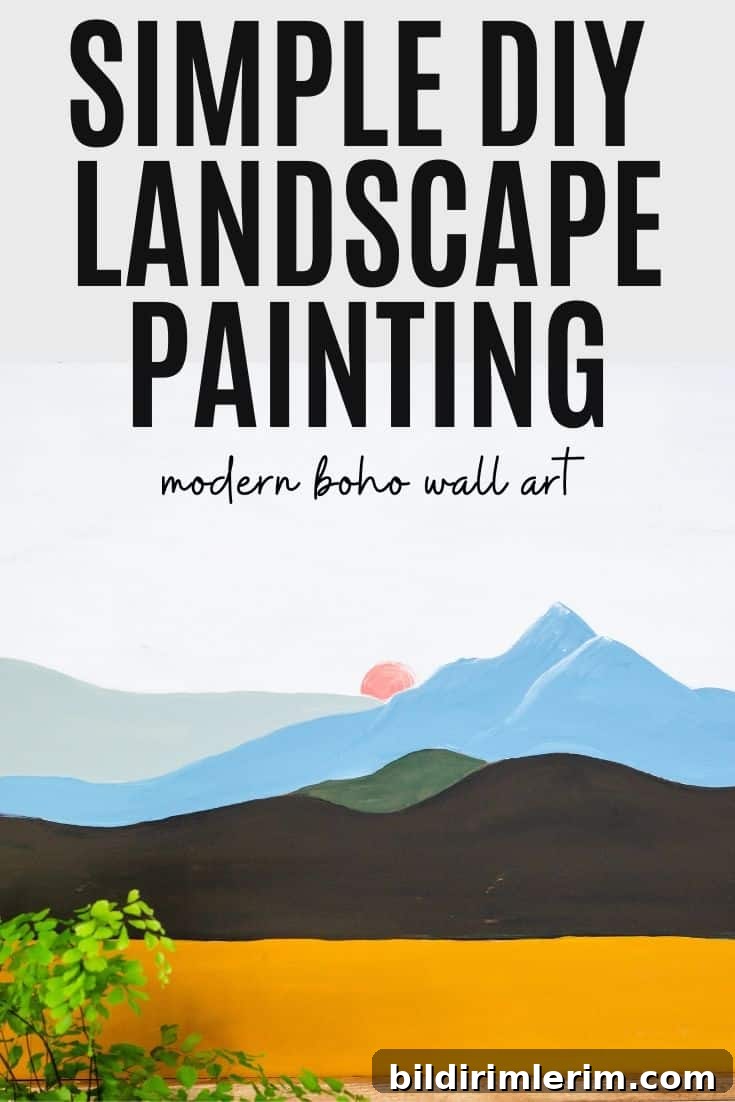
How to Make a Simple Boho Landscape Painting (DIY Mountain Art)
Supplies used for this DIY wall art
One of our goals for the Master Bedroom makeover was to use items we already had, so this painting began as a recycled piece. The base is an old wooden sign I made years ago from MDF plywood (31.5 inches wide by 20 inches tall). It worked perfectly as a canvas after a fresh coat of paint.
Other supplies you’ll need are straightforward and budget friendly:
- Acrylic craft paints in a range of colors
- House paint or craft paint for a white base coat
- A variety of paint brushes (flat brushes for blocking in color and a smaller brush for touch-ups)
- 1 × 2 inch boards to build a simple frame
- Wood stain (or paint) for finishing the frame
Find your visual inspiration
I wanted the painting to feel meaningful, so I used photos from an evening walk — layers of distant mountains meeting the ocean — as my reference. Those overlapping mountain silhouettes and variations in tone became the template for my color-blocked boho landscape.
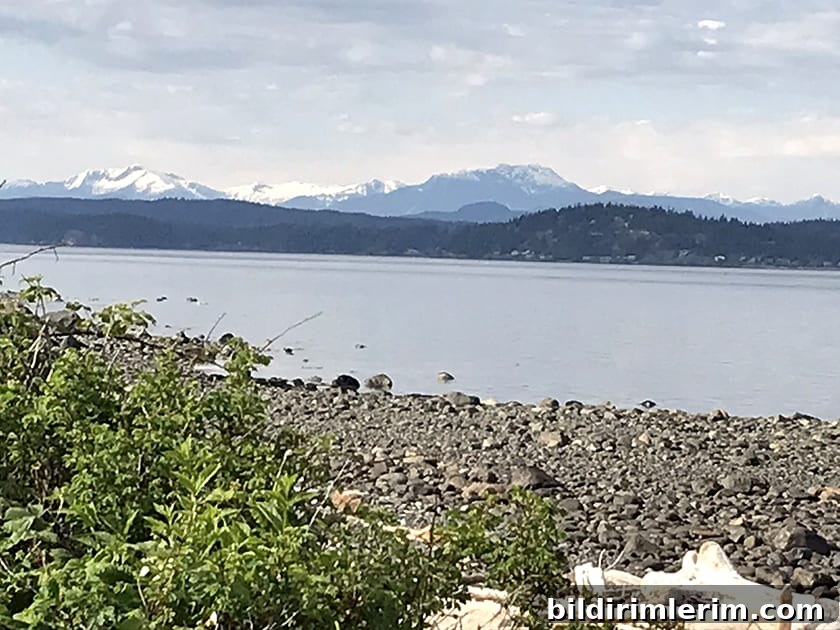
That photo helped me plan the sequence of layered shapes and decide where the sky, moon, and shoreline would sit on the panel.
Step 1: Paint a white base coat
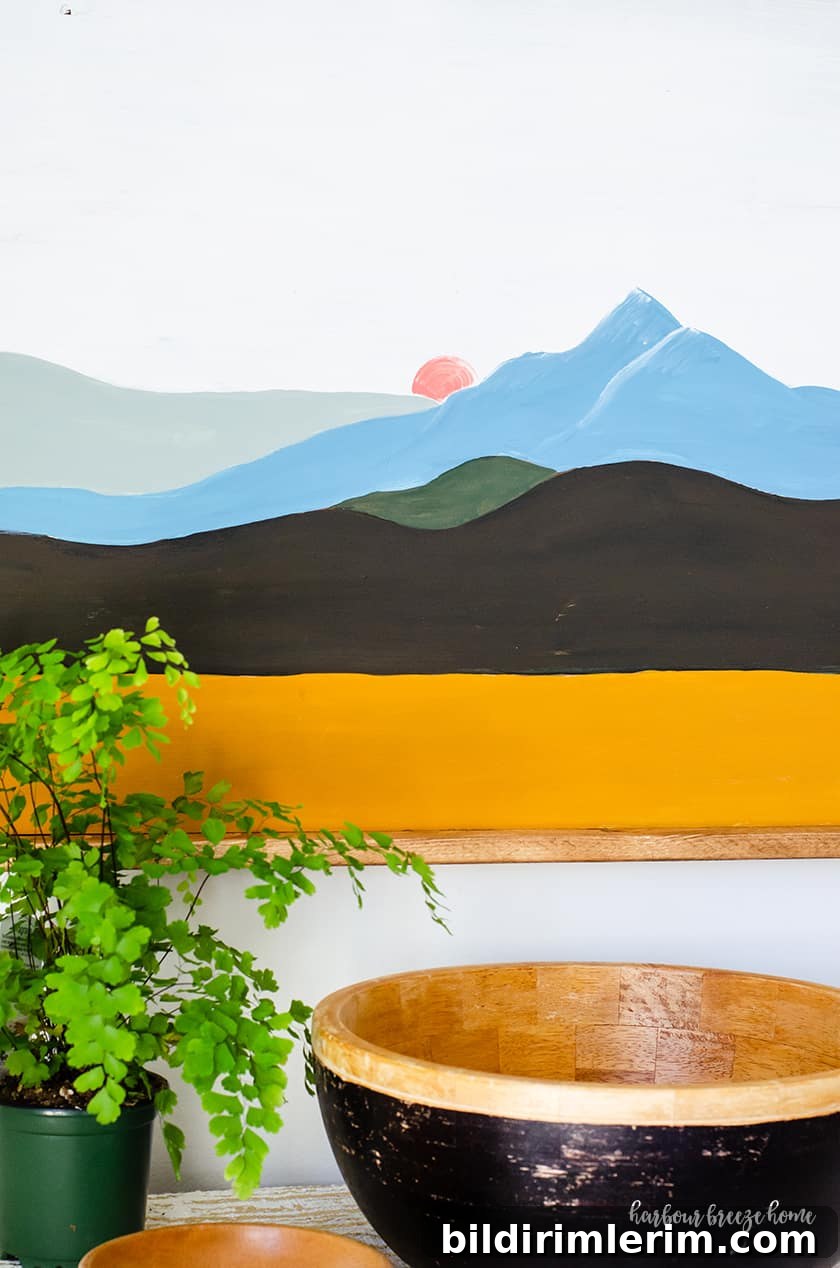
Start by applying two even coats of a white base paint so colors laid on top will read cleanly and vibrantly. Allow the base to dry fully before moving on — a hair dryer speeds up drying if you’re short on time. A smooth, fully dry base ensures your color blocks have crisp edges.
Step 2: Lightly sketch the layered shapes
Use a pencil to draw simple, flowing lines that define each color block. Keep the shapes organic and varied: wider curves for distant ranges, sharper peaks for foreground mountains. The pencil lines act as a guide but don’t worry about perfection — a slightly imperfect edge enhances the handmade boho feel.
Step 3: Paint from bottom to top, choosing harmonious colors
Block in paint starting at the bottom layer and work upward so you avoid smudging lower sections. I mixed custom shades from acrylic paints I had on hand, experimenting until each layer read well against the one above it. If you’re unsure about color choices, test small swatches on scrap wood before committing to the main panel.
Helpful tips for color and texture:
- Limit your palette to three to five colors to keep the design cohesive.
- Consider adding a subtle muted tone for distant layers and richer hues for the foreground.
- Use a flat brush for even coverage and a slightly smaller brush to neaten edges or correct mistakes.
Step 4: Frame the painted panel for a finished look
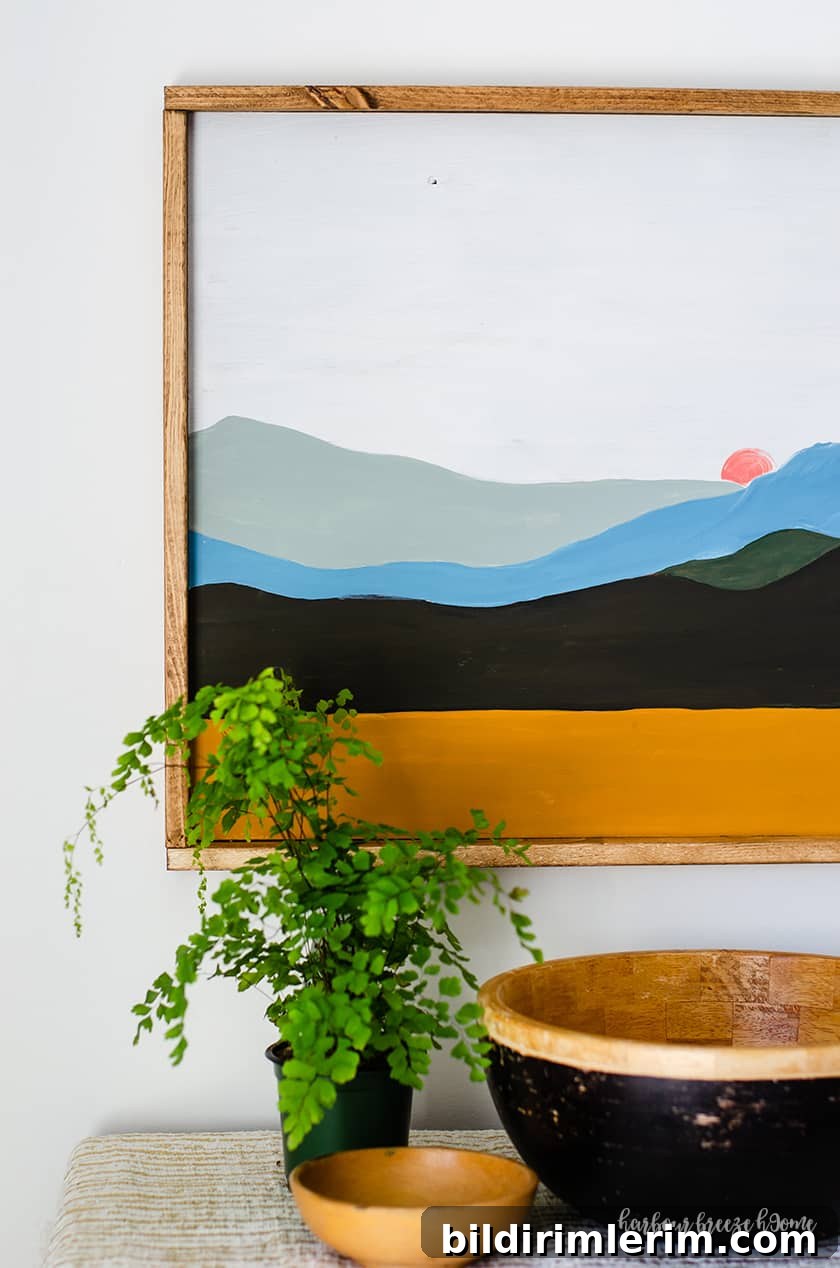
A simple wood frame elevates the piece and adds a natural boho touch. We used thin 1 × 2 boards trimmed and stained to create a clean, shadow-box effect. The frame also helps the painting sit comfortably above furniture and anchors it as a focal point in the room.
Step 5: Hang and enjoy your boho wall art
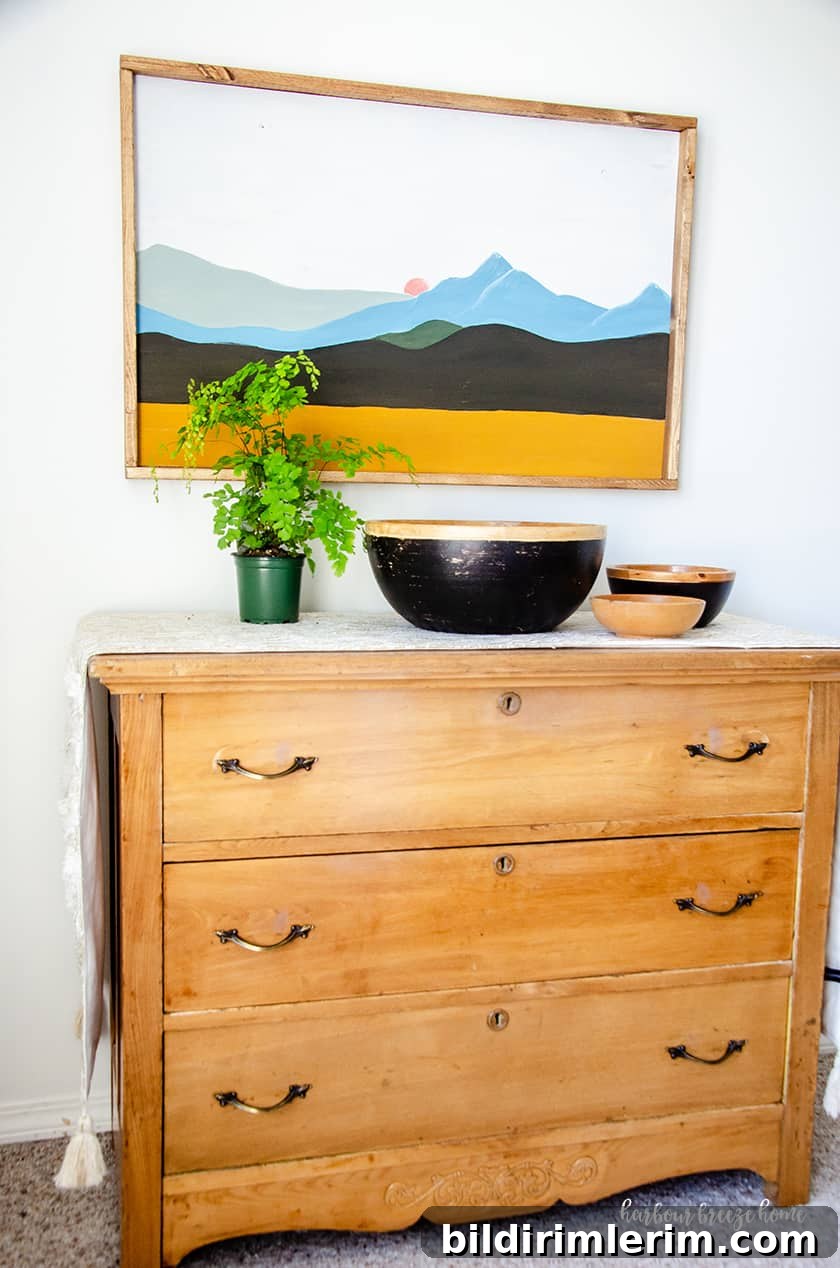
Once the paint and stain are dry, hang your artwork at eye level and step back to enjoy how the layered colors and simple lines transform the space. A few well-placed decorative objects nearby — plants, wooden bowls, or woven textures — will complete the boho vibe.
More boho wall art ideas and inspiration
- Free modern boho-style printables are an inexpensive way to add coordinating art to a gallery wall.
- Simple boho rainbow printables pair well with color-blocked landscapes and are suitable for any room.
Join a creative community for more DIY ideas
If you enjoy budget-friendly projects, recipes, and home decor tips, consider joining a VIP group where you can find additional tutorials and community support for DIY makeovers.