Yesterday I shared how my sister and I set out to transform her kitchen in just seven days. If you missed that post, here’s a clear look at the space before we began and the thoughtful updates we made to create a fresher, more functional kitchen and dining area.
Here’s the kitchen before the makeover:
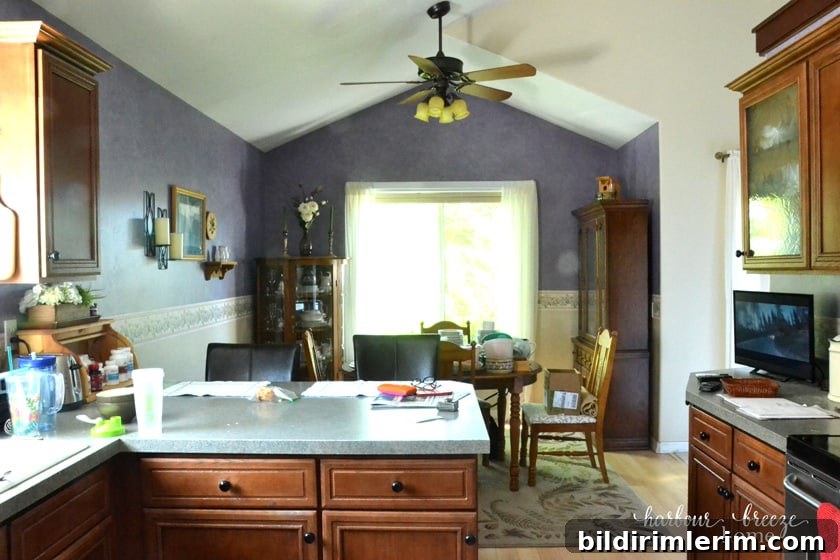
The room had a traditional feel with cherry cabinets and a dining room opening at one end. It worked well for everyday life, but it felt dated and crowded in places.
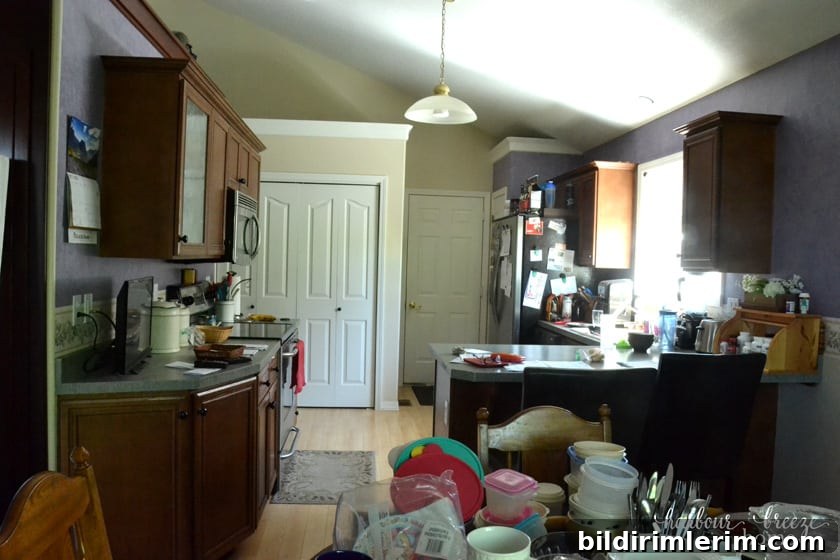
On the far side of the fridge there’s a narrow closet, and the double doors conceal a compact laundry area. These practical features were helpful but left little room for improvements that would enhance the visual flow.
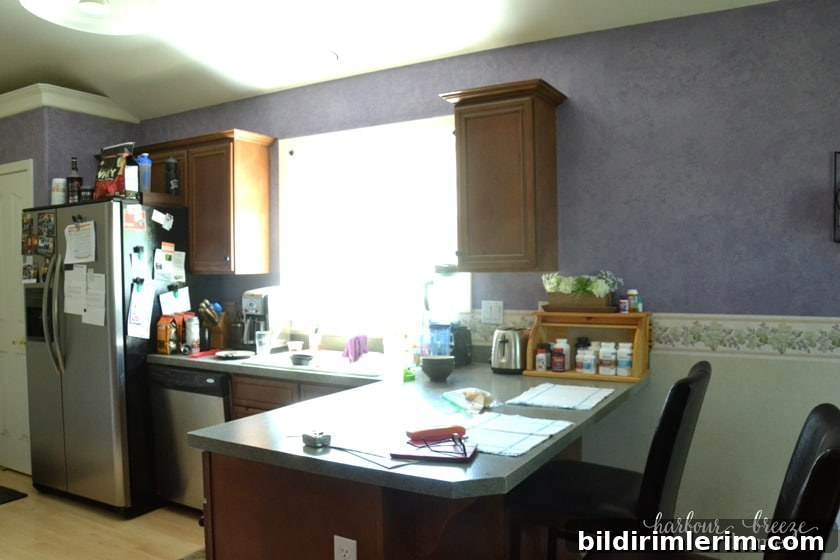
A pull-up counter served as a daily gathering spot for coffee and quick meals. We wanted to keep that convenience while giving the whole space an updated, cohesive look.
A large part of the makeover focused on organization. We removed unnecessary items and clutter, freeing up space for functional and decorative improvements. Clearing out seldom-used pieces allowed the kitchen to breathe and created room for a few simple, high-impact changes.
That narrow cabinet beside the window only stored a handful of everyday items like coffee filters, so we removed it and refreshed the surrounding area with several coats of Whitetail paint by Sherwin Williams—out with the purple sponge paint and in with a clean, neutral finish.
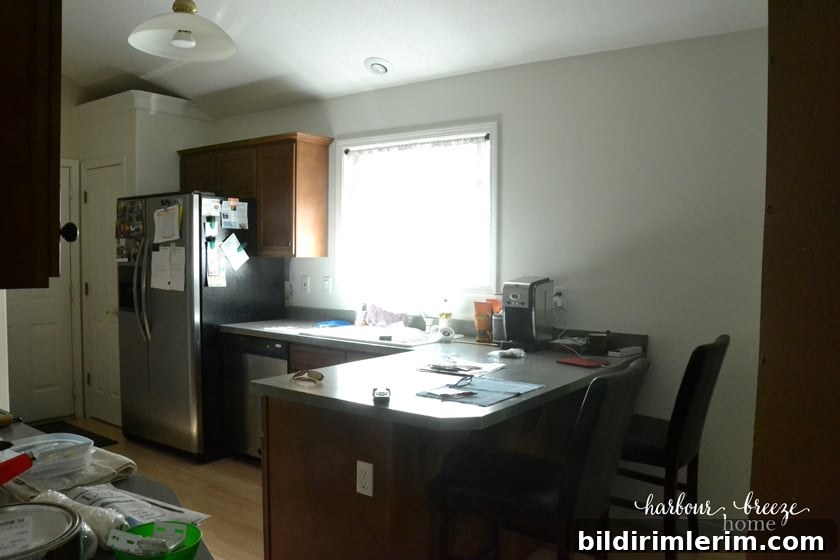
In place of the unused cabinet we installed two open shelving units, which immediately created an attractive and practical coffee bar. Open shelves add visual texture, make frequently used items easy to reach, and help the kitchen look lighter and more personal.
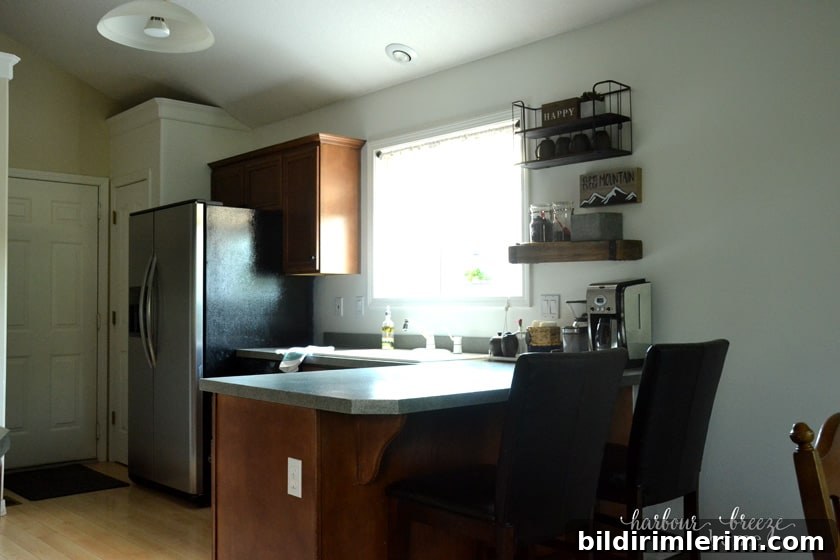 We found the shelves at Hobby Lobby the day they were half price, which was a great bonus—but sourcing affordable pieces is only part of the story. What matters most is arranging them so they feel styled and useful.
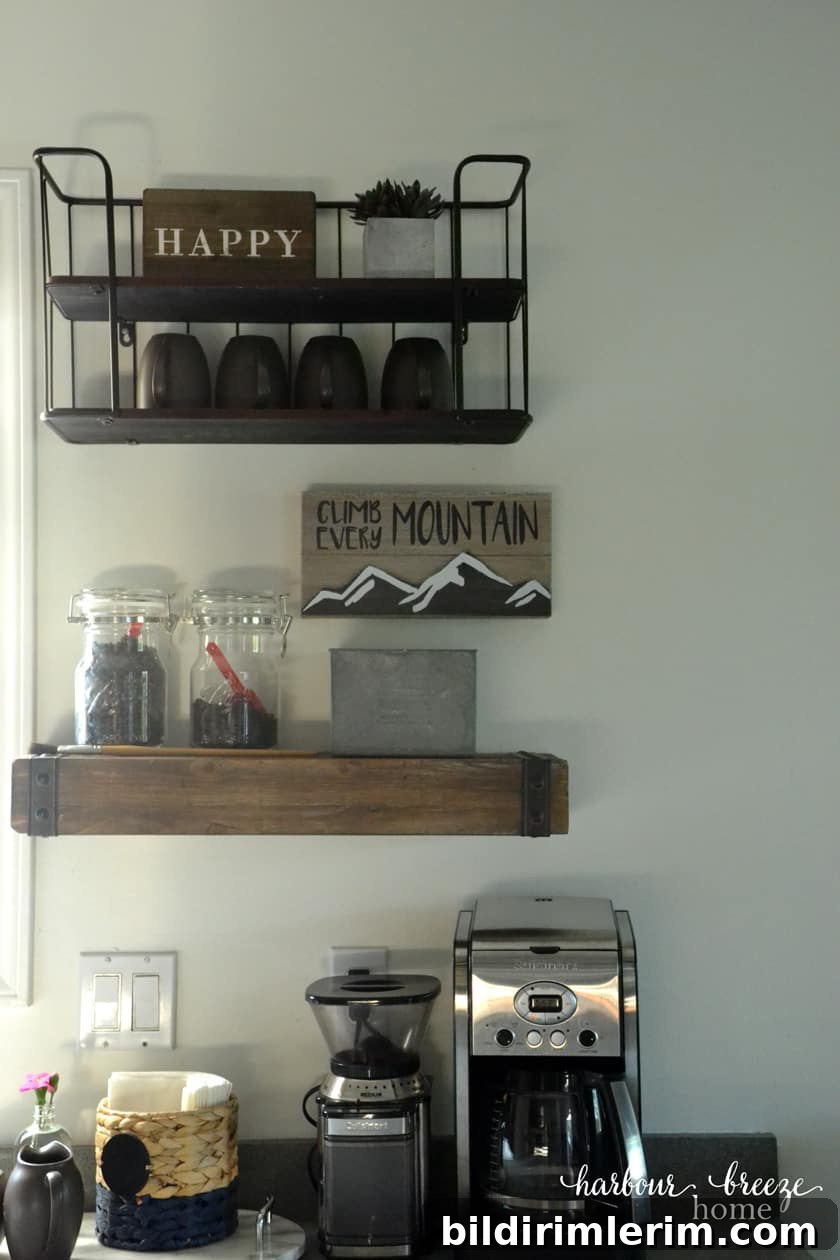
Those shelves provided just the right touch of character and texture the kitchen needed without overwhelming the existing cabinets.
The dining room received a noticeable update when we removed a bulky china hutch. This single change opened up the floor plan, making the entire combined kitchen and dining area feel larger and more inviting.
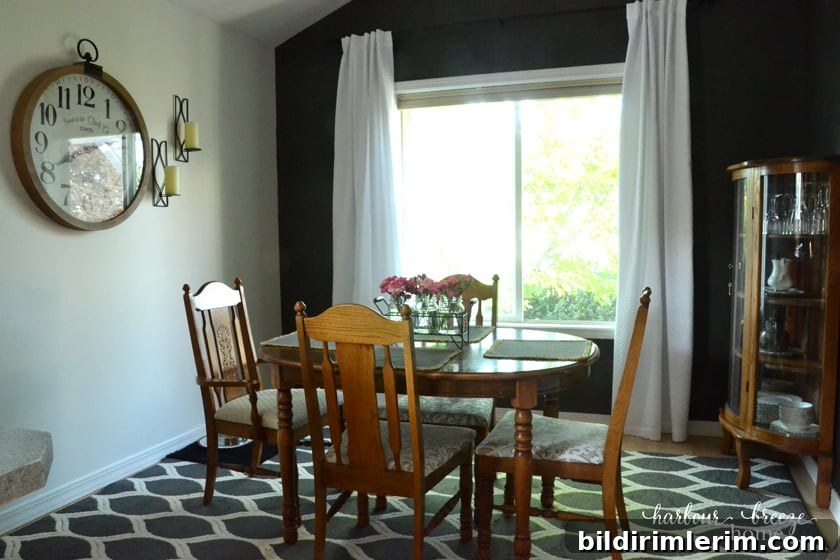
To introduce a focal point and add sophistication, we painted the peak wall in Urbane Bronze by Sherwin Williams. The deep, neutral tone provides contrast and anchors the dining space, elevating the overall color palette.
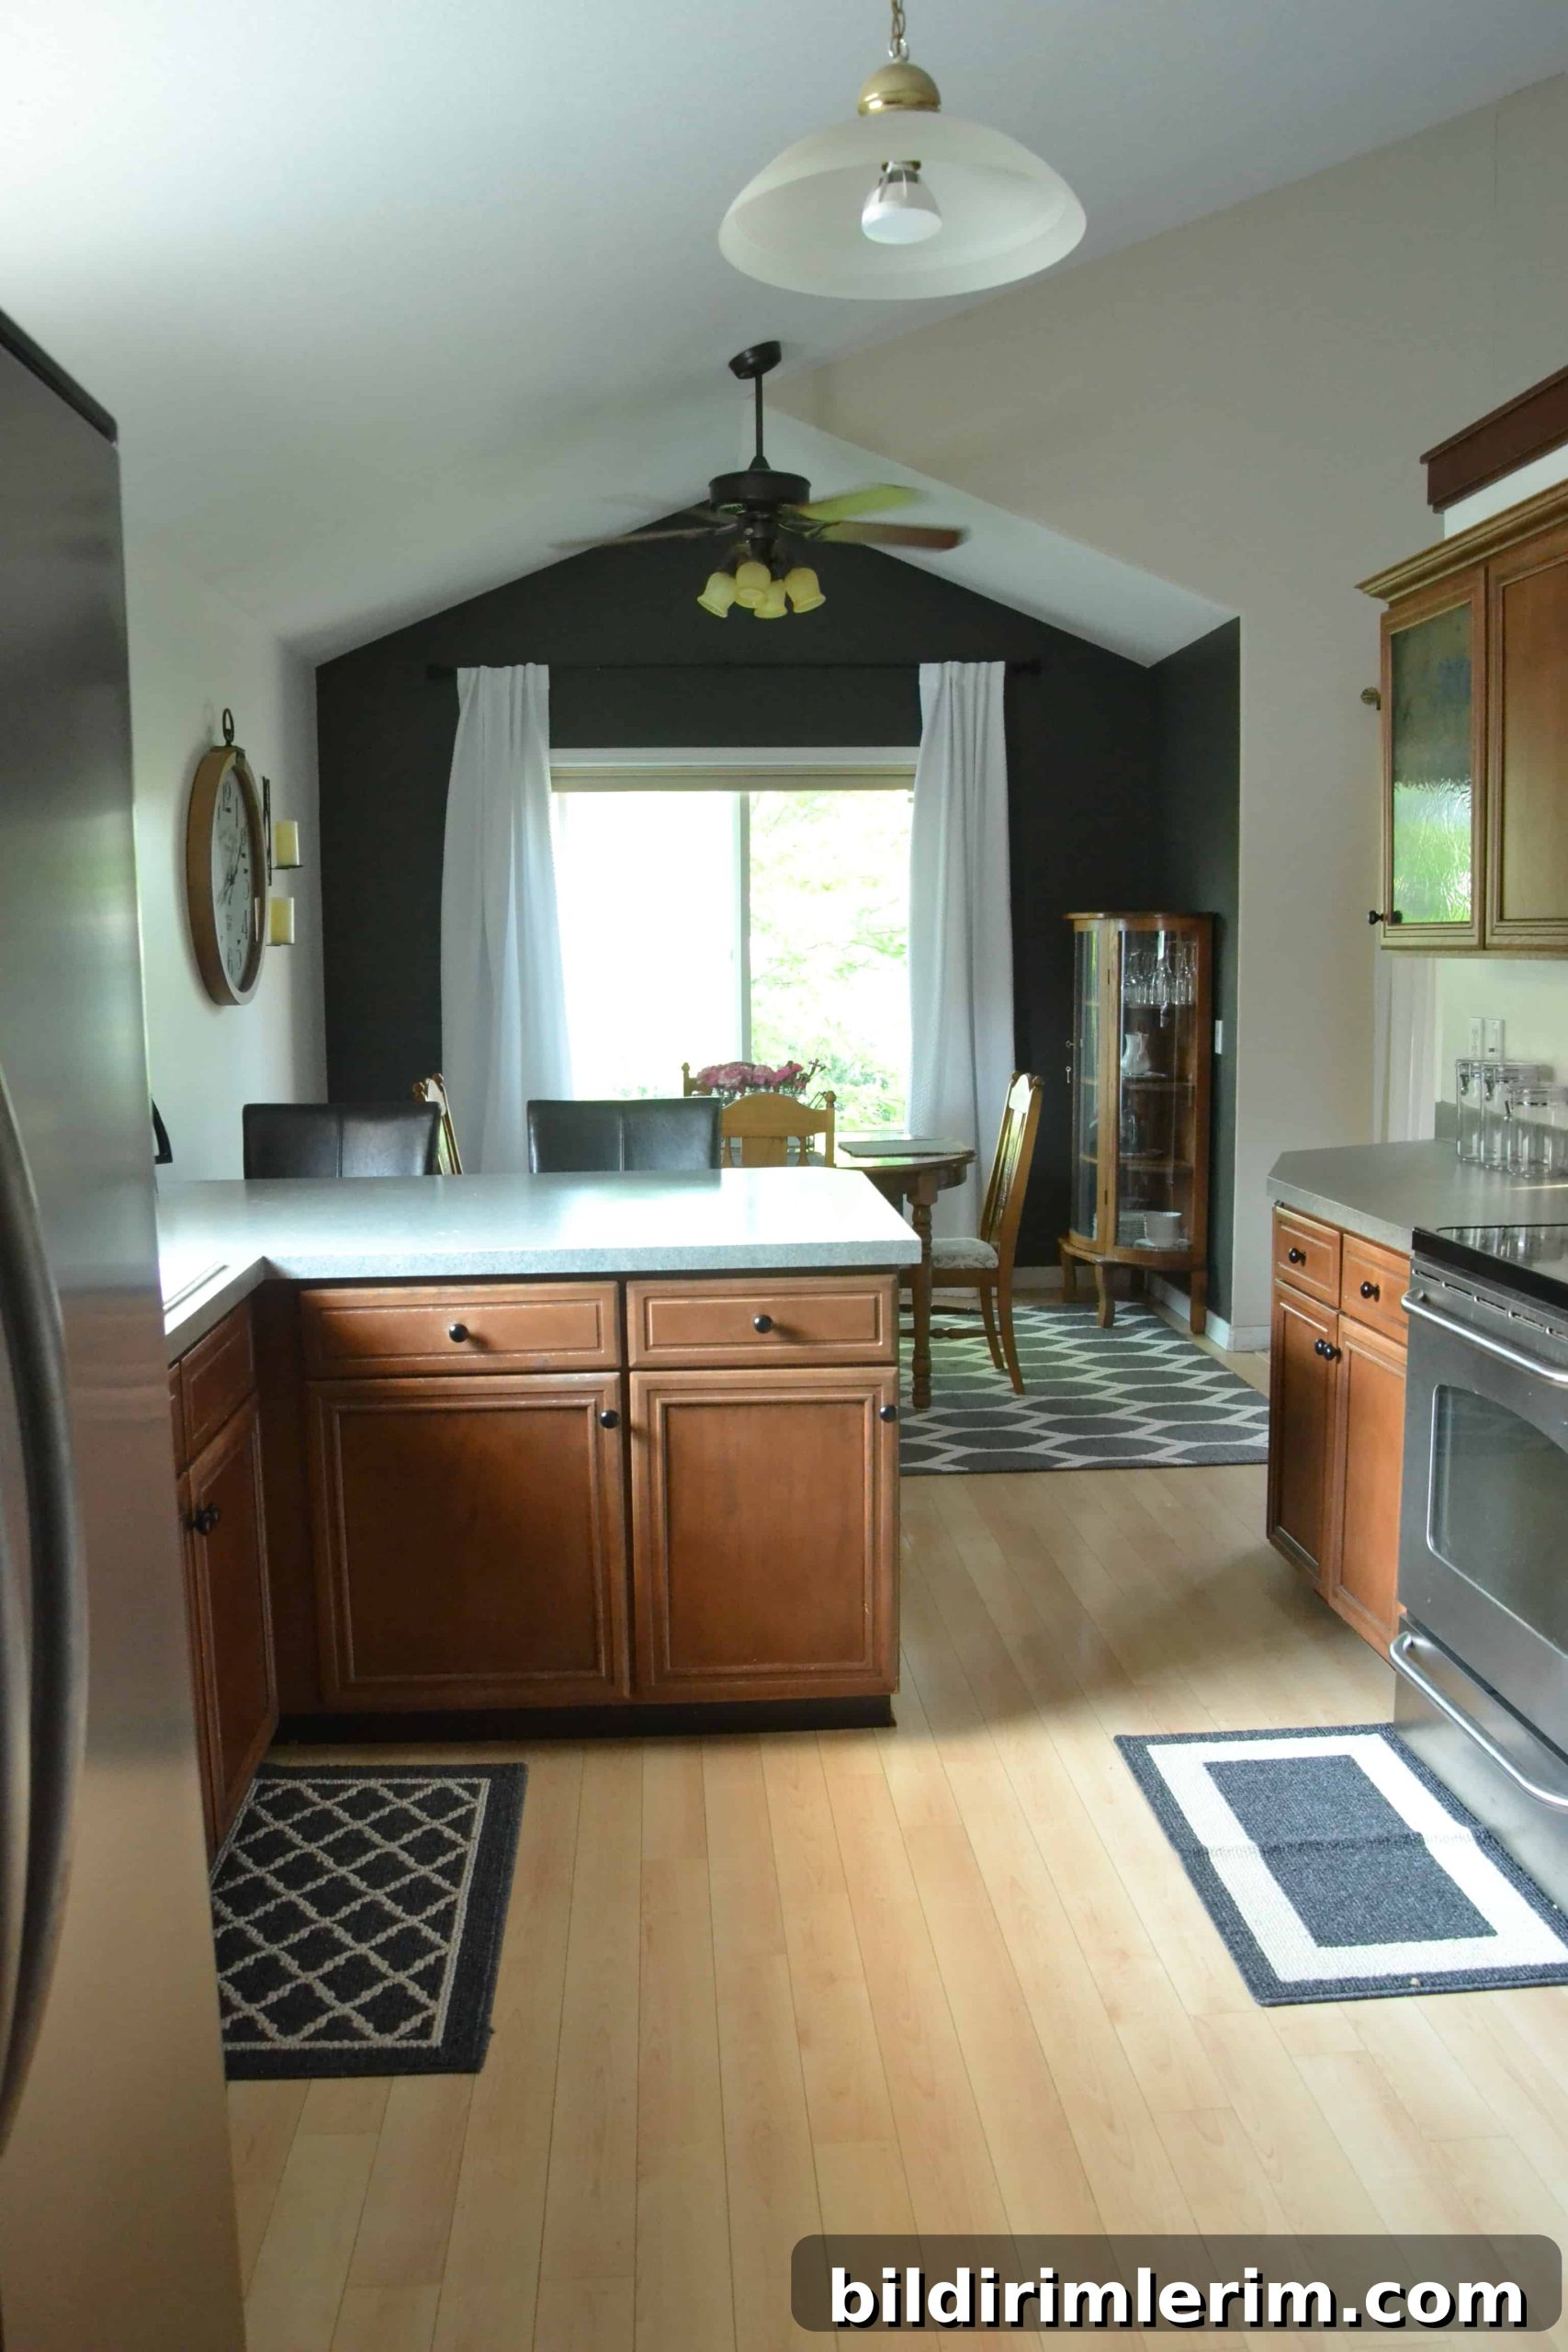
We also added 96-inch white curtain panels. Longer curtains visually raise the ceiling and create a more elegant, cohesive look between the kitchen and dining areas.
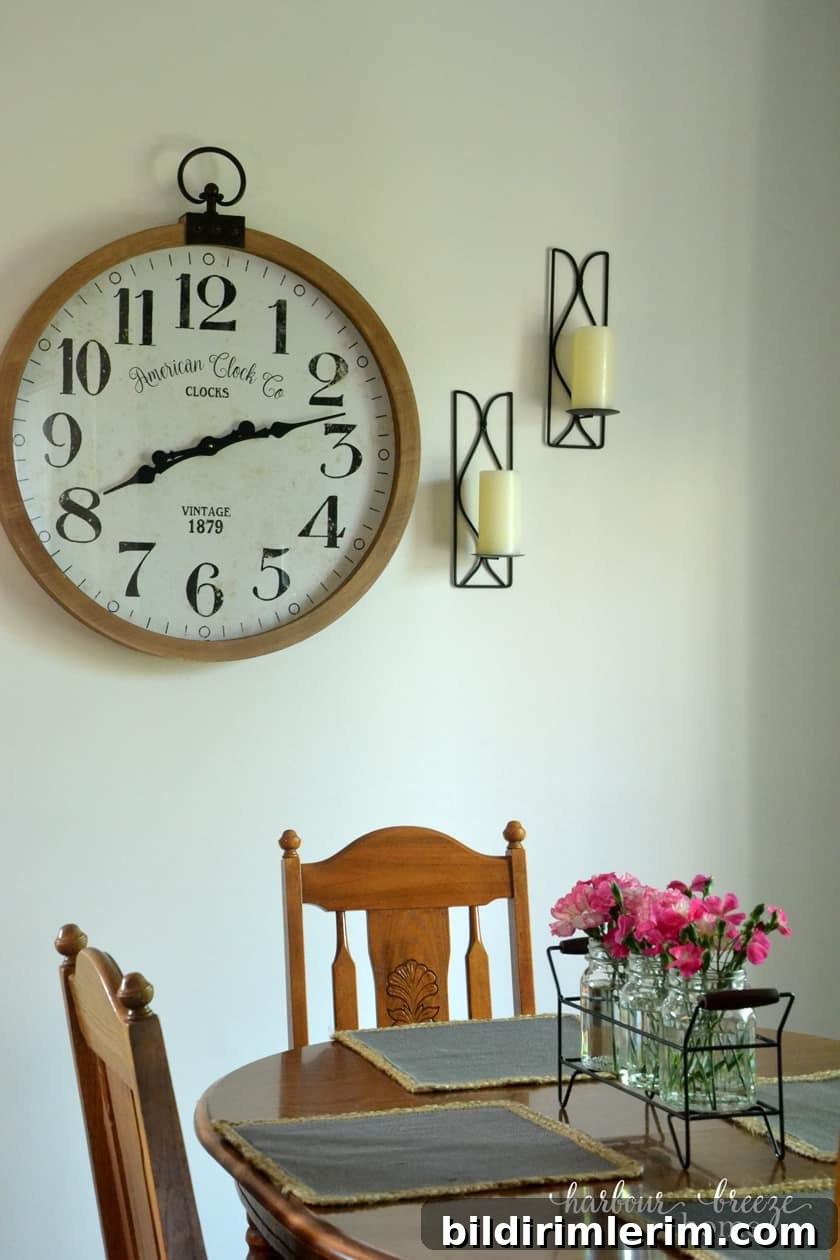
A large wall clock from Hobby Lobby brought warmth, texture, and a functional focal point to the white wall. Small accessories like this are an easy way to introduce personality without cluttering the space.
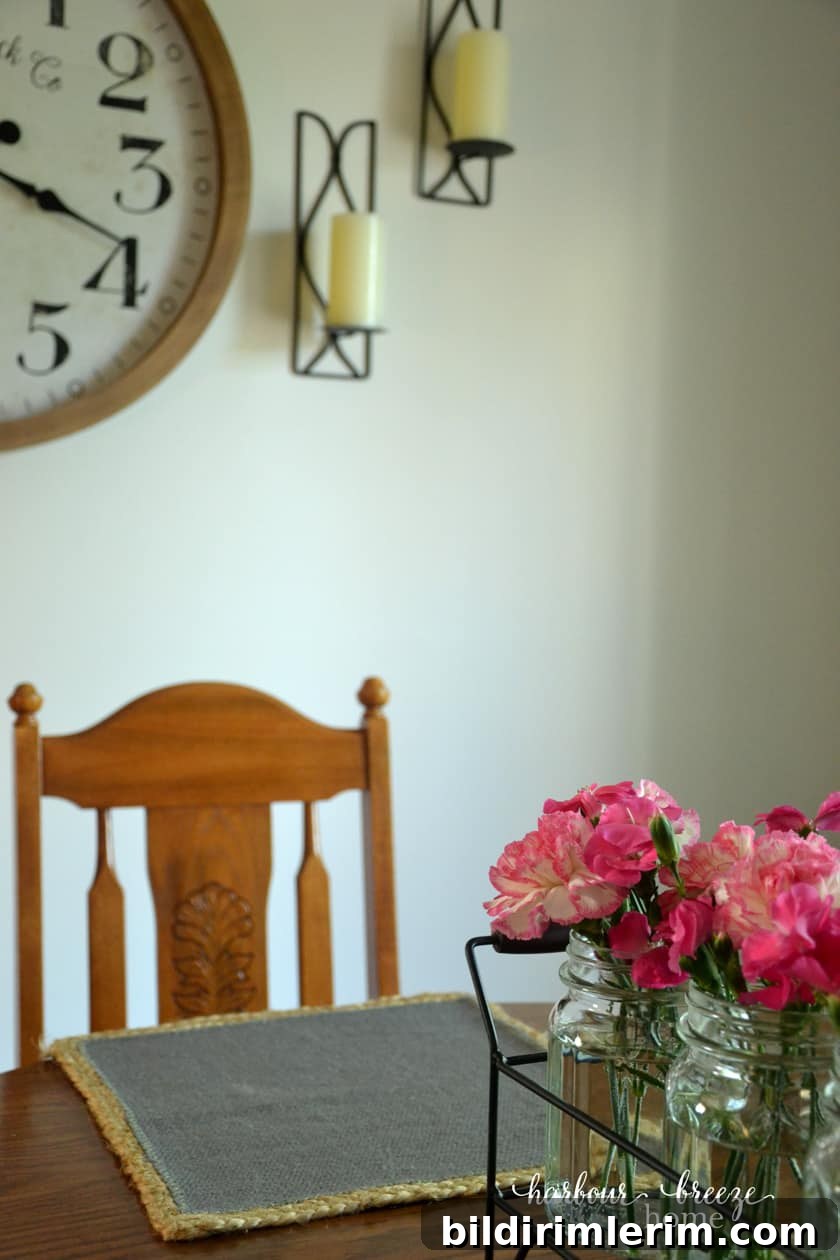
We removed outdated placemats and towels and replaced them with fresh, coordinated items. Simple swaps—square burlap placemats and mason jars used as flower vases—add charm and a modern farmhouse feel without a lot of expense.
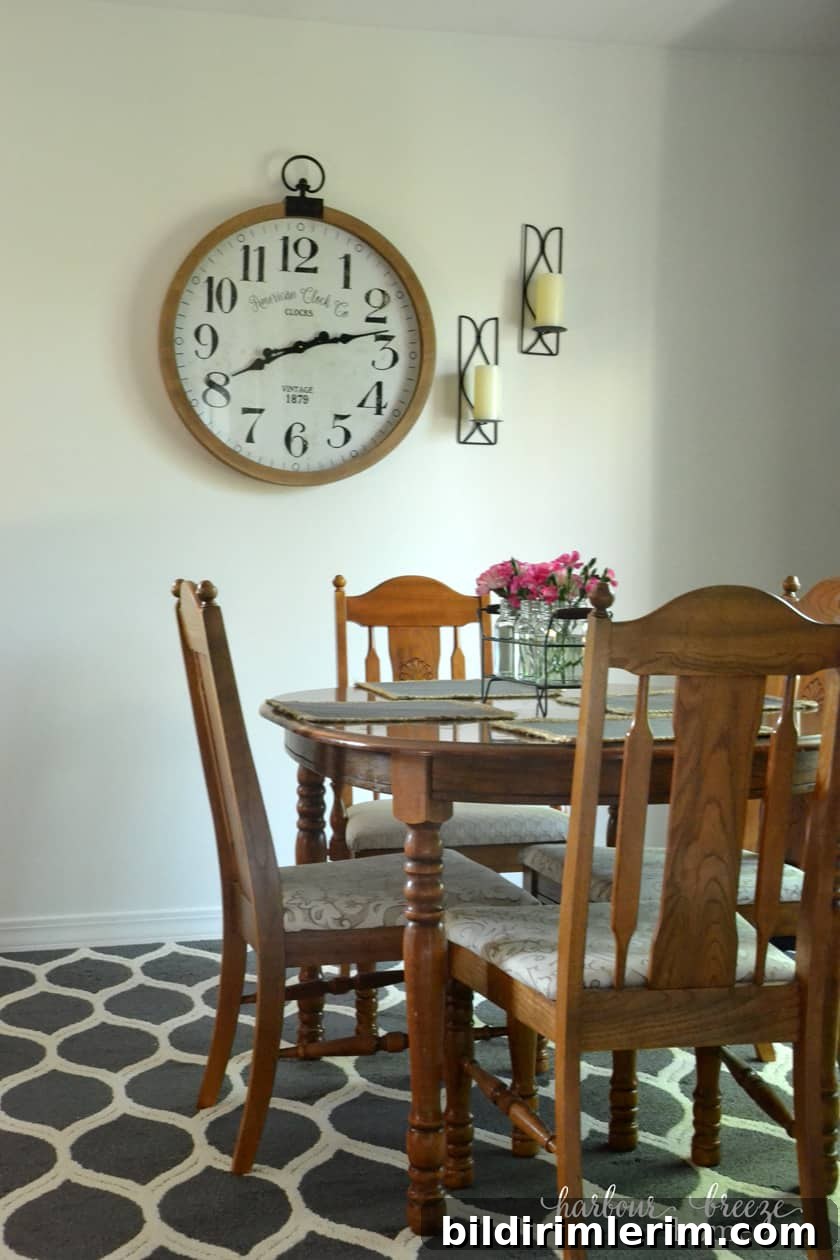
A printed rug from Walmart helped ground the dining area and introduced pattern and color that ties the whole room together. Rugs are an effective way to define a dining zone while adding comfort and visual interest.
Working on this kitchen makeover was a lot of fun and very rewarding. The changes were deliberate: declutter, repaint, add open shelving, update textiles, and introduce a few well-chosen accessories.
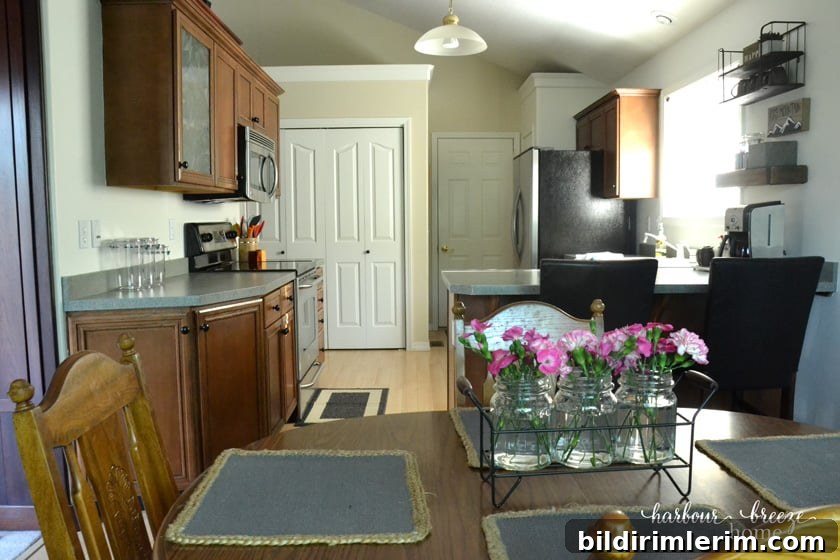
The project isn’t entirely finished—we discussed countertops and tile options during a long FaceTime planning session—so there may be another update in the future.
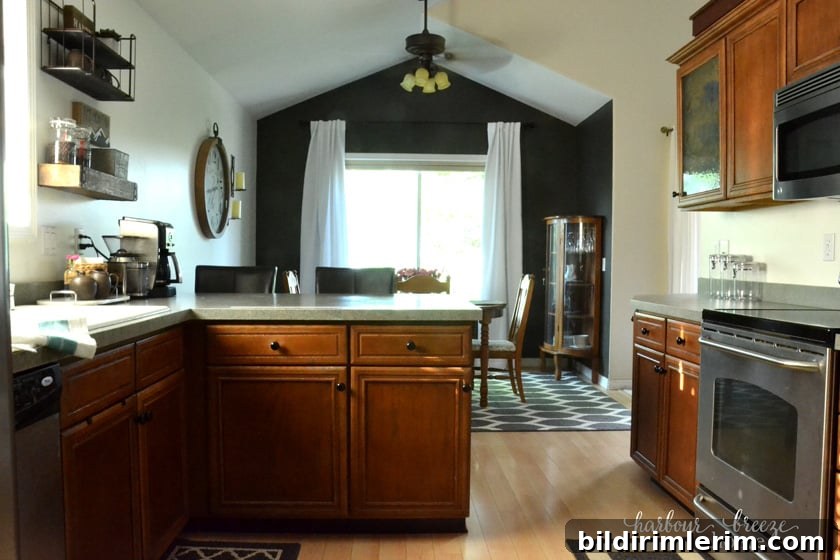
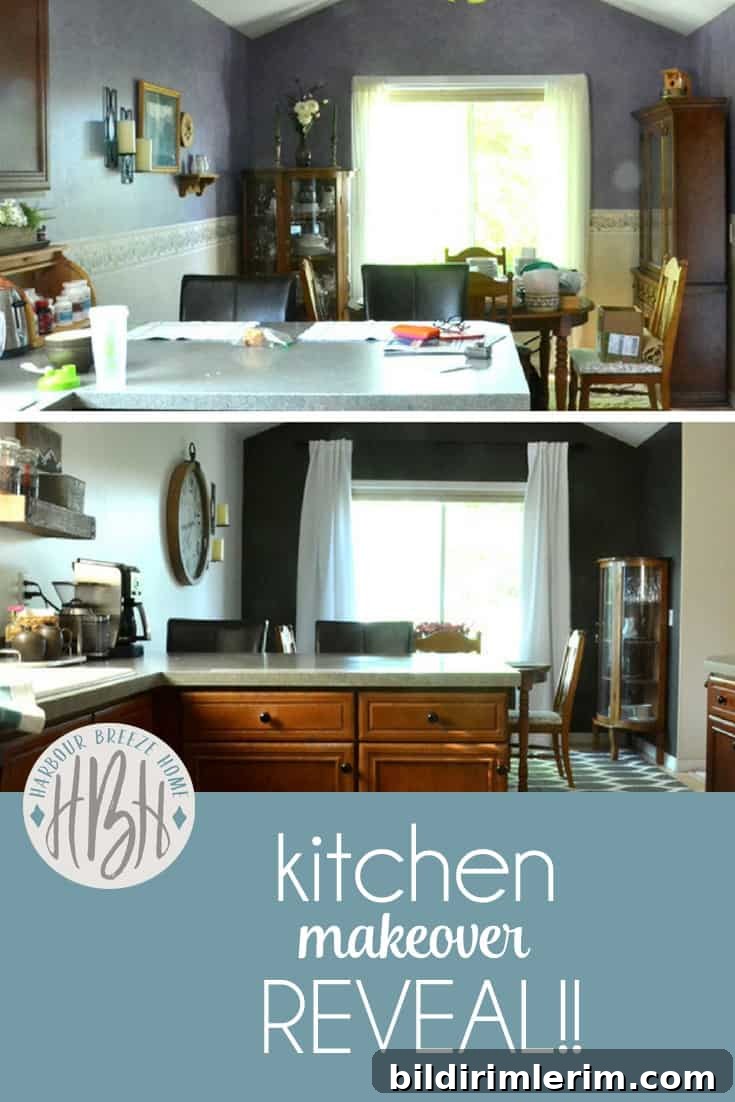
For now, here are a few side-by-side before-and-after views that show how small, thoughtful changes can have a big impact on both functionality and style.
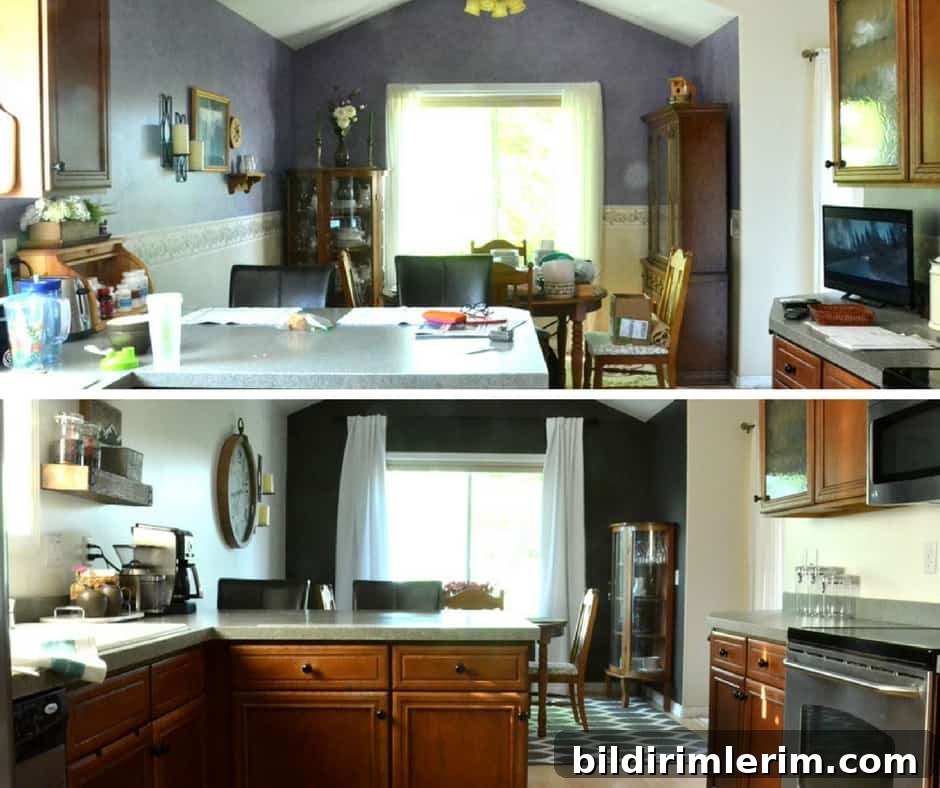
Before & after looking into the dining room.
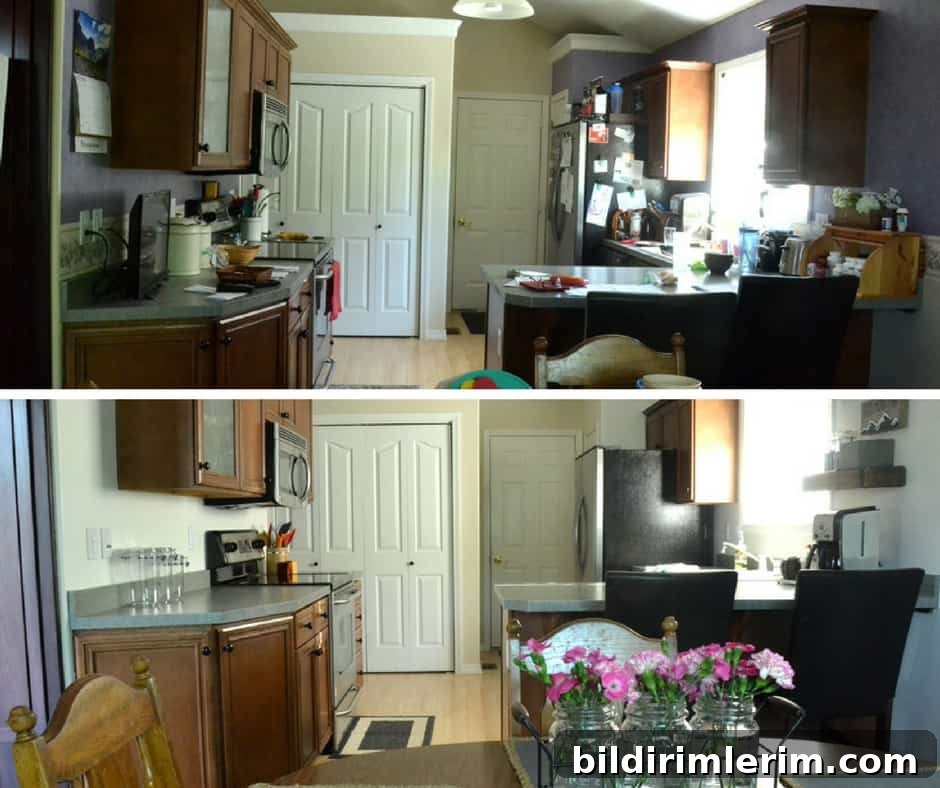
Before & after from sitting at the table.
More Kitchen Remodel Posts
- The $159 small kitchen remodel
- Options for the best paint color for a small kitchen
- Adding kitchen storage with clever ideas
- How to make your own pendant light for above the sink
- Before-and-after small kitchen remodel inspiration