
How I Primed an Old Fir Board Ceiling: A Messy DIY Lesson
I almost forgot how chaotic priming a fir board ceiling can be—until I felt a big splat of paint hit my face. That single moment reminded me: priming an old, stained wood ceiling is a messy job and not a quick weekend project.
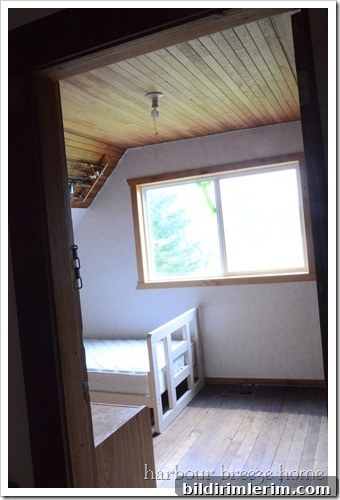
If you’re searching for an easy, fast DIY, this isn’t it. Working with aged fir boards means you must address deep staining and tannin bleed before you apply any latex paint. From experience, I learned that using an oil-based primer first is essential: without it, the tannins and old stains push right through latex paint and cause yellowing and discoloration.
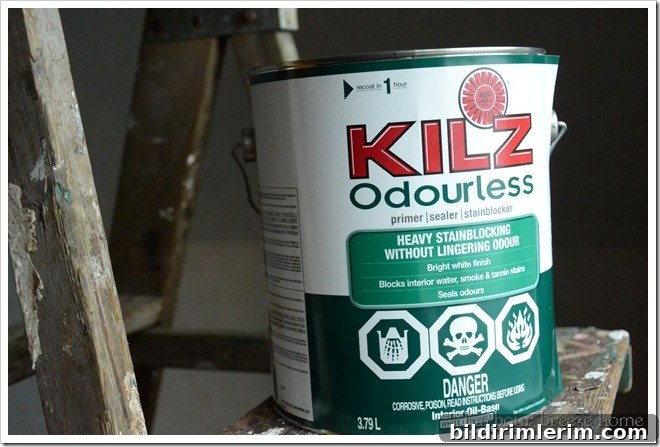
My solution was a low-odor oil-based primer that seals the wood and blocks stains. It’s not glamorous, but sealer is the step that makes a white or light-colored finish possible on old boards. For anyone doing a similar project, “oil-based primer for stained wood” is a keyword to remember when shopping.
Application technique matters as much as primer choice. I found a foam roller works best for pressing primer into the grooves between boards. You need to load the roller generously and press—really squish—the primer in so it fills the gaps. If you skimp, you’ll see dark lines along each board even after you paint.
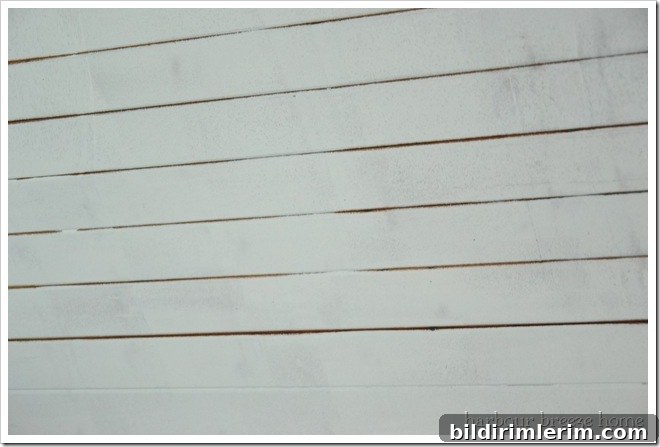
At first, my husband thought getting primer between the boards would be impossible. I was determined to test the foam roller method and make sure every seam was sealed. When you press enough primer into the joints, the ceiling looks uniform and those shadow lines disappear.
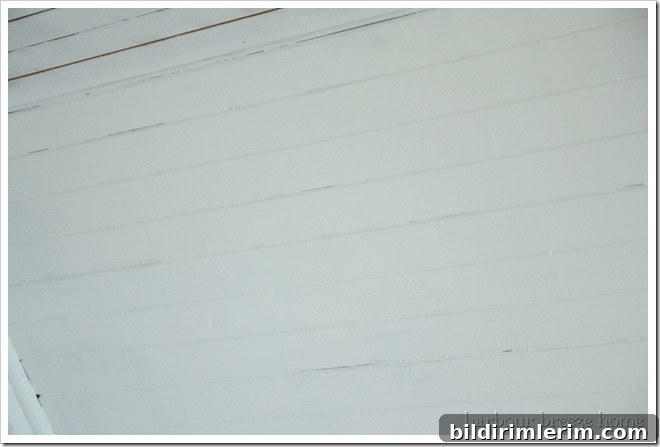
But the real trouble started when I moved to the ceiling. Working overhead with a loaded foam roller is a recipe for splatter. No matter how carefully I rolled and pressed, paint dripped and splattered down—on the floor, on the furniture, and unfortunately, on me. If you’re planning to prime a ceiling, prepare for a near-constant rain of tiny paint drops.

For protection I wore a shower cap to keep paint out of my hair (a silly but effective trick). Wear old clothes, cover the room thoroughly with drop cloths, and use eye protection. I also recommend taping plastic over light fixtures and anything you can’t move. Despite precautions, I spent a long time scrubbing paint from my arms and removing spots from the floor—so factor cleanup time into your project plan.
Even with the mess, the results were worth it. After the primer dried and I applied a final topcoat, the ceiling looked fresh and consistent. The sealer stopped tannins from bleeding through and gave a clean base for the finish coat. Patience and careful technique pay off when renovating older wood ceilings.
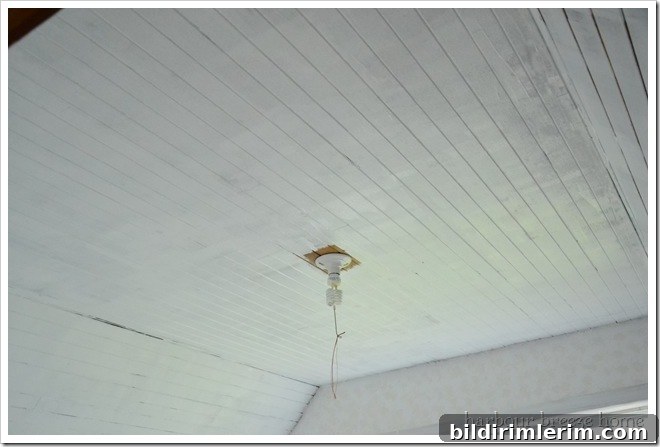
A few practical tips from my experience:
- Always use an oil-based stain-blocking primer on old, stained fir boards.
- Apply primer with a well-loaded foam roller and press into the seams to avoid visible dark lines.
- Expect and plan for airborne splatter when rolling primer on a ceiling—protect everything and wear protective clothing.
- Work in small sections, so the primer doesn’t drip excessively before you can press it into the boards.
- Allow proper drying time before sanding or adding the topcoat to avoid lifting the primer.
And a final, personal note: I love the light fixture we kept—simple, with a piece of twine added to lengthen the pull cord. One odd lesson learned: pigtail bulbs can smoke briefly if they get splashed with oil-based primer, so protect bulbs while you work. Overall, priming that fir board ceiling was messy and tiring, but the improvement to the room’s appearance made it worth the effort.