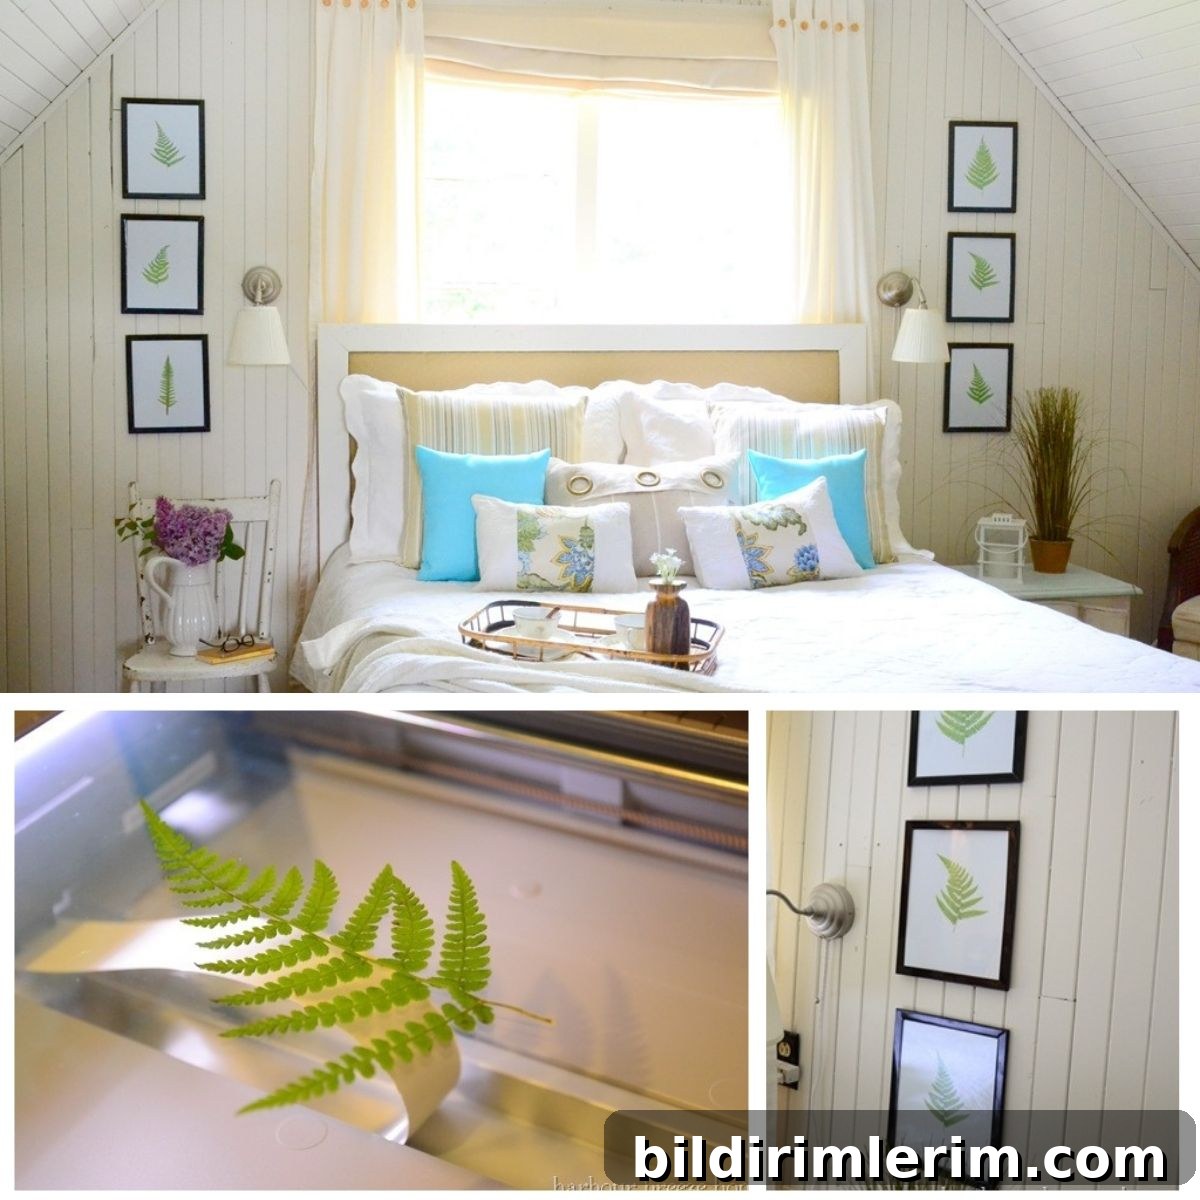
Long before I discovered free printable botanical art sets, I’ve loved botanical artwork. Years ago I experimented with a quick, simple method for creating botanical prints at home using real fern fronds and a photocopier. Instead of painting leaves or pressing flowers into paper, I tried placing clean fern leaves directly on the copier glass and making prints—an easy alternative to painted or decoupaged leaf art.
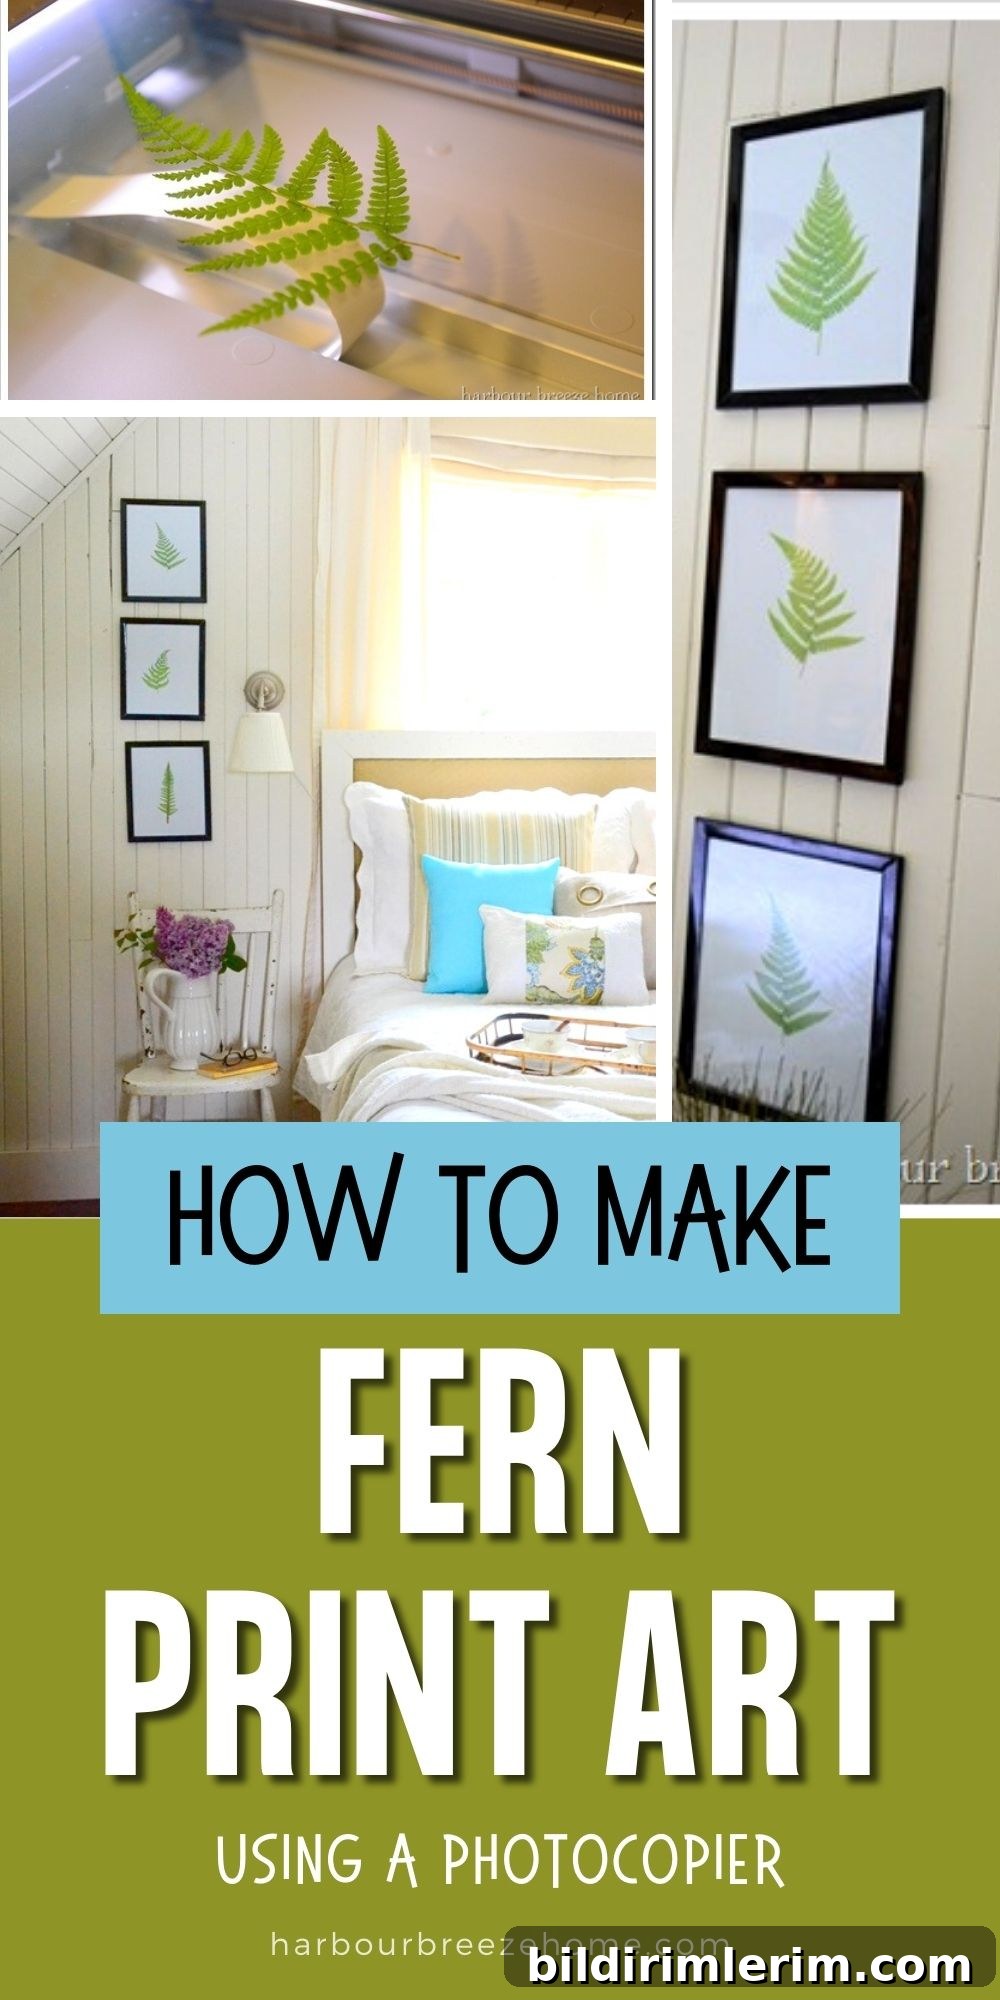
How to Make Quick Fern Leaf Printing Art without Paint
Supplies
- Fresh or dried fern leaves (various sizes for interest)
- Home photocopier or flatbed scanner/printer
- Heavy white cardstock or matte photo paper
- Clean workspace and lint-free cloth to wipe the copier glass
- Picture frames for display
Simple Step-by-Step Instructions
This method produces crisp, high-contrast fern prints in minutes. It works best with bold, well-defined leaves placed flat against the glass so the copier can capture their veins and silhouette. You can use either fresh leaves or ones that have been pressed and allowed to dry.
- Trim your fern leaves to the desired size. Consider the scale of the frame you plan to use and the composition you want on the page.
- Wipe the copier glass with a lint-free cloth to remove dust, smudges, or streaks. Position the leaf flat on the glass with the side you want to show facing down.
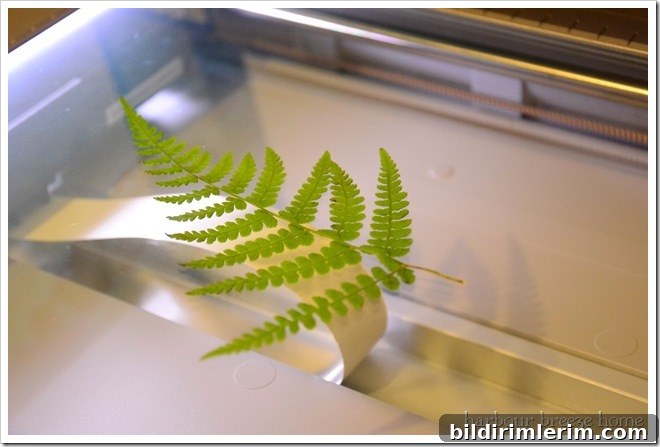
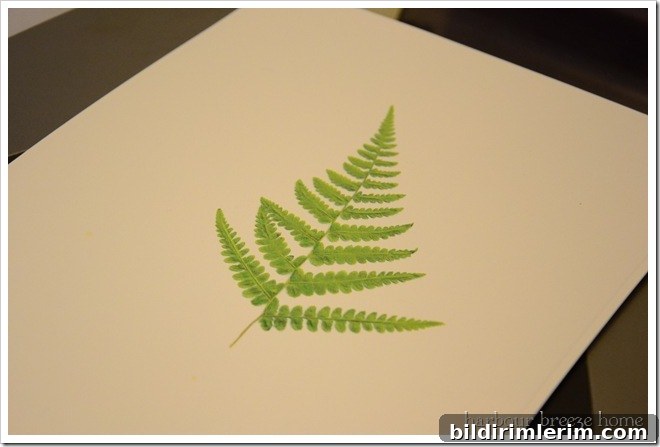
3. Cover the leaf with a sheet of heavy white cardstock to help the copier capture the details, close the lid gently, and press copy. Experiment with your printer’s contrast or resolution settings if you want a darker or softer look.
Ta‑da—five‑minute botanical art! Once the print is made, allow the ink to dry fully before handling. If you like a slightly aged or vintage feel, try printing on cream cardstock instead of bright white.
Create a Gallery Wall with Different Prints
Make a cohesive display by printing several different fern varieties, each on its own sheet of cardstock. I made six small prints and placed each one in a simple black frame for a clean, modern look. A quick tip about bargain frames: inexpensive finds can be a steal, but some low-cost frames are difficult to work with—watch for glued edges or brittle backing that can make assembly tricky.
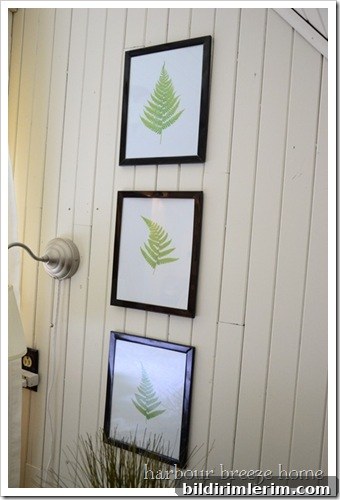
Grouped in a grid or staggered arrangement, these prints add fresh, natural detail to bedrooms, hallways, or living rooms. For a softer aesthetic, pair the prints with light wood frames or matte cream mats. For a more graphic look, choose black or dark frames on a light wall.

Variations and Tips for Better Fern Prints
- Use a mix of fern species and combine two or three fronds on a single sheet for layered compositions. Add the botanical name beneath the print in neat handwriting for a classic look.
- If you prefer digital edits, scan the leaf using your printer’s scanner and refine contrast, crop, or color in photo-editing software before printing.
- In autumn, use colorful fall leaves instead of ferns for seasonal leaf art. Different leaves give distinct textures and silhouettes.
- Pressing leaves for a day or two under a heavy book helps flatten them for a clearer imprint on the copier glass.
- Try different paper types—textured cardstock, watercolor paper, or toned paper—to change the mood of the print.
Materials
- Real fern leaves
- Home photocopier or flatbed scanner
- Cardstock or heavy paper
- Picture frames for display
Instructions (Condensed)
- Cut fern leaves to the size you want for your print.
- Place the leaf flat on a clean photocopier glass.
- Cover with a sheet of white or cream cardstock, close the lid, and copy.
- Frame your prints and arrange them on the wall.
This simple DIY fern leaf printing technique is an easy, low-cost way to create custom botanical art for your home. It’s fast, kid-friendly, and offers plenty of room for creativity—mix species, experiment with paper, and design a gallery wall that reflects your style.