
I’ve been reading about chalk paint on blogs for years and finally decided to try it myself. Opinions vary, but many DIYers praise chalk paint for its thick, matte finish and its ability to cover surfaces quickly—often without priming first. Curious about the hype but put off by the cost of branded chalk paint, I experimented with a simple homemade recipe for a bathroom decor project.
The recipe I used is straightforward: 1 cup of flat paint mixed with 1 tablespoon of unsanded grout. It’s an inexpensive alternative to store-brand chalk paint and easy to mix in small batches for testing colors and techniques.
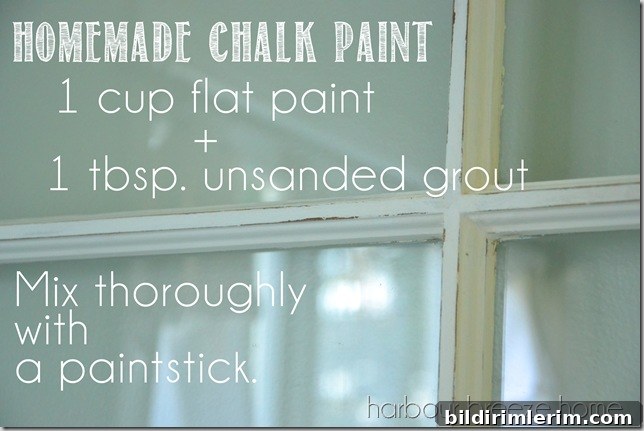
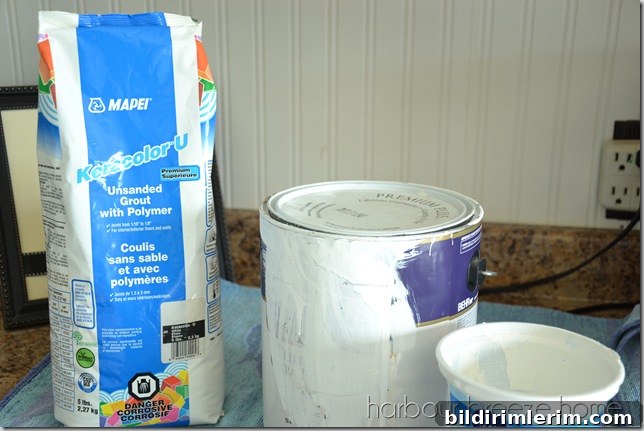
For my test I didn’t have flat wall paint on hand, so I used pure white ceiling paint in a flat finish. The unsanded grout was inexpensive and will last for many batches, making this method especially cost-effective for DIY furniture painting and home accents.
The project centered on an old multi-pane window I planned to repurpose as bathroom wall decor. The window had a stained, weathered surface and lots of small panes, so preparation took a little time. The most time-consuming tasks were removing the hardware and carefully masking the glass to protect it from paint.
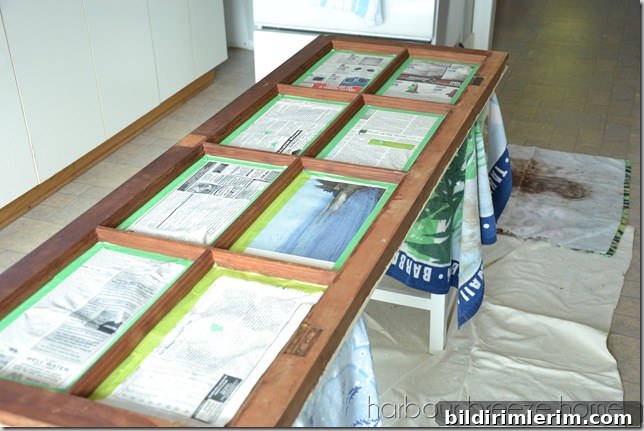
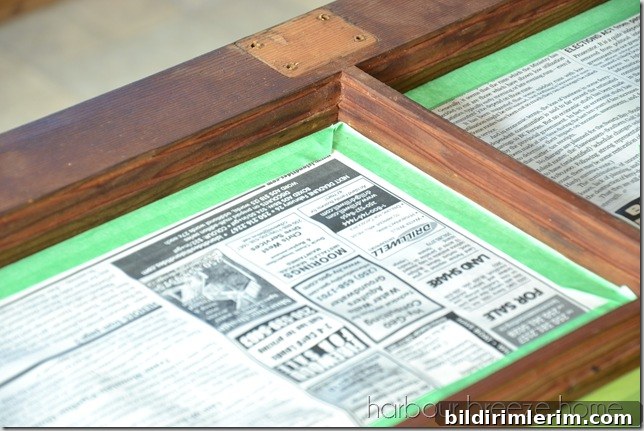
Taping the glass felt tedious while I was doing it, but it paid off: keeping the paint off the panes allowed for a clean, professional result without time-consuming cleanup after painting.
Once the window was masked, I brushed on the first coat of the homemade chalk paint. The mixture felt thick and luxurious—exactly what enthusiasts describe. I was concerned that the old stain might bleed through without priming, and on the first coat I did notice a bit of bleed-through.
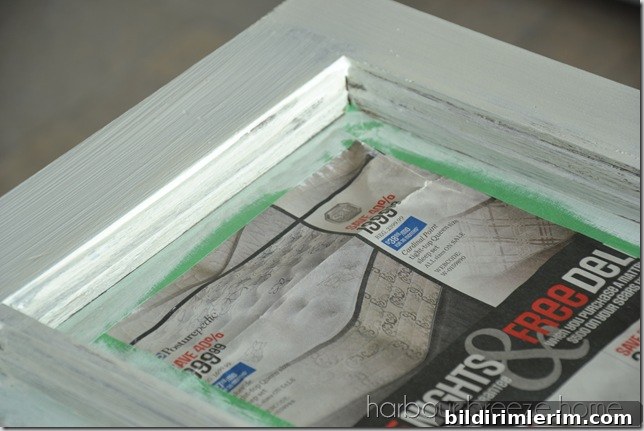
However, this worked well for my aesthetic. I was aiming for an “antique white” look rather than a stark white finish. After a second coat the color evened out and achieved the soft, aged tone I wanted. If you prefer full coverage or have particularly dark stains, an initial primer coat may still be advisable, but for many decorative projects the chalk paint alone is sufficient.
Important tip: before removing the painter’s tape, run a craft or x-acto knife along the edge of each pane. This cleanly severs the paint film and prevents peeling paint from coming off with the tape. Skipping this step can ruin crisp lines and damage the painted wood.
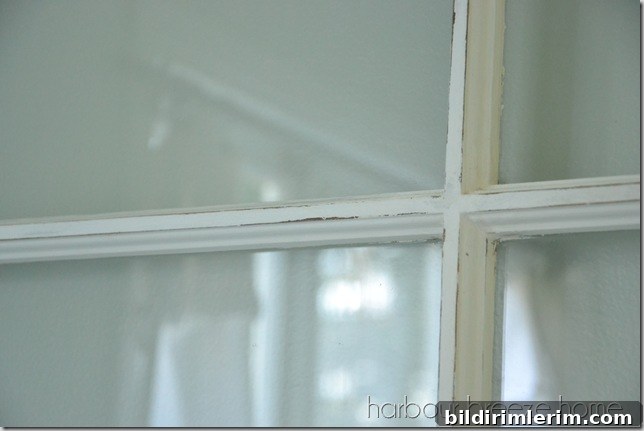
After the final coat dried, I sanded the surface to smooth the finish and add gentle distressing. Chalk paint sands very nicely and yields a silky, soft-feeling surface that’s different from standard latex. You can sand lightly to reveal subtle detail, or sand more aggressively to create a heavily distressed, vintage look. I sanded primarily around the edges and raised areas to emphasize the window’s architectural details.
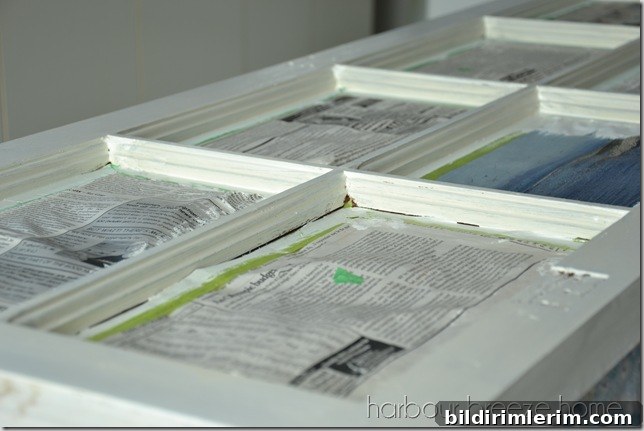
With the distressing complete, the finished panes had a gentle aged character that suited my bathroom’s decor. The chalk paint’s matte finish and soft texture helped create an authentic antique appearance without a complicated process.
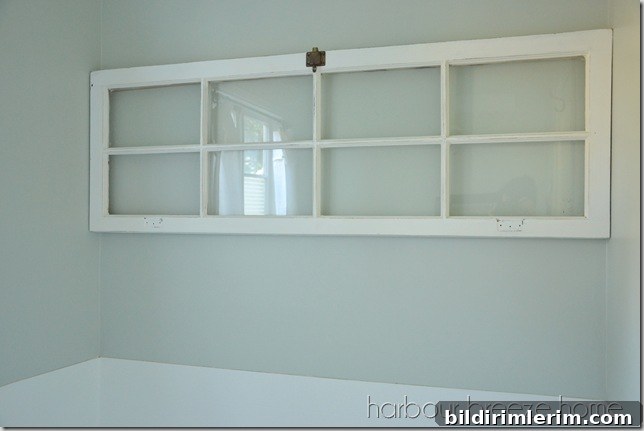
Finally, we rehung the window above the bathtub where it now serves as a focal piece. At the moment it looks a little sparse, but I have additional decor ideas for that wall to complement the vintage, soft-white finish.
Overall, the homemade chalk paint was an excellent, budget-friendly option for this upcycle. It offers the hallmark benefits of chalk paint—thick coverage, a velvety matte finish, and easy distressing—without the expense of branded products. For DIYers working on furniture, frames, or decorative architectural pieces, this simple mixture of flat or ceiling paint and unsanded grout is a great place to start. Experiment with ratios, colors, and sanding techniques to find the exact look you want for your next chalk paint project.