The Ultimate Guide to Using Painter’s Tape Like a Pro – Plus Clever Uses Around the House
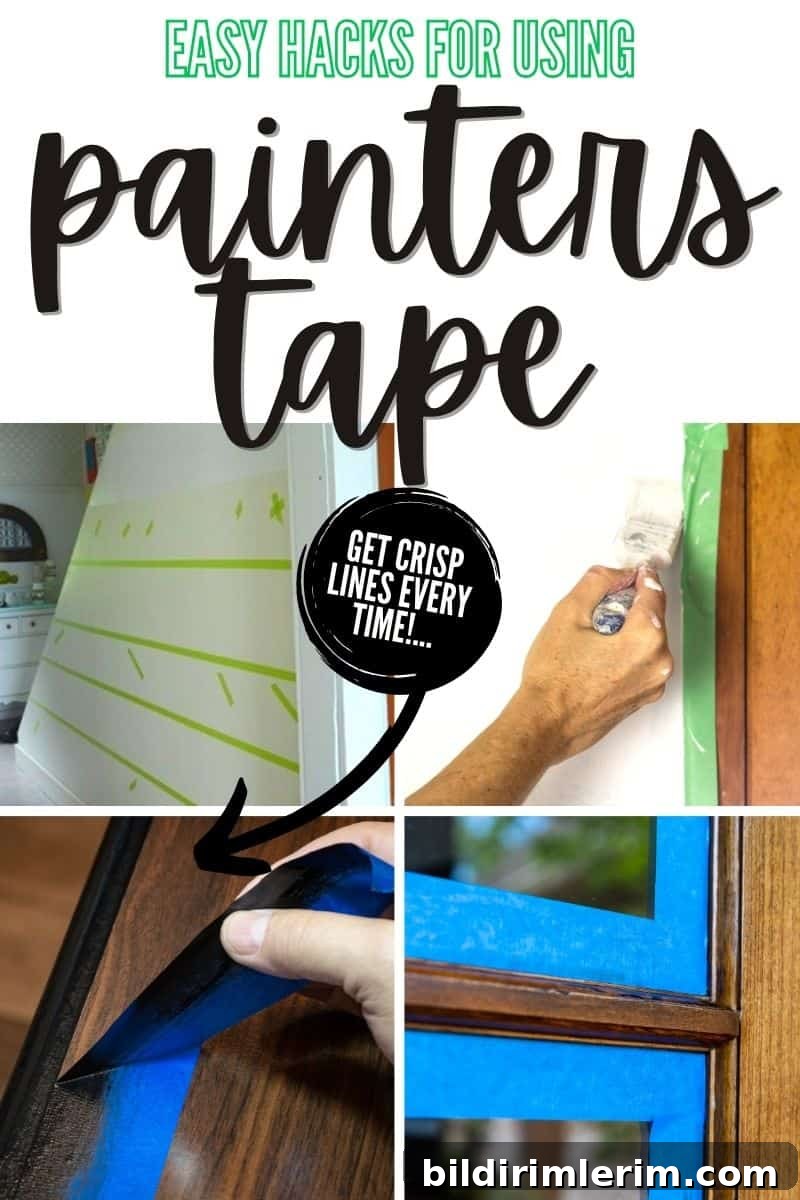
Have you ever started a painting project thinking it would be quick and easy—only to peel off the tape and find jagged, messy lines? You’re not alone. Getting perfectly straight paint lines takes a little know-how, but once you learn the right techniques you’ll get crisp results every time.
This guide covers what painter’s tape is, how to choose the right tape, step-by-step instructions to apply Frog Tape (or similar high-performance tape) for razor-sharp edges, and clever everyday uses around the home. Whether you’re painting wall stripes, refreshing trim, or doing fabric and craft projects, these tips will save time and improve results.
What is painter’s tape and why it matters
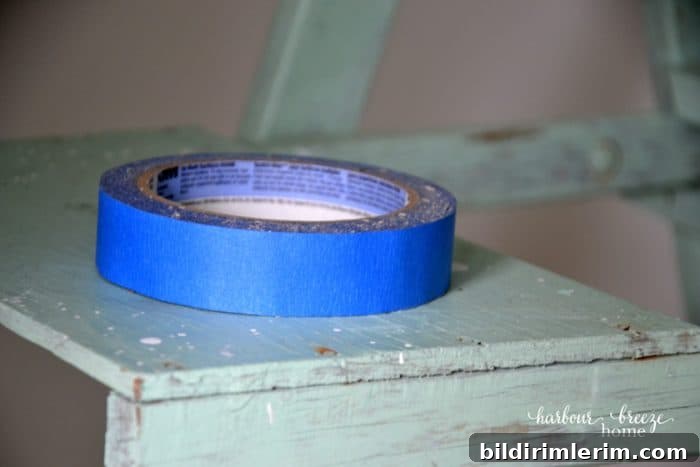
Painter’s tape is specially formulated to give clean edges and remove without leaving sticky residue or damaging the surface. Unlike ordinary masking tape, quality painter’s tape resists paint bleed and balances adhesion so it pulls away cleanly. Choosing the right tape and applying it correctly are the two most important factors for professional-looking results.
Common uses include:
- Painting stripes or geometric designs on walls
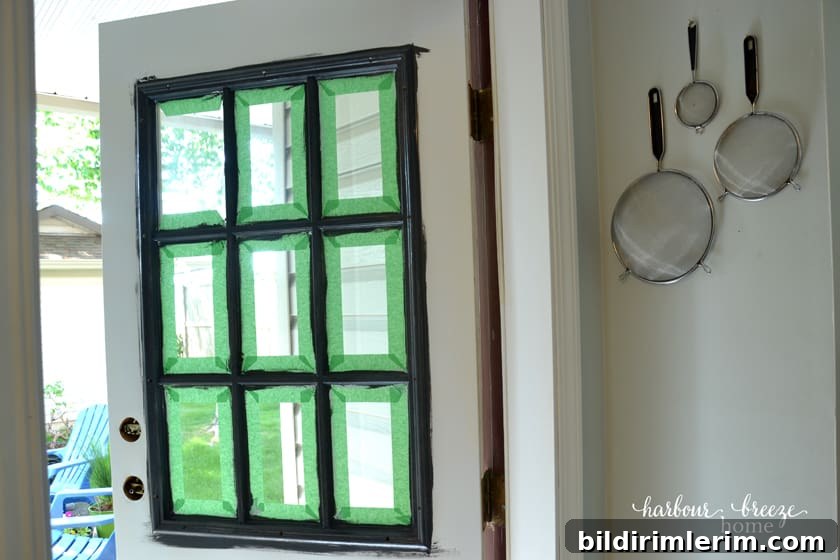
- Protecting trim, baseboards, and window panes
- DIY craft projects and painted fabric
- Temporary labeling and layout planning
Choosing the best painter’s tape for your project
Not all painter’s tape is the same. Here’s a quick breakdown to help you decide:
- Blue painter’s tape — Good for delicate indoor surfaces and short-term projects. Lower tack reduces the risk of pulling off finishes.
- Green painter’s tape — Often used for crafts and general-purpose marking; some varieties have higher adhesion for longer-term use.
- Frog Tape (green or yellow) — Treated to form a seal along the edge, reducing bleed-through for the sharpest lines. It’s a bit pricier but worth it for precision work.
Also consider tape width: narrow tapes are useful for fine decorative work, while wider tapes speed up larger jobs. Always test a small area first to confirm the tape’s adhesion on your surface.
How to apply tape and get perfect paint lines
Follow these step-by-step instructions for the best outcome when using painter’s tape—especially Frog Tape or another high-quality product:
- Start with a clean, dry surface. Dust, grease, or residue prevents proper adhesion. Wipe surfaces and allow them to dry completely.
- Measure and mark. For stripes or patterns, use a light pencil line or a laser/level to guide placement so lines are straight and evenly spaced.
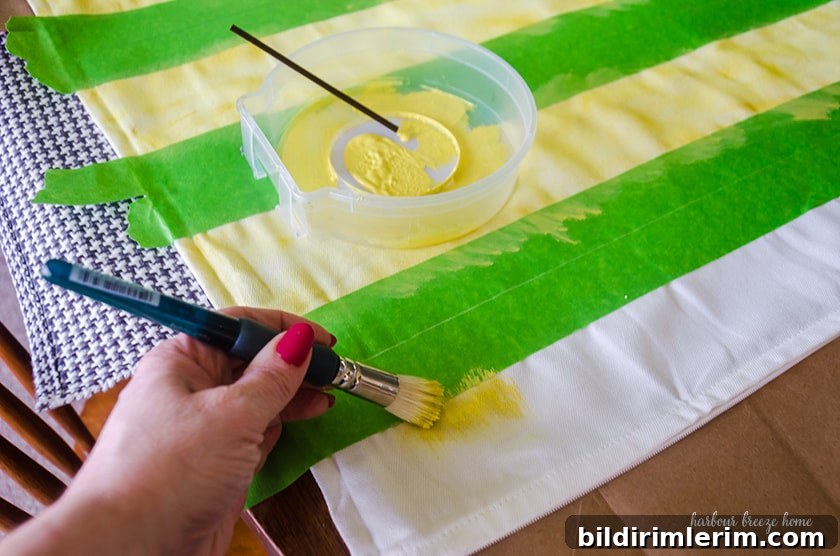
- Apply tape carefully and press down the edge. Lay the tape smoothly and use a credit card or plastic scraper to burnish the edge, focusing on the side that will receive paint. A firm seal reduces bleed.
- Seal the edge with the base color (optional but effective). Paint a thin strip of the existing wall color along the tape edge and let it dry. This seals any tiny gaps so that any bleed matches the base color instead of the new color.
- Try the caulk trick (optional). For an extra-tight seal, run a very thin bead of paintable caulk along the tape edge and smooth it with your finger. Let it dry before painting; the caulk blocks paint seepage.
- Paint carefully. Don’t overload the brush or roller. Light, even coats reduce the chance of paint seeping under the tape.
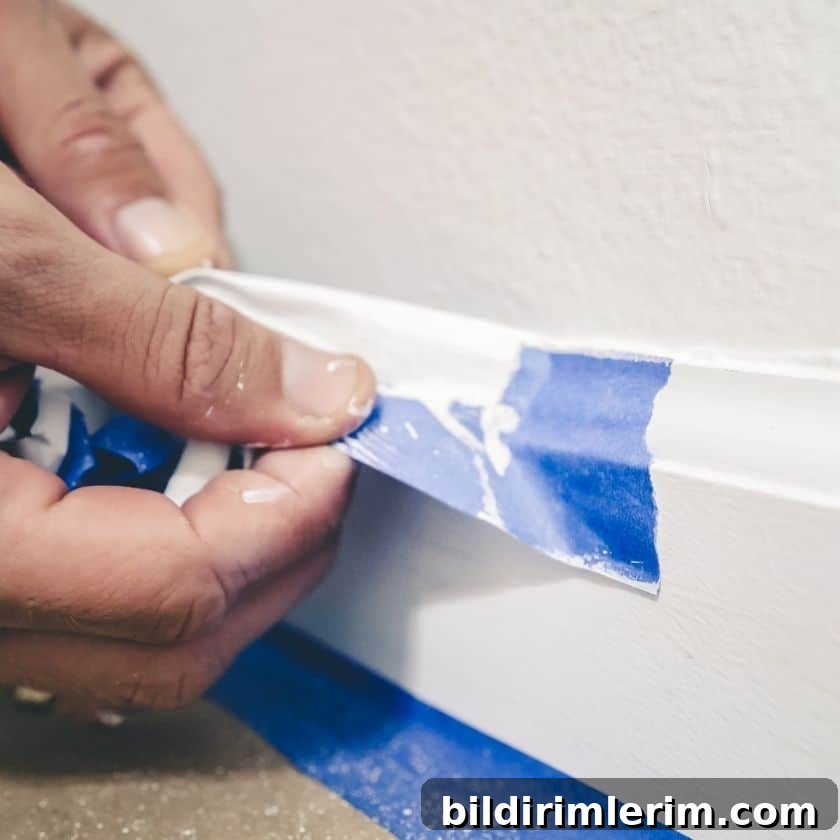
- Remove the tape while paint is still slightly tacky. Pull the tape back gently at a 45-degree angle while the paint is not fully dry. If the paint has fully dried, score the edge first with a craft knife to avoid tearing.
Real projects where painter’s tape shines
Painter’s tape is incredibly versatile. Here are real-life projects that benefit from careful taping:
Watercolor wall art
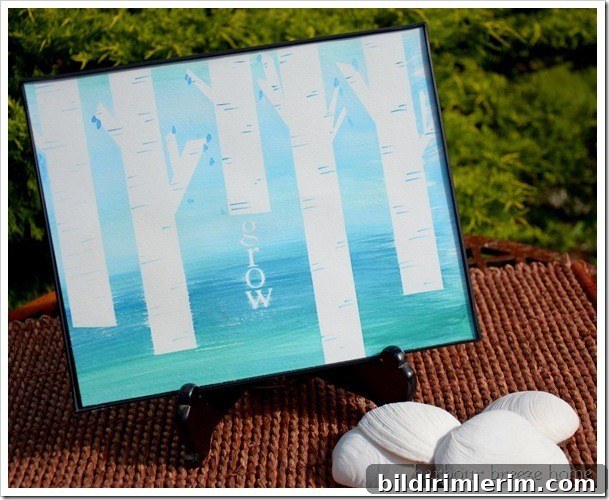
Use tape to mask shapes, letters, or “tree trunks” on watercolor paper. Paint, let dry, then remove tape to reveal crisp white edges for a modern, layered look.
Painted fabric pillows
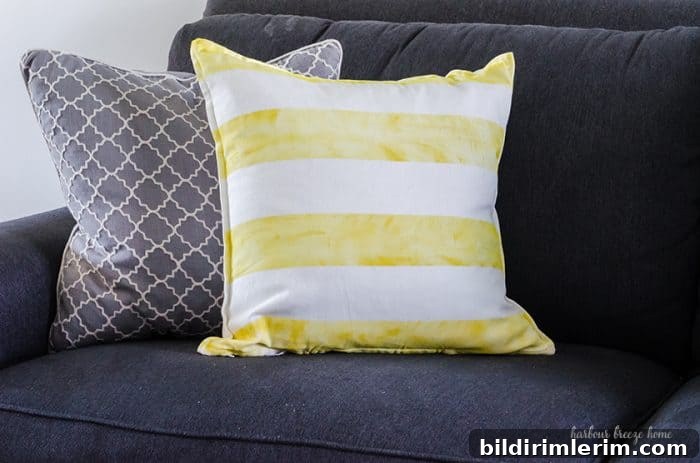
Apply tape to a plain fabric cover, paint with fabric-safe paint, and remove the tape for clean, durable stripes and geometric patterns.
Striped wall treatments
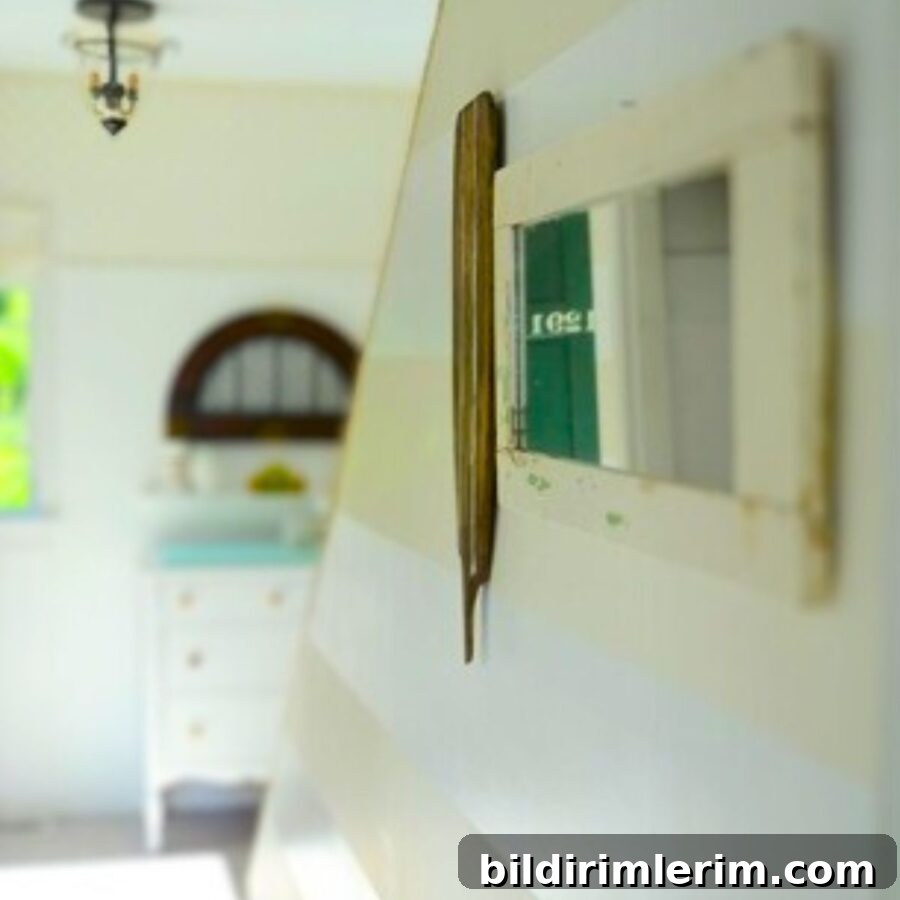
Painter’s tape makes a hallway, accent wall, or nursery pop with neat, even stripes. Measure carefully and use a level to keep lines perfectly straight.
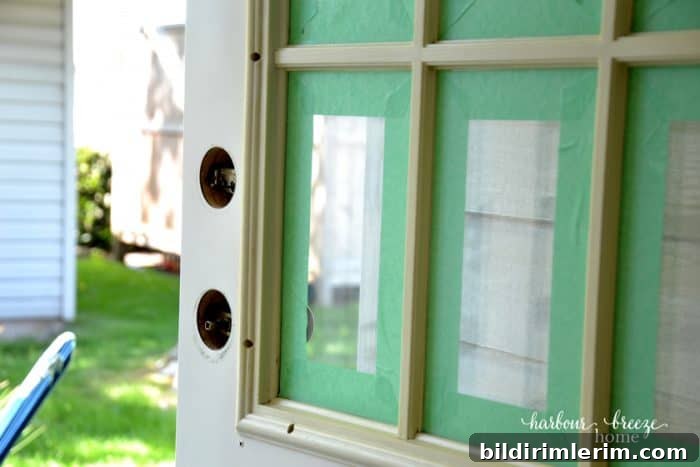
Doors with plastic or metal trim
Taping around plastic trim on metal doors prevents unwanted paint on hardware and delivers clean transitions between surfaces.
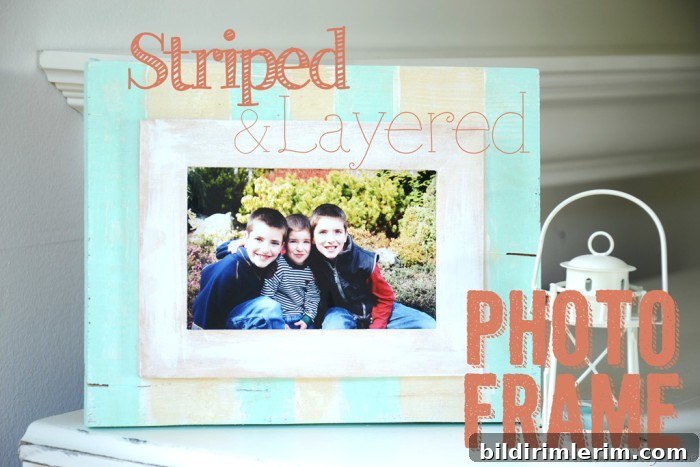
Striped photo frames and small decor
Painter’s tape is perfect for small DIY projects like updating frames, boxes, and shelving with crisp graphic details.
Creative everyday uses for painter’s tape
Beyond painting, painter’s tape is a handy household tool:
- Freezer labels: Stick a strip on lids and label with a permanent marker for easy meal rotation.
- Temporary labels: Use tape to mark bins during decluttering, moving, or garage sales—then remove it cleanly.
- Kids’ crafts and games: Make hopscotch, tic-tac-toe, or tape-resist art on floors and tables that peel away afterwards.
- Hanging guidelines: Plan gallery walls and mark nail or hook positions without damaging paint.
Materials and quick checklist
- Painters tape (choose the appropriate type and width)
- Level or chalk line, pencil for marking
- Credit card or plastic scraper to press tape edges
- Paintable caulk (optional)
- Brushes or rollers—use light coats
Final tips
Always test tape on a small, inconspicuous area first. When removing tape, peel slowly at a 45-degree angle and keep a craft knife handy to score stubborn edges. With the right tape, careful prep, and one or two sealing tricks (base color or a thin bead of caulk), you’ll achieve crisp, professional paint lines every time.