
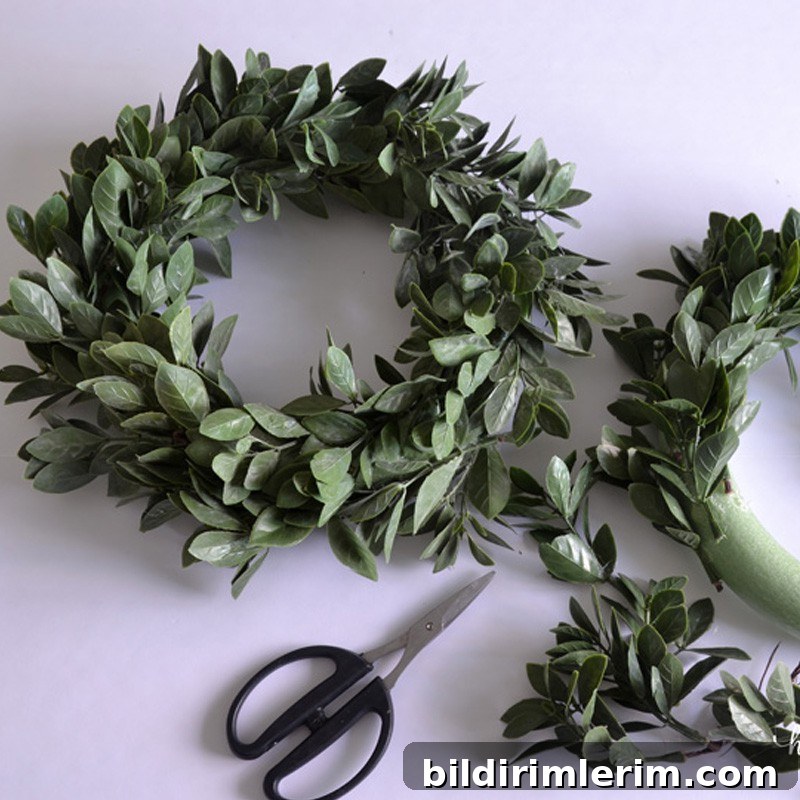
I’ve long loved the look of boxwood wreaths in home decor and had been searching for small faux boxwood wreaths to hang on the doors of my entryway closet. After an extended search I discovered two things: small, affordable boxwood wreaths are surprisingly hard to find, and when available they can be quite costly. That led me to make my own, and the project turned out to be quick, affordable, and enjoyable.
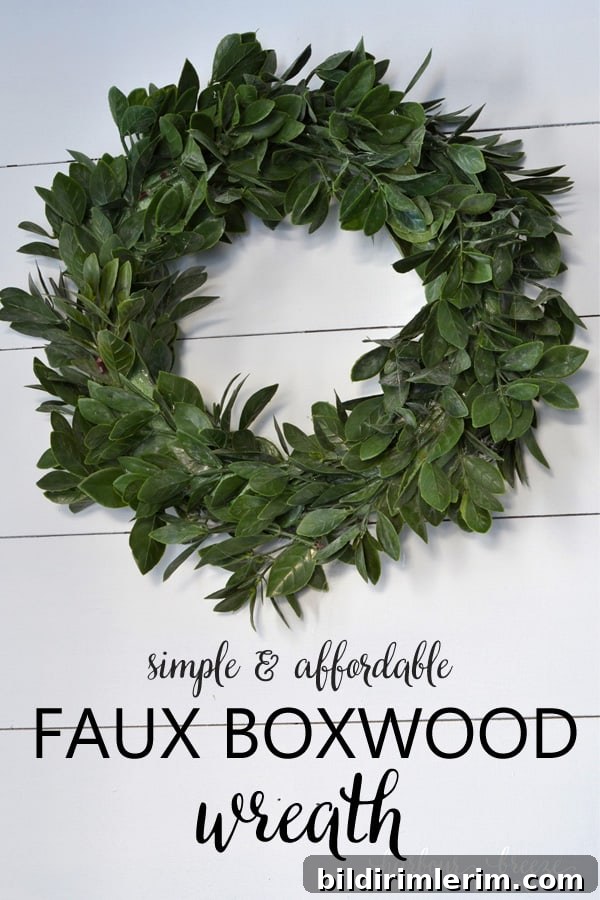
How to Make a Simple, Affordable Small Faux Boxwood Wreath
Supplies needed:
- Faux boxwood leaves or greenery
- Foam wreath form (I used a small one from Dollar Tree)
- Hot glue gun and glue sticks
- Wire cutters or pruning shears
- A long metal tool such as a knitting needle or chopstick (to press glue without burning your fingers)
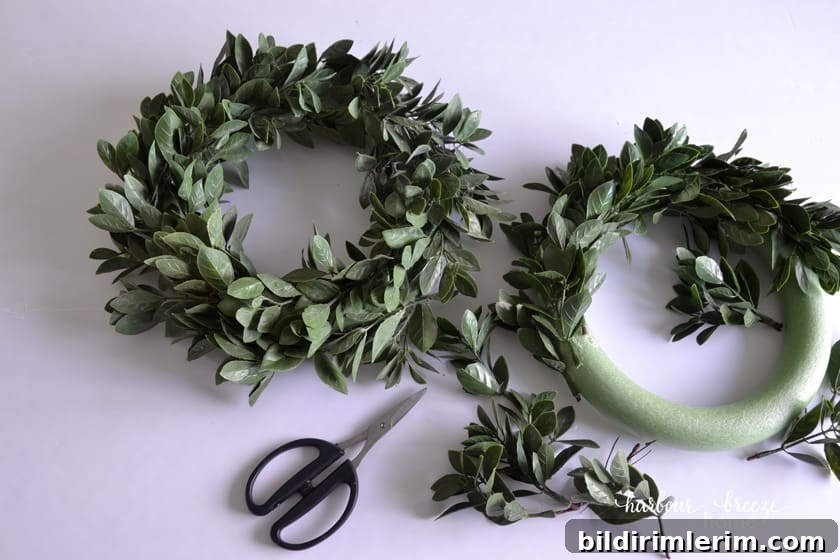
Step 1: Prepare the faux boxwood leaves by cleaning and separating them into small stems.
After searching for affordable faux boxwood, I found a large ready-made wreath on clearance after the holidays and used its greenery for this project (it was only $6). To repurpose the foliage, I removed each bundled section, rinsed the pieces in a sink with a little dish soap and vinegar, then allowed them to dry. Using wire cutters, I snipped the greenery into small, individual stems. Working with single stems makes it much easier to position the leaves and achieve an even, natural look.
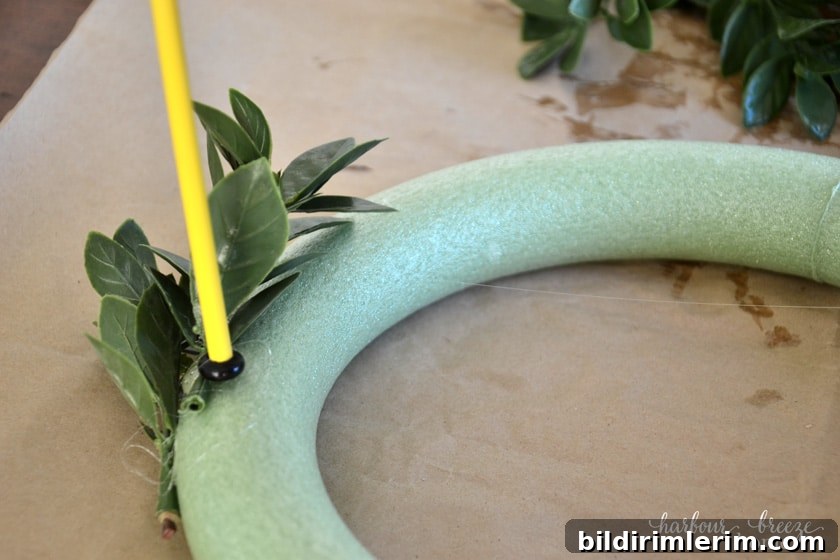
Step 2: Attach the stems to the foam wreath form, pointing all leaves in the same direction.
Start at the outer edge of the foam form and lay a small stem where you want it to sit. Run a thin bead of hot glue onto the form, press the stem in place, and use a knitting needle or similar tool to hold it down briefly so you don’t burn your fingers. Working in the same direction for all stems creates a unified, realistic appearance. If you prefer a different base, grapevine wreath forms also look lovely with boxwood; I used foam because it was readily available locally and worked perfectly with hot glue.
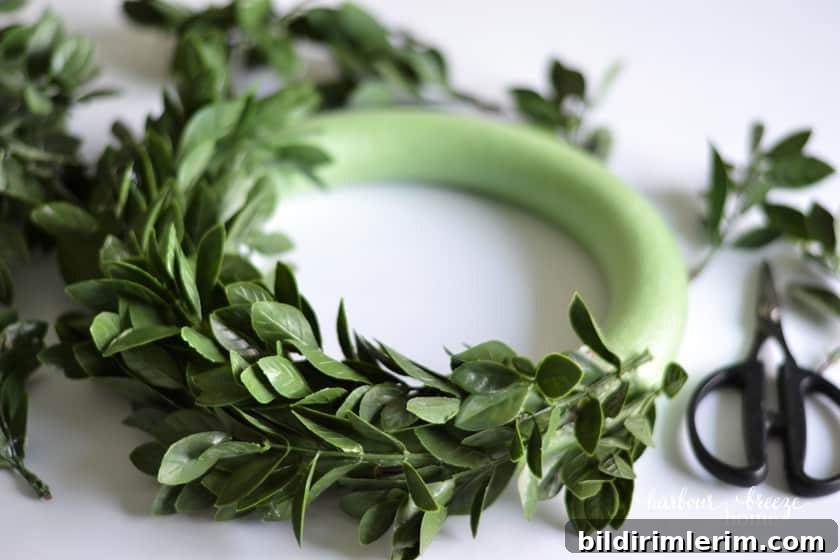
Step 3: Continue gluing until the front and sides are fully covered.
Work your way around the wreath, overlapping stems slightly to avoid gaps. Periodically hold the wreath up to check for symmetry and fullness; add extra stems to any sparse areas. Take your time to shape and tuck the pieces so the wreath looks balanced and lush. The process is calming and can be completed in a short session—this small wreath took me less than an hour from start to finish.
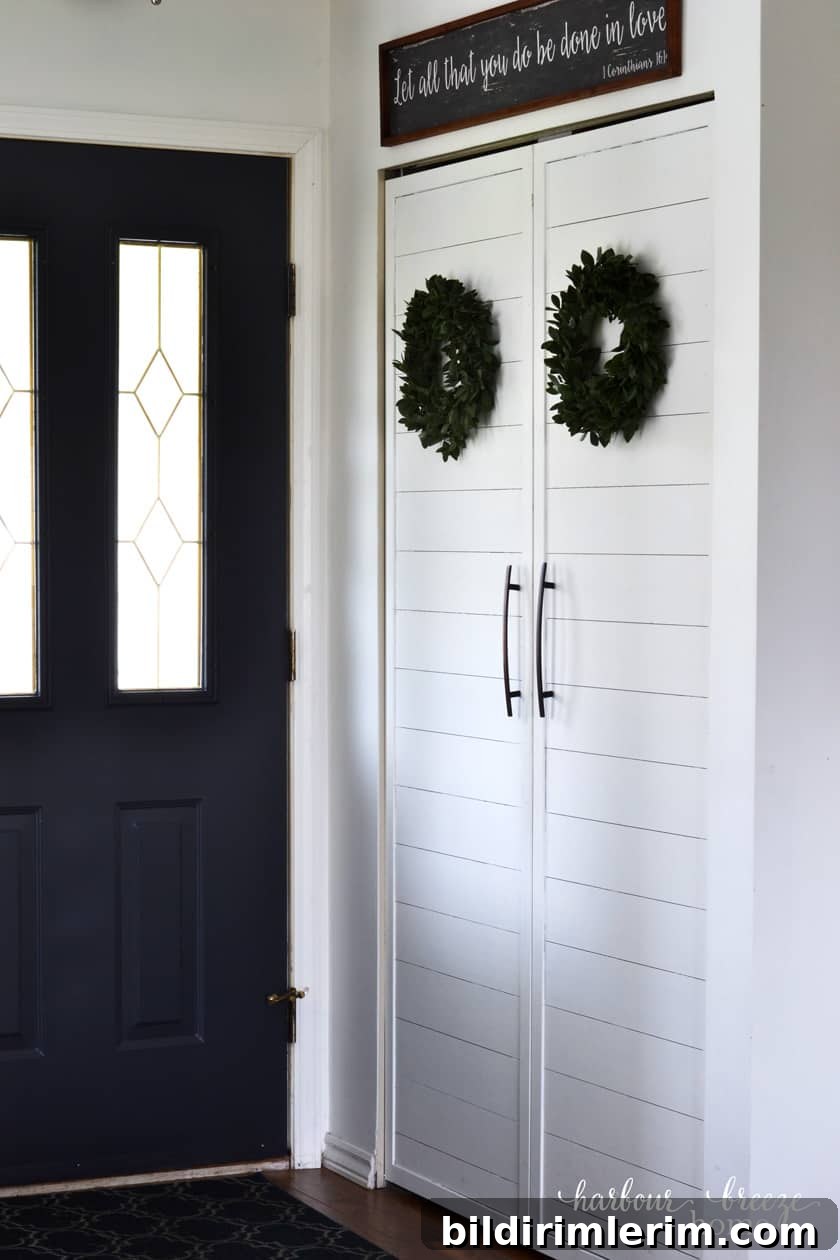
Step 4: Hang and enjoy.
When the wreath is completely covered and the glue has cooled, it’s ready to hang. For closet doors I simply hammered a small nail into the door and pressed the foam wreath onto it—the nail punctures the foam and holds the wreath securely. If you plan to hang the wreath on an exterior door, consider looping a wide burlap or linen ribbon over the wreath and hanging it from a door hook for a polished look.
Optional ideas and care tips
- Add a seasonal ribbon, a small bow, or a few faux berries or flowers for a pop of color.
- For outdoor use, avoid placing the wreath in direct sun or constant moisture to reduce fading and wear.
- To store, wrap the wreath in tissue paper or place it in a shallow box to keep its shape.
- Dust occasionally with a soft brush or a quick blow from a hair dryer on low to keep the greenery fresh-looking.
Other wreath tutorials:
- 5 minute Fall wreath
- Spring Front Door Wreath