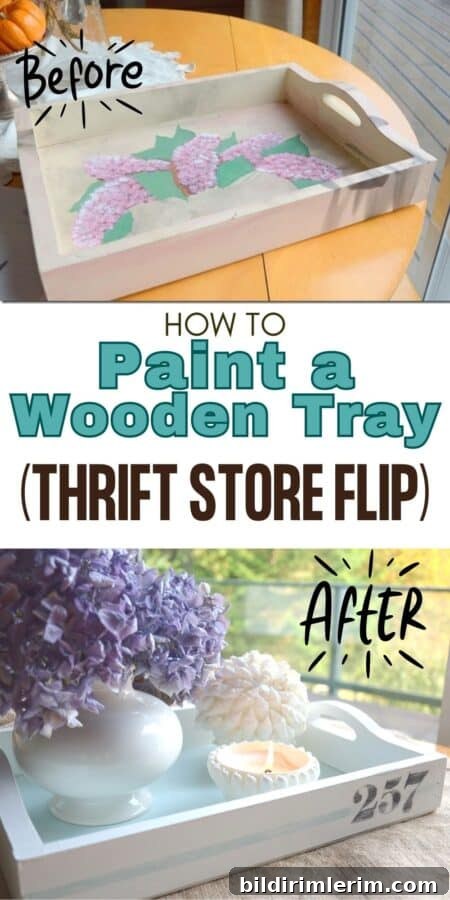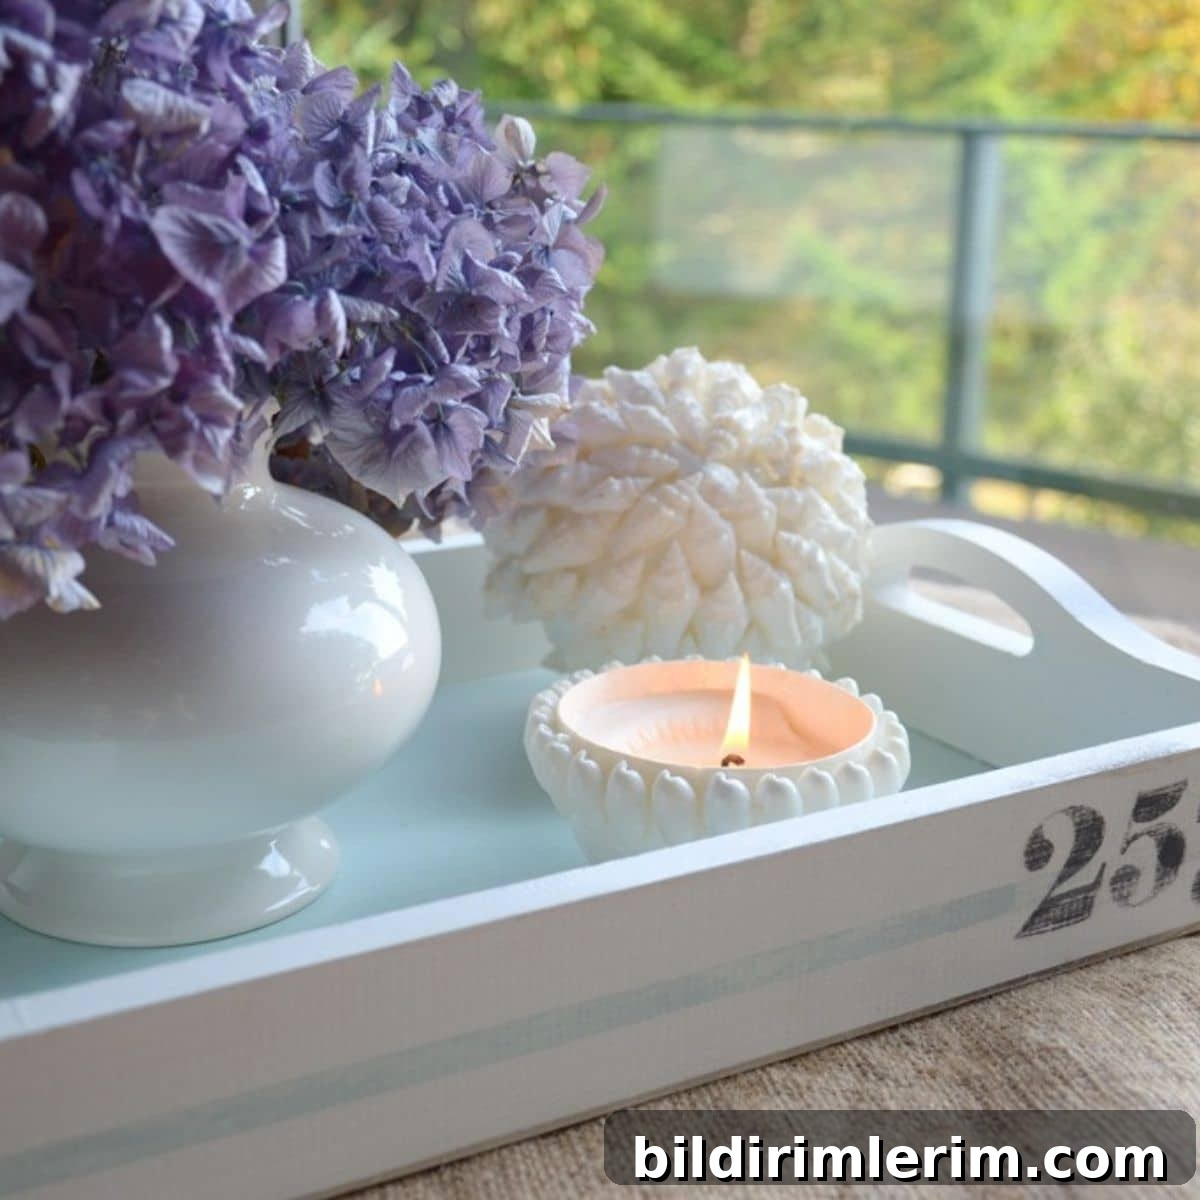
Turn a thrifted or dated wooden tray into a custom decorative piece that complements your home with this easy guide on how to paint a wooden tray.
A friend gave me a fun gift: a collection of thrifted and garage-sale finds with the invitation to makeover anything I wanted. One of the pieces was a small wooden tray that already had a bit of a paint job—and a mysterious smoky stain near the edge that looked like it might have come from a candle.
Despite its flaws, I loved the tray. Its size is perfect for a coffee table or as a small centerpiece, so I gathered my painting supplies and set out to refresh it.
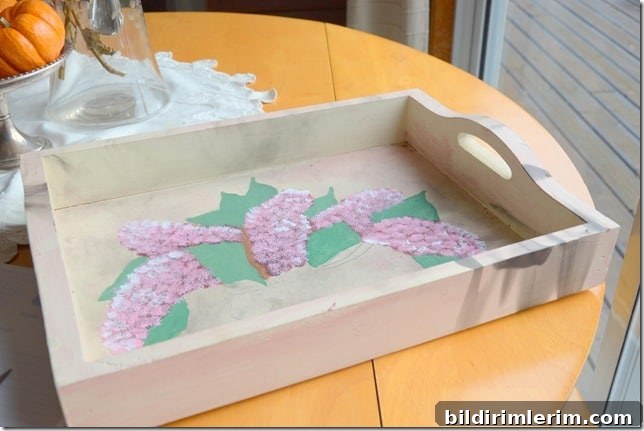
The soot marks and uneven surface were no match for a little sanding, primer, and fresh paint. Below I walk through the supplies I used, the steps to give a tray a new life, and ideas for how to style or use your freshly painted wooden tray.
Supplies needed to paint a wooden tray
- Sandpaper (medium and fine grit)
- Clean cloth or tack cloth to remove dust
- High-quality primer (optional but recommended for previously painted or stained wood)
- Acrylic or latex house paint in the colors you choose
- Paintbrushes: a larger brush for fields and a small craft brush for details
- Tracing paper or a printed template for stenciling or lettering
- Painters tape to mask off edges and create clean lines
- Black acrylic craft paint for accents or lettering
- Clear protective finish (polycrylic or similar) for durability
How to paint a wooden tray
- Prep the tray by sanding and cleaning.
Proper prep is the foundation of a long-lasting finish. If the tray has existing paint, lightly scuff the surface with medium-grit sandpaper, then follow with a fine-grit to smooth edges. Wipe away all dust with a tack cloth or damp lint-free cloth and let it dry. If the surface is particularly glossy or damaged, apply a good-quality primer to ensure adhesion and even color.
- Paint the tray in your chosen colors.
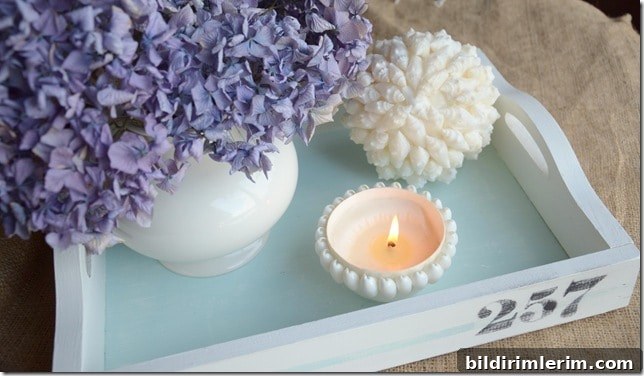
For this tray I primed first, then painted the exterior Cloud White (Benjamin Moore) and the inside bottom a soft aqua called Tide Pools (Behr). Use multiple thin coats instead of one thick coat; allow each coat to dry fully before applying the next to avoid drips and get a smooth finish.
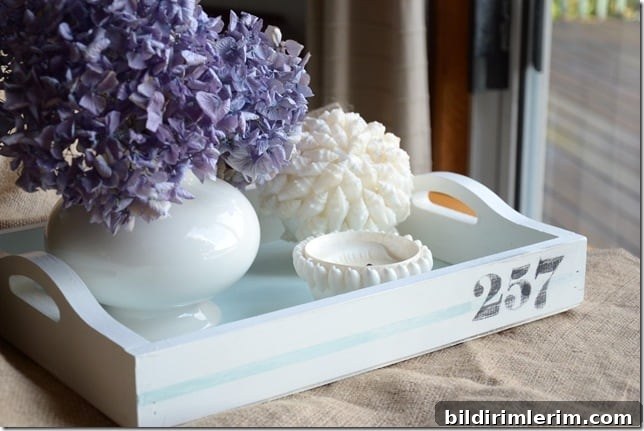
Tide Pools is one of my favorite accent colors for adding a calm, coastal feel to a small piece.
- Add accents and detail work.
To personalize the tray, I traced numbers and painted them with a small brush. If you want a crisp stripe or edge, mask the area with painter’s tape and paint over it, then remove the tape while the paint is still slightly tacky for a clean line. For a more aged, vintage look, sand the painted numbers lightly with a sanding block until some of the base color shows through.
Finishing tips for a durable painted tray
Once your paint is fully dry, consider sealing the tray with a clear protective finish to guard against scratches and moisture. A water-based polycrylic or similar clear coat is a good option for painted pieces used around food or drinks—apply thin, even coats and allow adequate drying time between layers.
Different ways to use a painted wooden tray
A painted wooden tray is versatile and decorative. Here are a few ways to use it around the home:
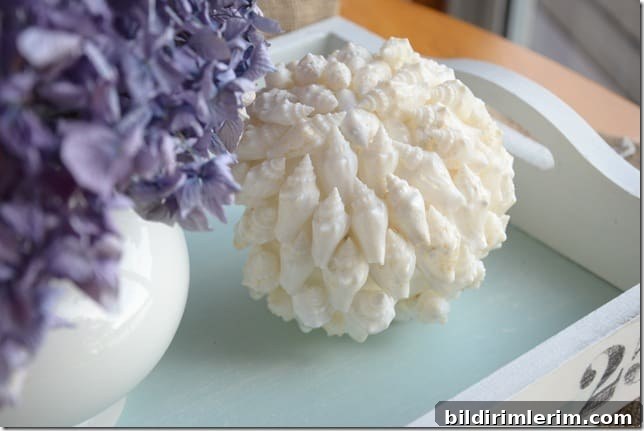
- Place it on a coffee table to corral books or magazines and top it with a candle or small plant.
- Use it as a dining table centerpiece with a small vase of flowers, napkins, and salt and pepper shakers.
- Put a tray on top of the dryer to hold detergent, dryer balls, and essential oils for a tidy, styled laundry area.
- Serve guests by arranging coffee and tea mugs with cream and sugar, or use it as a portable breakfast tray.
More painting ideas and techniques
If you enjoy painting small projects, try experimenting with decorative painting basics, masking and painting straight lines with painter’s tape, or distressing techniques to create a worn vintage look. You can also explore DIY chalk paint recipes and approaches for painting over stained wood to expand your skillset and try new finishes on thrifted finds.