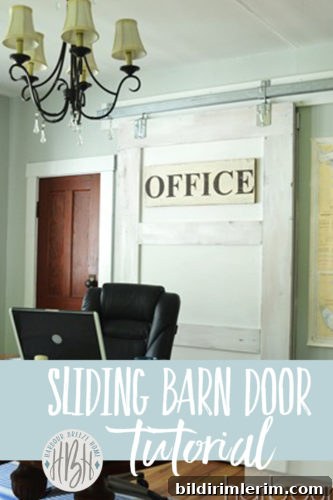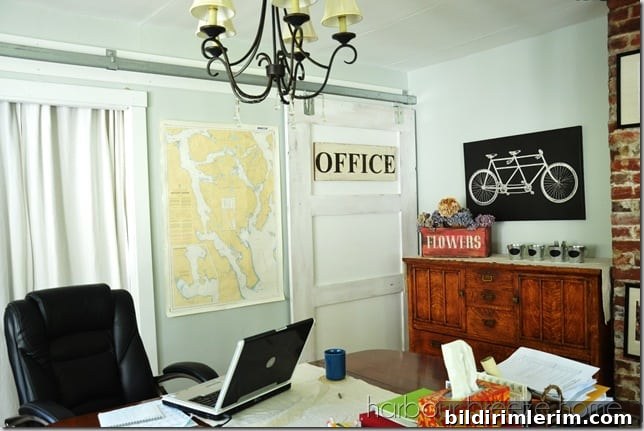
Add style and charm—and save valuable floor space—by building a DIY sliding barn door.
Trends come and go, but I believe a home should reflect what feels right to you. Recently I read that sliding barn doors were no longer “on trend” this year. Still, for function and character, they remain one of my favorite design choices.
The sliding barn door we built years ago for a previous house is one of the projects I keep recommending. It solved a practical problem and added a lot of personality to the room.
If you like the look and the space-saving benefits, follow along to build your own with the step-by-step guidance, tips, and materials list below.
One challenge in our Dining Room-turned-Office makeover was an odd closet opening with no door. After weighing options, we settled on a sliding barn door. It delivered the aesthetic we wanted and the functionality we needed—convenient, space-saving, and visually appealing. Here’s how we made ours.
DIY Sliding Barn Door:
We started by consulting a detailed tutorial from Handmade Home for basic construction techniques and layout ideas.
1. Take measurements for the opening.
Measure the width and height of the opening and the adjacent wall area where the door will slide. Our finished door measured 49 inches wide by 84 inches tall. When planning, allow enough clearance on the wall for the door to slide fully open and for the hardware to mount securely above the opening.
2. Gather building and painting supplies
Disclosure: This post may contain affiliate links for your shopping convenience.
Building supplies:
- One sheet of MDF (for the back panel)
- 1 x 8 boards (for outer framing)
- 1 x 6 boards (for the center planks)
- Sliding barn door hardware kit (track, rollers, stops, and mounting screws)
Painting and finishing supplies:
- Wood stain in the color of your choice
- Aqua Lock or a quality primer suitable for your paint type
- Paint color of your choice
- Brushes, rags, sandpaper, and sealant if desired
3. Cut the back panel and attach outer boards.
Cut the MDF back panel to the exact door dimensions. Glue the 1 x 8 boards along the perimeter for a framed look, then secure them with finish nails or a nail gun. Clamps help keep pieces flush while the glue cures.
4. Install the center boards.
Glue and nail the 1 x 6 center boards to create the plank look. Work from one side toward the other and check for straightness frequently. Fill nail holes and seams with wood filler for a clean finish.
5. Stain the exposed wood elements.
After the glue dries, apply stain to the outer and center boards. Wipe on the stain with a cloth and remove excess to achieve an even tone. Allow the stain to fully cure before moving on to primer and paint steps.
6. Prime the insets and the door back.
Use a quality primer such as Aqua Lock on the door insets and the back of the panel to ensure good paint adhesion and an even topcoat. Priming helps prevent tannins or stain bleed-through and creates a smooth surface for paint.
7. Create a distressed or rustic finish (optional).
For a weathered, farmhouse look, once the primer is dry, apply a small amount of petroleum jelly (Vaseline) to random areas on the stained wood. Paint the door in your chosen color—our example used White Heron by Benjamin Moore. After the paint dries, rub and peel away the Vaseline areas where the paint resists to reveal the stained wood beneath, producing a natural, aged patina.
8. Reinforce the mounting area in the wall.
Mount a solid header behind the drywall by securely fastening a 2 x 8 (or similar) board to wall studs where the rail will sit. This backing spreads the door load and prevents the rail from pulling out over time. The rail we used measured 12 feet to allow full travel of the door.
9. Install the track and hang the door.
Install the rail at the proper height so the door hangs level and clears the floor. Use a level and double-check fasteners into the reinforced header. With help, lift the door and hang it on the rollers, adjusting bolts as needed for smooth operation. Test the door several times and install bump stops to prevent it from sliding off the track.
During installation we propped the door on boards to support its weight while attaching the rail and hardware—this makes alignment and fastening much easier.
10. Enjoy your finished door!
A well-built sliding barn door can nicely conceal an odd closet opening and, when closed, create a distinct separation between rooms. This project added function and farmhouse character to our office space, and we still love the result.
When the door is slid fully across, it closes off the room from the rest of the house while adding a welcoming, handcrafted aesthetic.
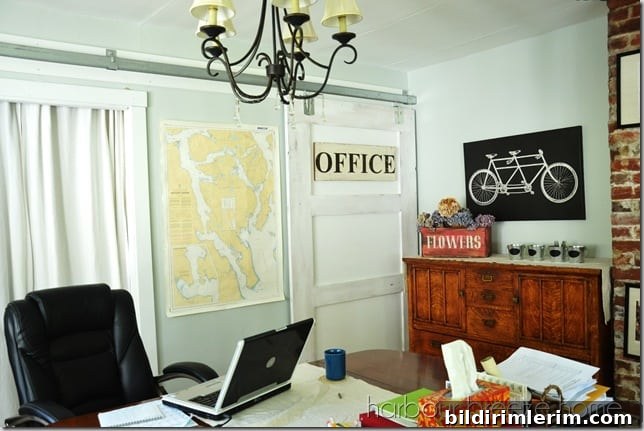
We really love it!
More farmhouse-style DIY projects to try
- How to install farmhouse shiplap walls the easy way.
- How to create a shiplap accent wall for a bathroom.
- Build fixer-upper–inspired farmhouse shelves for practical storage with style.
- Give IKEA bookcases a built-in look with simple trim and a few tweaks.