
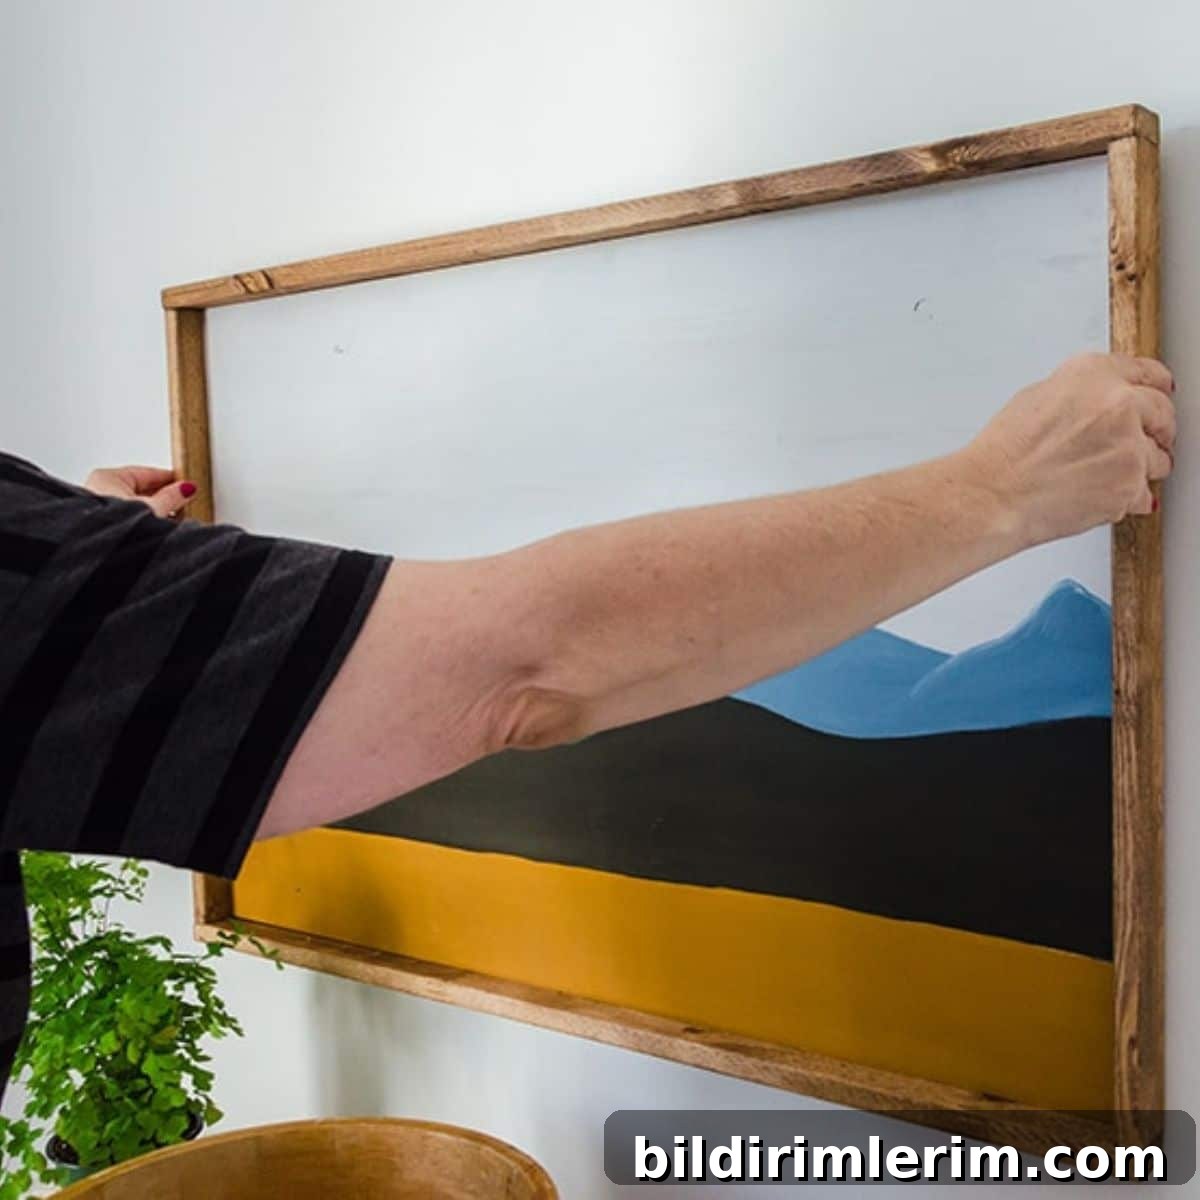
Here’s the easiest way to hang a picture on drywall with two hooks — use painter’s tape to mark the exact nail spots right from the back of the frame. Perfect placement, zero frustration, done in minutes.
I don’t know about you, but I’ve lost count of how many times I found the perfect piece of art, flipped it over, and sighed when I saw two sawtooth hangers on the back. All that measuring, second-guessing, and still one nail would always end up a little off. I finally discovered a simple trick that eliminates the measuring and guesswork — and it only requires painter’s tape.
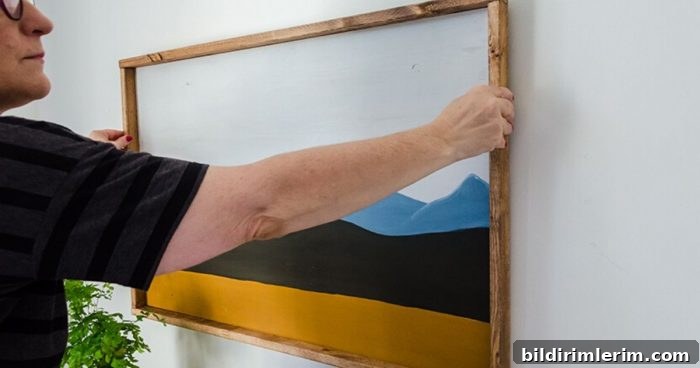
This method gives consistent, level placement every time and works especially well for larger framed pieces that have two sawtooth hangers on the back. No measurements, no awkward holding and shifting — just a quick, accurate transfer of the hanger positions to your wall.
The easiest way to hang a picture on drywall (for frames with two sawtooth hangers)
Note: This post originally included product suggestions; below you’ll find the supplies and a straightforward, link-free method you can follow with common household items.
Supplies you’ll need
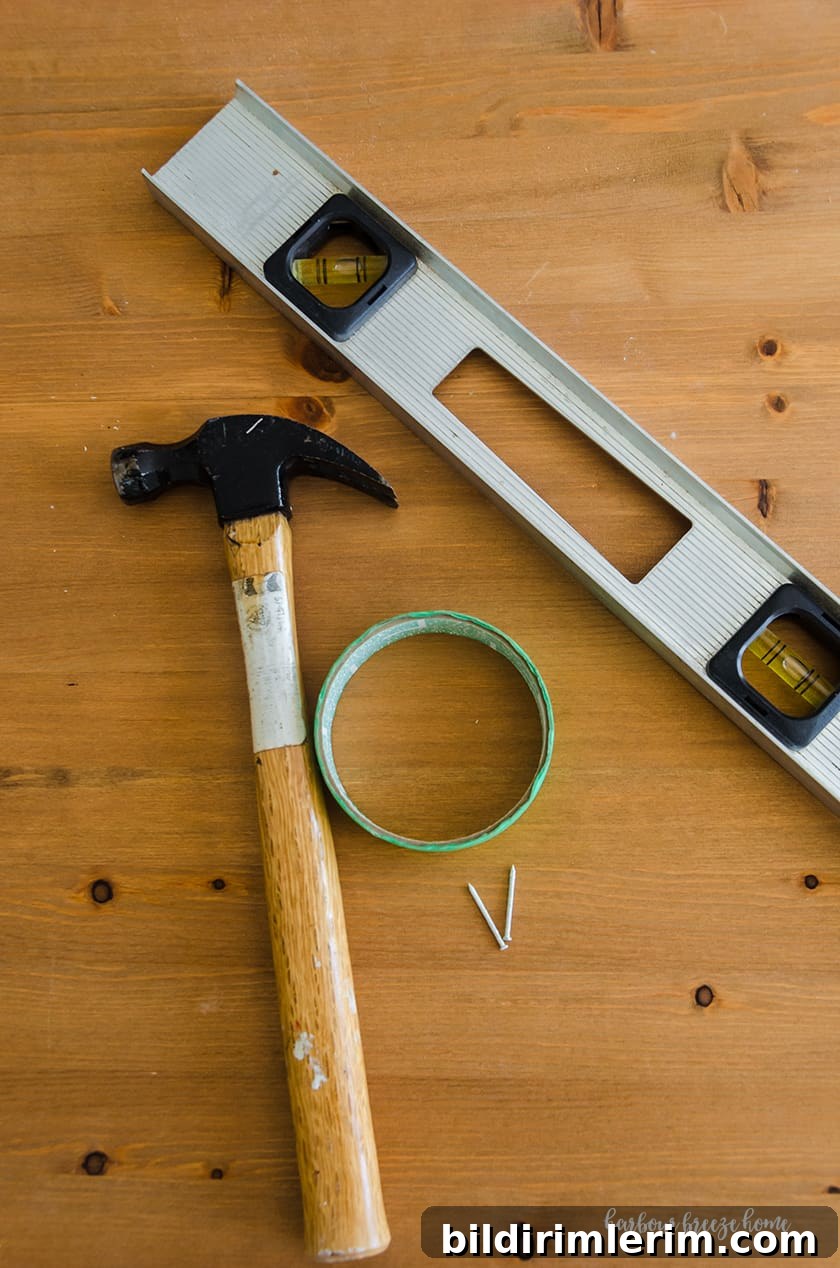
- Painter’s tape (wide enough to cover both hangers)
- Two nails suitable for drywall (1-inch panel nails work for many lightweight to medium-weight pieces)
- Level
- Hammer
- Pencil
Step 1: Cover the sawtooth hangers with painter’s tape
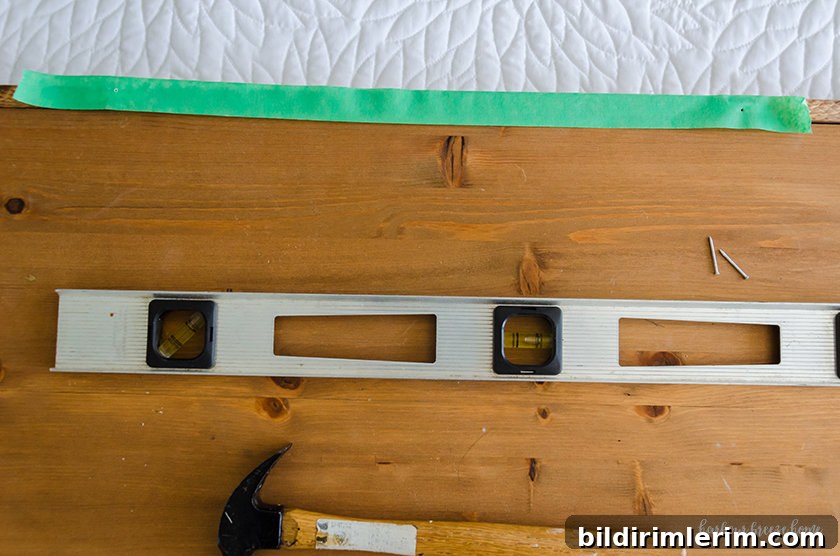
Apply a strip of painter’s tape across the top edge of the frame so it covers both sawtooth hangers. Make sure the tape is straight and aligned with the top edge of the frame.
Step 2: Punch holes in the tape to mark hanger centers
Using a nail or other sharp object, poke a small hole through the tape at the center point of each sawtooth hanger. Aim for the exact center of each hanger so the frame hangs evenly.
Step 3: Mark the center of the frame
Find the horizontal center of the frame and mark the center on the tape with a pencil. Hold the framed piece up where you want it on the wall and make a light pencil mark at that center point on the wall to use as your reference.
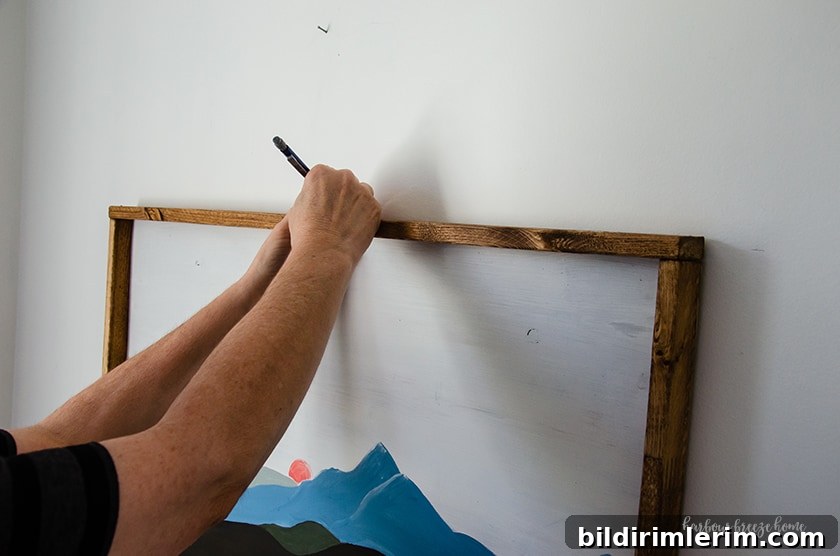
Step 4: Transfer the tape to the wall and level it
Remove the tape from the back of the picture. Align the center mark on the tape with the pencil center mark on the wall. Use a level to make sure the tape sits perfectly straight and level before proceeding.
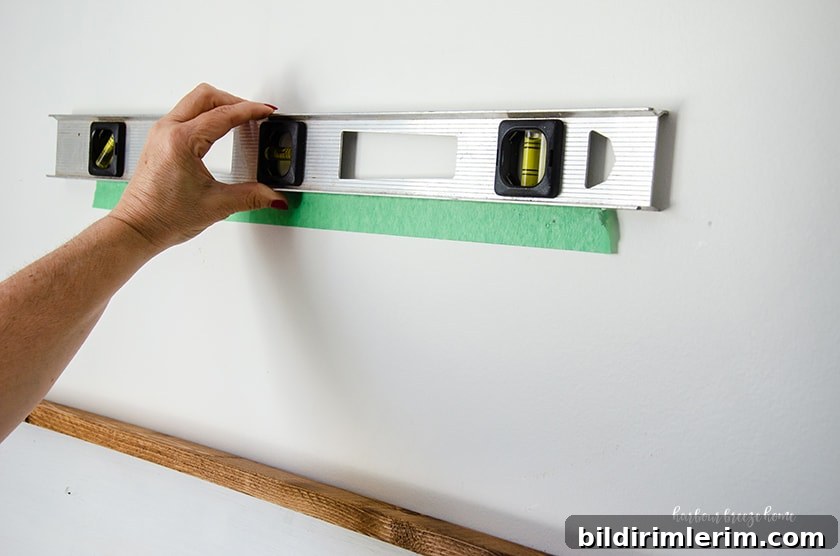
Step 5: Drive nails through the holes in the tape
Nail a 1-inch panel nail (or the appropriate small nail for your picture) into the drywall through each hole in the painter’s tape. The tape acts as a guide so the nails go exactly where the hangers expect them to be.
Important safety note: If your picture or object is heavy, do not rely on short nails alone. For heavier pieces, use a proper drywall anchor, toggle bolt, or screw-and-anchor system rated for the weight of the artwork to ensure secure mounting.
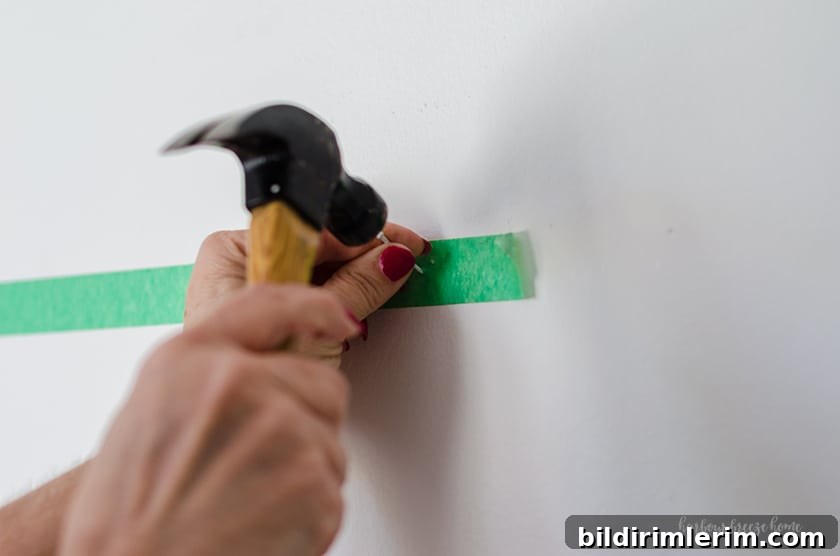
Step 6: Remove the tape and hang the picture
Take the tape off the wall and hang your frame by hooking the sawtooth hangers onto the nails. Step back and check that the piece is level. Small adjustments are easy from here.
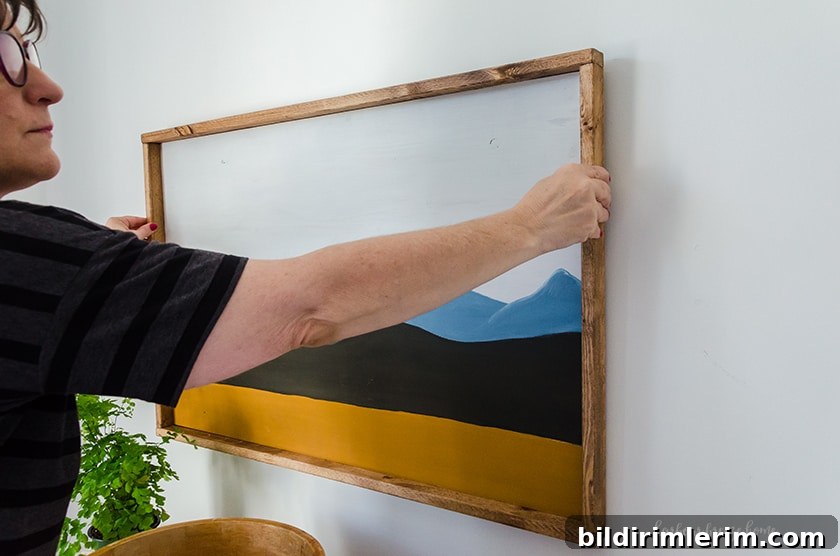
You’ll be surprised how quick and reliable this simple painter’s-tape method is for hanging art that has two hangers. It’s fast, accurate, and keeps frames perfectly level without a lot of measuring or fiddling.
Notes on larger wall art and inspiration
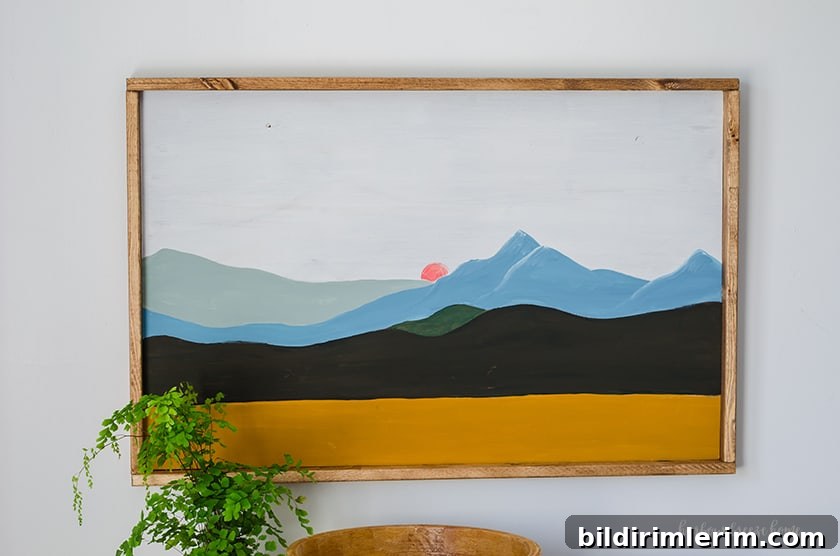
The framed piece shown in this tutorial was hung as part of a master bedroom makeover project. If you create your own large DIY wall art, this tape-transfer method is especially helpful for placing it precisely where you want it on the wall.
More picture-hanging tips
- How to hang a picture on the wall with a single hook — a great trick when your frame has only one hanging point.
- How to hang a gallery wall above a couch — tips for creating a balanced layout and an easy way to make a custom template for multiple frames.
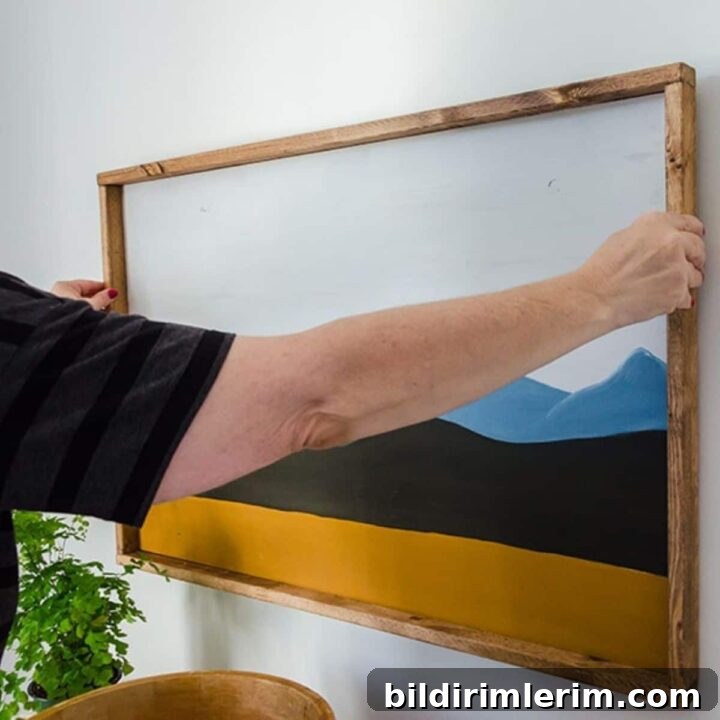
How to Hang a Picture with Two Sawtooth Hangers
Quick method: use painter’s tape to transfer the hanger hole positions from the back of the frame to the wall, then insert nails and hang. Total time: about 5–10 minutes. Difficulty: easy.
Materials
- Painter’s tape
- Two nails (appropriate for the picture weight)
- Level
- Hammer
- Pencil
Instructions
- Place a strip of painter’s tape across the top of the frame, covering both sawtooth hangers.
- Poke a hole through the tape at the center of each sawtooth hanger.
- Mark the center of the frame on the tape and lightly mark that center on the wall at the desired height.
- Align the taped frame center with the wall mark and use a level to make sure the tape is straight.
- Drive a nail into each hole through the tape. For heavy items, use a rated anchor or toggle bolt instead of short nails.
- Remove the tape and hang the frame on the nails. Check level and adjust if necessary.
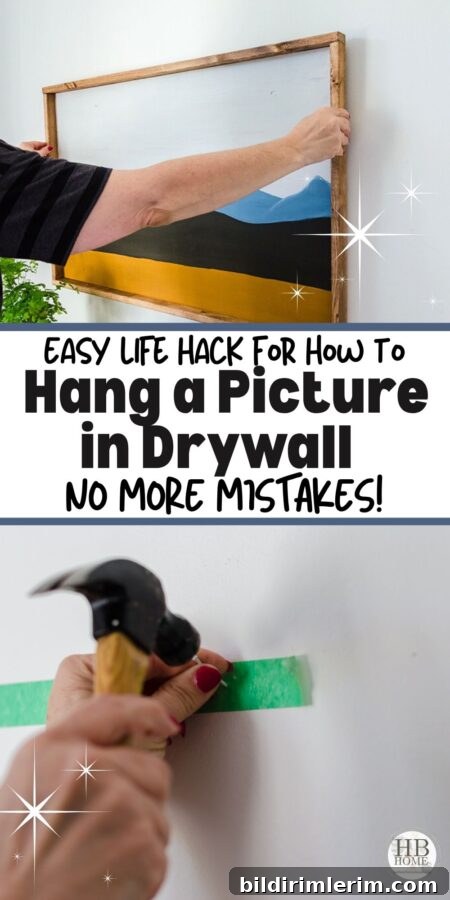
If you try this method, leave a comment or share a photo of your finished wall. It’s a simple trick that saves time and frustration and helps your artwork look its best.