
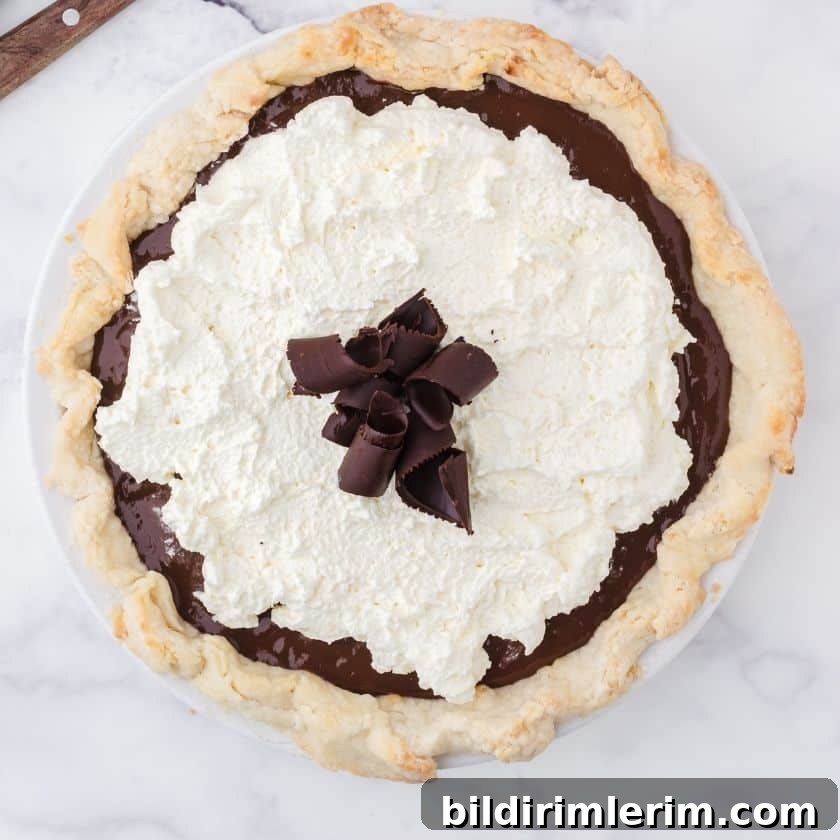
Combine a flaky pie crust with rich homemade chocolate pudding and you have an irresistible chocolate cream pie. Let’s make one—and get some great photos while we’re at it.
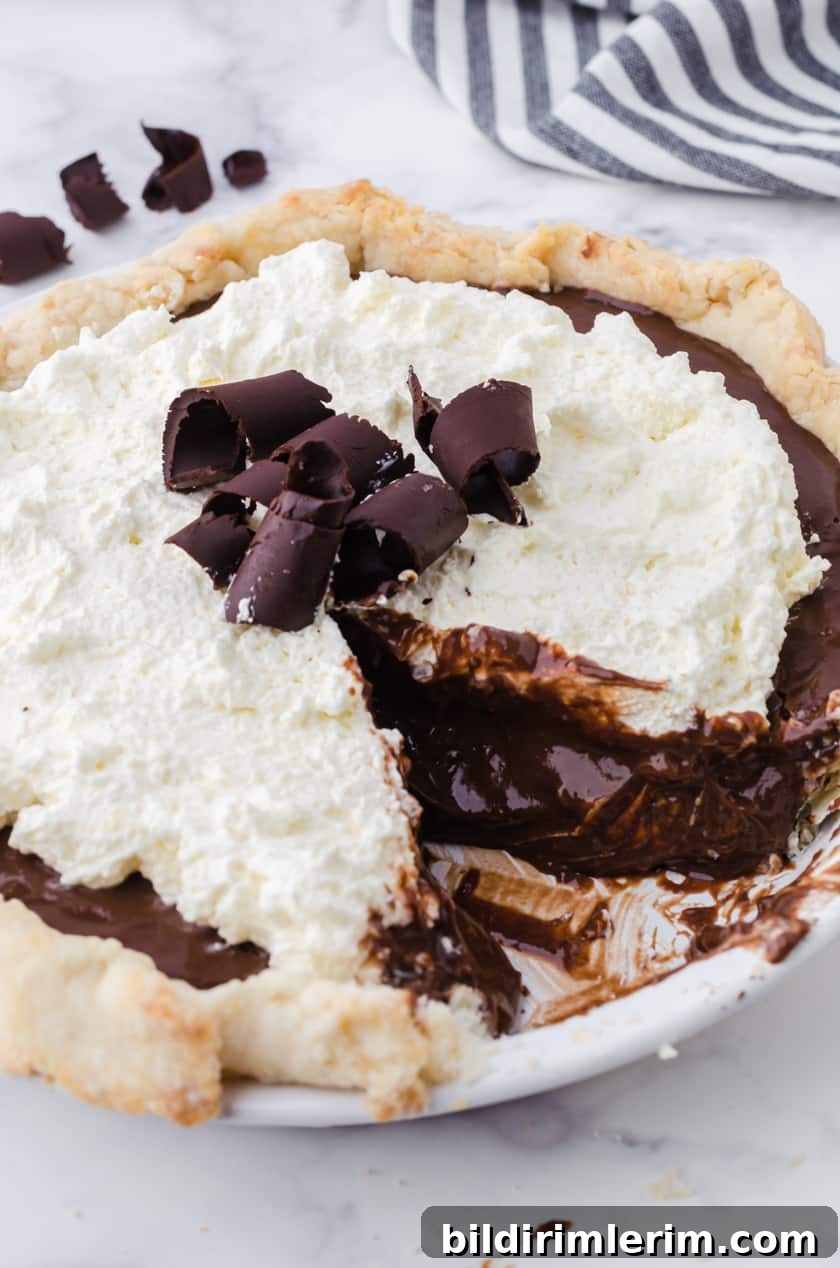
Have you ever planned a perfect food shoot and found reality had other ideas? That happened to me yesterday. I had a detailed plan for a quick, efficient, and beautiful photography session. I even made the pie the night before, certain everything would go smoothly. Spoiler: it did not—but the pie still tasted fantastic.

Chocolate Cream Pie
Ingredients for homemade chocolate pudding cream pie
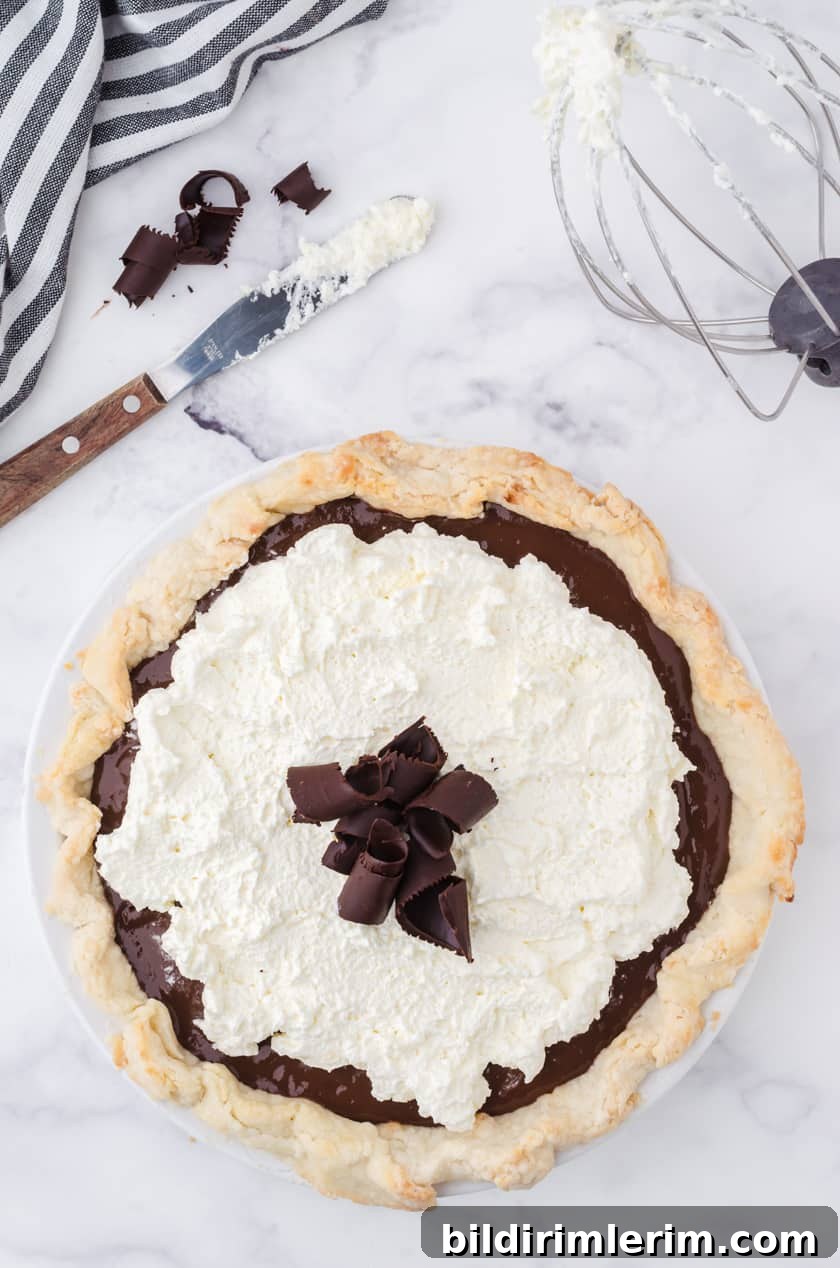
- 1 — 9 inch baked pie shell (homemade or store-bought)
- 1 1/2 cups sugar
- 3 tablespoons cornstarch
- 1/2 teaspoon salt
- 1/2 cup unsweetened cocoa powder
- 3 cups milk
- 3 egg yolks, lightly beaten
- 1 tablespoon butter
- 2 teaspoons vanilla extract, divided
- 1 cup heavy whipping cream
- 1 tablespoon sugar (for the whipped cream)
Directions
- In a medium saucepan, whisk together the sugar, cornstarch, salt, and cocoa until evenly combined.
- Gradually whisk in the milk until the mixture is smooth and lump-free.
- Place the pan over medium heat. Cook, stirring constantly, until the mixture comes to a boil. Once boiling, continue to stir and boil for 2 minutes to thicken the pudding.
- Remove the pan from the heat. Slowly pour about 1 cup of the hot mixture into the beaten egg yolks while whisking to temper them. Then return the egg mixture to the saucepan and stir to combine.
- Return the pan to medium heat and bring the pudding back to a gentle boil, stirring constantly. Boil for another 2 minutes to ensure the eggs are cooked and the pudding is thick.
- Remove from heat and stir in the butter and 1 1/2 teaspoons of vanilla until smooth.
- Pour the hot pudding into the cooled pie shell. Let it sit at room temperature for about 15 minutes, then cover with plastic wrap and chill in the refrigerator until completely set.
- Just before serving, whip the heavy cream in an electric mixer until it begins to thicken. Add 1 tablespoon sugar and 1/2 teaspoon vanilla, then whip to soft peaks. Spread the whipped cream over the chilled pie and garnish with chocolate ribbons, shavings, or chopped candy if desired.
Variations and topping ideas
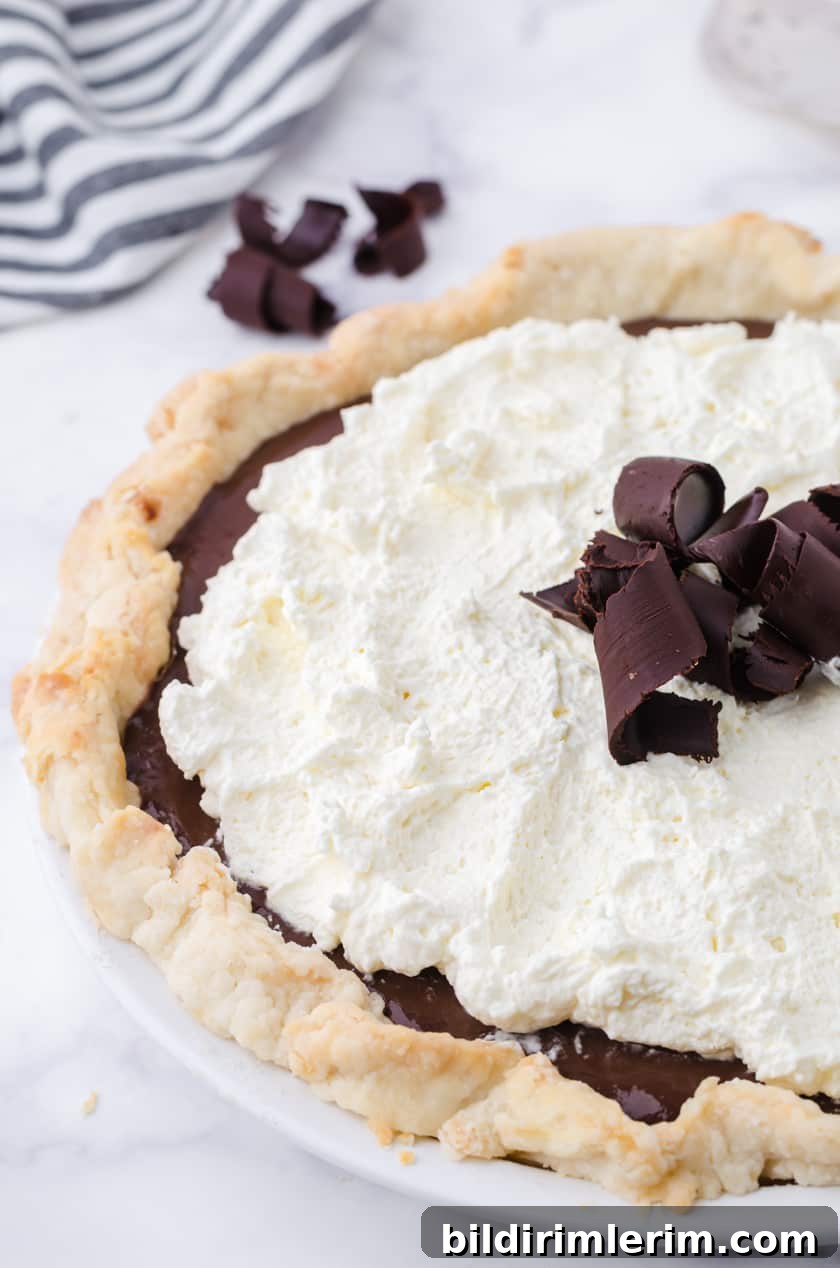
This filling is versatile. Instead of whipped cream, you can top the pie with a lightly baked meringue for a different texture and presentation. You can also fold a little melted chocolate into the whipped cream for a mocha twist, or add a sprinkle of flaky sea salt to balance the sweetness. Chocolate shavings, curls, cocoa dusting, or chopped nuts make attractive garnishes.
Food photography tips for photographing pies
Pies are notoriously tricky to photograph. In a food photography class I’m taking, we discussed a few reliable techniques that make shooting pies easier and more attractive:
- Chill the pie thoroughly before slicing. A fully chilled or even slightly firm pie slices more cleanly. Some photographers recommend freezing briefly for very clean edges.
- When photographing a slice shot, the crust can collapse or tip back after cutting. A discreet prop behind the slice—such as a small, clean object hidden from the camera—can help hold the crust in place.
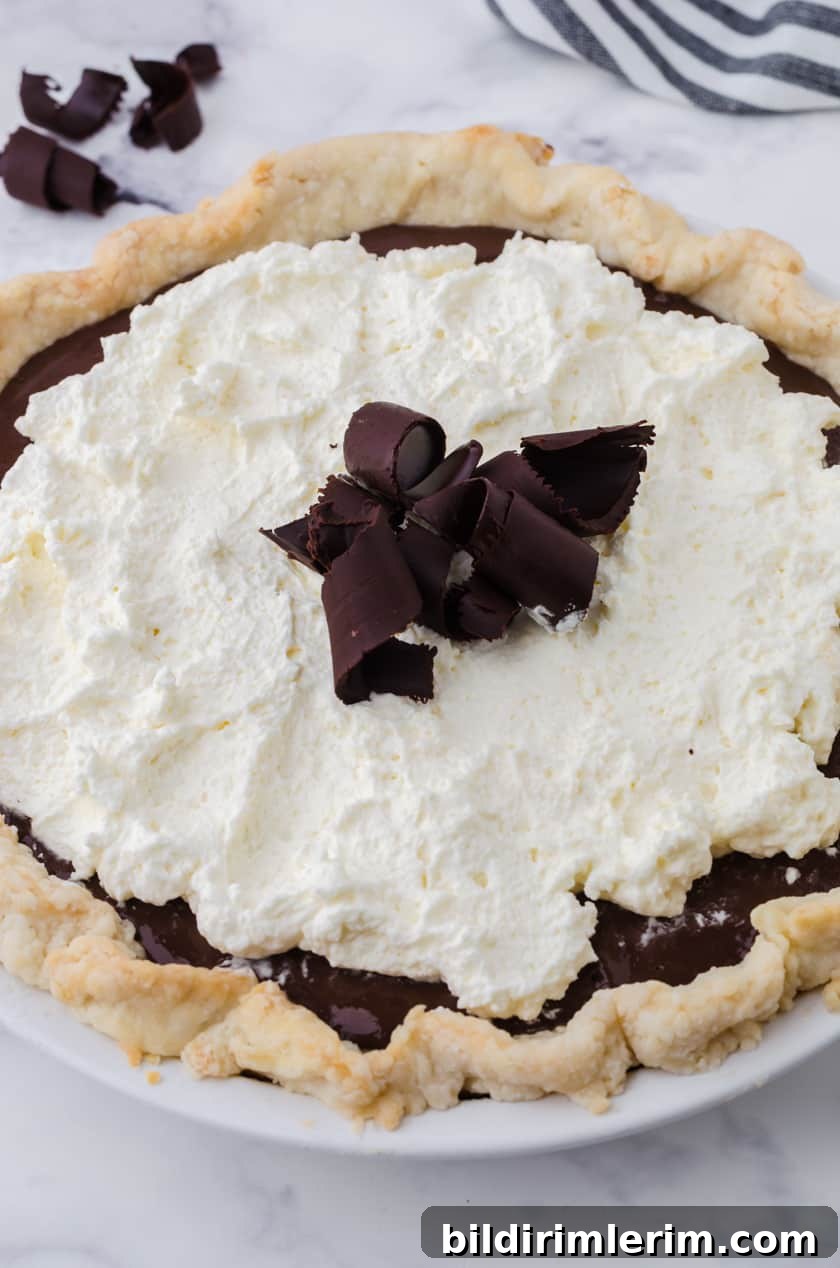
- Overhead shots are forgiving for pies and show the overall shape and garnish well. Close-ups highlight texture but reveal imperfections, so plan your angles accordingly.
Troubleshooting and final notes
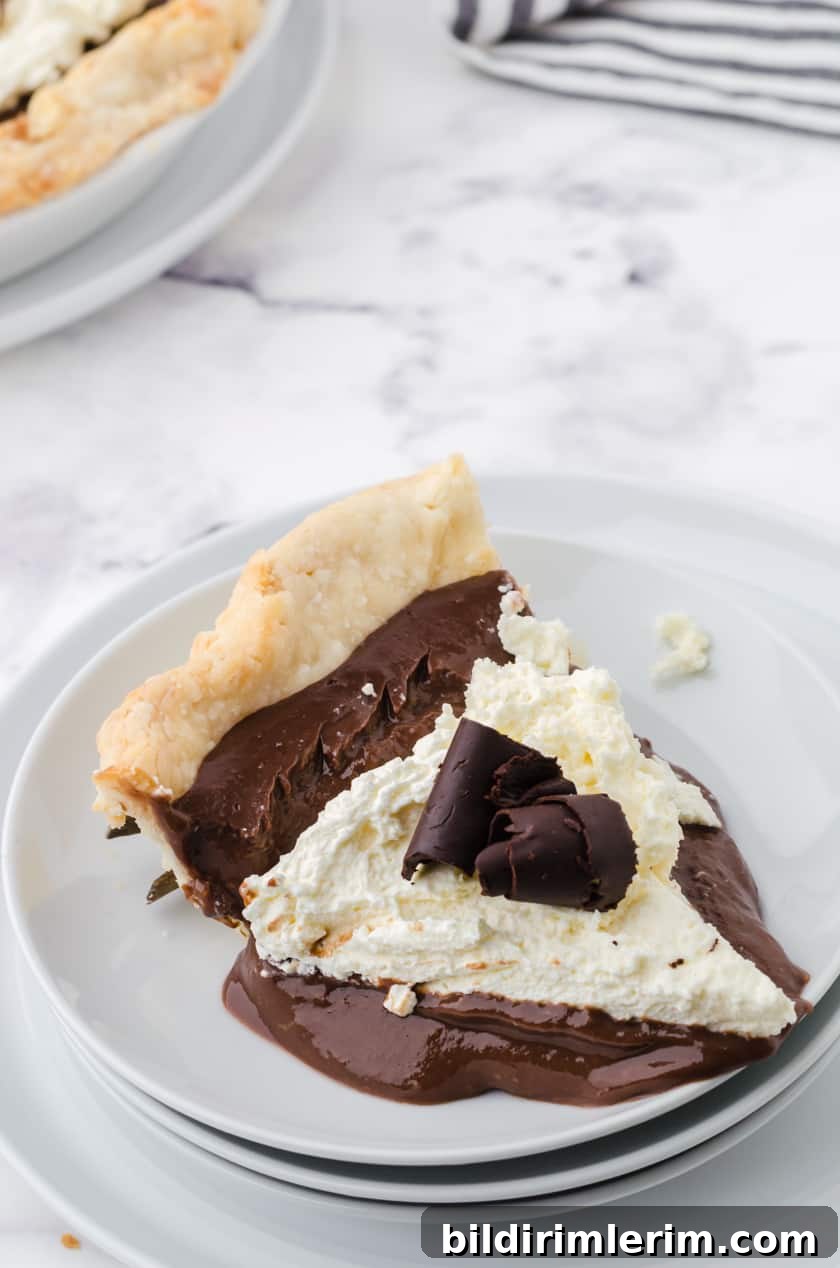
Even with careful chilling, this pudding-style filling can be softer than a fully set custard, especially if the pudding has a higher milk ratio or is slightly undercooked. If a slice starts to slide, pop the pie into the freezer for 30–60 minutes to firm it up before reattempting the slice shot. My shoot required a quick freeze and a laugh with my husband as we sampled the imperfect first slice—sometimes the best moments come from imperfect plans.
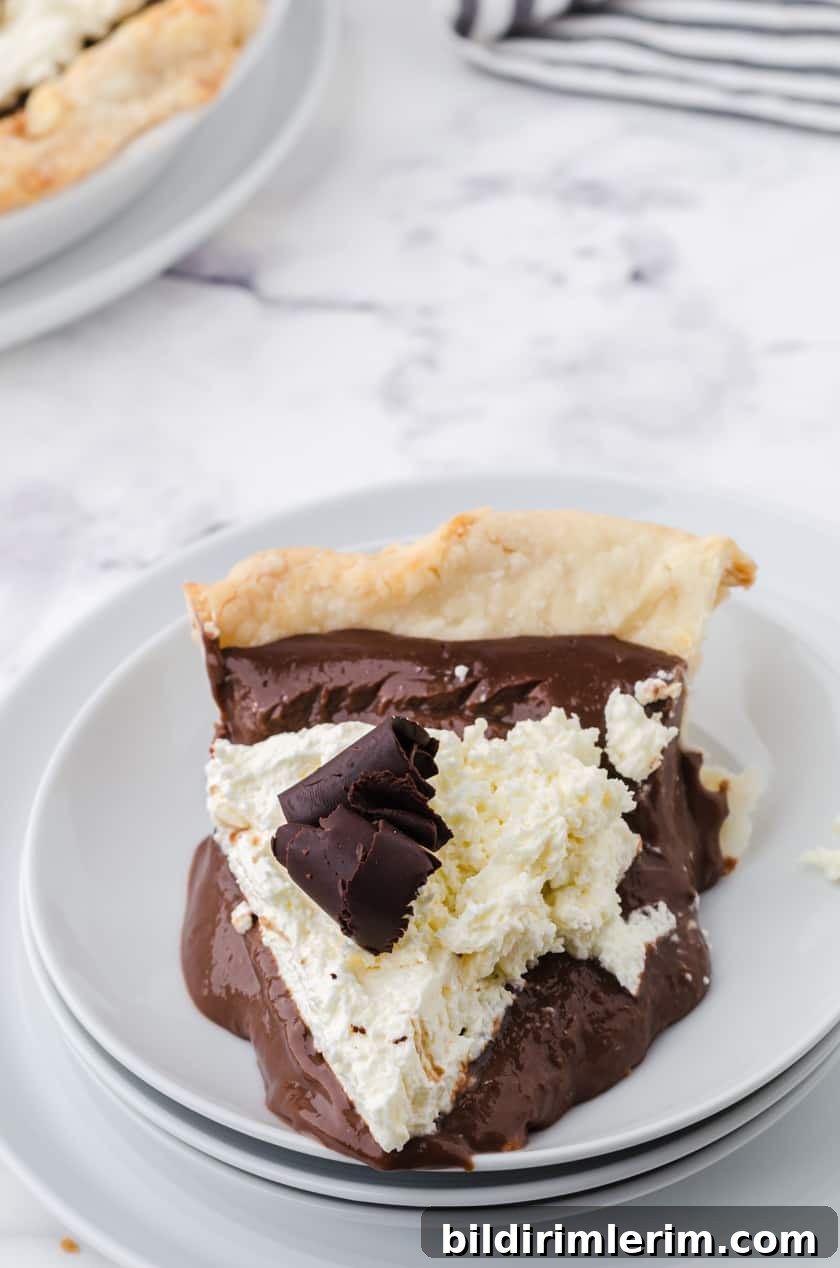
The photos might not be magazine-perfect, but the pie itself tastes incredible. If the filling is too soft for your preference, allow extra chilling time or consider adding a touch more cornstarch to the original mixture for a firmer set next time.
Storage and serving
Store any leftovers covered in the refrigerator for up to 3 days. If the pie softens in the fridge, you can firm it briefly in the freezer before serving. Serve chilled, with extra whipped cream or a dusting of cocoa for presentation.
Enjoy making this chocolate cream pie—whether your photos turn out exactly as planned or you end up with a delicious, spoonable treat straight from the dish.