
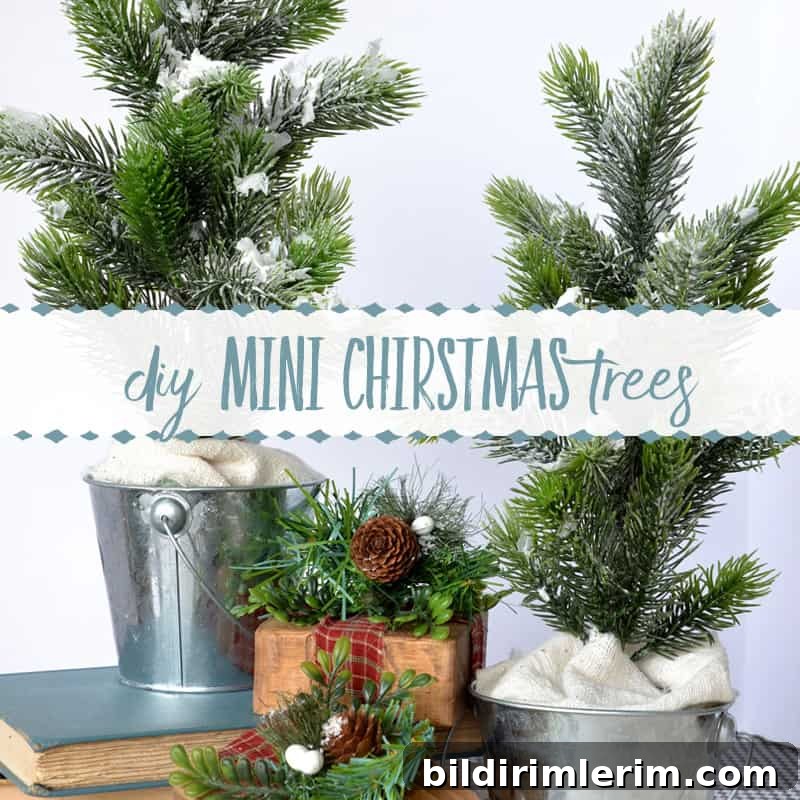
In this article: Learn how to craft charming mini flocked Christmas trees using affordable greenery from the Dollar Store.
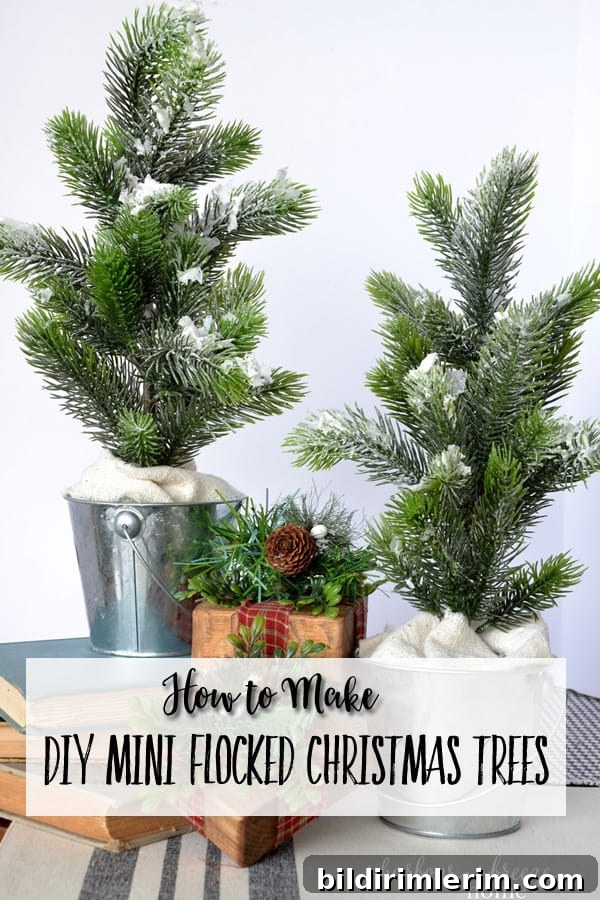
On a recent trip to the Dollar Store I found inexpensive faux greenery that was perfect for making mini Christmas trees. These little flocked trees are quick to assemble, budget friendly, and add a cozy, wintry touch to holiday shelves, mantels, or tabletops.
Below is a clear, step-by-step guide to make your own mini flocked Christmas trees, plus helpful tips for materials, variations, and decorating ideas. This project works well for beginners and can be adapted to different sizes and styles.
How to Make Mini Flocked Christmas Trees
Supplies are simple and mostly available at discount stores or craft shops. Substitute what you already have on hand to keep costs low.
Supplies:
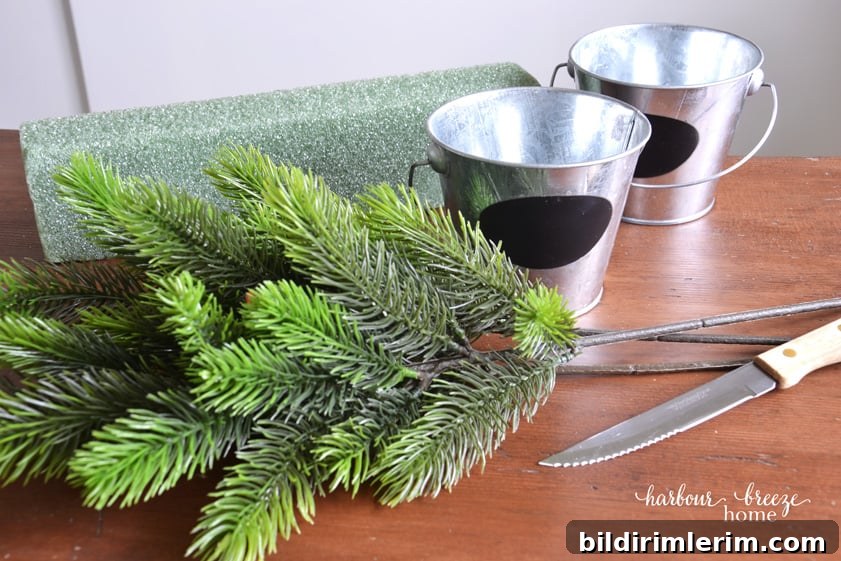
You will need:
- Floral foam (block or round) to fit inside your container
- Small buckets, tin pots, or other containers as bases
- A utility or steak knife for trimming foam (use carefully)
- Faux greenery stems — sprigs that are relatively flat on one side work well
- Wire cutters or heavy scissors for trimming stems
- Floral wire or thin craft wire to secure stems
- Snow spray or faux snow flocking and snowflake flakes for texture
Step 1: Trim and secure the floral foam
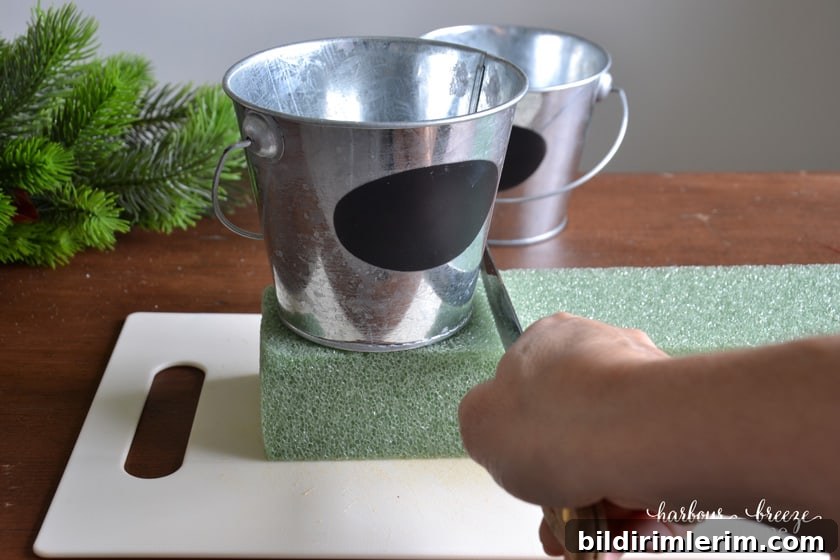
Cut the floral foam to fit snugly inside your bucket or container. If the container flares wider at the top, shape the foam slightly wider at the top so it will sit firmly. Press the foam into the base so it is secure and level. A tight fit prevents wobbling as you build the tree.
Step 2: Trim greenery to the desired height
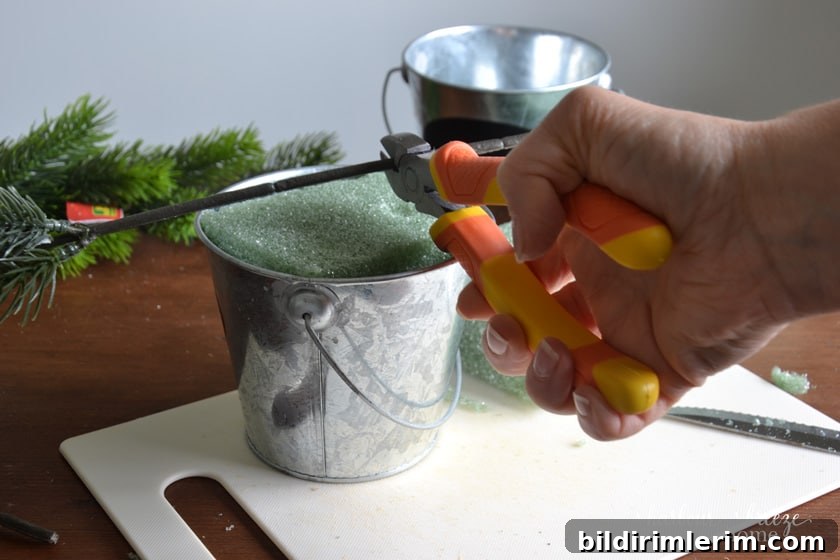
Measure and cut the faux greenery to the height you want for your mini tree. I used two matching pieces per tree because the stems were flat on one side; cutting them the same length helps create a balanced silhouette. Always cut stems on a cutting mat or protected surface and wear eye protection if needed.
Hold the paired stems together and press them into the center of the floral foam. If the hole becomes too large and the tree wobbles, stuff a small piece of paper towel or extra foam into the gap to tighten the fit.
Step 3: Secure the stems with floral wire
Wrap a short length of floral wire around the stems just below the foliage to keep the two pieces tightly bound. Twist the wire snugly and tuck any sharp ends inward to avoid scratching surfaces or hands.
Step 4: Add a tree “skirt” to hide the base
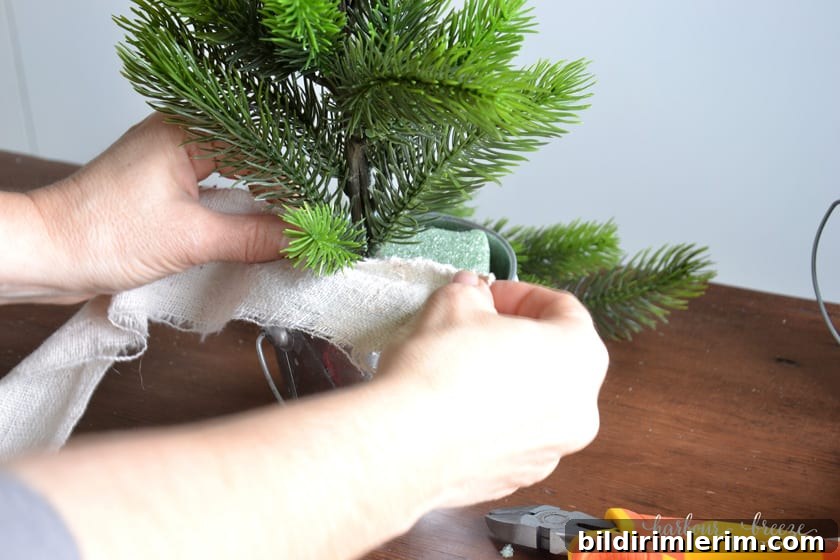
To conceal the foam and give a finished look, wrap a narrow strip of linen, canvas, or burlap around the rim to create a little skirt. Secure it with a dab of hot glue or tuck it into the container so it looks neat and natural.
Step 5: Flock the branches
Spray the branches lightly with snow spray or apply faux snow according to the product instructions. While the spray is still tacky, press small faux snowflake flakes into the branches for extra texture. Finish with a light final spray and allow the tree to dry thoroughly before handling.
Tip: Work in a well-ventilated area and protect surfaces beneath the tree to catch overspray. If you prefer a softer look, dust on a small amount of white glitter instead of heavy flocking.
Finishing touches and variations
You can personalize these mini trees in many ways: add tiny vintage-style ornaments, a small wooden star, or a dab of hot glue and glitter for a subtle sparkle. To make a rustic set, choose metal tins and natural linen skirts. For a more modern look, use minimal flocking and sleek white containers.
If you’re making several trees, vary the heights and container styles to create a layered display. Placing them at different levels under your main tree or arranging them on shelves creates visual interest and a festive vignette.
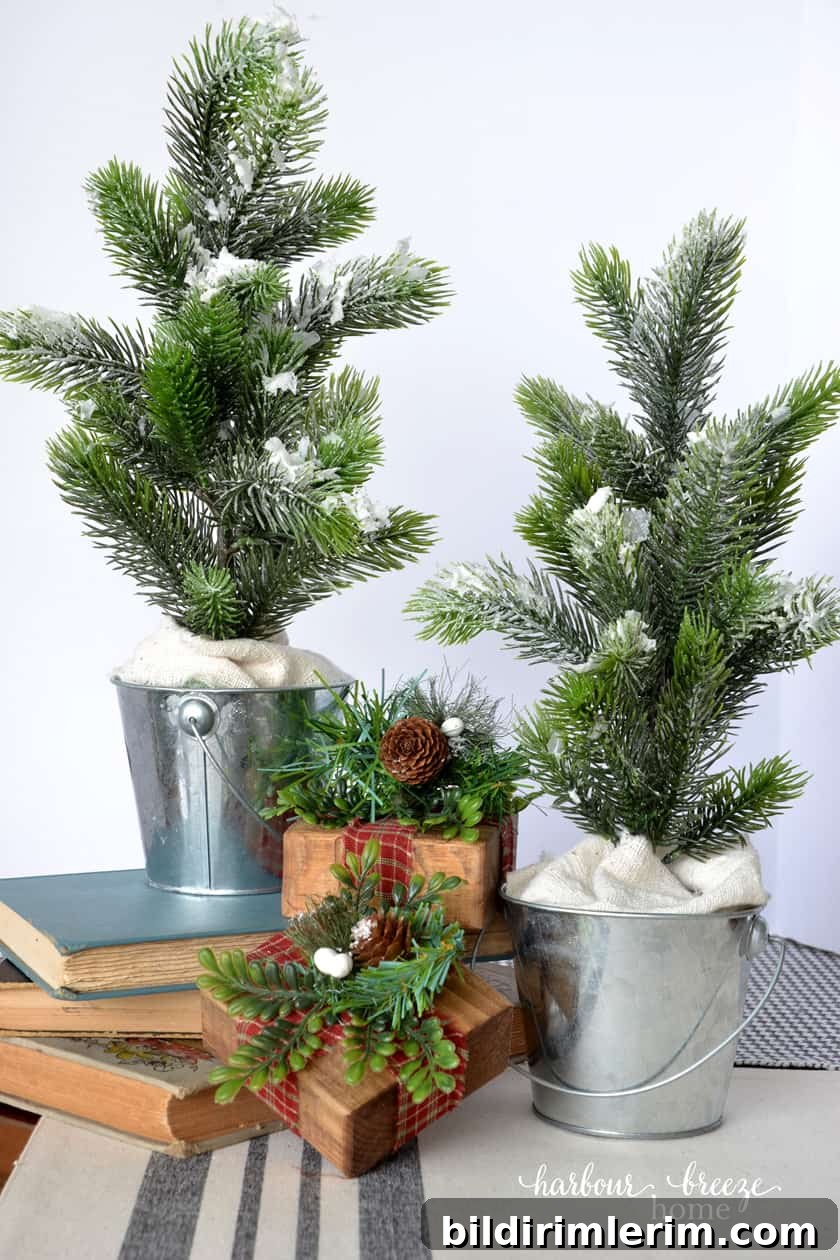
Decor Ideas for these Trees:
- Place them on shelves in a gallery wall above a couch for subtle holiday accents.
- Arrange a trio at varying heights under the main Christmas tree for depth and charm.
- Set one or two on a bedroom dresser or entry table and embellish with tiny vintage ornaments or ribbon.

More DIY Christmas decor ideas
- Easy DIY Wood Slice Christmas Tree Sign
- Fabric No-Sew Christmas Tree Pillow
- Fabric Christmas Ornaments
- DIY Christmas Place Card Holders
- DIY Canvas Wall Art that Lights Up for Christmas
Want more holiday ideas?
Subscribe to newsletter updates to receive more festive crafts, decorating tips, and printable gift tags. Sign up on the site to get a free set of printable Christmas gift tags delivered to your inbox. Merry Christmas and happy crafting!