Simple Linen Pillow Cover Tutorial
I still remember the first pillow tutorial I saw on television—an elegant, straightforward technique for a slipcover-style pillow back that stuck with me. That memory inspired this clear, step-by-step guide for making a simple linen pillow cover. You can use any fabric with this method, but linen offers a beautiful, natural texture and wears well. The measurements below are demonstrated using a 13.5-inch pillow form; use the same formulas to adapt the pattern to any size form.
Materials & Tools
- Fabric of your choice (linen shown here)
- Pillow form (example: 13.5-inch)
- Measuring tape or ruler
- Fabric shears
- Sewing machine and thread
- Pins or fabric clips
- Iron and ironing board
Measurements and Cutting
To determine the fabric rectangle you need, calculate the pillow circumference and add allowances for hems and seams. For a 13.5-inch square pillow form the steps below show the calculation used in this example:
1. Measure the pillow’s circumference (the length around the face of the pillow). For this example the circumference is 27 inches.
2. Add hem allowances: one hem for the top/back seam and a larger “flap” hem that will form the back overlap. In the example: 27 (circumference) + 2 inches (top hem) + 6 inches (flap hem) = 35 inches total length.
3. Measure the pillow height (the width of the fabric piece). For a 13.5-inch pillow form add 1/2 inch allowance for each side seam: 13.5 + 1 + 0 = 14.5 inches. (This yields a piece 35 inches by 14.5 inches.)
Cut a single rectangle of fabric to these dimensions (35″ x 14.5″ in this example). If you are adapting to a different pillow form, replace the numbers with your own circumference and height measurements and recalculate the seam and hem allowances as needed.
Construction Steps
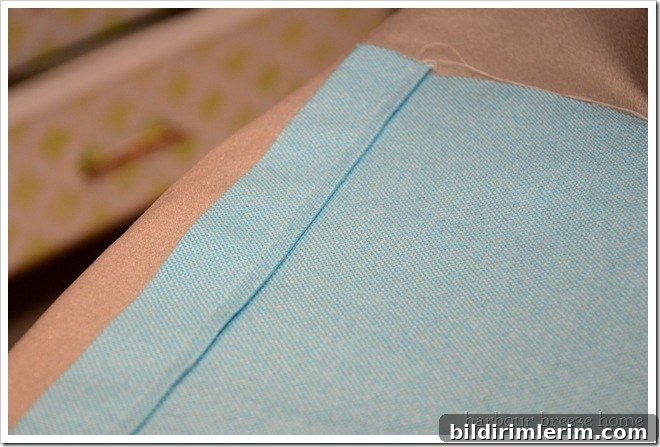
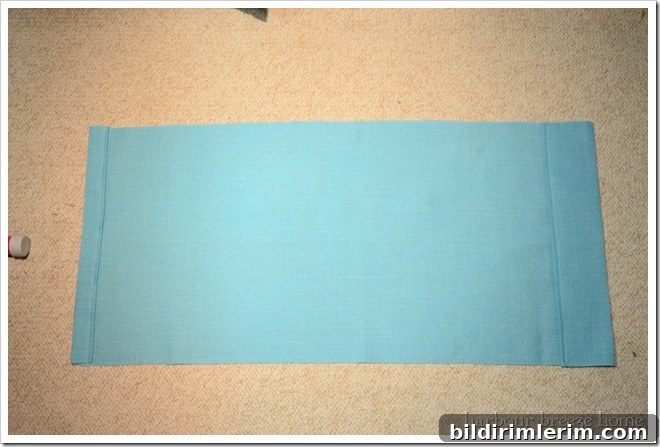
- Prepare the bottom hem: Fold one short edge under 1 inch, press with an iron; fold under once more to enclose the raw edge, press again, and sew a straight seam to secure the hem. This creates a clean, finished lower edge.
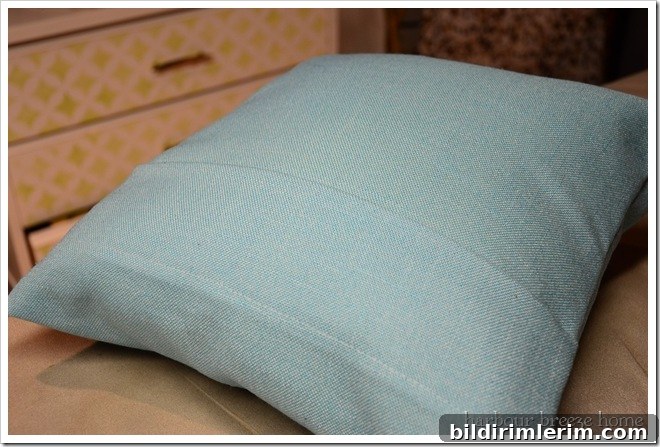
- Create the back flap: On the opposite short edge, fold under 3 inches, press; fold again and press to form a wider finished flap hem. Stitch across this folded edge so the flap is neat and durable. This flap will overlap on the pillow back to hold the insert without zippers or buttons.
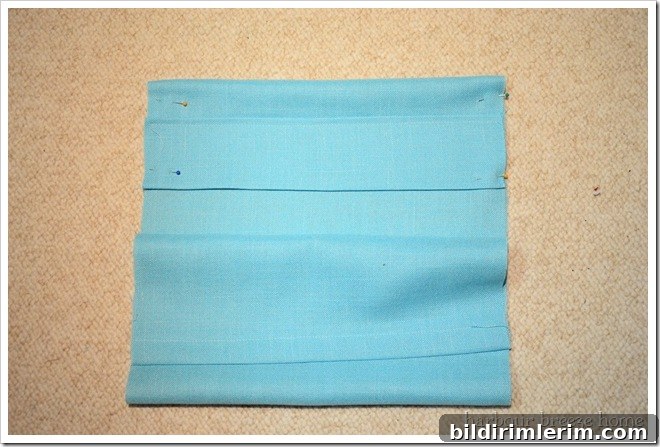
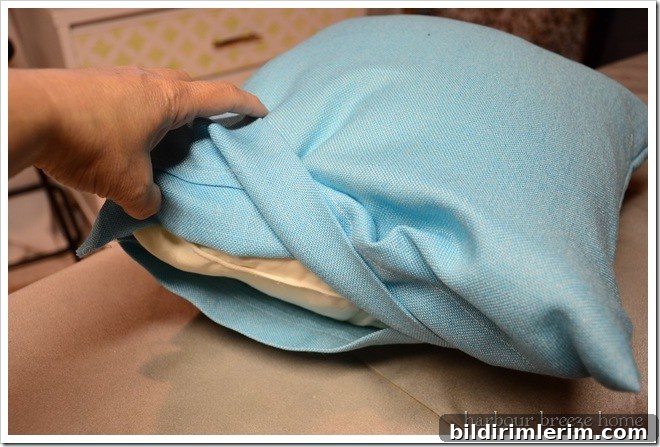
- Fold and position: Fold the flap section down so it overlaps slightly less than half the length of the pillow back (for a 13.5-inch pillow, fold the flap a little less than 6.5 inches). Use pins to hold the flap in place.
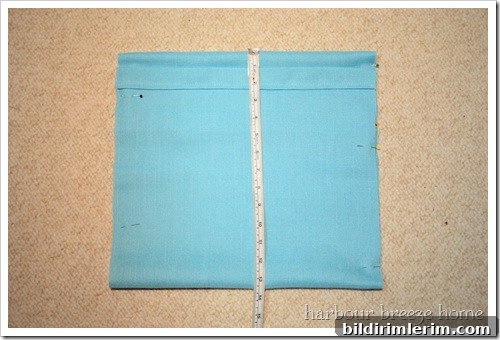
- Form the finished pillow length: Fold the opposite (bottom) portion up so the total length equals the height of the pillow form (13.5 inches in this example). At this point the folded fabric should form the front and overlapping back of the cover.
- Sew the side seams: With right sides together, sew both side seams. If you prefer a snug fit, sew at a slightly larger seam allowance than the calculation; for example, although allowances were calculated at 1/2 inch, sewing at 5/8 inch produces a firmer, more tailored finish.
- Clip and turn: Trim the seam allowances in the corners to reduce bulk, then turn the cover right side out. Push out the corners for a clean square shape and press again if desired.
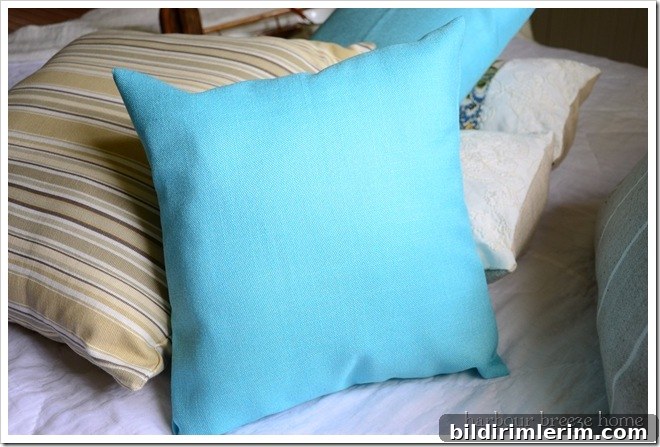
- Insert the pillow form and finish: Slide the pillow form inside and pull the back flap into place to overlap and close the back. The cover is complete and ready to display.
Finishing Touches and Variations
The overlapping flap can be left plain for a minimalist look, or you can add decorative details such as buttons, trim, or topstitching. If you prefer a more tailored interior finish, consider using French seams or adding hand-sewn buttonholes for functional buttons. This basic slipcover method adapts well to decorative variations while remaining quick and practical.
Care and Tips
- Prewash and press fabric before cutting to minimize shrinkage and remove finishes that might affect the drape.
- Use matching thread and a slightly longer stitch length for linen or heavier fabrics for a professional appearance.
- Try the cover on the pillow form before trimming seams to adjust fit if you prefer a looser or tighter look.
- Experiment with pattern placement, piping, or contrasting hems for custom styling.
This simple tutorial produces a clean, attractive pillow cover that is easy to sew and versatile in fabric choice. Use the measurement formulas provided to adapt the method to any pillow form size, and enjoy creating custom cushions that suit your decor.