
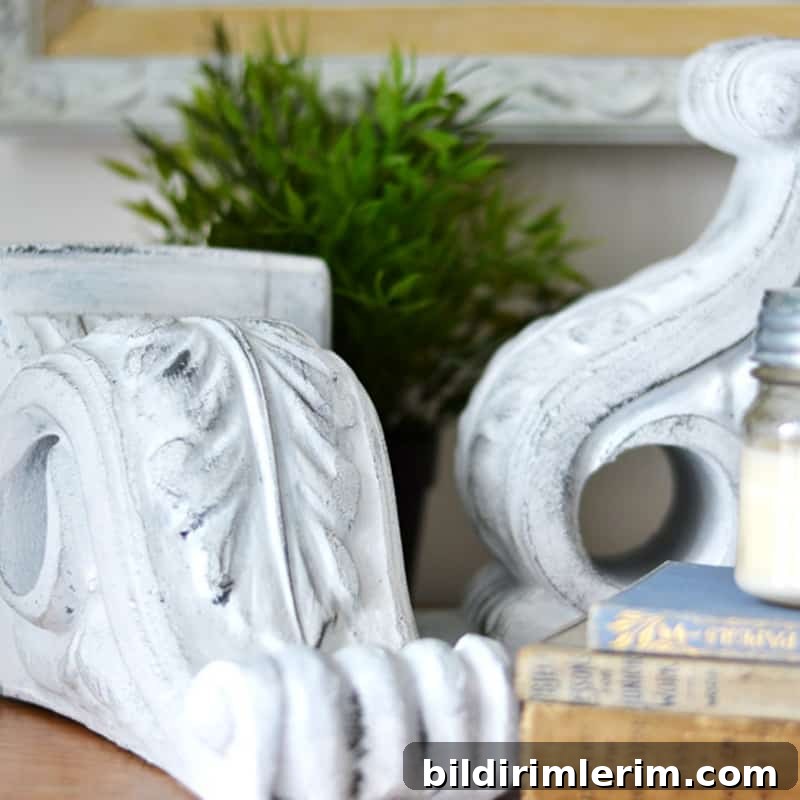
Turn a thrift store or home improvement find into charming farmhouse decor with this beginner-friendly guide to painting foam corbels. Use them as decorative accents, shelf brackets, bookends, or architectural interest throughout your home.

Adding farmhouse style to your home can be as simple as a few coats of paint and a little dry-brushing. Foam corbels are an inexpensive, lightweight alternative to carved wood and are ideal for DIY farmhouse projects—especially when you find them at thrift stores, discount bins, or salvage shops.
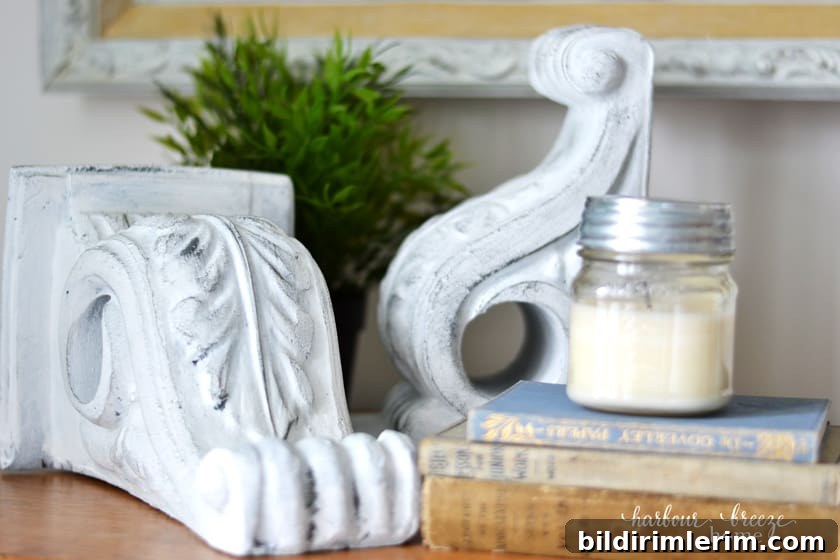
A Beginner’s Guide to DIY Farmhouse-Style Painted Foam Corbels
This tutorial walks you through materials, painting technique, and styling ideas so you can create a convincing rustic farmhouse finish on inexpensive foam or wooden corbels. The process is beginner-friendly, fast, and forgiving—perfect for first-time painters.
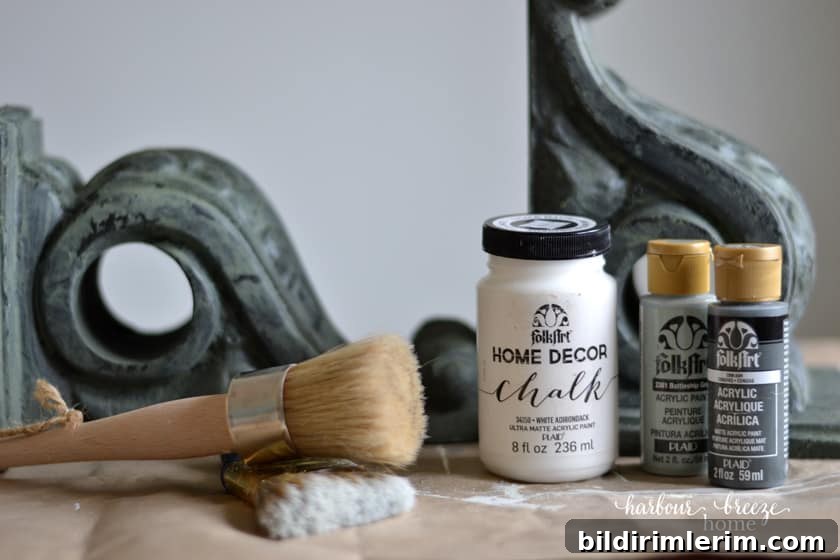
Supplies
- Foam corbels (thrifted or purchased; wooden corbels work equally well)
- White chalk paint for the base coat (chalk-style paint adheres well to many surfaces)
- Dark acrylic craft paint for dry-brushing (a soft gray or “ash” tone works great)
- A general-purpose paintbrush for base coats (medium bristle brush)
- A smaller, round or flat brush for dry-brushing details
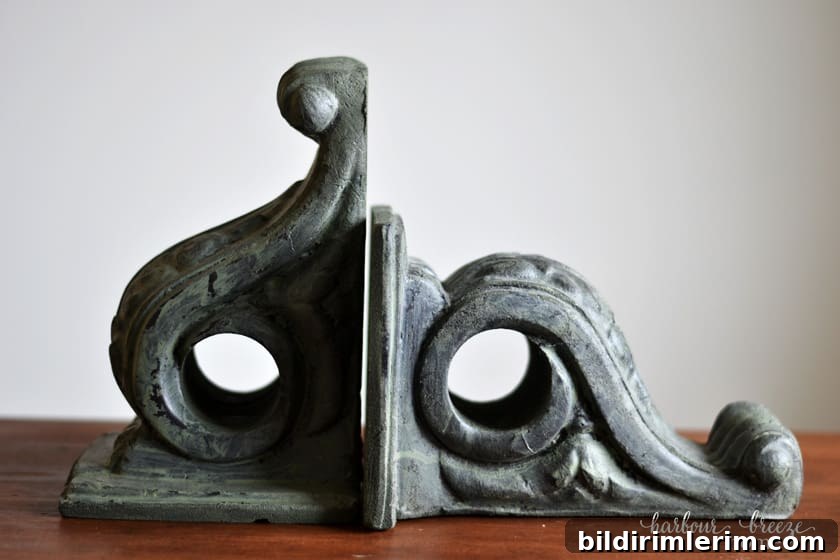
Step One: Apply two coats of white chalk paint
Chalk paint is ideal for this project because it adheres to foam and wood without extensive prep and creates a matte, vintage-looking base. Start with a thin first coat, covering all surfaces and recessed details. Allow it to dry according to the paint’s instructions, then apply a second coat for a solid, even finish. For foam corbels, two coats are usually sufficient; for wood or porous surfaces you may need an extra coat or light sanding between coats.
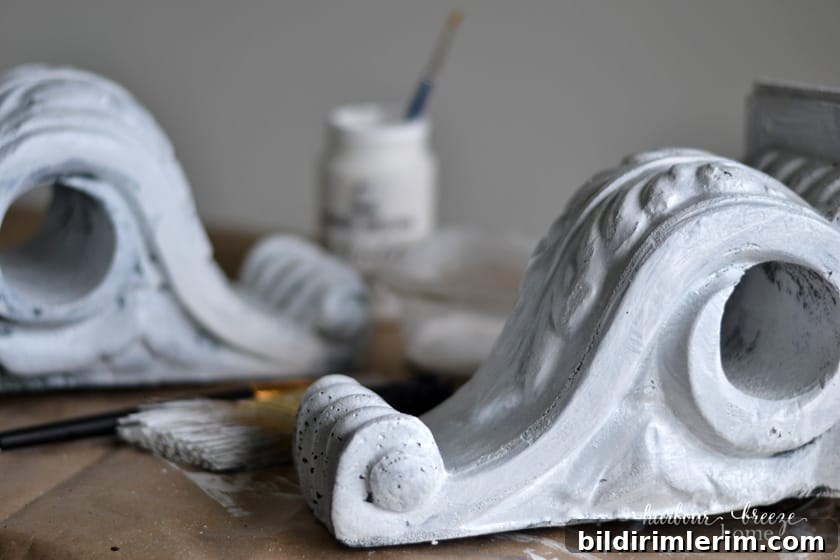
After the second coat, let the pieces dry thoroughly—overnight is a safe bet—to ensure your dry-brushing layer won’t smudge.
Step Two: Dry-brush a darker color to highlight the design
Dry-brushing adds depth and a gently weathered look that reads as authentic farmhouse patina. Squeeze a small puddle of your darker acrylic paint onto a paper plate or scrap cardboard. Dip the tip of your dry brush in the paint, then wipe or rub most of it off on the plate until the brush is nearly dry. The goal is just a trace of paint left on the bristles.
Lightly drag or stipple the brush across raised areas and carved details, allowing the darker color to catch edges and crevices. Build gradually—it’s much easier to add more than to remove excess paint. Rotate the corbel as you work to ensure even coverage and a natural, worn effect. Concentrate paint where natural wear would occur: corners, edges, and ornamental ridges.
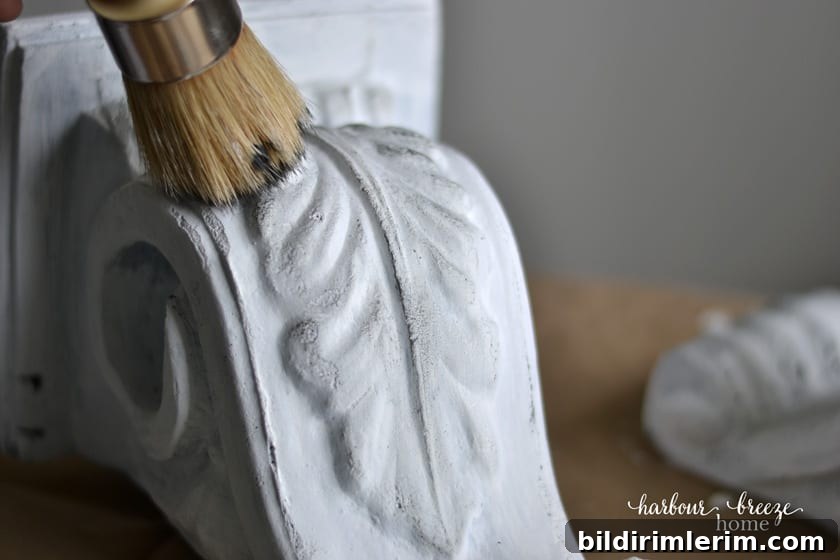
For a subtler result, you can blend a little water into the acrylic before dry-brushing or lightly sand tiny areas after the paint fully cures to reveal the white base beneath.
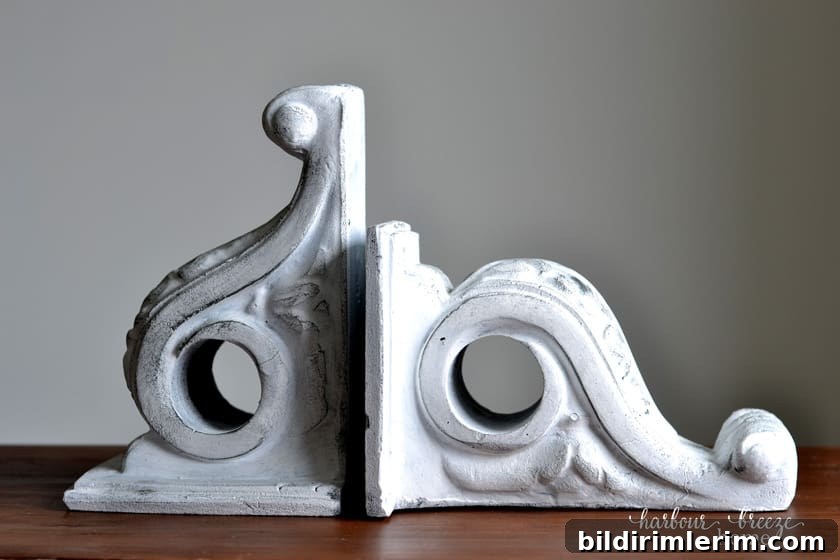
Styling ideas and uses for painted farmhouse corbels
Once finished, painted foam corbels make versatile farmhouse decor accents. They’re lightweight, affordable, and easy to place or attach. Here are practical and decorative uses to inspire your project:
- Place a pair on a tabletop or mantel as sculptural accents for a vignette.
- Use as bookends—add weight or secure them to a heavy base for stability.
- Install in a doorway or niche to add architectural interest without major renovation.
- Use durable corbels as shelf brackets for open shelving; confirm they’ll hold the intended load.
- Attach under an island overhang to mimic built-in support trim and add farmhouse charm.
- Add a sturdy hook to hold a lantern, plant, or hanging decor—check weight limits for foam pieces first.
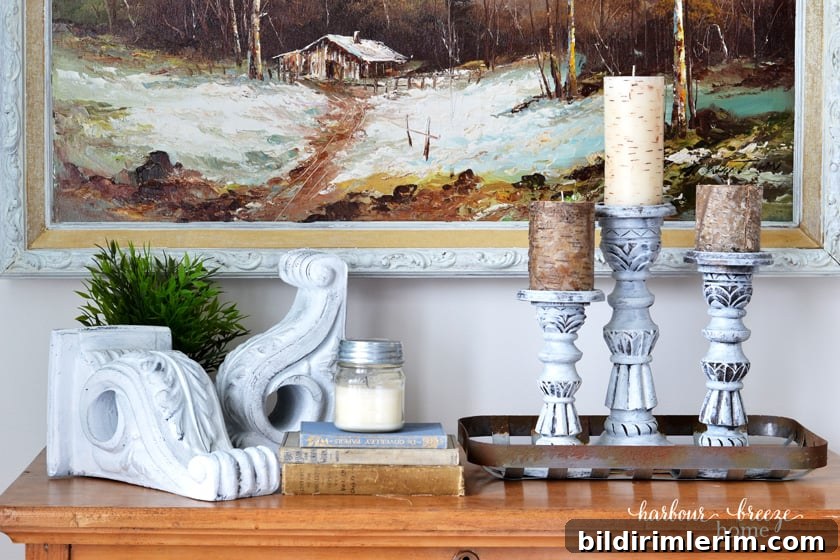
With simple materials and a little time, you can transform inexpensive foam corbels into convincing farmhouse accents. Experiment with different base colors, dry-brushing shades, and placement ideas to match your home’s style. Enjoy the process—this is an easy, budget-friendly DIY that delivers a lot of visual character.