I bought my first real camera with my high school graduation money and I’ve been hooked on photography ever since. Even now I’m still learning — the more I learn, the more I realize there’s still so much to discover about lighting, composition, and presenting products for sale.
Day 4: Presenting Your Product (Photography tips)

When you’re using an image to sell a product, you want that image to communicate clearly and attractively. Guest bloggers shared practical approaches they use to photograph products for online shops. Below are their experiences and tips you can adopt, plus a few additional best practices for consistent, professional product photos.
Question: I’ve carefully studied all the pictures of your store products and they are beautiful! Do you have a studio space set up to photograph your products? If so, what does it look like?
Gina — The Shabby Creek Cottage

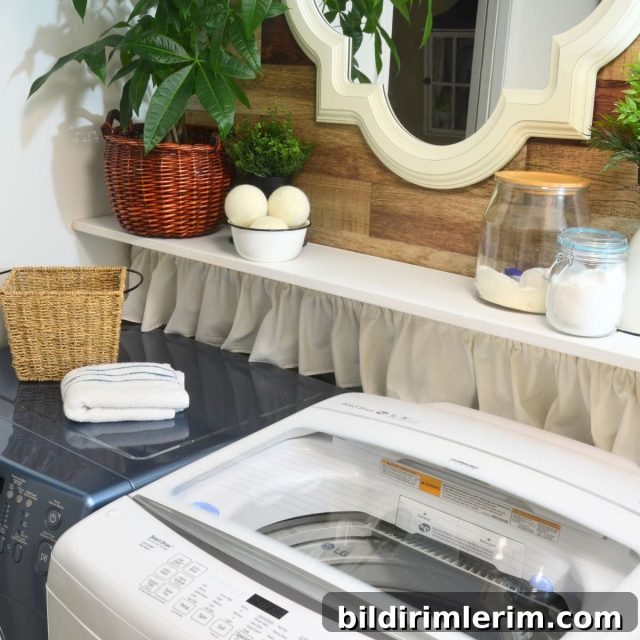
Gina shoots her photos in a barn where she set up a table made from barn wood against the wall. She uses many different flat surfaces — from a washing machine to a chair seat — choosing whatever provides the right contrast with the product. When shooting indoors she moves around the house to follow the best natural light at different times of day.
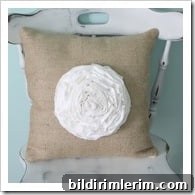
Dahlia Pillow from The Shabby Creek Shop
Jami — Freckled Laundry

Jami doesn’t have a dedicated studio. Her essentials are gorgeous natural sunlight and a simple white or gray background. She learned the light patterns in her living room and found the best windows produce ideal light between 10–11 a.m. and 3–4 p.m. Her advice: avoid busy prints or cluttered backgrounds — keep it simple and neutral so the product remains the focus.

There are many simple, inexpensive ways to make a DIY lightbox at home; tutorials and step-by-step videos demonstrate how to create even, diffused light for small items.
Lisa — The Pennington Point

Lisa learned the value of consistency: she chose a single spot on her front porch with reliable light and a bench that works for almost any display. By using the same location and background for most images, her shop and blog maintain a cohesive look. For home décor items she also takes lifestyle shots showing the product in use, which helps shoppers imagine it in their own space.

Aimee — My Pink Life

Aimee doesn’t use a studio either; she photographs signs and small pieces in different rooms of her home, using natural light and varied backdrops to suit each piece.

Practical, actionable tips for better product photos
- Use natural, diffused light whenever possible. Direct sunlight can create harsh shadows; aim for soft, even light from a window or use a DIY diffuser.
- Choose simple, neutral backgrounds. White, gray, or lightly textured surfaces keep the attention on the product.
- Pick a consistent shooting location. Consistency across listings builds a professional and recognizable brand aesthetic.
- Shoot multiple angles and include at least one lifestyle/context shot so customers can visualize scale and use.
- Stabilize your camera with a tripod or steady surface to keep images sharp. Use a timer or remote if you’re shooting alone.
- Mind your white balance and color accuracy. Minor color adjustments in basic editing software can ensure your photos reflect the true product color.
- Keep props minimal and relevant. A single prop or texture can add context without distracting from the item.
- Experiment with small surface changes — benches, pews, wooden boards, or simple fabric can transform the look and highlight different product features.
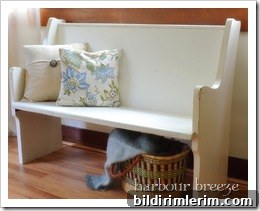
One contributor had an “aha” moment after reading these answers: a painted pew moved into natural light became a perfect mini-studio. Small, consistent solutions like that can be quickly replicated at home and yield professional results.
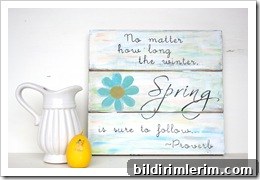
Where do you like to take pictures of your products? Share your approach and examples — seeing other setups can spark ideas you might adapt to your own shop.
Until tomorrow… Toodeloo 🙂