I got an exciting e-mail from a magazine the other day. I’ll leave it at that for now since nothing is determined yet, but they asked for photos of our kitchen — and that was all the motivation I needed to whip the space into shape.
I don’t pretend to be a professional stager, but I do follow a simple, practical process that yields magazine-ready results without turning my home into a showroom. Below I describe the steps I took, with before-and-after images that show how small changes can make a big difference in kitchen staging, styling, and photography.
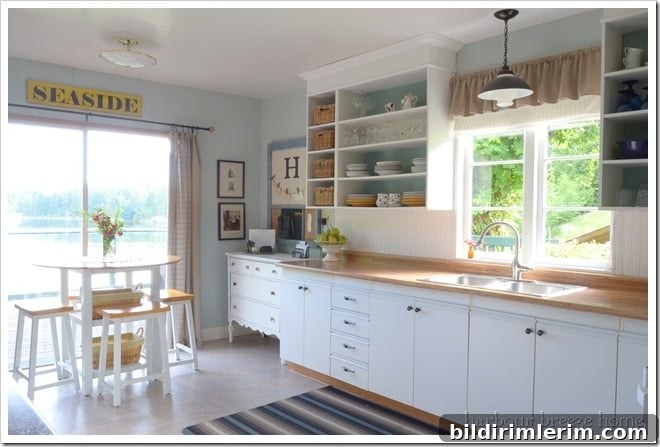
First, accept that magazine rooms are styled for photos. Real life looks different. Here’s a snapshot of reality and why you shouldn’t be discouraged:
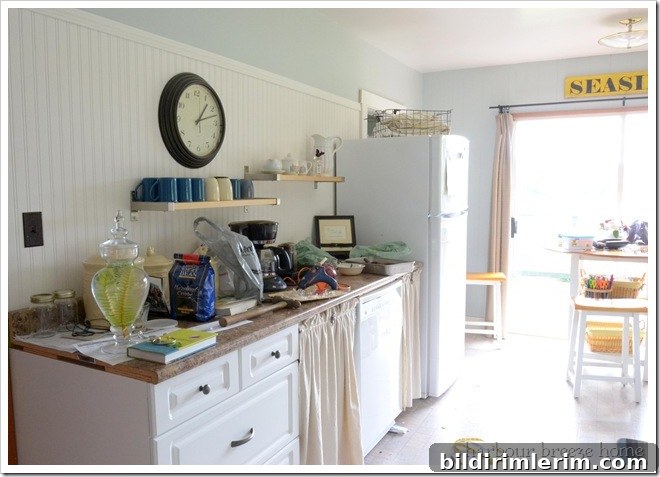
And another candid view of the everyday kitchen scene:
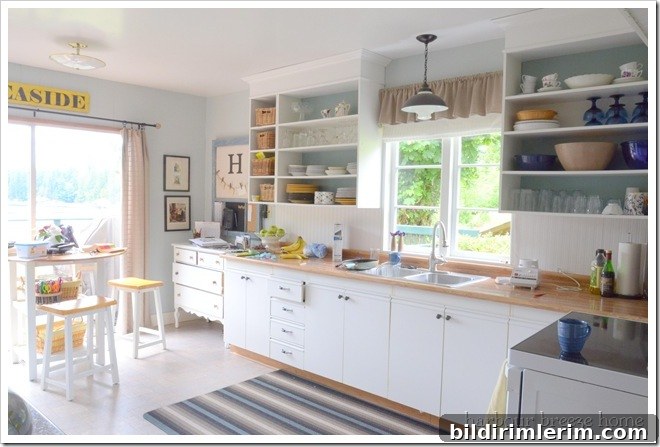
Don’t worry if your home isn’t perfect all the time. The goal of staging is to present the space at its best for photos and showings. Here’s the method I use, step by step, with practical staging and styling tips that help achieve a balanced, inviting look.
1. Speed clean and simplify. Start with a focused tidy: clear countertops, wash any visible dishes, wipe down surfaces, sweep or quickly mop the floor, and remove obvious clutter. This “speed cleaning” clears the visual noise so the architecture and style can shine. It doesn’t have to be deep cleaning — just clean enough for the camera to fall in love.
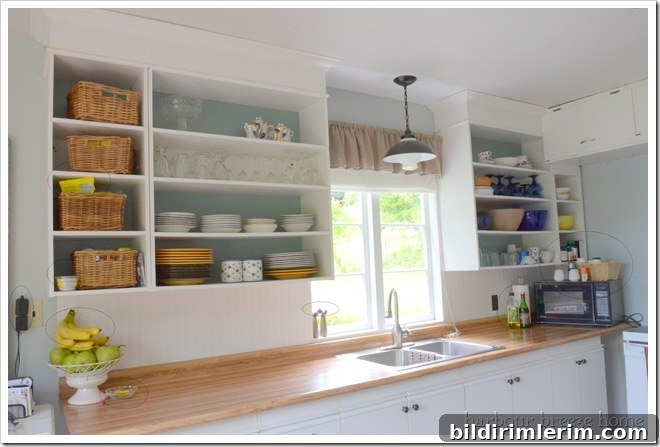
2. Edit ruthlessly. Remove items that distract: random mugs, mail, small appliances that aren’t attractive, dish towels with stains, and any personal clutter. Put away items that don’t contribute to the photo’s story. Staging is as much about subtraction as it is about adding the right pieces.
3. Add thoughtful accessories. Once the space is cleared, introduce a few well-chosen accessories to add warmth and interest. Fresh flowers or simple greenery, a bowl of lemons, a neatly folded linen, a tray with a coffee pot and cups, or a pair of wooden utensils can create appealing vignettes. These touches make the kitchen feel lived-in but intentionally styled.
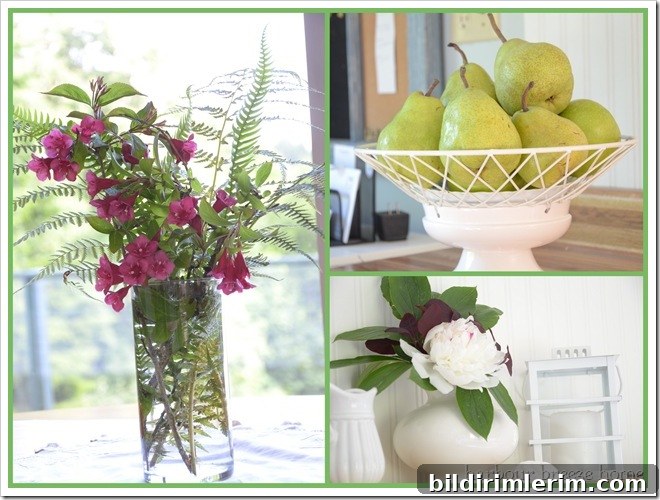
4. Balance and composition. Move things around until the visual weight feels balanced. That could mean clustering a few items on one side of an island and leaving the other side clear, centering a vase in front of a window, or arranging a stack of plates with a small prop beside it. Consider symmetry and negative space — both help the photo breathe.
5. Mind the details. Pay attention to reflections in stainless steel and glass, straighten cabinet doors, tuck cords out of sight, and ensure lighting is flattering. Natural light is best for kitchen photography: open curtains, turn off harsh overheads, and use lamps to soften shadows if needed.
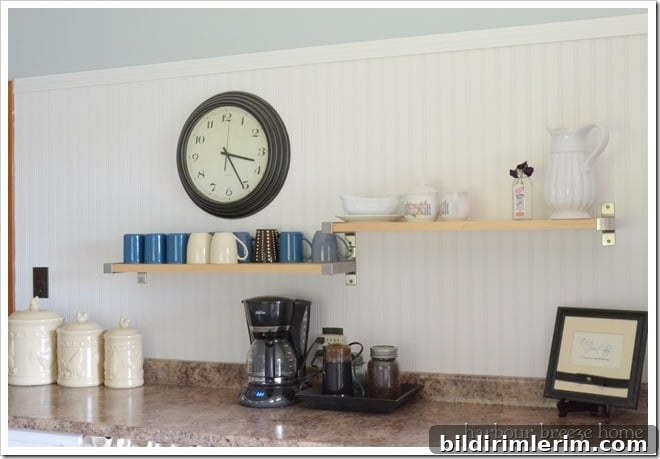
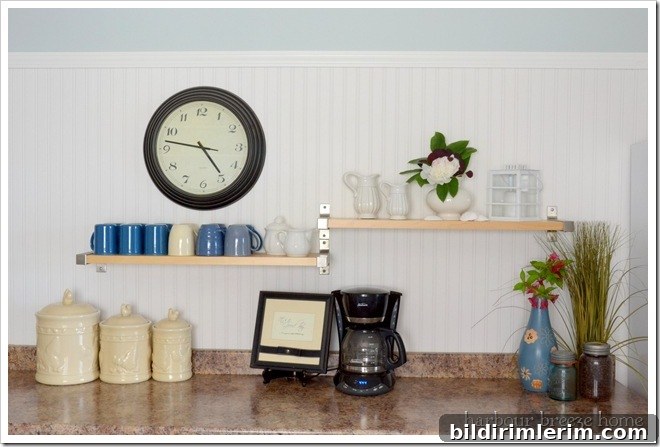
Here are the transformation images showing before and after the staging process. These illustrate how simple edits and a few accessories can dramatically change the look and feel.
Before:
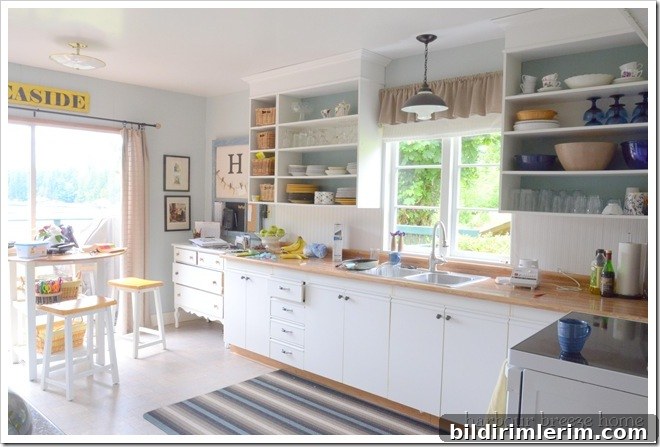
After:
Before (coffee station):
After (coffee station):
Before:
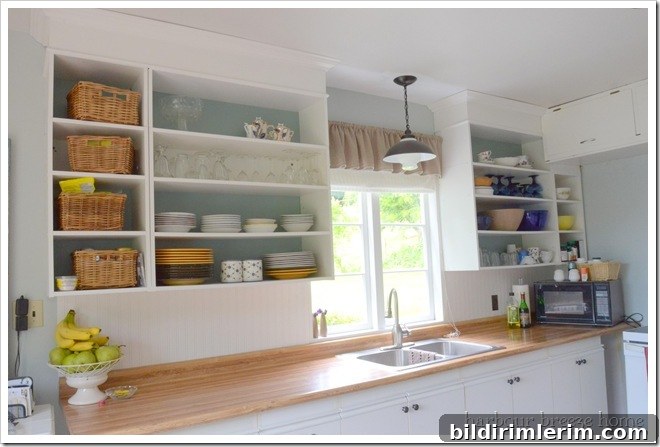
After:
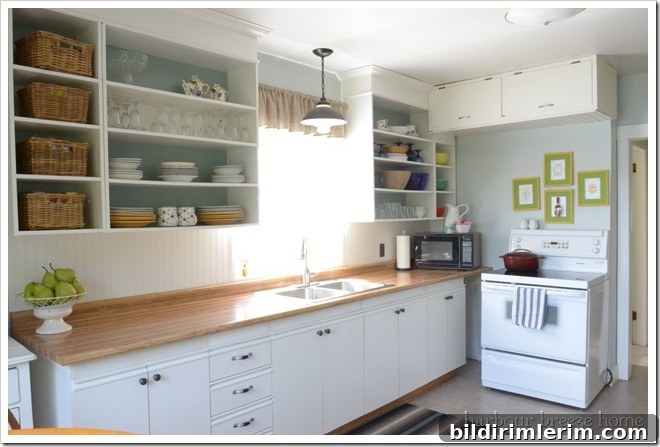
Final notes: staging doesn’t mean erasing personality. Aim for a clean, cohesive look that highlights the kitchen’s best features while keeping the space believable and inviting. Small, inexpensive items — a sprig of flowers from the garden, a clean linen, a simple bowl of fruit — can create the warmth and visual interest photos (and magazines) love.
Ahhh…if only it could stay that way forever.