
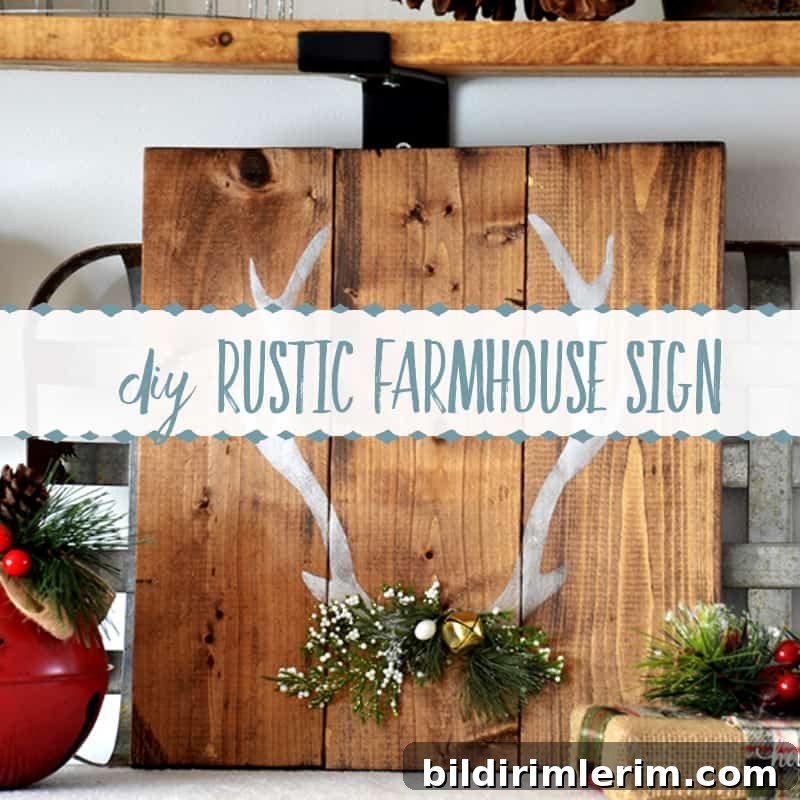
In this article: Learn how to make a simple DIY farmhouse sign for Christmas using a custom stencil. This project shows two different ways to use a stencil for distinct looks.
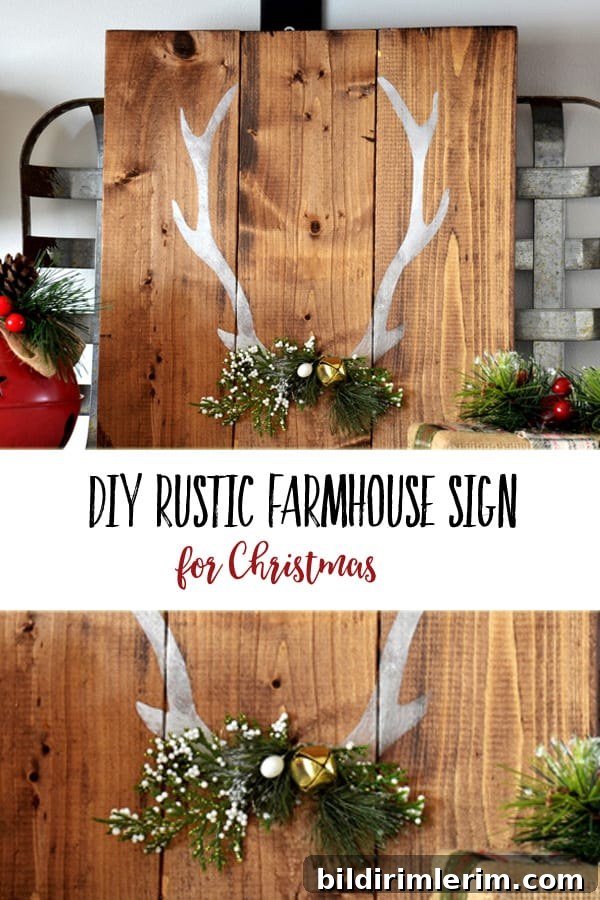
Why Make a Wooden Farmhouse Sign?
Creating a DIY farmhouse sign is an affordable, customizable way to add character to your home, make thoughtful gifts, or craft items to sell at a market. With a few simple supplies and a custom stencil, you can produce seasonal pieces—add Christmas greenery for an instant holiday focal point. This project focuses on a rustic, weathered look and explains two stencil techniques so you can choose the finish that best matches your style.
Related articles and project ideas: Decorative Painting on Wood Signs; As for Me and My House Sign; Painted Noel Sign.
How to Make a Rustic Wood Farmhouse Sign
Disclosure: This post mentions tools and materials commonly available from craft retailers and online stores.
Supplies Needed
- A wood sign base (the example shown was made from 1 x 3 pine boards assembled into a pallet-style base)
- Wood stain (Mission Oak or a similar medium warm tone recommended)
- Foam brush
- Clean rag
- Stencil film or peel-and-stick stencil material
- Acrylic or chalk paint in white and additional colors you prefer
- Stencil brush or small round pounce brush
- Precision craft knife (X-Acto)
- Sharp scissors
- Flat piece of glass or a cutting surface that allows a smooth blade glide
- Optional: faux greenery, jingle bells, felt flowers or other embellishments
Step 1: Stain the Wood Base
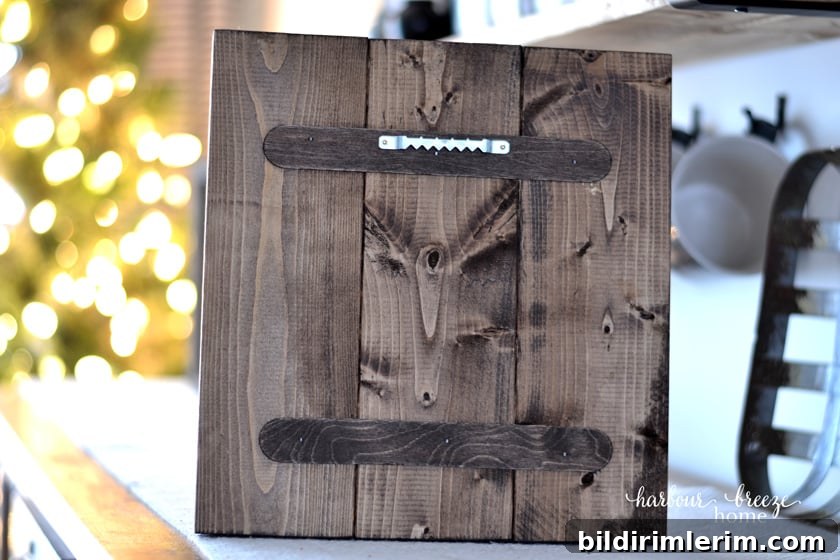
Start by assembling and staining your sign base. A pallet-style group of boards gives a rustic look, but you can use a single board or any size you prefer. Apply stain evenly with a foam brush, wipe off excess with a rag, and let the wood dry fully. For a weathered effect, use a watered-down paint layer over the stain later so some wood grain still shows through.
Step 2: Create and Cut a Custom Stencil
Find or draw a simple antler or holiday motif, print it to the size you need, and transfer it to stencil film. Use a sharp precision knife to cut out the design. If you plan the cuts carefully, the same stencil can be used in two ways: use the cut-out pieces as a reverse stencil, or use the remaining film with the negative shapes as a conventional stencil.
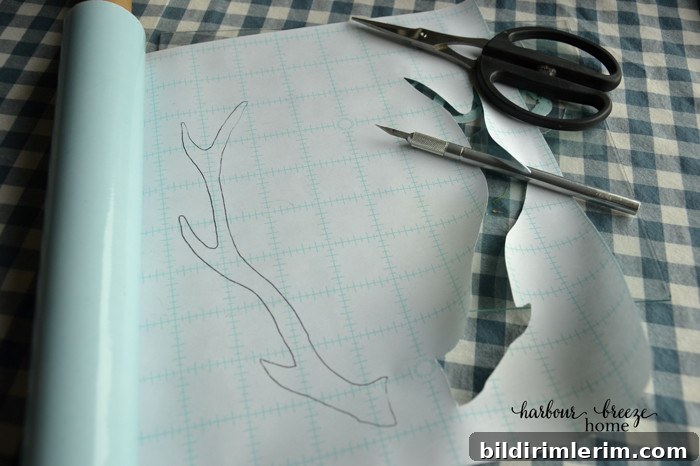
Tips for Cutting Stencils
- Place the stencil film on a piece of glass while cutting so the blade glides smoothly. Cutting boards can grab and slow the knife.
- For detailed curves, score with the knife and finish shapes with sharp scissors to speed the process and improve accuracy.
Option 1: Reverse Stencil (Use the Cut-Out Shapes)
- Remove the backing from the cut-out shapes and stick those pieces directly to the stained wood, pressing firmly around all edges. A paintbrush handle or a plastic card helps seal the edges.
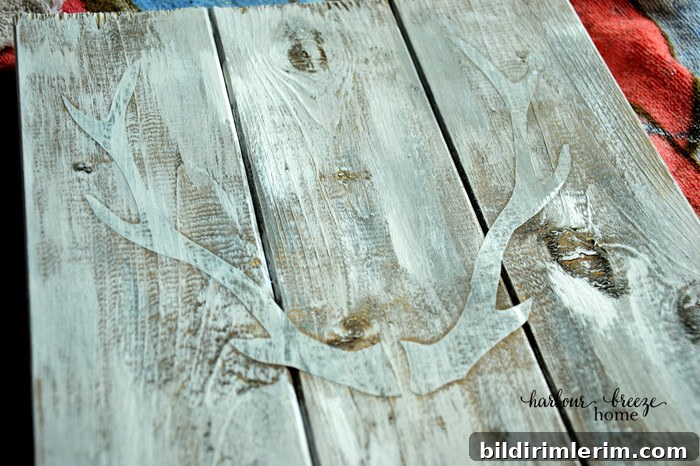
- With the shapes adhered, paint the background color around them. Work slowly and apply paint in thin layers to avoid bleed and raised lines along the stencil edges. Water down the paint slightly if you want some wood grain to show through for a rustic finish.
- Let the paint dry and then carefully peel off the adhered shapes to reveal the antler silhouettes. Touch up edges if needed.
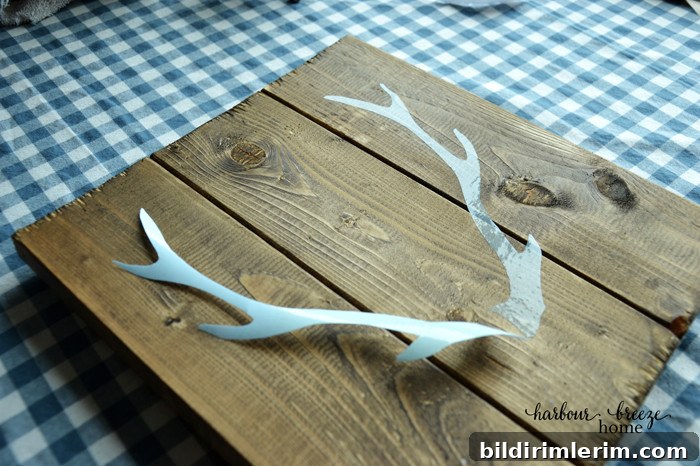
This method produces a soft, inlaid look with the stained wood showing inside the antlers if you limit paint coverage.
Option 2: Traditional Stencil Method
- Paint the entire sign background in your chosen color first, including the sides. Let it dry completely.
- Apply the peel-and-stick stencil film (the remaining film with cut-away shapes) to the painted surface and press firmly around the edges to seal it.
- Use a dab-and-pounce technique with a stencil brush: load the brush, remove most paint onto a paper towel, then pounce from the outside edge toward the center. Build up light layers to avoid paint seeping under the stencil.
- Once coverage is complete, remove the film to reveal crisp antler shapes. Allow the paint to cure and add distressing or light sanding for a vintage look.
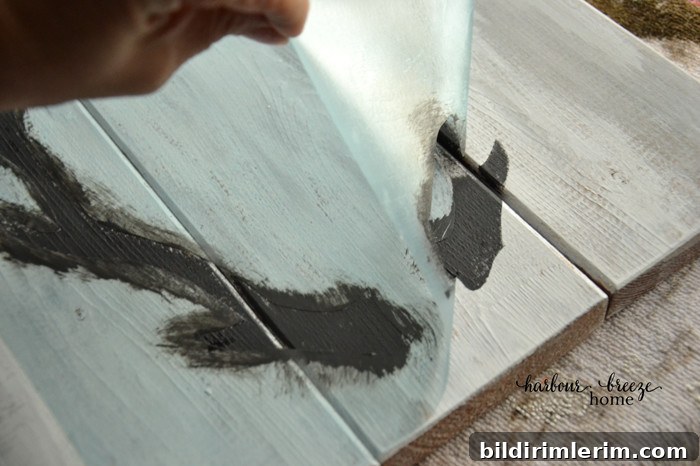
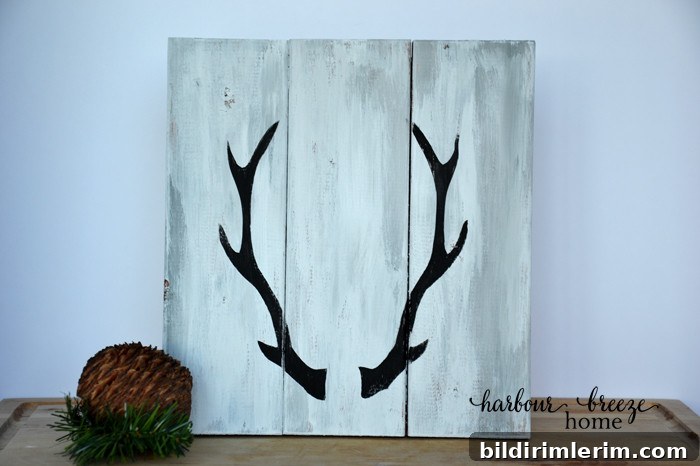
This approach gives a more defined, graphic result—great for contrasting colors and modern farmhouse styles.
Optional Embellishments
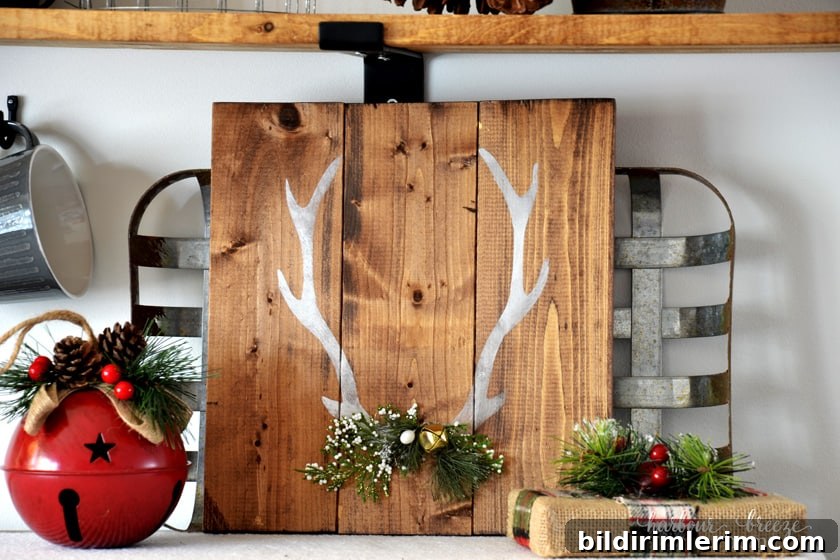
- Add faux evergreen sprigs and jingle bells to make a sign feel festive and Christmas-specific.
- Attach felt flowers and leaves for a softer, more feminine look—pastel florals work well for nurseries or girl’s rooms.
- Lightly sand edges and apply a wax or clear coat to protect the finish and enhance the distressed appearance.
Summary and Quick Tips
This simple DIY farmhouse sign project is adaptable to many styles: rustic, modern farmhouse, or vintage. The two stencil techniques—the reverse stencil using the cut-out shapes and the traditional stencil using the negative film—give you creative flexibility. Work in thin paint layers, press stencils firmly, and use a glass cutting surface for cleaner stencil cuts. Finish with seasonal greenery or small decorative accents to personalize your sign for gifting or display.
Yield: 2 signs. Prep time: ~30 minutes. Active time: ~30 minutes. Total time: ~1 hour (not including drying).
© Rita Joy