DIY Large Tattered Fabric Flower Tutorial
When I first searched online for “fabric flower tutorials,” I discovered dozens of options. The most complete roundup I found was the Kojo Designs collection listing 49 tutorials, which gave me confidence I could find a method to fit my vision. I reviewed many of those tutorials, but none matched the large, relaxed look I imagined for the cushion on my happy couch. So I developed my own approach to make a big, slightly tattered fabric flower with the supplies I had on hand.
This is a straightforward, forgiving technique that yields a large, casual petaled bloom ideal for signs, pillows, wreaths, or as a standalone decorative piece. It works best with woven cotton or light-medium weight fabrics that tear easily.
Materials
- Medium-weight cardboard (a pizza round or similar works well)
- Fabric: about 1/2 yard will usually be enough; strips are torn rather than cut
- Hot glue gun and glue sticks
- Burlap or another contrasting fabric for leaves
- Scissors (for trimming) and a marker to trace the circle
Step-by-step Instructions — How to Make a Large Fabric Flower
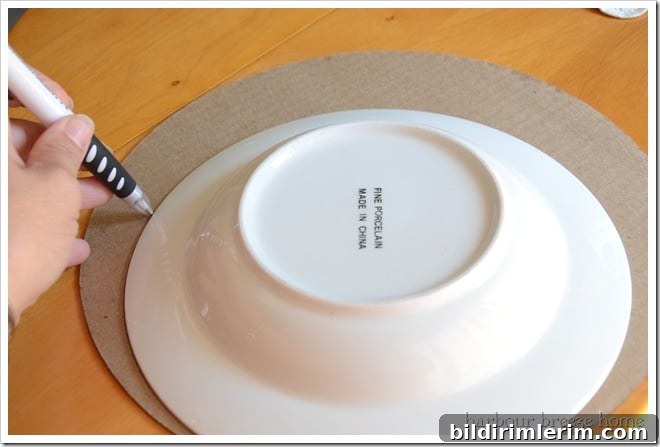
1. Trace a circle on the cardboard to define the flower’s size. I used a 9-inch circle, but you can make yours larger or smaller depending on your project.
Find a broad selection of fabric flower tutorials
2. Tear a strip of fabric about 5 inches wide. Tearing rather than cutting gives a soft, frayed edge that contributes to the tattered, casual look.
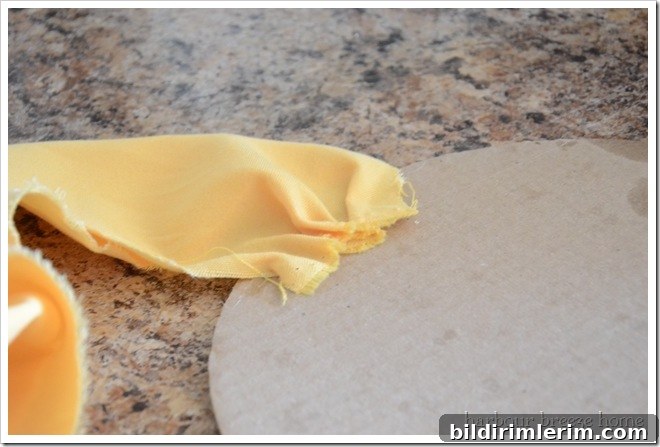
3. Flip the cardboard over and hot-glue the end of the fabric strip to the back. This secures your starting point so the petals will stay in place as you work.
4. Turn the cardboard to the front. Twist the fabric once, then glue a small section on the back to cover the cardboard edge and glue on the front to hold the twist. Continue twisting and securing with glue at even intervals while working around the circle. This forms the bottom layer of petals.
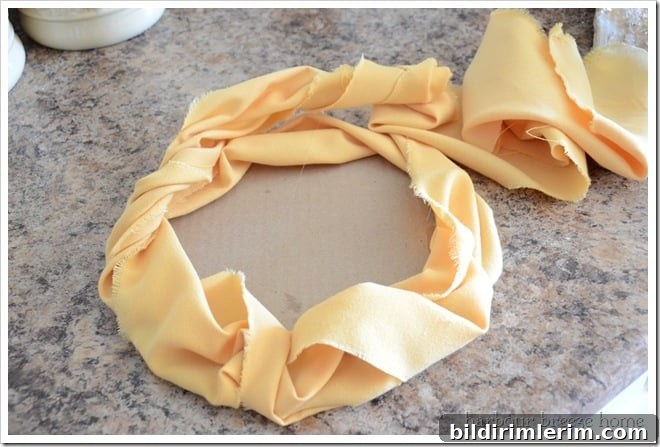
Note: I ended up trimming the first strip and starting fresh, but you can keep spiraling with one long strip if you prefer. Either approach will fill the base layer.
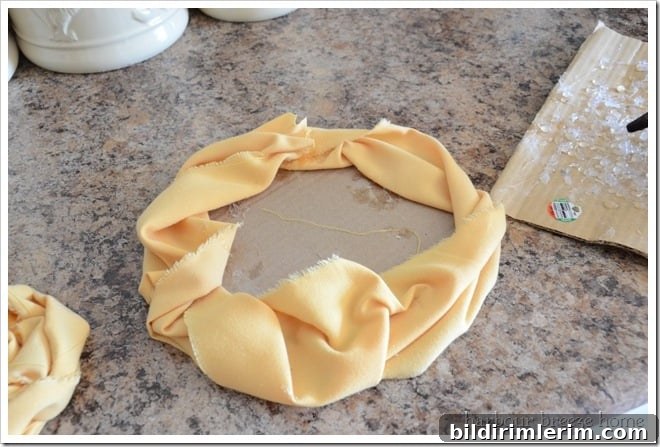
5. Tear a second strip about 4 inches wide. Tie a small knot in the end and begin rolling it into a loose rose shape, similar to rolled-fabric flower techniques. When the roll is too big to comfortably hold, add a generous amount of hot glue to the bottom of the rolled fabric and press it into the center of the cardboard circle.
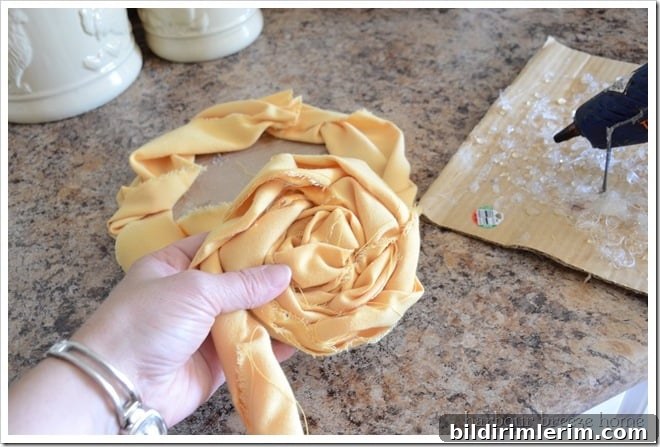
6. Continue rolling, twisting, and gluing directly onto the cardboard base until the center fills in and blends with the outer petal layer. If you run out of fabric, simply attach another torn strip to the end, secure it with glue, and keep rolling and tucking until you achieve the desired fullness. Tuck the final end under petals and glue it down so it’s hidden.
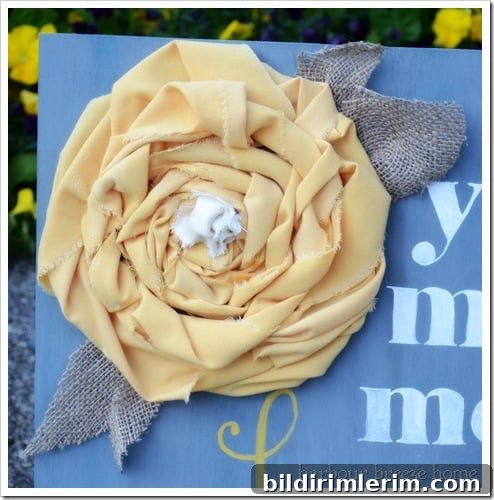
7. For the flower center, knot a small strip of coordinating fabric and glue it in place. This creates a simple focal point and hides any raw edges in the middle.
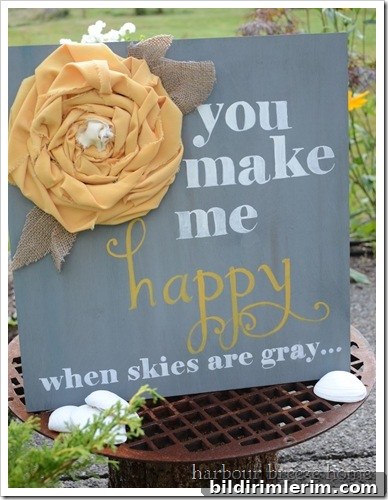
8. Cut or tear leaf shapes from burlap or another textured fabric. Freehand tear-drop shapes work well—no precision required. Glue these leaves to the back of the cardboard so they peek out around the flower and add visual interest.
Tips and Finishing Notes
- Stand back occasionally while working to check the overall balance and shape. This helps keep the flower from looking lopsided.
- Embrace imperfections. The tattered, casual look is the goal, so small irregularities add character.
- If you want a firmer structure, use slightly stiffer fabric or add more layers of fabric for support.
- Experiment with different fabric weights, colors, and patterns for varied effects.
If you try this method or have another way to create a large, tattered fabric flower, I’d love to hear about your approach—maybe it could be the next addition to the many tutorials out there!
{For instructions on making the accompanying sign, see the project details here.}