
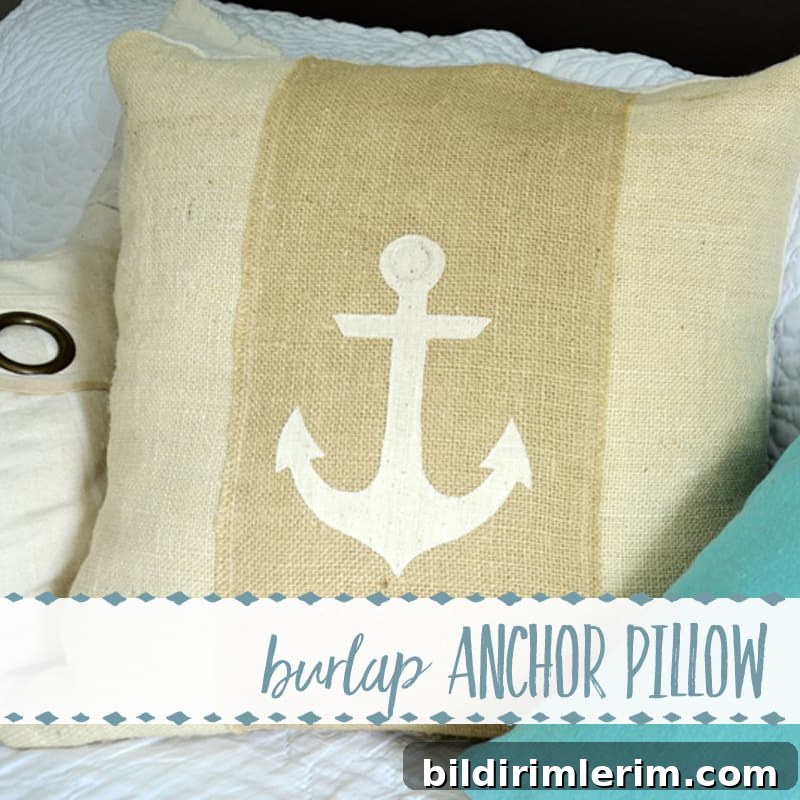
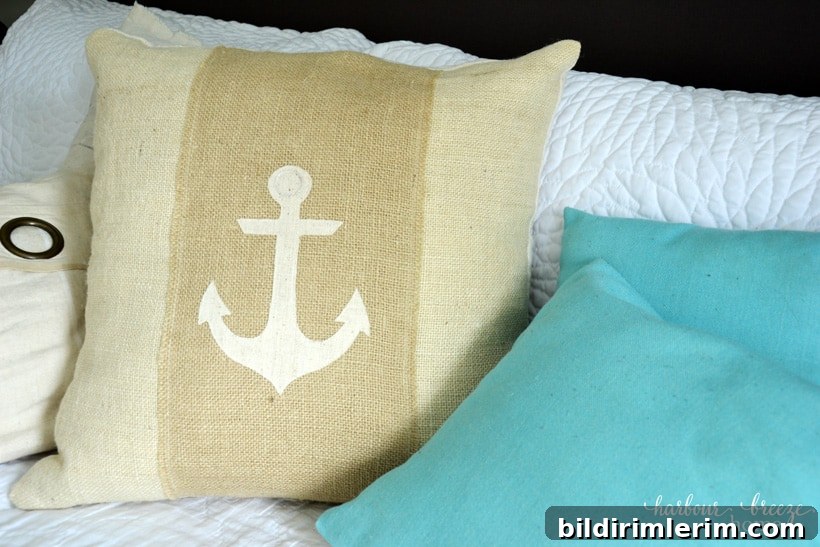
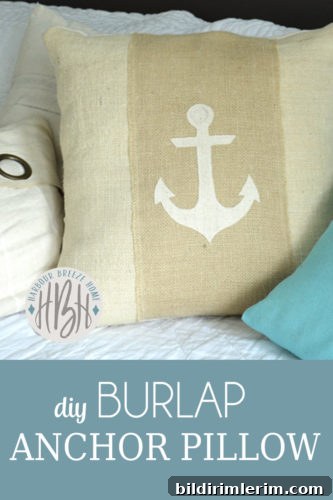
I was recently browsing a local gift shop when a burlap throw pillow caught my eye. The design gave me a rush of ideas, and I decided to recreate a version of it at home.
The original pillow had a small iron anchor tied to the front. Since I didn’t have any tiny metal anchors on hand, I chose to make a fabric anchor instead. The result is a rustic, coastal-inspired burlap pillow that’s easy to personalize.
How to Attach Custom Images to Fabric:
Choose and print the image at the size you want.
Select a clear image and print it to the scale you’ll use on your pillow. For best results, choose a high-resolution file so the edges are crisp when you trace and cut.
Attach Heat n Bond to the back of your fabric following the manufacturer’s directions.
I used a fusible adhesive such as Heat n Bond. Iron the adhesive to the wrong side of the fabric you’ll use for the image, following the package instructions: the textured (bumpy) side goes toward the fabric and the paper side faces the iron. This creates a stable, easy-to-apply image piece that can be fused to your pillow front.
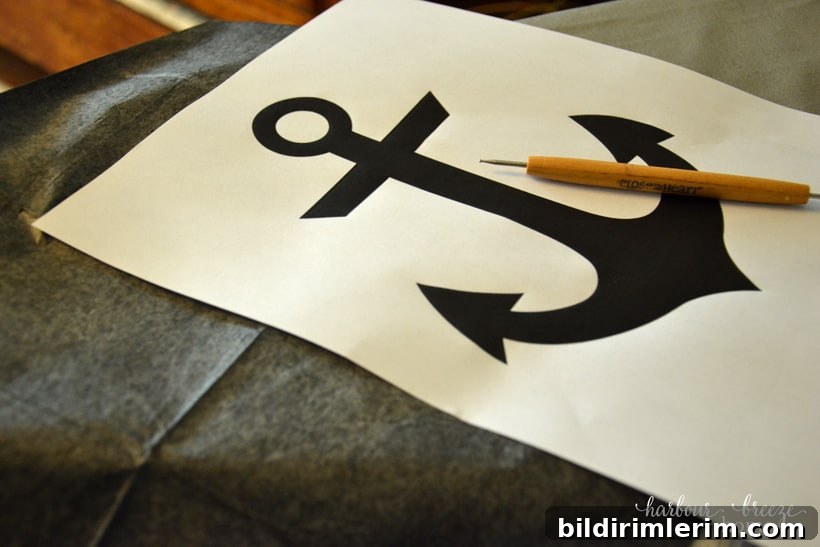
Trace the image onto the paper side of the fused fabric using carbon paper, then cut it out.
Place carbon paper between your printed image and the paper side of the fused fabric, trace carefully, then cut the shape out along the traced lines. Use sharp fabric scissors for a clean edge.
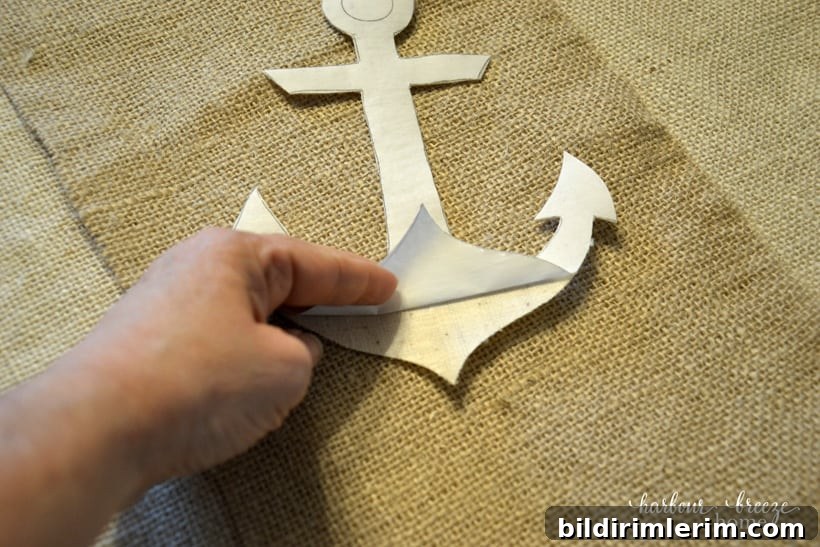
Peel the paper backing off and iron the image onto the pillow front in the desired position.
Once the backing is removed, position the piece on your pillow front. Use a hot, dry iron and press firmly according to the adhesive’s instructions. Work from the center outward to avoid bubbles or shifting.
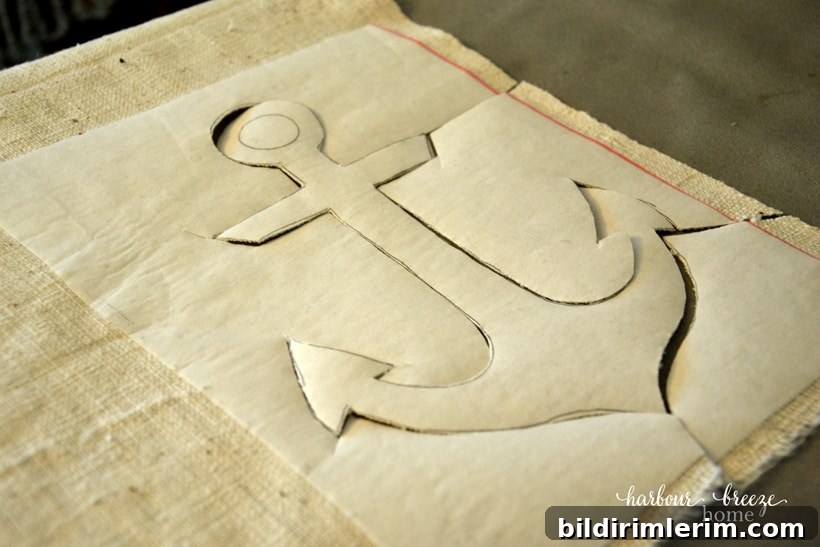
For this pillow I layered three pieces on the front: an inner liner of linen, a white burlap layer, and a strip of brown burlap. The anchor shape itself was cut from the linen so it would contrast nicely against the burlap textures.
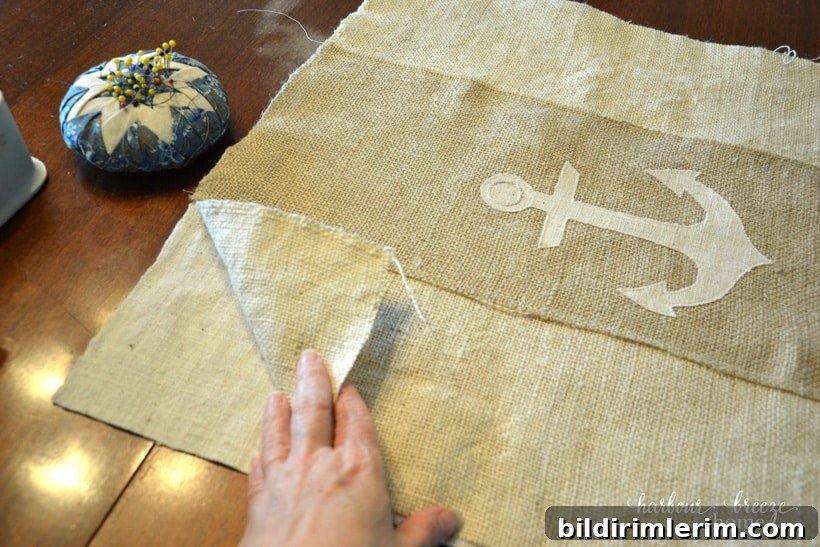
The fusible adhesive holds the image securely in place. After fusing, I stitched a seam close to the edge of the anchor with my sewing machine to define the shape and reinforce the attachment. A narrow zigzag or straight stitch works well depending on the fabric and look you want.
I also did a Facebook Live demonstrating this step and the Heat n Bond in action when I made the pillow.
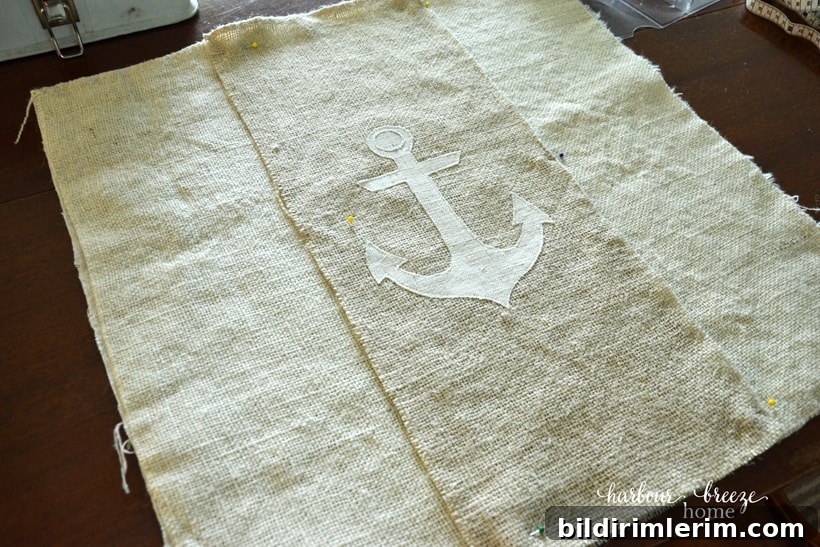
As a finishing touch, I hand-embroidered the small circular ring at the top of the anchor to add texture and a crafted feel.
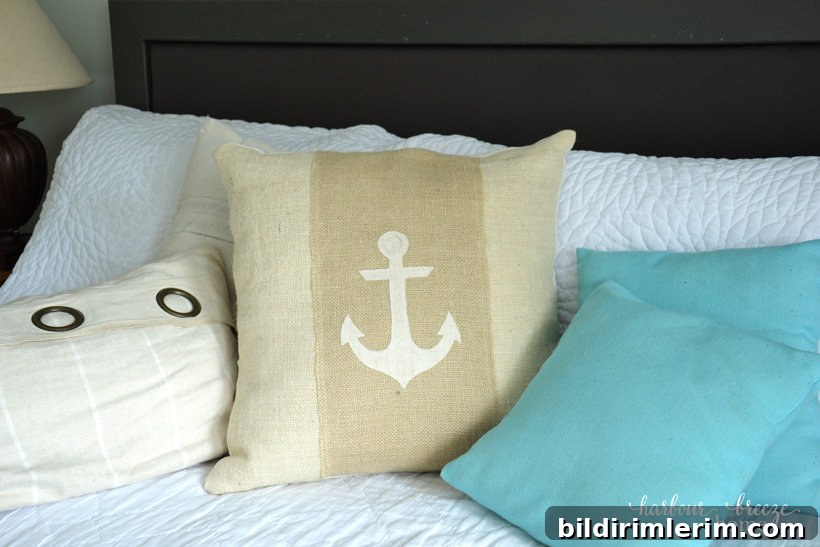
I have a detailed sewing tutorial that covers how the pillow was constructed, including how the layers were assembled and sewn. That guest post walks through the envelope closure, seam allowances, and finishing steps in depth.
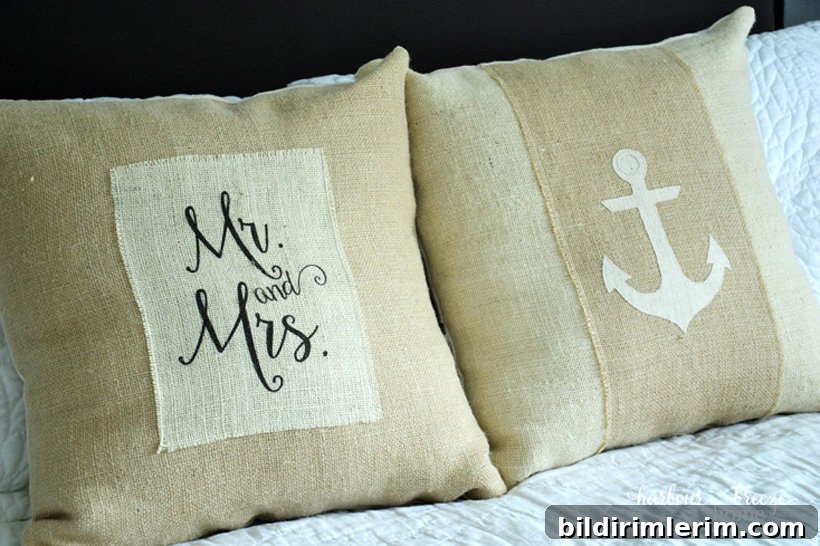
I also experimented with printing text like “Mr. and Mrs.” directly onto burlap using a home inkjet printer. It took some trial and error—stabilizing the burlap and testing ink absorption—but it’s a fun way to add personalized wording to rustic pillows.
If you’re looking for more DIY pillow ideas, here are a few of my other projects with step-by-step photos that show different techniques and finishes:
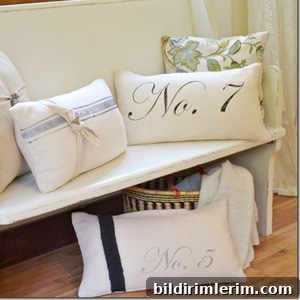
Hand Painted Pillows – a simple technique for adding custom artwork to fabric.
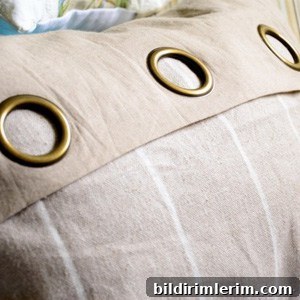
Turn a Grommet Curtain Into a Pillow – repurpose fabric treatments for quick, stylish cushions.
There’s also a straightforward envelope pillow tutorial that shows how to make a removable cover that’s easy to wash and change with the seasons.
Tips and best practices:
- Test the adhesive and fabric combination on a scrap piece before applying to your final project.
- If your fabric frays easily, consider finishing the raw edges with a narrow stitch or a small amount of fray check around the cut lines.
- When printing on textured fabrics like burlap, stabilize the fabric under a sheet of paper or use a temporary spray adhesive to keep it flat in your printer.
- Always follow care instructions for the adhesive and fabric when washing your finished pillow cover.
Happy sewing! 🙂