
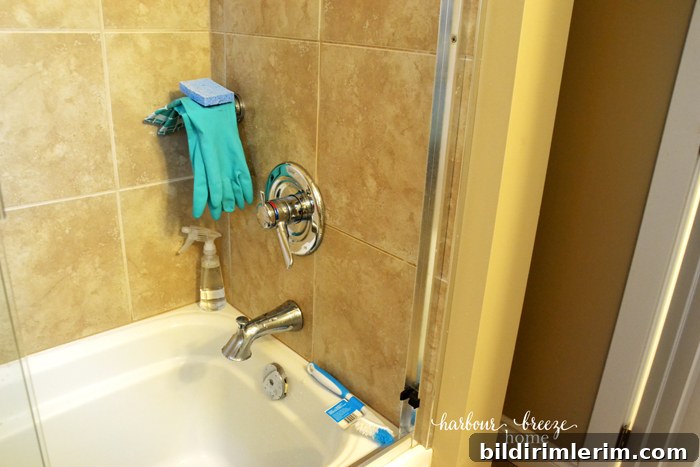
Ever catch yourself staring at grout in the shower or on the floor and wishing it would look new again? Grout cleaning isn’t always quick or easy, but with the right approach it’s very satisfying — and you’ll be rewarded with cleaner, fresher tile.
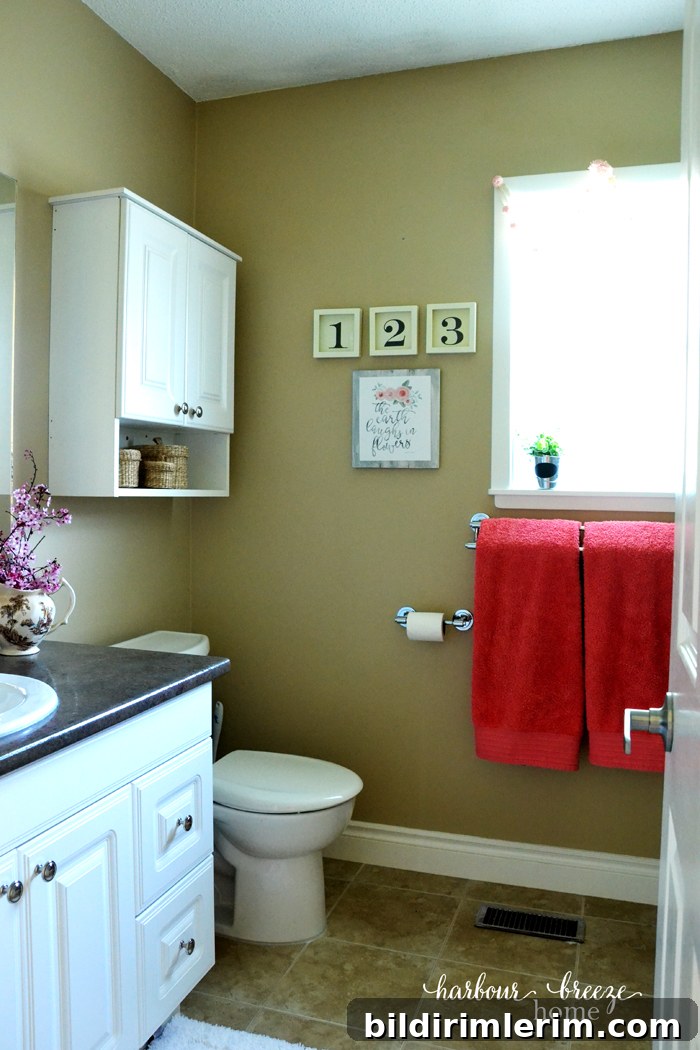
I recently saw a viral TikTok showing toilet bowl cleaner used on tile grout, then watched someone try it for themselves. That experiment got me thinking about the first time I tackled grout in our rental bathroom with brand-new tile and glass shower doors. I learned that while many articles promise “easy” or “simple” methods, grout cleaning usually takes time, effort, and a bit of trial and error — so bring patience and a good playlist.
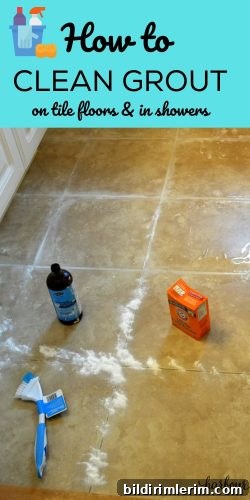
How to Clean Grout in Shower and on Floors
Disclosure: This post contains affiliate links for your shopping convenience.
Until then, my experience had been with a variety of finishes — barker board, linoleum, cedar ceilings, and plywood walls — but never with tiled showers and grout lines. I was excited to learn how to maintain these newer finishes and eager to find effective methods for cleaning grout without damaging tiles or wasting time.
After searching online, I gathered the commonly recommended supplies and settled on a tried-and-true routine that uses household ingredients and a good grout brush. Here’s what I used and how I did it.
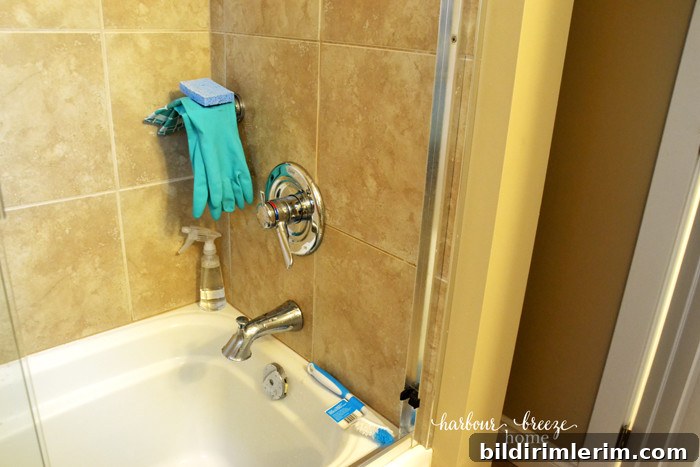
Supplies for cleaning Tile Grout
- baking soda
- hydrogen peroxide
- white vinegar
- spray bottle
- sponge (optional)
- grout brush — a must-have for effective scrubbing
- rubber gloves
- window squeegee or shower squeegee
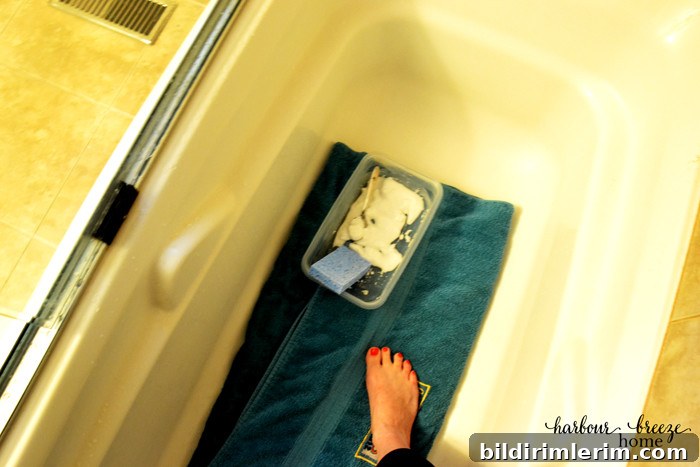
With supplies ready, I discovered one practical challenge most how-to articles skipped: reaching the shower tile without getting your feet soaked. I solved that by standing on a folded towel and later using a dishpan to keep my feet dry while rinsing the grout paste away. Small logistics like that make the job easier and more comfortable.
How to clean grout in the shower
1. Spray the grout
Mix equal parts white vinegar and water in a spray bottle and lightly mist the grout lines. This helps break down grime and prepares the surface for the paste.
2. Apply a baking soda and hydrogen peroxide paste
Combine baking soda and hydrogen peroxide to form a spreadable paste. Apply it directly onto the grout lines using a spatula or the grout brush, then dip the brush into the paste and scrub. Expect some splatter — wear an apron or older clothes.
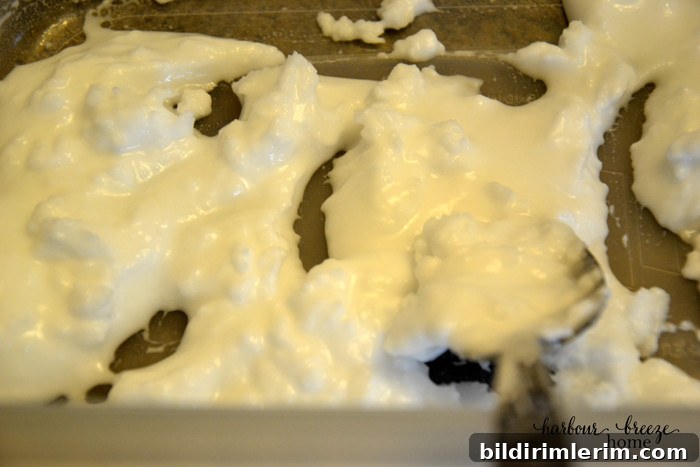
Scrubbing the grout can be surprisingly physical — expect to stretch, bend, and move around a lot. It’s not glamorous, but it works.
3. Let the paste work
Let the baking soda and hydrogen peroxide sit on the grout for about 20–30 minutes. This dwell time helps lift embedded dirt and stains.
4. Rinse and wipe clean
Use a squeegee or a wet cloth to remove the paste and residue, then rinse with water. To avoid wet feet while working inside a tub, stand in a dishpan lined with a dry towel, keep movement steady, and rinse the squeegee as needed.
How to Clean Grout on Floor Tiles
Floor grout follows a similar process but is easier to reach. Here’s the sequence I used that produced a noticeable improvement:
- Pour a stream of hydrogen peroxide directly onto the grout lines.
- Sprinkle baking soda over the hydrogen peroxide to form a fizzing paste.
- Let it sit for 20–30 minutes to break down grime and stains.
- Scrub the grout lines with a grout brush, applying consistent pressure.
- Wipe the area clean with a damp cloth and rinse thoroughly with water.
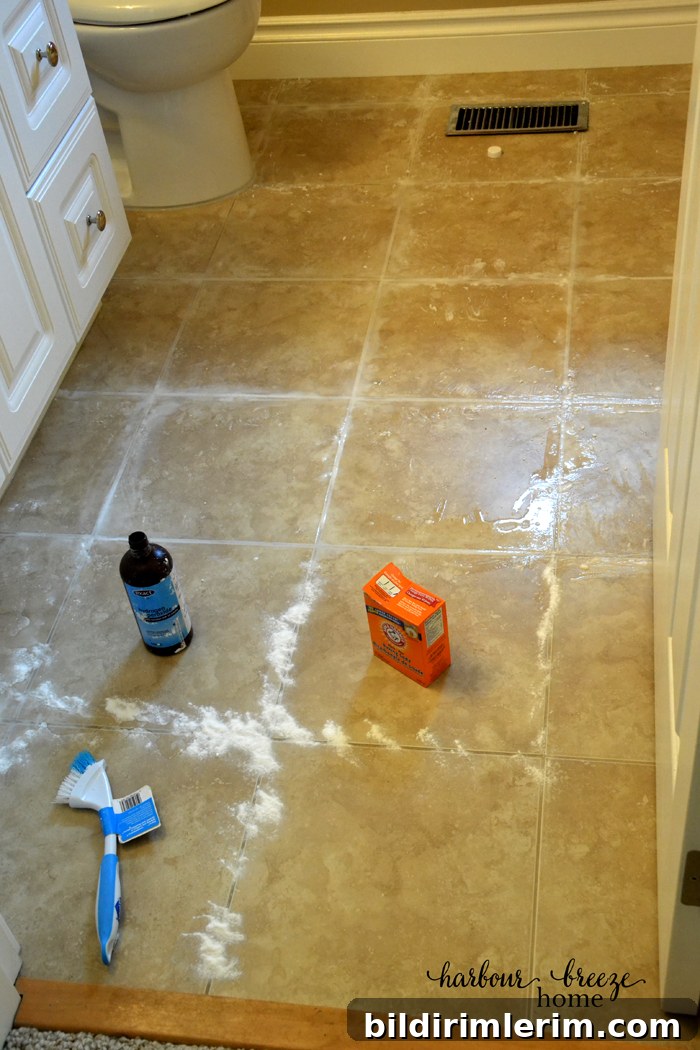
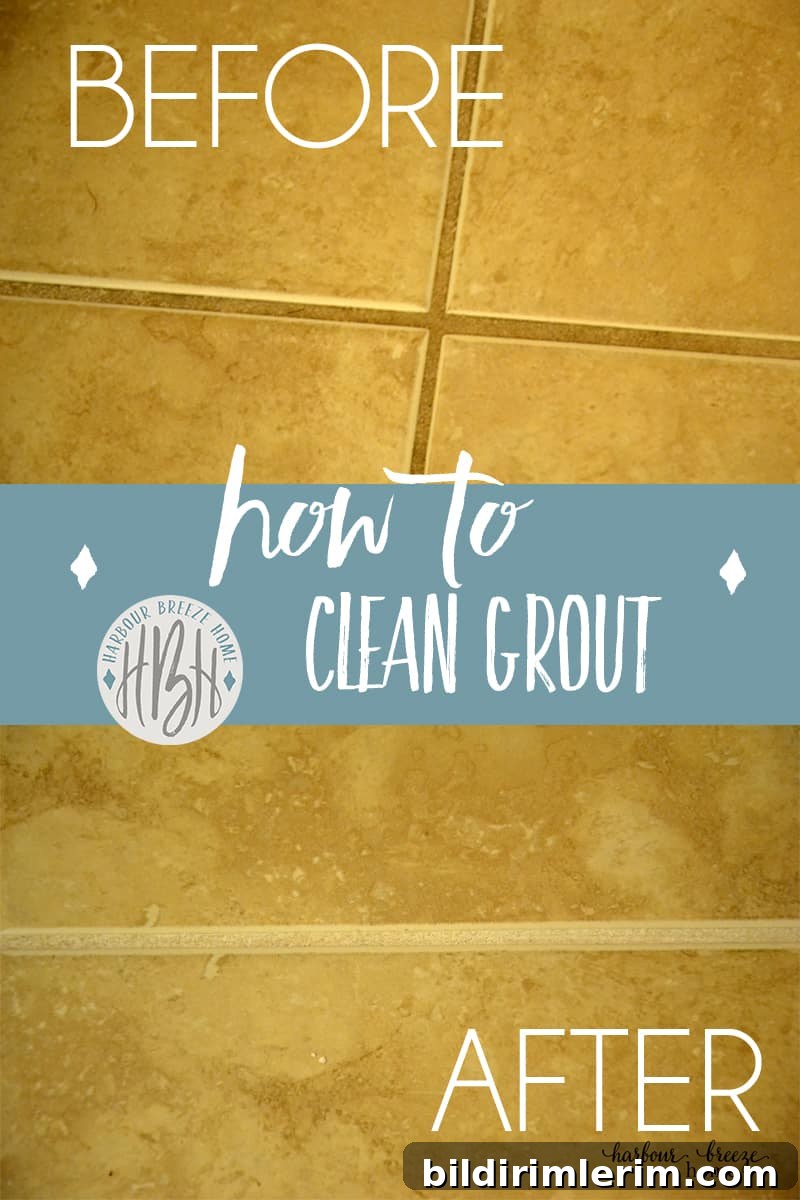
The process takes effort, but the results are worth it. My grout looked much cleaner after following these steps.
Before:
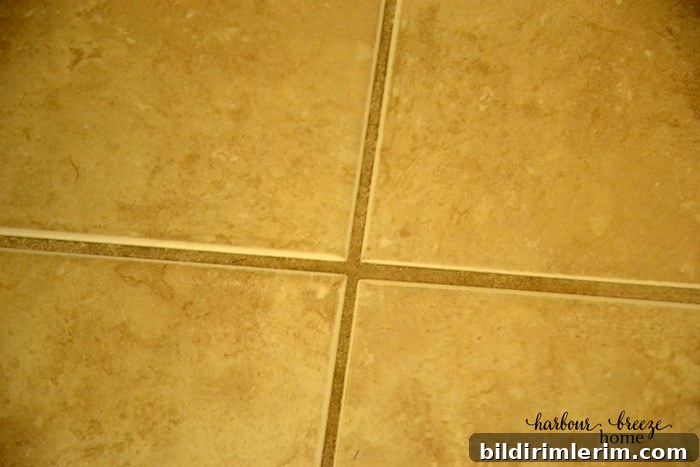
After:
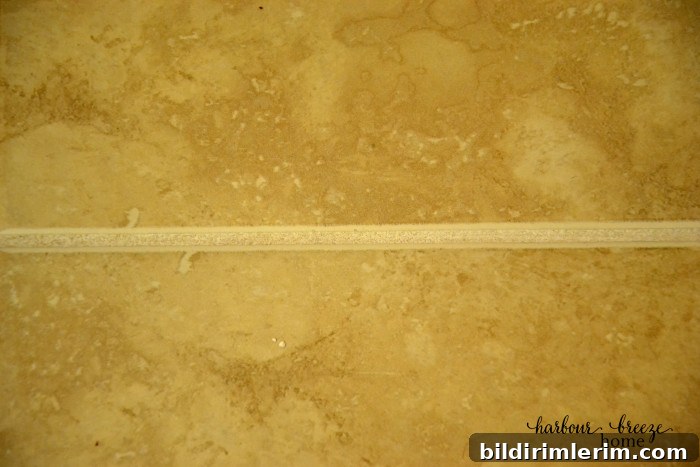
If you’re asking whether I discovered a miracle secret — not exactly. Grout cleaning is not instant or effortless, but it is manageable with the right tools and a clear process. Regular maintenance, such as wiping tiles after showers and occasional spot-cleaning, will keep grout looking better longer.
More cleaning tips and resources
- How to Clean Glass Shower Doors
- What is a Norwex EnviroCloth and How to Use It
- Choosing the Right Norwex Cloth for the Kitchen
- Five Favorite Norwex Products
- Simple Under-Sink Organization and DIY Cabinet Mat
For more recipes, crafts & home ideas all year round, become a VIP!
Become a VIP newsletter subscriber and get instant access to a library of free printables, including wall art and gift tags. Click the link or the button below to join.