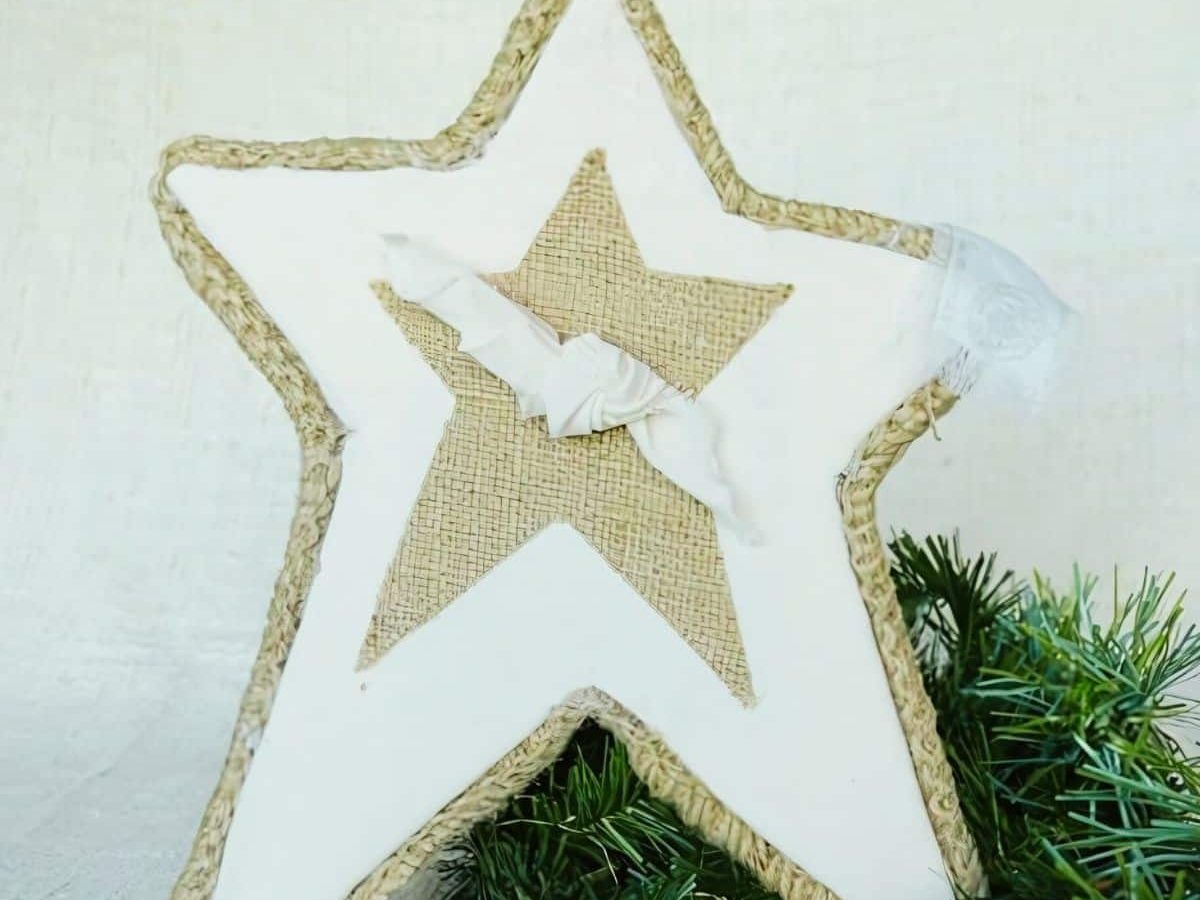
Bring a warm, rustic accent to your Christmas tree with this DIY Burlap Star Tree Topper. Made from basic, inexpensive materials, this handmade star adds cozy farmhouse charm and a personal touch to your holiday décor. It’s simple to create and easy to customize to match your seasonal style.
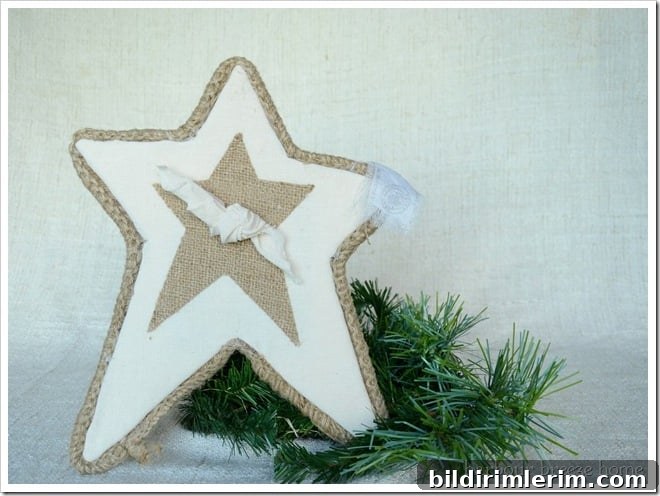
I love browsing for ideas and then recreating them at home for less. Making your own tree topper doesn’t just save money — it creates a one-of-a-kind piece with a handmade feel that store-bought items can’t match. I couldn’t find exactly what I wanted for my old-fashioned Christmas tree, so I made this burlap star myself. The result was the perfect homespun accent.
If you make one, put on a favorite holiday movie or playlist and enjoy the relaxing, creative process. Crafting small details like this can be surprisingly satisfying and instantly festive.
Why You’ll Love This Burlap Star Tree Topper
- Rustic charm – ideal for farmhouse, vintage, or country-style Christmas décor.
- Budget-friendly – assembled from affordable craft supplies or items you may already have at home.
- Customizable – add ribbon, buttons, fabric scraps, or trim to make it your own.
- Heirloom quality – a handmade piece that can become a seasonal favorite passed between family members.
Supplies You’ll Need
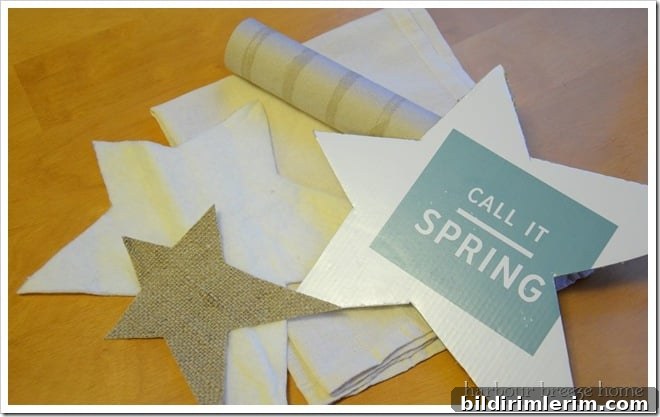
- Cardboard cut into a star shape (sturdy yet lightweight)
- Thin batting (Warm & Natural or similar)
- Flour sack dish towel or another lightweight fabric for the base layer
- Burlap fabric (from a coffee sack or fabric store) for the accent
- Paper towel tube, trimmed to size for the tree holder
- Spray adhesive
- Heat & Bond or another fusible web for stabilizing the burlap
- Hot glue gun and glue sticks
- Scissors and an iron
Step-by-Step Instructions
Step 1: Prepare the Base and Add the Fabric Layer
Lightly spray adhesive on the cardboard star and press the batting onto the front. The batting adds soft texture and helps the fabric lie smoothly. Spray the batting with adhesive, then cover the front with the flour sack towel or chosen base fabric. Trim the fabric around the star, leaving about 1 inch extra to fold over the edges. Clip the corners so the fabric will fold cleanly and use hot glue to secure the fabric to the back of the cardboard.
Step 2: Create and Attach the Burlap Accent Star
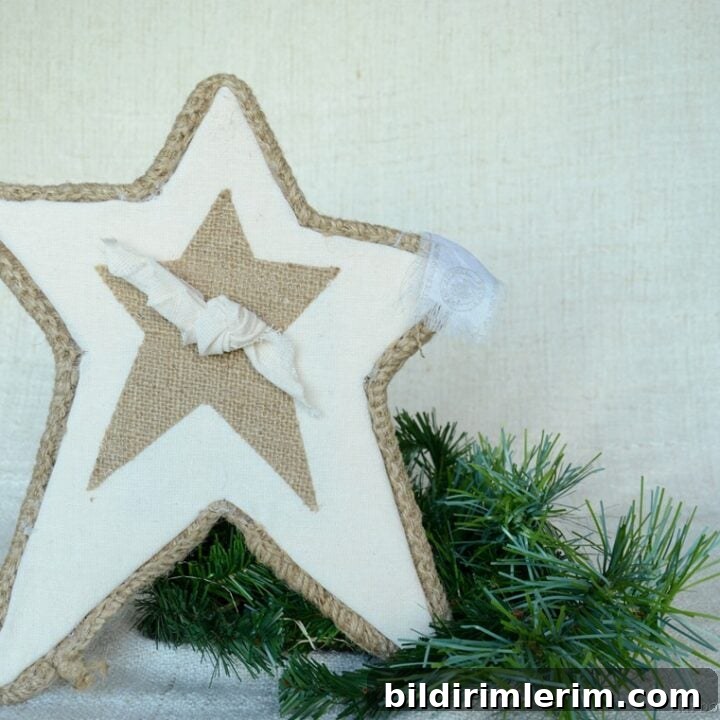
Cut a slightly smaller star from burlap and fuse a backing of Heat & Bond to stabilize the loose weave. Center the burlap star on the covered base and press in place using your iron (follow the Heat & Bond instructions). When cooled, reinforce with a few dots of hot glue if needed. This layered look gives depth and a handcrafted feel.
Step 3: Finish the Edges and Attach the Base Tube
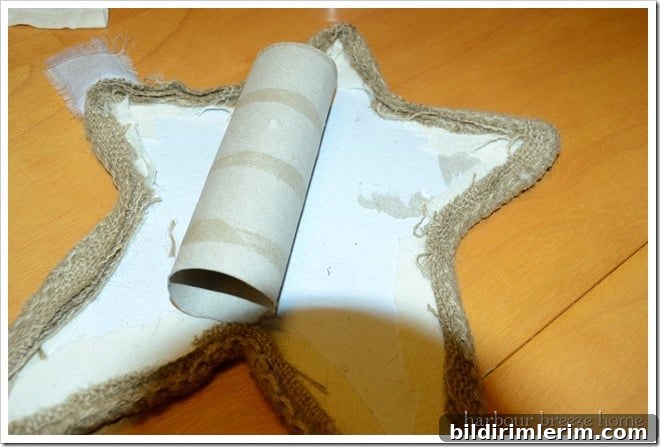
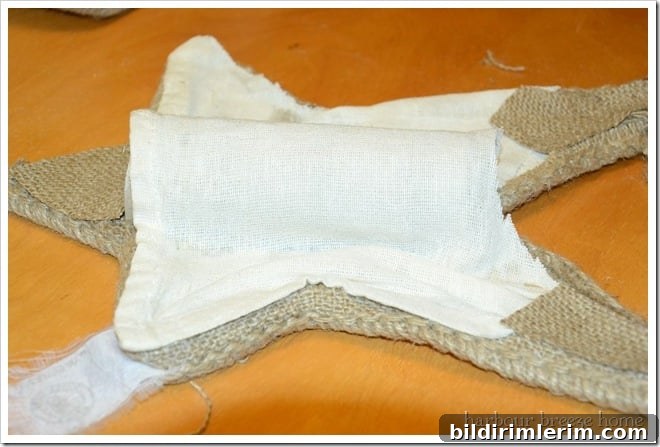
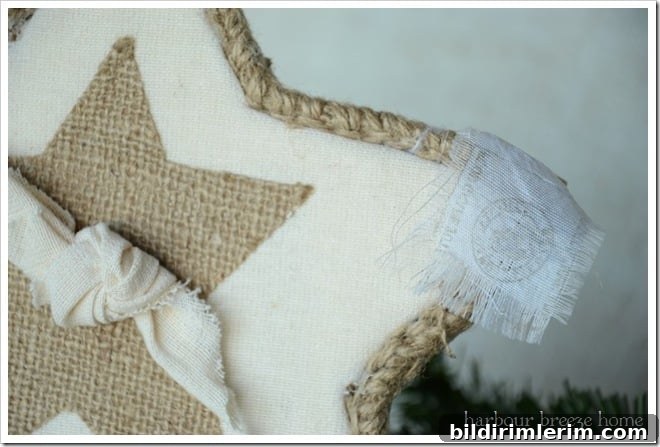
Glue burlap trim, jute, or ribbon around the star’s edges for a neat, finished border. Attach the cut paper towel tube to the back with hot glue — this becomes the holder that slides onto your tree’s top branch. Cover the exposed back with a scrap of flour sack or burlap to tidy the finish. It doesn’t need to be perfect since the back will face the tree.
Step 4: Add a Decorative Center
For a finishing touch, knot a short strip of flour sack towel into a small rosette or “flower” and hot glue it to the center of the star. You can also use a fabric button, wooden button, or small ornament for a different look.
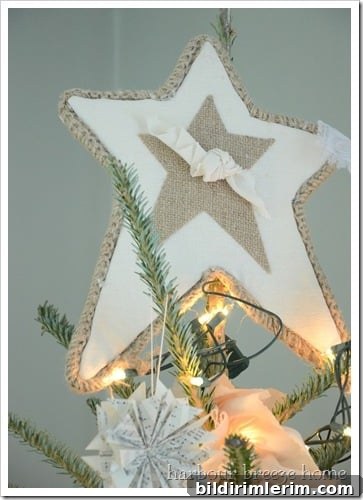
Your rustic Burlap Star Tree Topper is now ready to crown your tree, bringing a handcrafted, cozy accent to your holiday display.
Tips, Variations and Care
- To make a sturdier topper for larger trees, double the cardboard or use a lightweight wooden base instead of cardboard.
- Personalize the star with faux greenery, small bells, or metallic paint applied sparingly to the burlap points.
- If you prefer a cleaner look, use cotton fabric for the accent instead of burlap.
- Store in a dry container between seasons to prevent mildew or pests; tuck tissue paper around the edges to maintain shape.
Other DIY Ornament Ideas
- Easy fabric Christmas ornaments shaped like trees
- Felt ornaments that make great homemade gifts
- Paper-book-page star ornaments for a vintage look
- Simple fabric bird ornaments made from scraps
DIY Burlap Star Tree Topper
Yield: 1
Prep Time: 5 minutes
Active Time: 30 minutes
Total Time: 35 minutes
Difficulty: Easy
Create a rustic, farmhouse-style tree topper using simple materials and basic tools.
Materials
- Cardboard star, batting, flour sack towel, burlap, trim, paper towel tube, spray adhesive, Heat & Bond, hot glue gun
Instructions
- Adhere batting to the star with spray adhesive.
- Cover with flour sack towel, trim edges, and glue to the back.
- Iron a smaller burlap star (with Heat & Bond) onto the front.
- Glue trim around edges and attach the paper towel tube as the tree base.
- Cover the back with extra fabric to tidy the finish.
- Add a knotted fabric “flower” or other decorative center.
- Place on your tree and enjoy your rustic homemade star.