
Yes—you can paint a metal door that has plastic trim. With the right primer and a straightforward sequence of steps, you can achieve a smooth, long-lasting finish quickly and cleanly.
I’ve painted a lot of unusual surfaces over the years: 1970s paneling, barker board in a bathroom, stained wood walls, fabric, and even wallpaper. Painting a metal door with plastic trim felt a bit intimidating at first, but the method is simple: clean thoroughly, use a quality bonding primer designed for slick surfaces, and apply the topcoat with attention to keeping a wet edge.
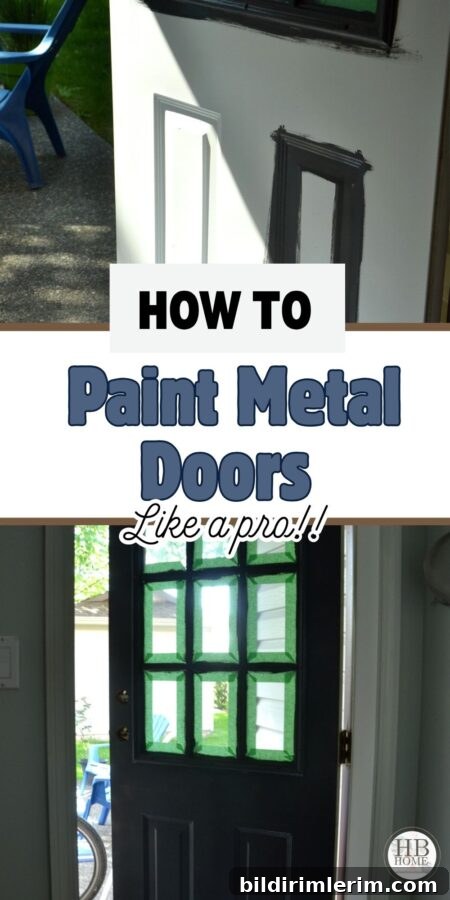
How to paint metal doors with plastic trim
Disclosure: Some product names are mentioned for convenience. Choose products appropriate for your door and follow manufacturer directions.
Gather the supplies
- Painter’s tape
- Cleaning cloths and a mild cleaner
- Drop cloths or old towels
- Step stool (if needed)
- Quality angled trim paint brush
- 4-inch foam roller and roller tray
- Bonding primer suitable for metal and plastic (for example, an acrylic bonding primer)
- Latex or acrylic latex topcoat in the finish you prefer (pearl or satin work well for doors)
- Utility knife
- Screwdriver to remove or loosen door hardware
Prep the door and plastic trim
Clean the door surface thoroughly
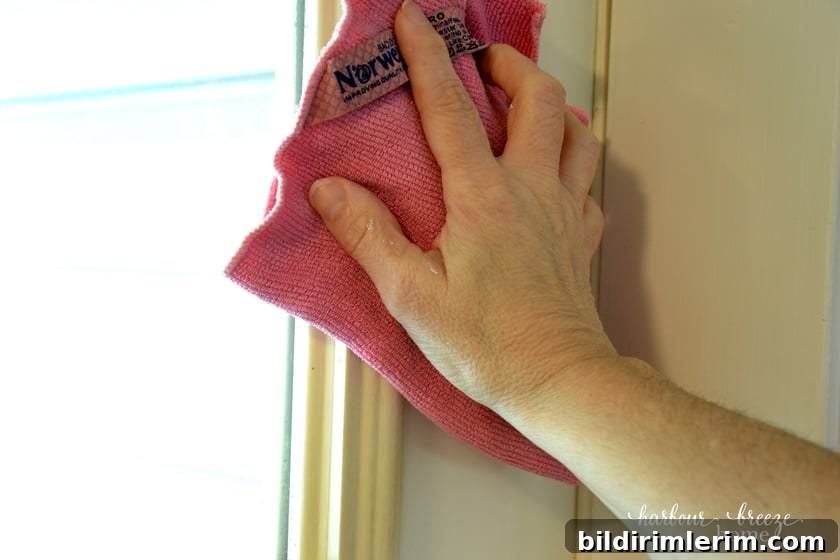
Paint won’t adhere well to dirt, grease, or dust. Start by wiping the door and trim with a clean cloth and an appropriate cleaner, then rinse and allow it to dry completely. Tack cloths or a microfiber cloth work well for removing remaining dust.
Remove or protect hardware and glass
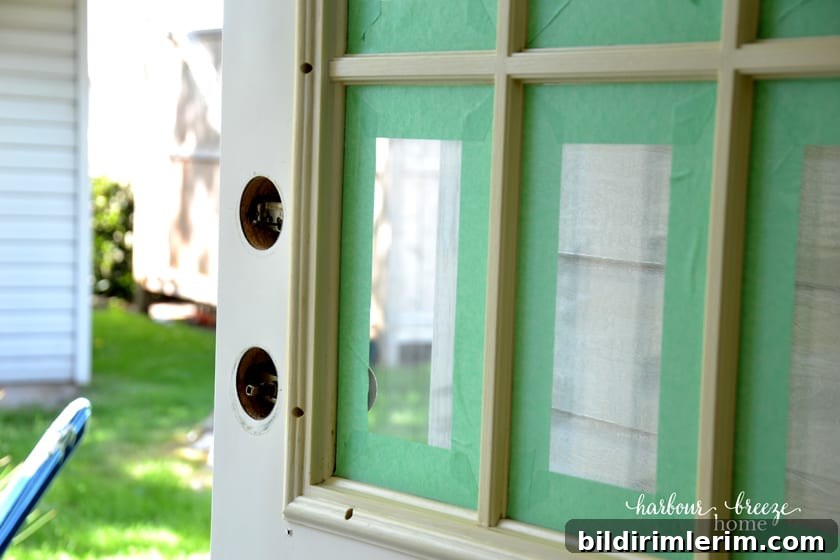
If you’re replacing the handles, remove them. If not, loosen them slightly and tape carefully around them. Use painter’s tape to mask glass panes and any parts of the trim you don’t want painted. Taking time with this step reduces clean-up and yields neater lines.
Prime the metal and plastic trim
A quality bonding primer is the key to success when painting metal and plastic. Use a primer formulated for slick surfaces and follow the manufacturer’s dry time recommendations before topcoating.
Priming method
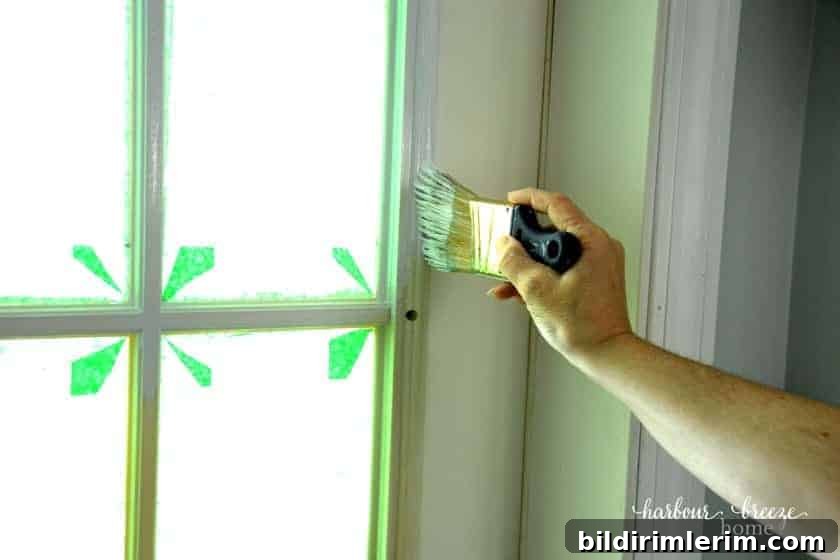
Start by cutting in around the plastic trim and window openings with an angled brush. Next, prime the recessed details and panel edges. While the primer is still tacky or following the primer’s instructions, use a foam roller to roll the larger flat areas for a smooth, even finish.
Topcoat the door
Once the primer is fully dry, apply the topcoat. Work systematically and keep a wet edge to avoid lap marks. Watch for drips in corners and recessed areas as you go.
Follow this sequence for best results:
- Cut in and paint the plastic trim and window surrounds first.
- Paint the recessed details of the door (panels and trim) next.
- Use a foam roller to fill in the flat sections—start at the bottom half of the door and work up to avoid streaks.
- After the first coat is completely dry, apply a second coat for full coverage and a durable finish.
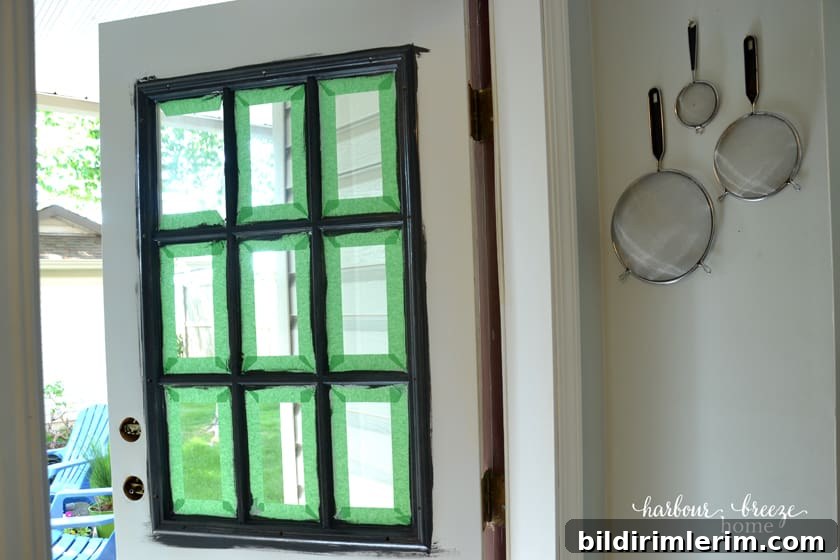
Final tips for crisp edges and longevity
- Allow full drying time as recommended by the paint and primer manufacturers between coats.
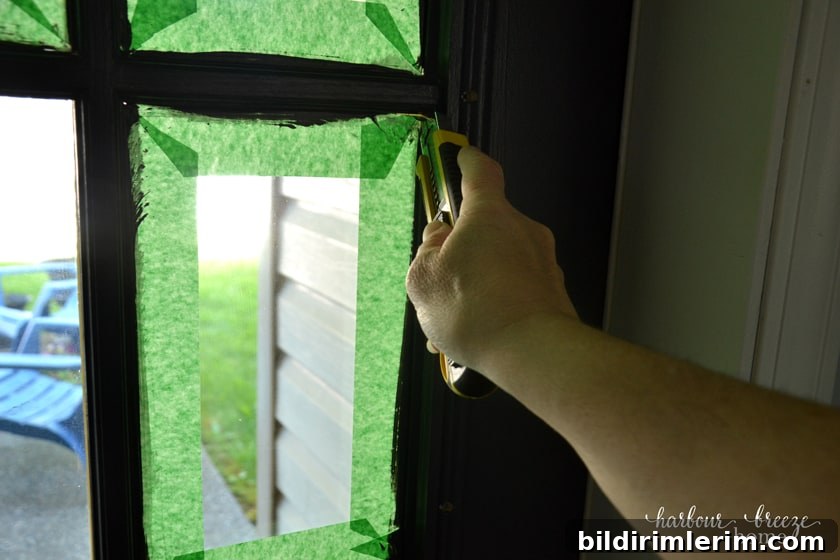
- Once the final coat is thoroughly dry, run a utility knife along the paint edge and then remove the tape to prevent the paint from lifting.
- Keep ventilation and a comfortable temperature while painting and drying for the best cure and adhesion.
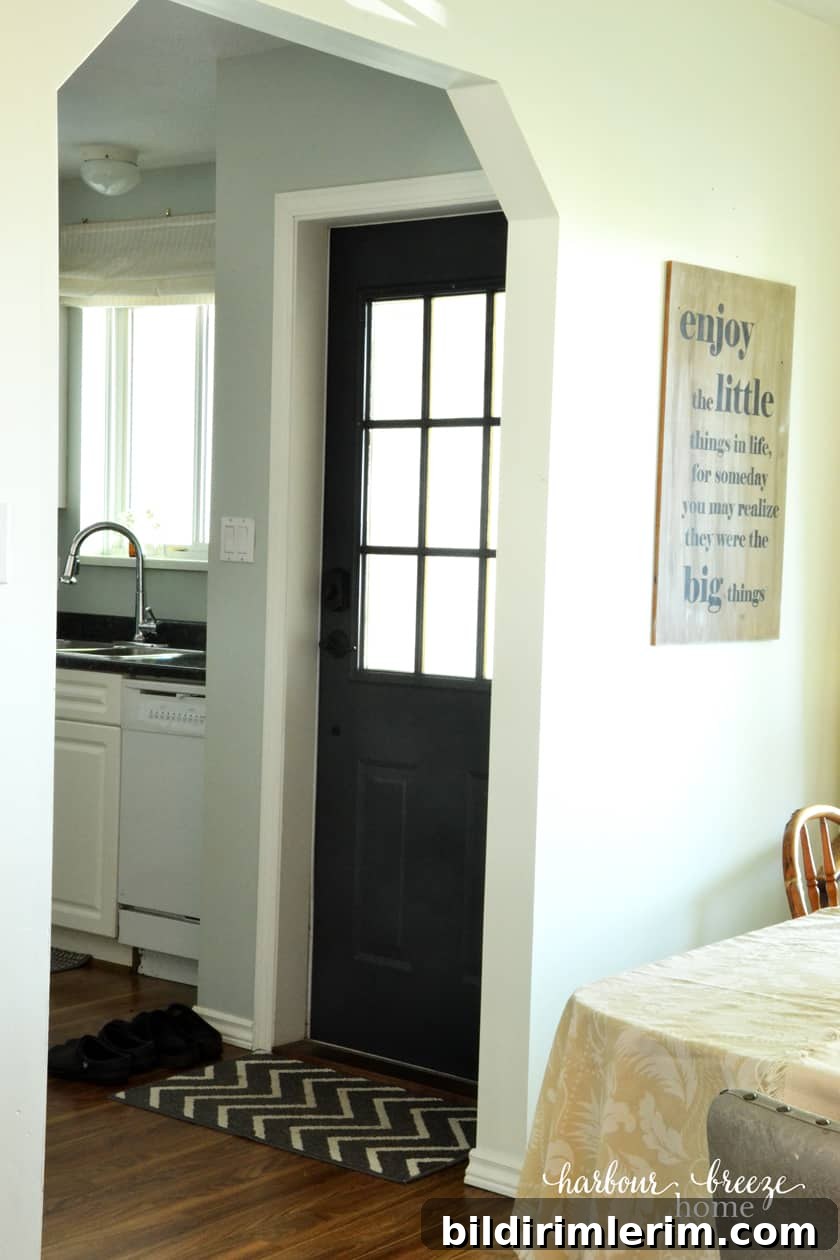
A fresh coat of paint can completely transform a plain interior door and bring new life to an entryway. Painting metal doors with plastic trim is entirely achievable with the right preparation, primer, and a steady application technique.
Additional painting tips
- How to make chalk paint with baking soda — a DIY option for furniture and accent pieces.
- How to paint straight lines — use painter’s tape carefully and score the edge before removing.
- Paint supplies checklist — keep essential tools on hand to make the job efficient.
- Can you paint over stained wood? — with the right primer, you can often successfully paint stained surfaces.