
Follow this step-by-step guide to build simple DIY floating bedside tables. They free up floor space in a small bedroom while adding a practical, streamlined, and stylish solution.
One of our main goals during our Modern Farmhouse Boho bedroom makeover was to solve the end table problem in a small room. We wanted something clean, compact, and anchored to the wall so the floor would feel more open.
Before the makeover we had mismatched bedside tables that felt cluttered and visually heavy in the compact space.
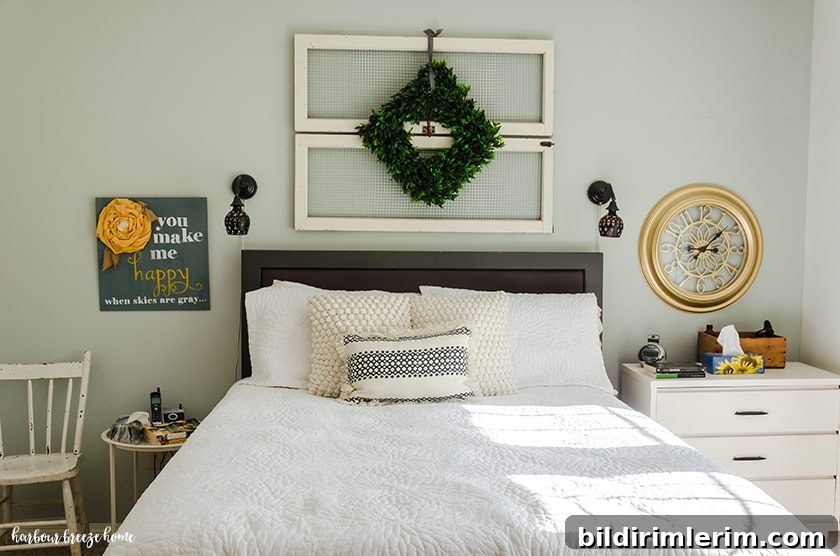
After organizing the closet and painting a black accent wall, we decided to build two matching floating bedside shelves. My husband built them while I finished painting and photographing the process — I helped with photography and quality control. The result is a pair of functional, low-cost, and attractive floating nightstands that suit the room perfectly.

How to Make DIY Floating Bedside Tables
Note: some common woodworking materials and tools are listed below; adapt the choices to what you already own or can borrow.
Supplies You’ll Need for these Floating Bedside Tables
- 2 pieces of 1×6 inch tongue-and-groove pine board, 8 feet long (enough material to make two floating nightstands)
- Wood glue
- Brad nailer (or finish nails and a hammer)
- Compound miter saw (or a handsaw and miter box)
- MDF board for the back panel
- Clamps
- Screws and screwdriver or drill/driver
- Stud finder
- Drywall anchors (if you cannot secure all attachment points into studs)
- Sandpaper, stain or paint, and a brush or rag for finishing
Cut List and Box Assembly
Each floating bedside “box” is formed from multiple mitered pieces of tongue-and-groove board assembled into a hollow shelf. Here’s the cut layout we used for each nightstand:
- 4 pieces cut to 22″ with 45° bevels at each end (forming the long front and back edges)
- 4 pieces cut to 8″ with 45° bevels at each end (forming the short side pieces)
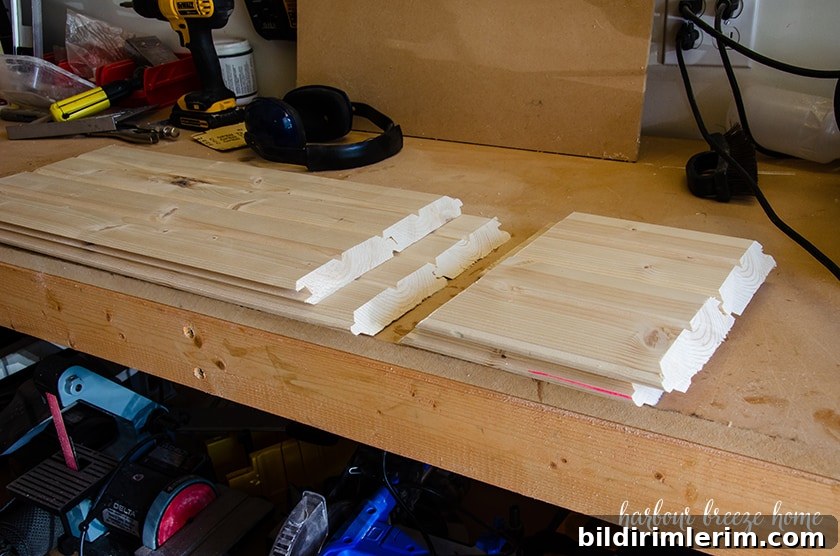
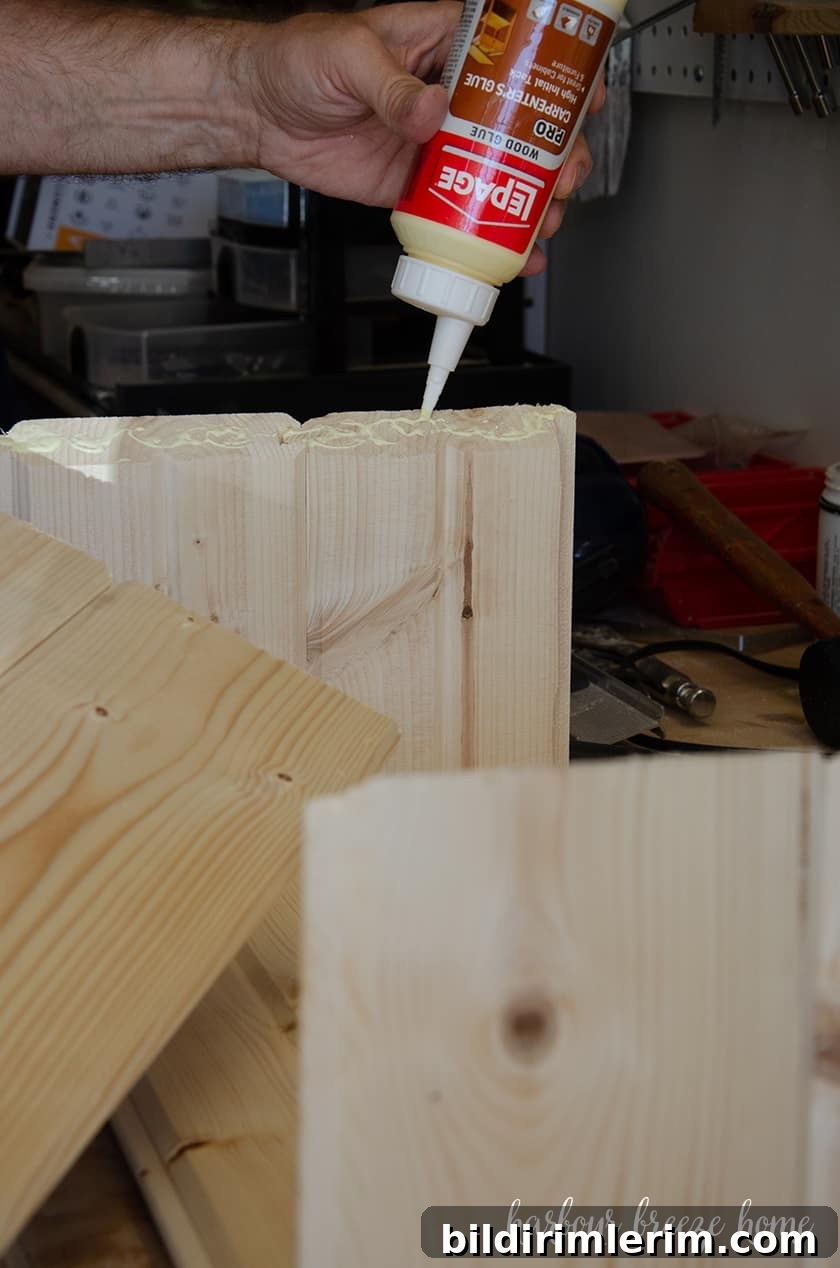
Dry-fit all pieces first to make sure the miters align before applying glue. Once satisfied with the fit, apply wood glue to each joint, clamp as needed, and secure the pieces with brad nails for immediate handling strength.
Step 1: Glue and Attach the Side Pieces to the Bottom
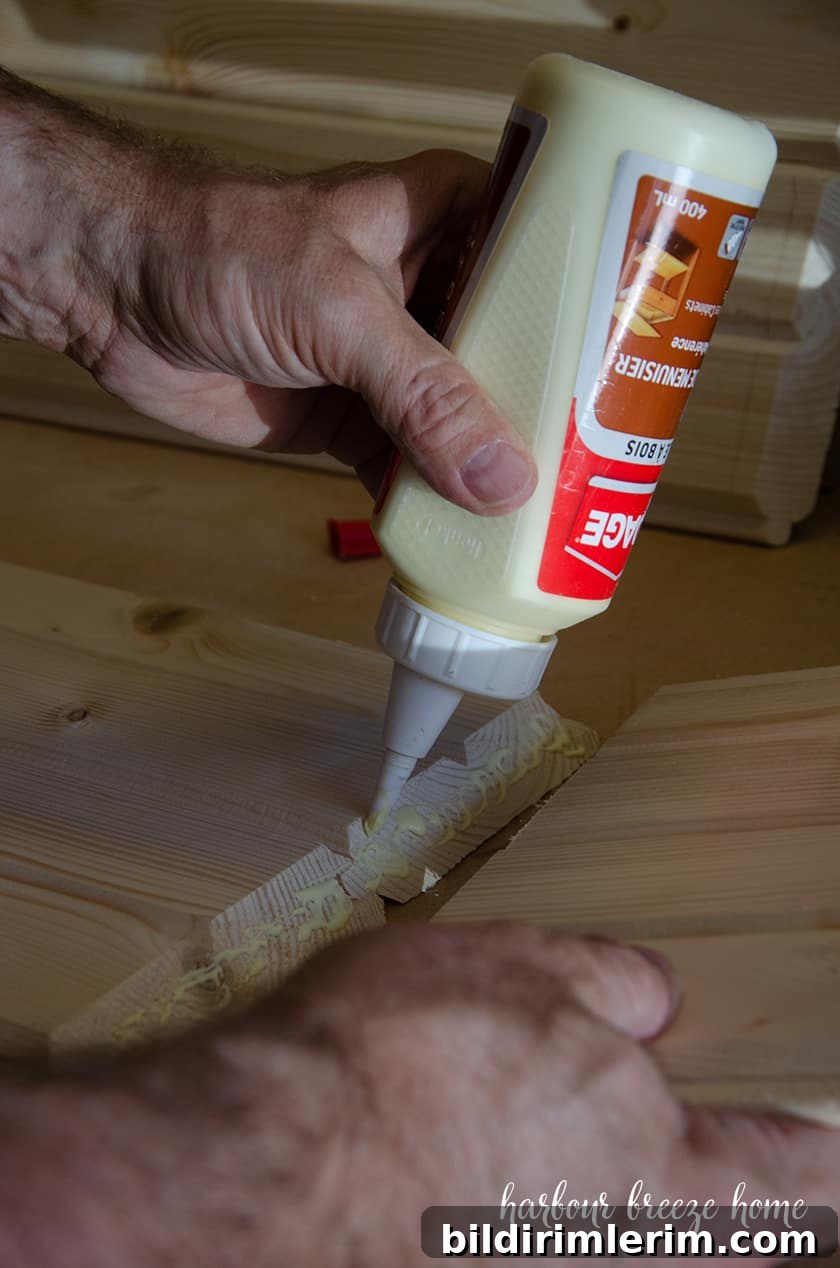
Spread a thin bead of glue on the mating surfaces, align the miters precisely, clamp the pieces, and secure with brad nails. Repeat for both sides of the box and for the second nightstand.
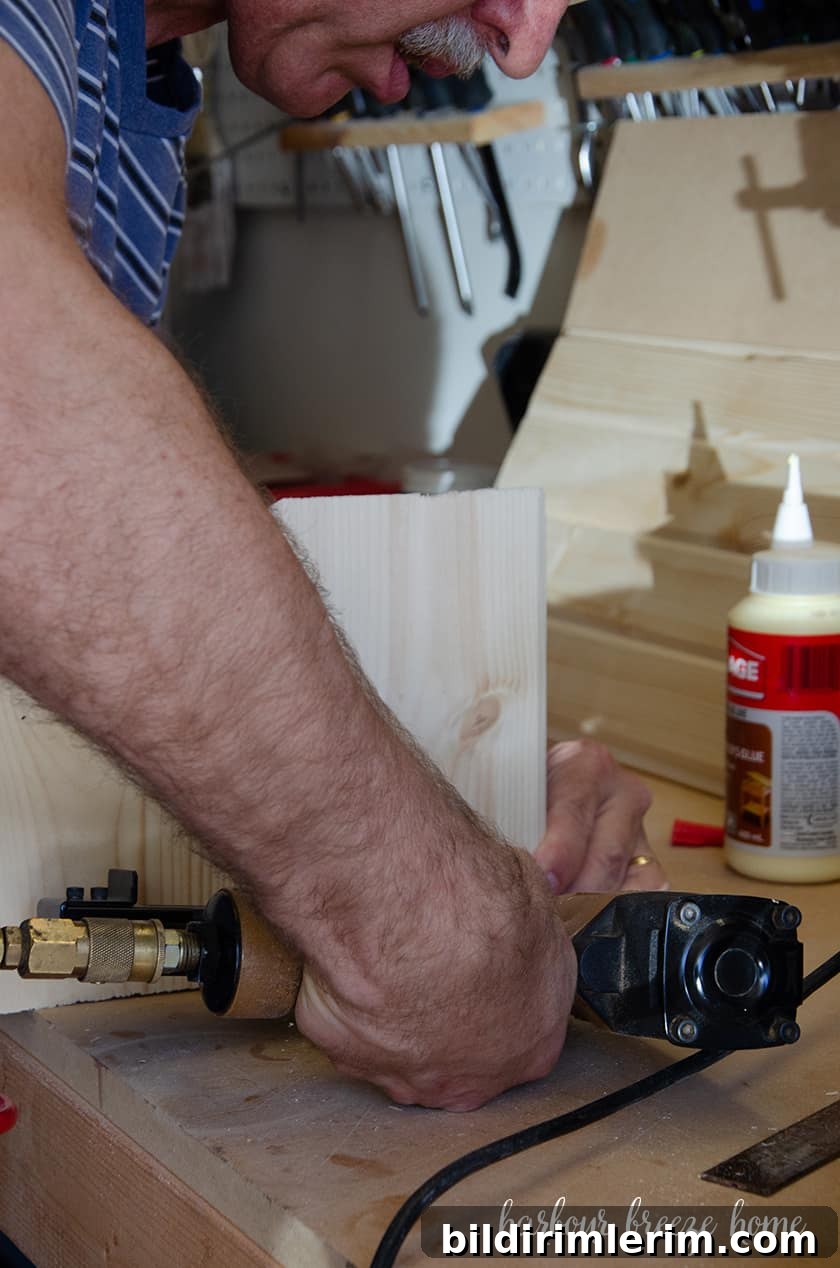
Step 2: Attach the Top
Once the side pieces and bottom are joined, add glue to the top edge and fit the top piece into place. Use clamps and brad nails so the top stays flush while the glue cures.
Step 3: Attach the MDF Backing
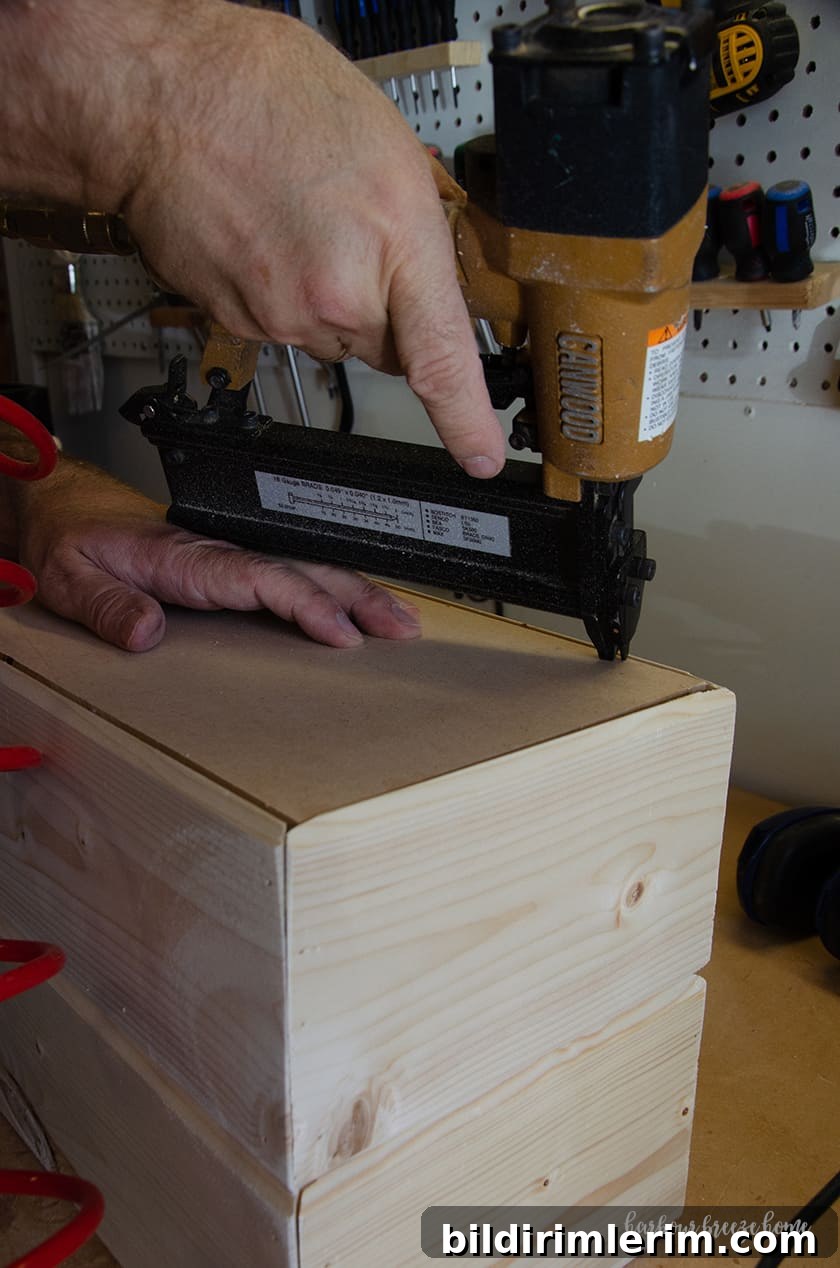
Cut an MDF panel to fit the back of the box. Apply glue to the rear inside edges and secure the MDF with brad nails so it sits flush and reinforces the box. The MDF provides a flat mounting surface and hides the wall when the unit is hung.
Step 4: Sand and Finish
Sand all surfaces until smooth, paying attention to seams and edges so the joints look clean. We stained our nightstands with an Early American stain. Keep in mind that MDF will not absorb stain the same way as pine; it can appear softer or more uniform in color, which can actually add a nice suede-like contrast. If you prefer, paint the boxes or cover the inside back with wallpaper or a contrasting paint color for visual interest.
Allow stain or paint to dry fully, and add a protective topcoat if you expect heavy use or moisture exposure.
Step 5: How to Hang a Floating Nightstand
Hanging securely is key for a floating shelf that will hold lamps, books, and other bedside items. Follow these steps:
- Use a stud finder to locate studs and mark them lightly. Ideally at least one mounting screw should anchor into a stud.
- Decide the desired height (many prefer the shelf top to align with the mattress top).
- With a level, mark the wall through the back panel where the mounting screws will be placed.
- Pre-drill pilot holes through the back panel and into the wall where the screws will go.
- If a hole cannot be driven into a stud, use rated drywall anchors in the remaining locations for secure support.
- Attach the shelf with screws driven into studs and anchors as needed. Check level before fully tightening.
- Optionally, use small screw plugs or wood filler to cover visible screw heads for a cleaner finish.
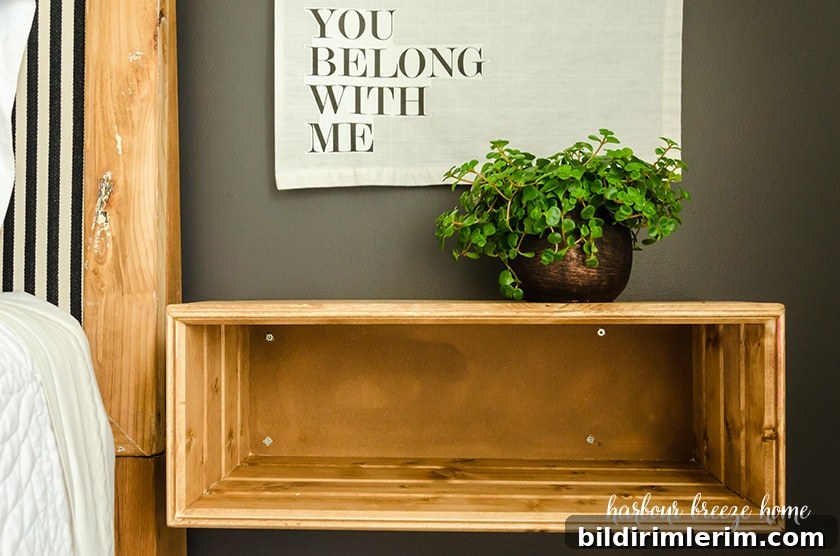
Installed, these shelves look clean and modern while functioning exactly like a compact nightstand. They keep the floor clear and create a more open visual flow in a small bedroom.

We found this project quick, inexpensive, and very satisfying. The finished pair is sturdy, practical, and complements our bedroom style.

Cost Summary
- Two 1×6 tongue-and-groove pine boards (8 feet each) — enough material for both nightstands — approximately $20 (costs vary by location and time).
Most other tools and supplies, such as glue, brad nails, clamps, and finishing materials, were items we already had on hand. If you need to purchase tools, the total cost will increase but these shelves remain a budget-friendly woodworking project.
Notes and Tips
- Always wear eye and ear protection when cutting and nailing wood.
- Dry-fit and label pieces before gluing so assembly goes smoothly.
- If you want deeper storage, increase the cut dimensions and adjust proportions accordingly.
- Consider soft-close or removable shelving options if you plan to store heavier items or want the flexibility to change mounting later.
Project Context
This project was part of a larger bedroom makeover series. Previous project steps included inspiration and planning, a closet organization reveal, and painting the accent wall. Building these floating nightstands helped bring the overall bedroom design together with a minimal, functional, and cohesive look.