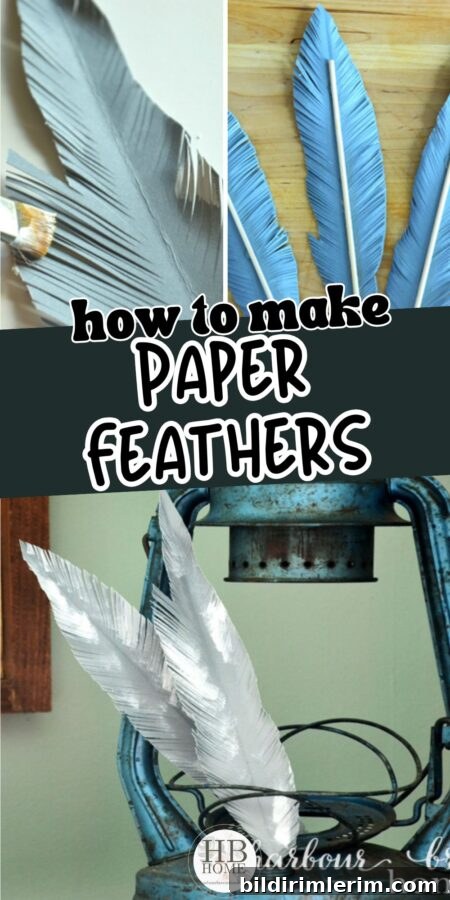
Learn how to make simple handmade paper feathers using scrapbook paper or book pages. An easy, budget-friendly DIY craft for home decor.
Paper crafts are timeless and wonderfully forgiving. Whether you used to scrapbook, make cards, or simply enjoy cutting and layering paper, this quick project lets you transform leftover paper into delicate, decorative feathers. It’s low-cost, child-friendly with supervision, and works with a range of papers—scrapbook sheets, cardstock, old book pages, or sheet music.
These paper feathers require no special tools and don’t demand perfect precision, which makes them ideal for a relaxed afternoon craft or a simple project to do with kids or grandchildren. Below you’ll find a clear list of supplies, step-by-step instructions, decorating tips, and ideas for displaying your finished feathers around the home.
Supplies Needed to Make Paper Feathers
- Cardstock, scrapbook paper, or book pages (choose colors or patterns that suit your decor)
- Pencil
- Sharp scissors
- White acrylic craft paint and a small paint brush
- Bamboo skewers (optional, for standing arrangements)
- Glue (optional, for attaching skewers or reinforcing the spine)
You can vary the look by using textured paper, patterned scrapbook paper, old book pages or sheet music. Thicker paper like cardstock holds shape better if you want the feathers to stand in a vase.
Step-by-step instructions for feathers made from paper
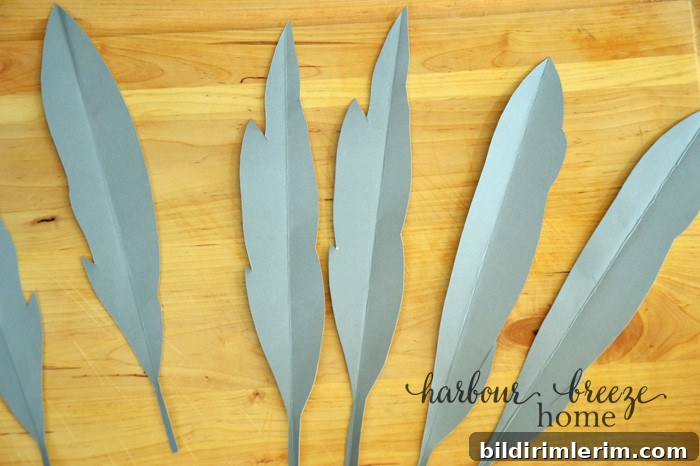
- Sketch the feather shape: Draw a simple feather outline on the back of your paper. Feathers can be long and narrow or short and full—there’s no single correct shape.
- Cut out the shape: Use sharp scissors to cut out the feather outlines cleanly.
- Form the spine: Fold each feather gently in half lengthwise to create a light crease that acts as the central spine. This fold gives the feather subtle structure.
- Create the barbs: With the folded feather edge facing away from you, make small, slanted snips along both long edges, spacing them close together. The slits should not meet the central fold—leave a narrow uncut strip to preserve the spine.
- Fluff and separate: Open the feather and gently separate the small paper strips created by the snips so they angle slightly away from the center, resembling feather barbs.
- Shape the feather: Curl the barbed edges lightly around a pencil to add natural curve and volume. This step creates dimension and a realistic look.
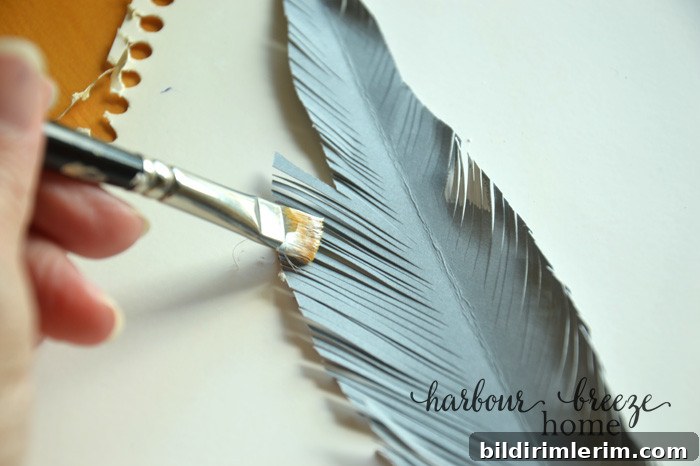
- Add paint for depth: Using a small brush, dab white acrylic paint sparingly along the tips or edges for subtle highlights. Let dry.
- Stiffen if desired: For standing decorations, glue a bamboo skewer to the back along the spine. Allow glue to dry completely before arranging.
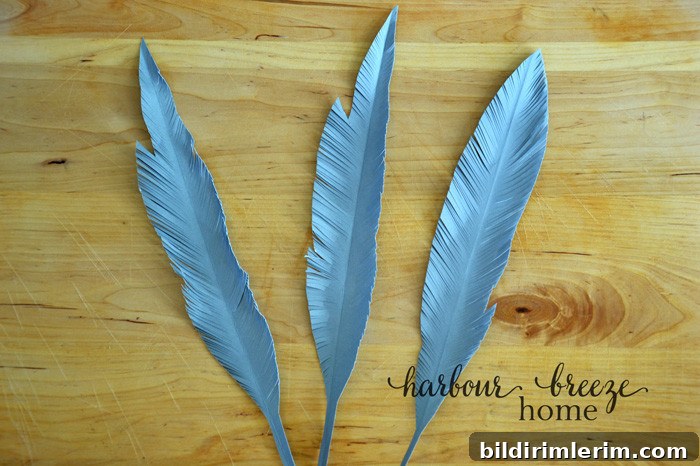
Tip: Take your time with the small edge cuts. Gentle, even snips and a light pencil curl make a big difference in how realistic the feathers appear. If working with thin paper, you can layer two feather shapes and glue them together along the spine for added thickness.
How to Decorate With Paper Feathers
Handmade paper feathers are surprisingly versatile. Use them to create soft, organic accents across your home. A few ideas to get you started:
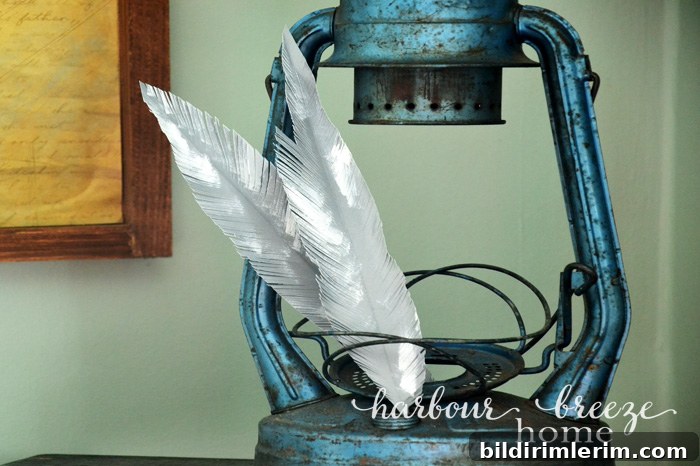
- Place a small bundle of feathers in a narrow vase or bottle for a simple mantel or shelf display.
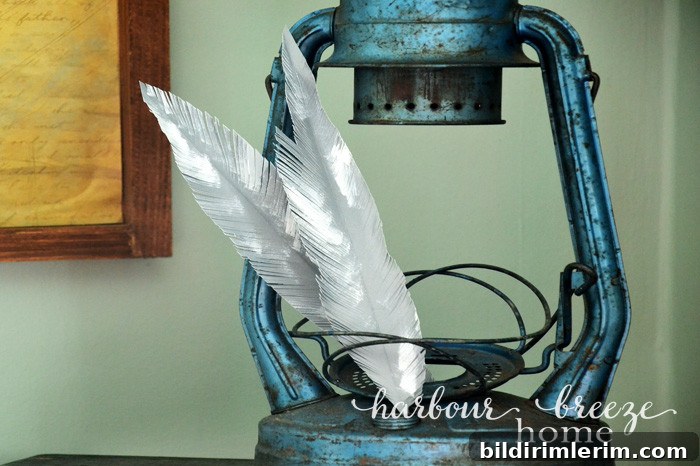
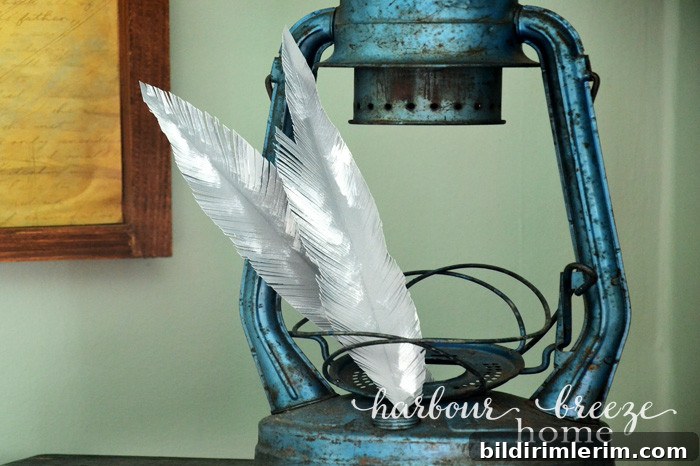
- Tuck individual feathers into a lantern, woven basket, or decorative bowl for texture.
- Incorporate them into seasonal centerpieces or wreaths—mix with dried flowers and branches.
- Use them as unique gift toppers or place cards at the table.
- Hang several on twine to create a lightweight garland or mobile.
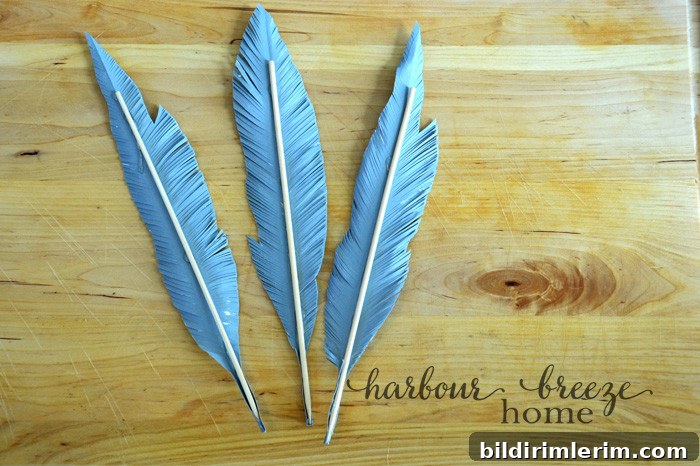
Switching paper types and colors gives an entirely different feel—vintage book pages read as rustic or antique, while bright scrapbook paper feels modern and cheerful. Combine sizes and patterns for a layered, artistic arrangement.
Project Details
- Prep time: About 5 minutes per feather
- Active time: 5 minutes
- Total time: Varies by the number of feathers you make
- Difficulty: Easy — great for beginners
Variations and Ideas
- Layer two or three feather shapes for more volume or to add contrasting patterns.
- Try metallic or watercolor-accented tips for an elegant finish.
- Create mini feathers to use as confetti-style table details or larger ones for statement decor.
- Combine with natural elements like twigs, dried grasses, or small pinecones for a nature-inspired display.
Storage tip: Keep finished feathers flat between sheets of tissue paper or gently bundled in a shallow box to prevent crushing. If you glue skewers on the backs, stand them upright in a jar for safe keeping.
More paper craft ideas
- Paper book page bunting
- Paper-covered books for simple seasonal decor
- Paper star ornaments for holiday decorating
These paper feathers are an easy, budget-friendly way to refresh your decor using materials you already have. They’re flexible in style and purpose and can be made quickly for seasonal displays, gifts, or everyday accents. If you try this project, save a few photos and notes about what papers and finishes you liked best—small variations can create big differences in the final look.