How I Clean and Organize Our Kitchen Cooler: A Simple Step-by-Step Routine
Cleaning the cooler is one of those kitchen tasks I actually look forward to. It may sound odd, but a tidy, well-maintained cooler makes meal prep easier, reduces food waste, and keeps supplies safe. When done regularly, the job is quick and even satisfying; when neglected, it becomes much harder and takes far longer. Here I describe the routine we follow that keeps our cooler fresh, organized, and ready for the next delivery.
Why regular cooler cleaning matters
A consistent cleaning schedule prevents spills from becoming sticky stains, avoids lingering odors, and reduces the risk of cross-contamination between items. It also makes inventory management simple—when shelves are clean and visible, you can see at a glance what needs restocking. For anyone managing a household kitchen or a small commercial cooler, a regular cleaning habit pays off in food safety, efficiency, and less wasted time searching for items.
What we do and how we do it
We pick a day to clean the cooler just before a big delivery, when supplies are running low. That timing minimizes the risk of food being out of refrigeration for too long and gives us space to work. The basic process is straightforward and works well with a small team:
- Move all current supplies to one side of the cooler, concentrating everything so you have a clear empty section to clean.
- Remove the shelves and take them outside or to a sink area for wiping and drying.
- Wipe down walls, corners, and the floor of the empty side with a food-safe cleaner or a mild detergent solution.
- Clean the shelves thoroughly before returning them, then restock methodically so that items are grouped and labeled if necessary.
Recommended cleaning supplies and tools
Keeping the process efficient means having a few reliable supplies on hand. A basic kit can include:
- Mild dish soap or a food-safe cleaner
- Clean cloths or disposable paper towels
- A soft-bristled brush for corners and gaskets
- Bucket for warm water
- Disposable gloves for handling spills and strong residues
Using gentle cleaning agents avoids damaging the cooler’s surfaces while still removing grime. For persistent odors, a short wipe with a diluted vinegar solution followed by a clean-water rinse helps neutralize smells without leaving residue.
Teamwork makes it faster
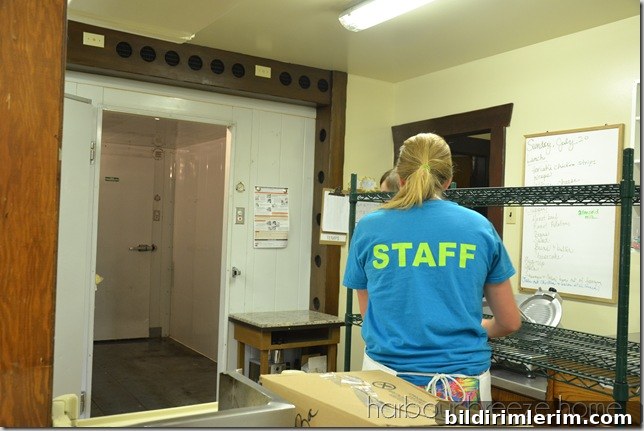
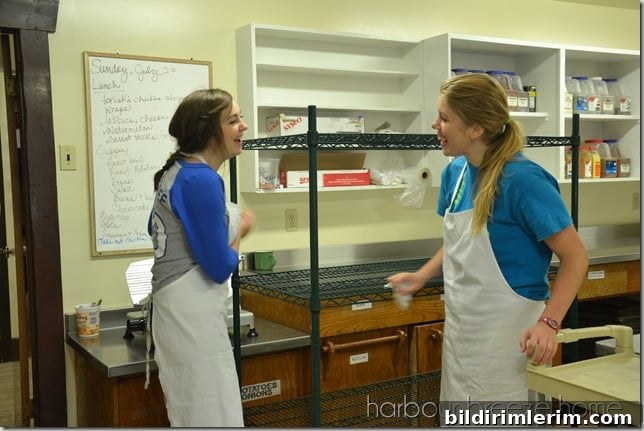
With two or three people, the work goes smoothly: one person moves items and clears a section, another wipes shelves and walls, and a third handles the floor and final inspection. When everything is dry and back in place, we take a few minutes to arrange items for easy access—grouping like items together, placing frequently used products at eye level, and rotating older stock to the front.
Practical tips for longer-lasting results
- Clean small spills immediately to prevent stains and sticky buildup.
- Schedule a full wipe-down at regular intervals—weekly or biweekly depending on use.
- Label shelves or designate zones so everyone knows where items belong.
- Keep a small supply of cleaning cloths and cleaners near the cooler for quick touch-ups.
Final thoughts
By keeping cooler cleaning regular and simple, it becomes one less chore and a practical part of kitchen maintenance. A clean cooler protects food, streamlines inventory, and makes the kitchen feel organized and calm. Follow a basic plan, involve a helper when possible, and your cooler will stay ready for whatever comes next—whether it’s a big delivery or the next meal prep session.