
Turn a vintage pillowcase into a quick DIY no sew curtain.
If you ever finish one project only to uncover several more, you’re not alone. Sometimes a fast, simple solution is exactly what’s needed—especially when you’re short on time and want immediate results. That’s how this no-sew curtain came together: a speedy, practical window treatment made from a vintage pillowcase that preserves daytime light and adds nighttime privacy in a bathroom.
One afternoon I was finishing up a few last touches in the main bathroom when my husband announced we had to leave in one hour. Instead of shelving my plans, I sped things up and turned an orphaned pillowcase into a charming, functional curtain while paint dried on another project.
How to Make a DIY No Sew Curtain
Why choose a no-sew curtain
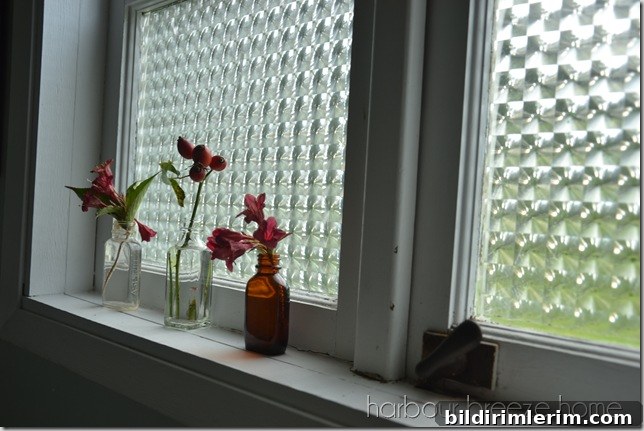
I wanted the window to remain completely open during the day so light could pour in—the bottom pane already had privacy film—yet I wanted a quick way to cover the window at night without installing bulky hardware. A vintage pillowcase with lace trim was the perfect lightweight option: pretty, inexpensive, and fast to turn into a curtain without sewing.
Step 1: Open the pillowcase
Begin by opening the folded side seam. I tried a seam ripper, but the stitches were tiny, so I used scissors to carefully cut the seam open. Hold the fabric up to the window to confirm the size—many pillowcases match typical small bathroom window dimensions and need no further trimming.
Step 2: Make hanging loops
Look through your vintage stash for small strips of fabric, ribbon, or even old bra straps—anything sturdy that can form a loop. I found some muslin-like straps that worked perfectly. Cut three equal lengths, about 3.5 inches each: one for each end and one for the center.
Step 3: Attach the loops
Use a fabric adhesive such as Speed-Sew or another strong fabric glue to attach the loops to the top edge of the curtain. Position one loop at each end and one in the center so the curtain hangs evenly when hooked into place.
Step 4: Install cup hooks
Screw three small cup hooks into the top of the window frame where you want the curtain to hang—one at each end and one centered. These create a simple, removable hanging system that requires no rod or curtain hardware.
Step 5: Finish the top edge
If the raw top edge is visible after cutting the pillowcase, glue a strip of vintage lace or trim across the top for a polished look. This adds charm and hides any unfinished fabric edge without sewing.
Step 6: Hang and enjoy
During the day, let the curtain drape to the side to keep the window open and bright. At night, loop the fabric over the cup hooks for privacy. The result is a light-filtering, decorative curtain made without sewing that can be removed or adjusted as needed.
This was a quick, creative fix that used what I already had: a vintage pillowcase, some small strips for loops, a few cup hooks, and fabric glue. It’s an affordable way to add a vintage, romantic look to a bathroom window with minimal time and effort—perfect for anyone who needs a no-sew window treatment solution.
Related ideas for vintage linens
- Where to find vintage linen and how to use it
- How to remove odors from vintage linens
- Colorful spring tablescape ideas using vintage linens
- How to sew a lavender sachet from vintage fabric
Join the VIP newsletter for more home ideas
If you enjoy simple home projects and vintage finds, subscribe to the VIP newsletter to receive free printables and fresh ideas. It’s an easy way to get inspiration for quick, practical upgrades around your home.