How I Organize My Blog: A Simple Blog Organization Binder
I like to make lists. I enjoy sitting down and plotting, planning, dreaming, and scheming—always starting with a pen and paper. I’m unapologetically old-school when it comes to getting ideas out of my head and onto the page.
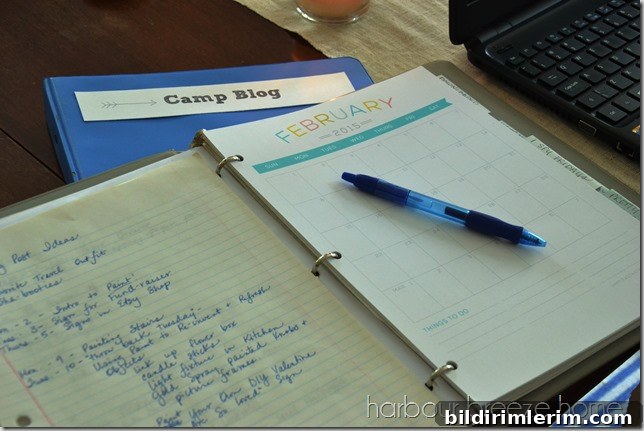
Earlier this year I spent time researching the business side of blogging. My job in the camp kitchen is demanding, and I wanted a way to keep posting regularly without burning out. Everywhere I looked the same advice came up: have a plan. So I decided to follow that advice and create a blog organization binder to keep my ideas and schedules together.
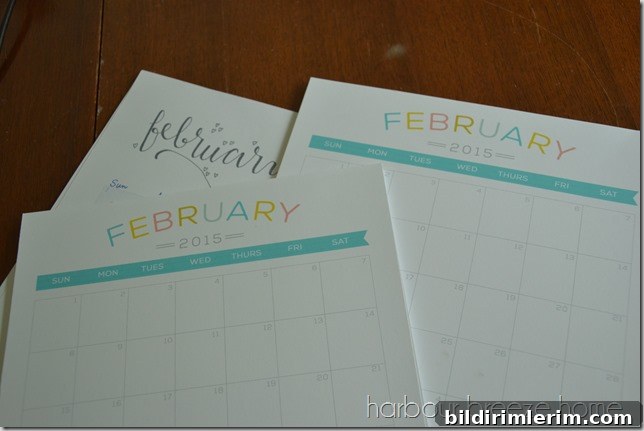
To start, I printed three yearly calendars—one for each blog I write for. Having a separate calendar for each blog keeps content visually organized and prevents ideas from getting mixed up. Seeing the year at a glance helps me plan seasonal content, track deadlines, and space out bigger projects so they don’t pile up.
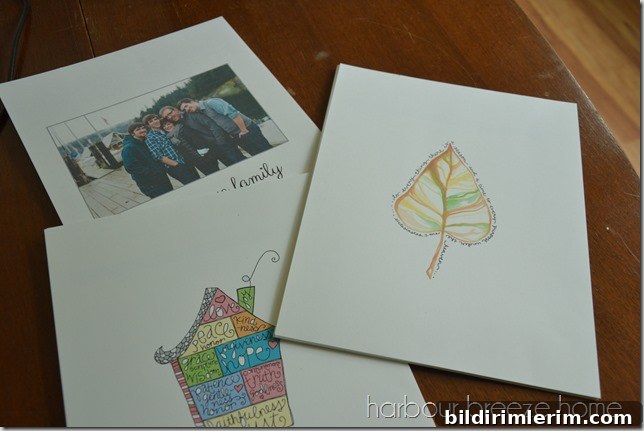
I also made three pretty divider pages to separate sections for each blog. The dividers help me flip quickly to the right calendar, notes, or content ideas. Organizing by blog makes maintaining a consistent voice and posting schedule much easier, especially when my work hours are unpredictable.
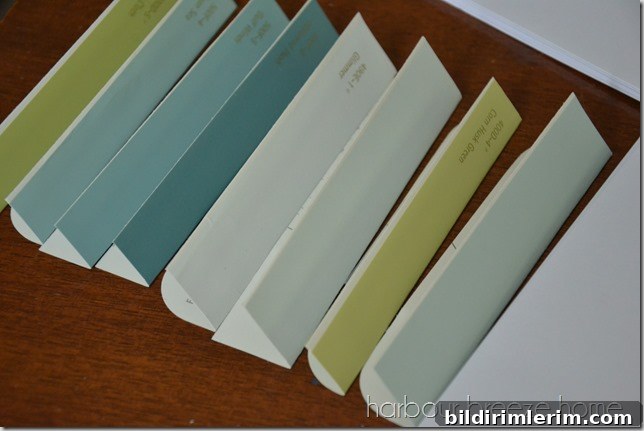
For labels I used paint chip strips I had lying around. It’s a small, inexpensive way to add color and function. I cut the strips, wrote the section names, glued them onto the dividers, and punched holes so everything fits neatly into the binder.
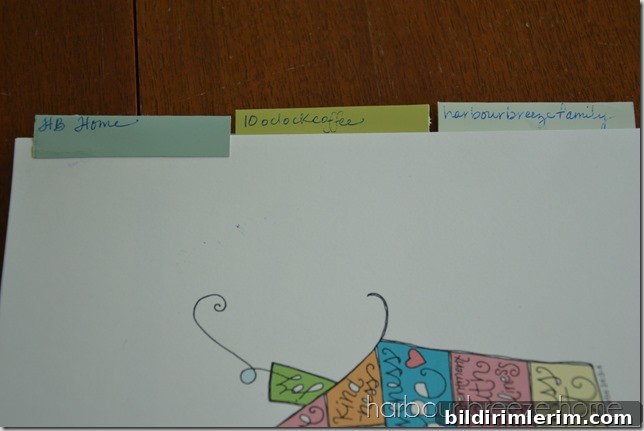
A little glue and a few hole punches later, the pages were ready to go into their new home. The binder contains each blog’s yearly calendar, a section for ideas and drafts, and a place to track collaborations, photo shoots, and social media tasks.
I thought a physical plan like this would help me turn lofty blogging goals into manageable actions—and it has. That said, a binder isn’t a magic solution. Life still throws unexpected tasks at me, and there are days when I can’t get to my blog posts because of other priorities.
Even so, when I finally get time to sit down and plot, plan, and create, the binder proves invaluable. It reduces friction: no more searching for scattered notes or trying to remember which idea belonged to which blog. Everything is in one place, easy to flip through, and ready to develop into a post.
Here are a few practical tips that helped me make the most of the binder:
- Use separate calendars for each blog to avoid mixing themes and schedules.
- Keep a quick-ideas section—jotting down stray thoughts prevents them from getting lost.
- Color-code sections or use paint chip labels for fast visual navigation.
- Include a short checklist for each post: draft, photos, edit, SEO, publish, and promote.
- Review your binder monthly to adjust the calendar and move ideas forward.
For February I’ve already sketched out a few themed posts and photographed some new projects. The binder will help me space those posts so they’re realistic given my schedule.
What are you planning for this month? If you’re trying to stay consistent with blogging, a simple organization system—paper or digital—can make a big difference.