For years I quietly dreamed of attending an Annie Sloan chalk painting workshop. I would scroll through photos of smiling students, light-filled studios, aprons, brushes and painted projects, and imagine what it would be like to be part of that creative circle.
Those workshops, however, often took place far from my home in British Columbia—places like Pennsylvania and Tennessee—so I never expected to get the chance. In truth, until recently I had never even seen real Annie Sloan Chalk Paint in person.
So I was thrilled when a friend called and asked if I would join her for a workshop that was just a four-hour drive away. I booked a spot immediately.
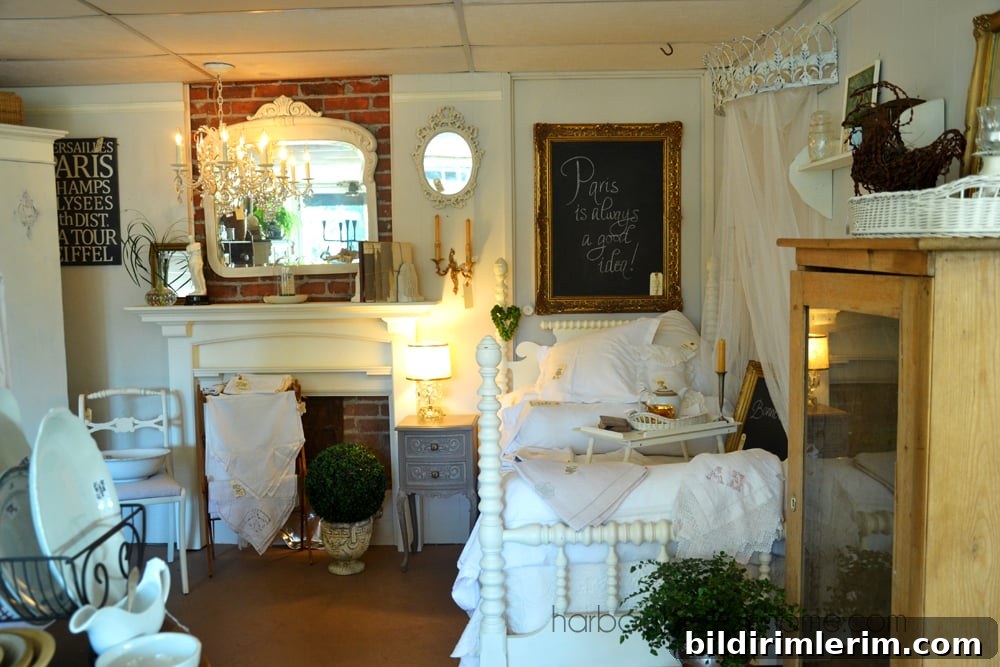
The workshop took place in a charming, light-filled shop in Victoria, BC—French Touch Furniture—where every piece of painted furniture reflected the instructor’s careful craftsmanship.
Workshop Setting and Instructor
Debra, the shop owner and artist, led the class. Her knowledge of techniques and materials was obvious from the start. She created a welcoming atmosphere and guided six of us around her workshop table for nearly five and a half hours. We painted, experimented, and asked questions—each of us working on a small tray project while Debra demonstrated and offered hands-on tips.
What I Learned
Although I had painted many projects over the years, this workshop taught me techniques I hadn’t fully appreciated before. Annie Sloan Chalk Paint truly does feel premium—its texture, coverage and handling are distinct. But the biggest value came from learning proper application methods from an experienced instructor. Debra’s guidance on layering, brush selection and especially waxing transformed my approach.
Waxing, in particular, was a revelation. I had tried various finishes at home, but seeing the correct amount of wax applied and how to buff it to the right sheen made a measurable difference in the final result. Debra explained why each step matters: how to prepare the surface, how long to let paint dry between layers, and how to blend colours and edges for a professional finish.
My Project: Before and After
Working on my tray, I could immediately see the difference between my previous methods and what I’d learned that day. Careful brush strokes, strategic colour layering and a proper wax finish brought the piece to life.
Why This Workshop Is Worth It
If you’re interested in chalk painting, I highly recommend taking a hands-on workshop led by someone who works with the materials every day. Annie Sloan is credited with creating the original Chalk Paint formula in England, and while there are many alternative brands, learning the proper techniques from an experienced instructor makes a real difference. The workshop format allows for immediate feedback, tried-and-true tips, and demonstrations that clarify things written tutorials cannot convey.
Beyond the technical lessons, the class also rekindled my creative drive. After the workshop I went home eager to pull out paints, brushes and reclaimed wood to apply the techniques I had learned. The confidence to try new approaches and finishes was the most valuable takeaway.
If you have the opportunity to attend a local chalk painting workshop with a skilled instructor, it’s an excellent investment in your skills and creativity. The combination of quality materials, clear instruction and the chance to practice in a supportive environment will accelerate what you can achieve with painted furniture and decorative projects.
*Disclosure: I was not compensated to write about this workshop. I simply enjoyed the experience and wanted to share what I learned.