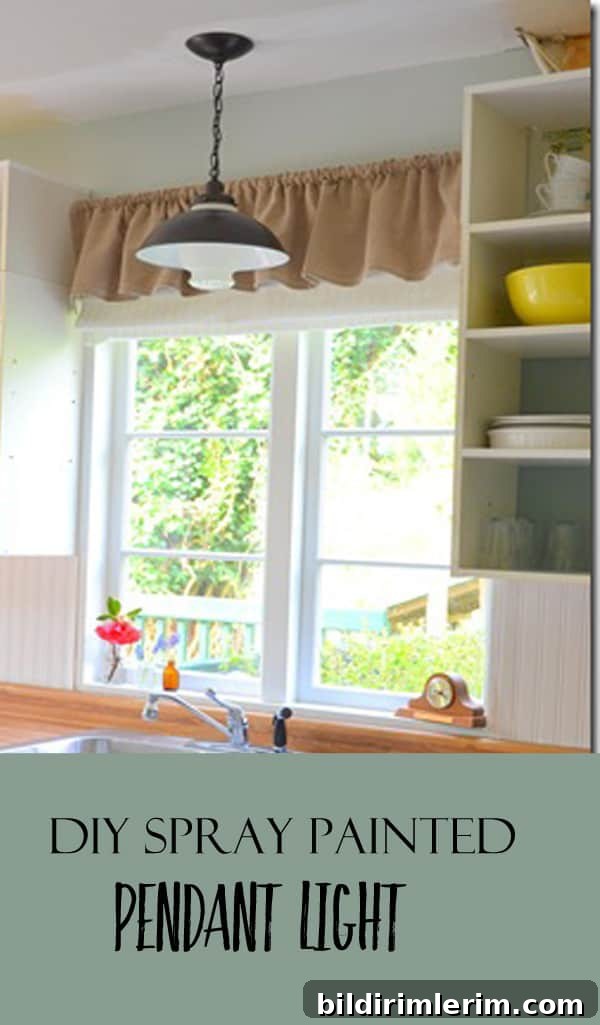
Budget-Friendly DIY Pendant Light Makeover
While shopping for a light to hang above the kitchen sink, I kept thinking about some of the stylish fixtures I’d seen recently. Two of my favorites were from Restoration Hardware: the Vintage Barn Light (listed at $299–$399) and the Vintage Streetlight (listed at $329–$549).
Knowing what I liked helped me recognize a great bargain when I saw it: a vintage-looking pendant at my local Restore, Habitat for Humanity’s building-supply thrift shop. It was an easy buy.
The fixture itself was inexpensive—just $8.00—and came with a dated gold chain and wiring. I forgot to photograph it before disassembly, so picture the original finish as gold-toned. When I showed the piece to our electrician, his delighted reaction was priceless; he hesitated, then praised the find. He did, however, strongly recommend replacing the old wiring and the porcelain socket. Inside the canopy someone had written “porcelain socket replaced 1983,” which made it clear the electrical parts needed updating.
My husband handled the electrical work, replacing the wiring and the socket while I prepped the metal parts for paint. Before spraying, I masked the interior carefully: I covered the entire white inside with paper taped down using painter’s tape so no paint would sneak onto the interior surface or the threads where the socket sits. This simple masking step ensured a clean finish and preserved the inner surfaces where light reflects best.
To make painting easier, I propped the individual pieces on a glass jar and an empty coffee tin. These improvised stands let me rotate parts and spray all sides without touching the wet paint. Working in thin, even coats helped avoid drips and produced a smooth finish.
I sprayed the fixture with an oil-rubbed bronze color in a satin finish, applying several light layers rather than one heavy coat. I decided not to prime first and was pleased with the result; the paint adhered well and left a consistent finish. If you prefer extra durability, a light scuff sanding or a primer designed for metal can be used before painting, but I kept the process simple and it worked for this piece.
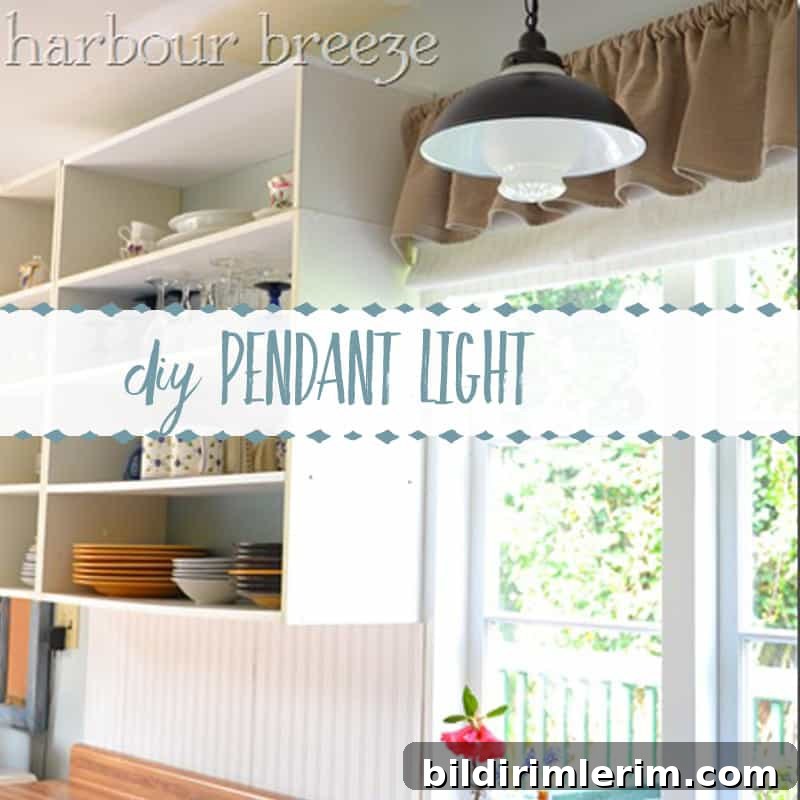
After the electrical updates and the paint cured, I reassembled the light and hung it over the sink. The finished pendant has a modern farmhouse feel and blends nicely with my kitchen without the high price tag of designer fixtures.
If you like numbers, here’s the cost breakdown for my makeover:
- Found light at the Restore: $8.00
- Spray paint: already on hand
- New electrical parts (wiring, porcelain socket, and any small supplies): $8.25 (including taxes)
Total spent on the project: $16.25. That’s a dramatic savings compared with the higher-priced options I had in mind, and the result looks custom and cohesive in the space.
DIY tips from this project:
- Inspect vintage or thrifted fixtures closely for previous electrical work and replace any old wiring or sockets. Safety first.
- Mask interior surfaces thoroughly with paper and painter’s tape to prevent unwanted overspray.
- Use improvised stands (jars, tins) to paint pieces without touching wet surfaces; rotate parts for even coverage.
- Apply spray paint in multiple thin coats, allowing adequate drying time between layers for a smooth finish.