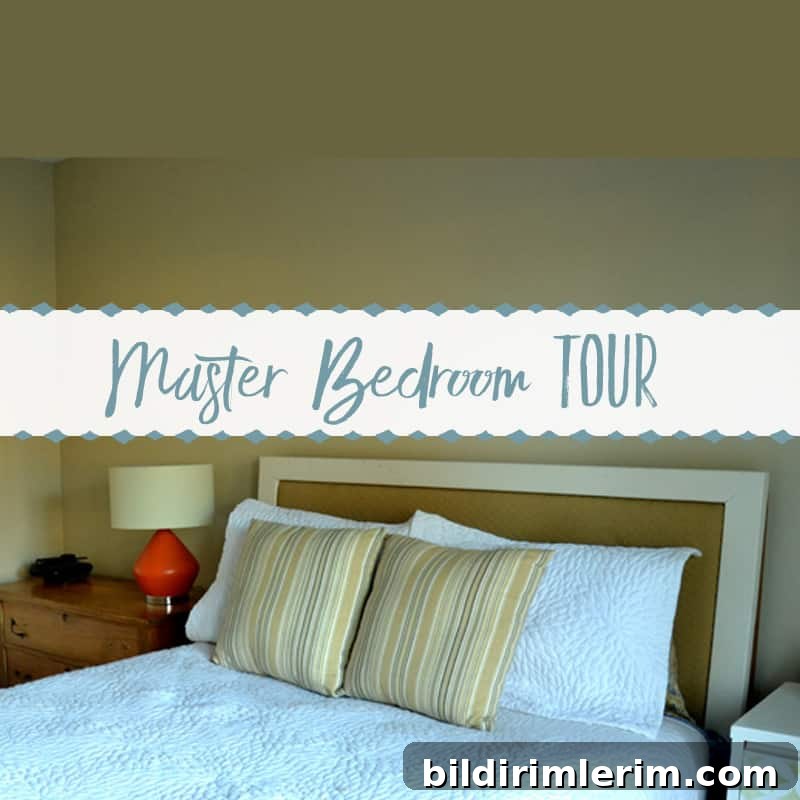
Townhouse Master Bedroom Tour — Before Photos and Plans
We’ve been living in our townhouse for about five months now, and slowly but surely we’re settling in. Moving into a new place always takes time — I’m learning the room by room rhythm of making a house feel like home. There’s been a lot of trial and error as we discover what works in each space, but the good news is we’re in no rush. Working at our own pace lets us focus on thoughtful choices that suit our lifestyle and budget.

So far most of our attention has been on the main floor. We finished the living and dining areas, tackled a fresh paint update in the kitchen and added a small coffee station, and recently completed a compact laundry room makeover. With those main spaces feeling more settled, I’ve started moving upstairs and working on several projects at once — a bit chaotic, but exciting.
As I edit these photos from a few weeks ago, it’s encouraging to see how far we’ve come already. Before I dive into the details of the changes I’m making, I wanted to share a clear “before” tour of the master bedroom so you can see the original layout and features that we’re building on.
Come on up our little townhouse staircase and walk down the short hall to the master bedroom. It’s a comfortable, well-proportioned room with a large window that fills the space with natural light, making it bright and welcoming. The window is one of my favorite features because it instantly lifts the room’s mood and gives us a pleasant view to enjoy morning and evening light.
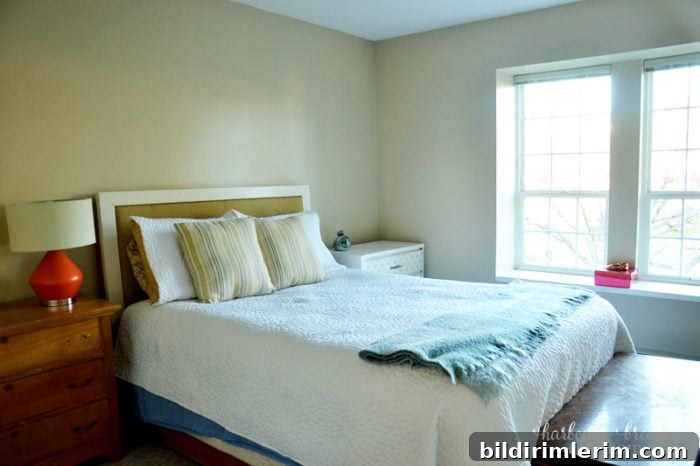
One of the perks is a second door that opens directly to the main bathroom — what the real estate agent called a “cheater suite.” We love this layout because it feels convenient and a little more private, while still allowing the bathroom to serve guests and the rest of the home when needed.
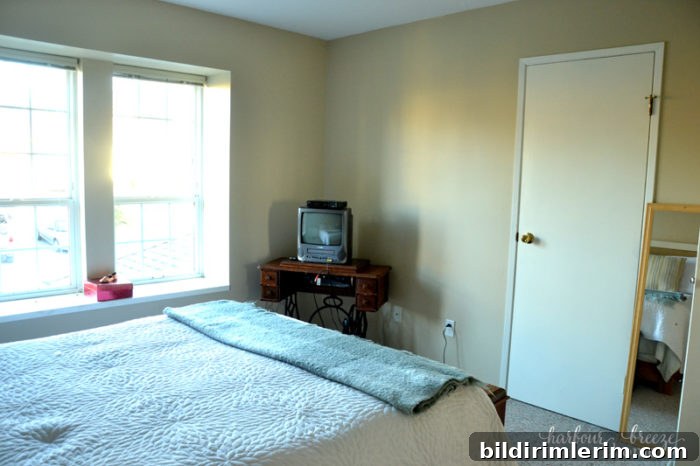
The closet sits behind the third white door along the wall. After years of living in places without a proper closet in the primary bedroom, it’s a treat to have one here — and it even has a door. Best of all, it’s large enough that you can walk in. Having that dedicated storage space already feels like a luxury and simplifies how we plan storage and furniture placement.
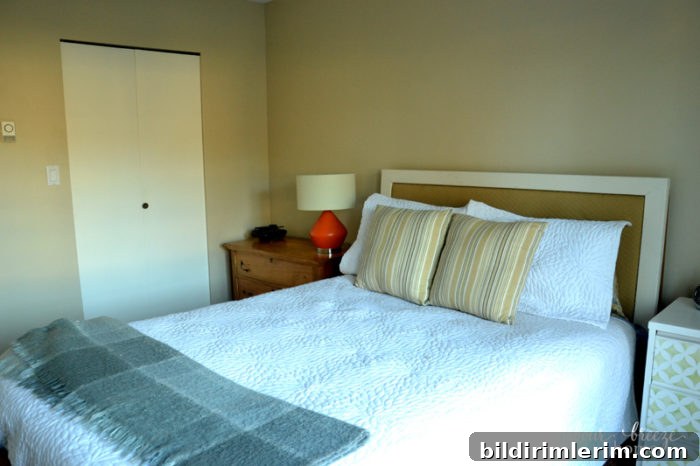
Right now I’m adding personality and character little by little, starting with the basics: paint, lighting, and thoughtfully chosen textiles. The room began as a fairly blank canvas, which is ideal — it gives us flexibility to layer in color, texture, and pieces that reflect our style without fighting existing finishes. My plan is to keep the foundation neutral and use accents, art, and furniture to bring warmth and cohesion.
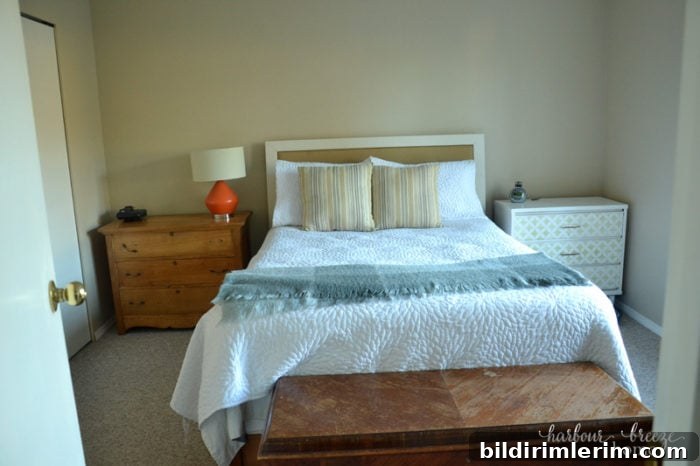
There are a few ongoing projects — some small, some more involved — so the makeover is unfolding in stages. I’m focusing on practical improvements that also enhance comfort: improving storage flow in the closet, choosing window treatments that complement the natural light, and arranging the furniture to create a restful, functional layout.
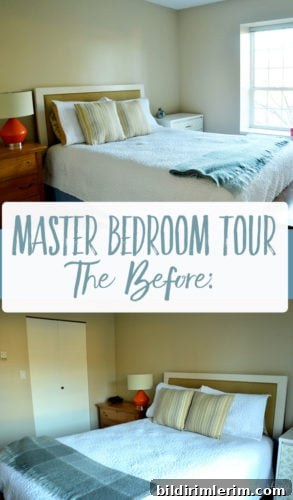
Over the coming weeks I’ll share updates and reveal the finished room once everything comes together. For now, this “before” tour captures the room’s potential — the bright window, adjacent bathroom, and walk-in closet are strong starting points. Stay tuned for the reveal and design choices as we transform this master bedroom into a cozy, personalized retreat.