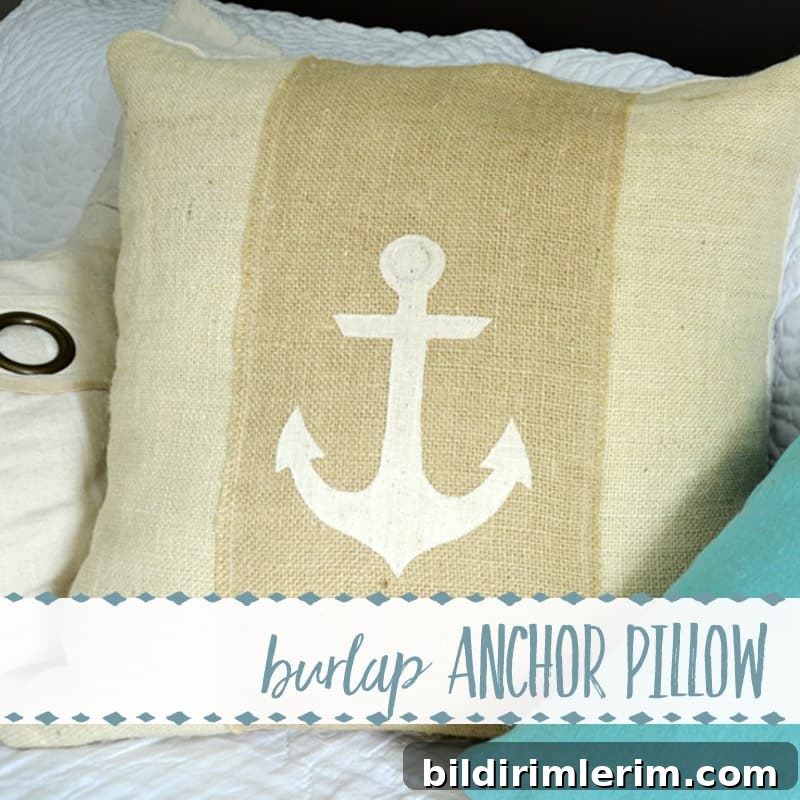
I was recently browsing a local gift shop when I spotted a burlap throw pillow that caught my eye. It sparked a stream of ideas, so I decided to recreate a similar look at home.
The inspiration piece featured an actual iron anchor tied to the front. I didn’t have any small metal anchors on hand, so I chose to make a fabric anchor instead—an easy and attractive applique that works well on burlap and linen.
How to Attach Custom Images to Fabric
1. Choose and print your image at the size you want.
2. Iron Heat n Bond or a similar fusible web to the back of your fabric following the package directions. The textured side faces the fabric and the paper side faces the iron.
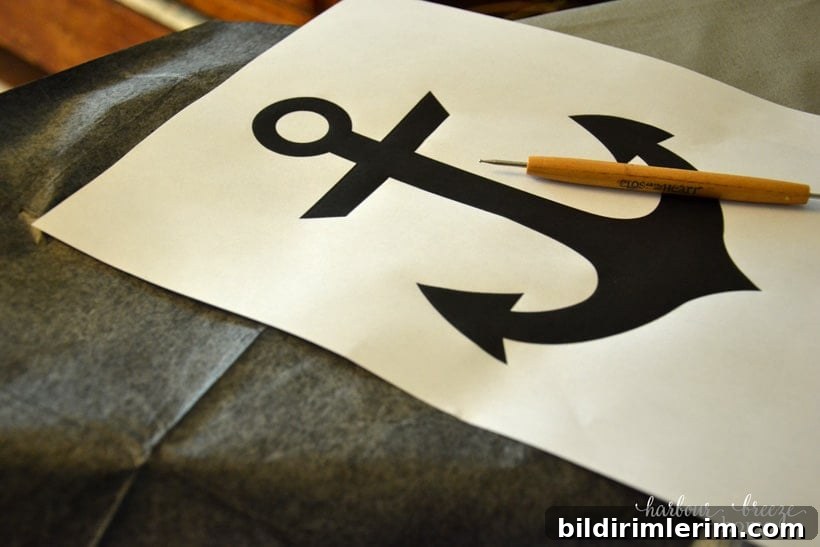
3. Trace your printed design onto the Heat n Bond backing using carbon paper or another transfer method, then cut out the shape.
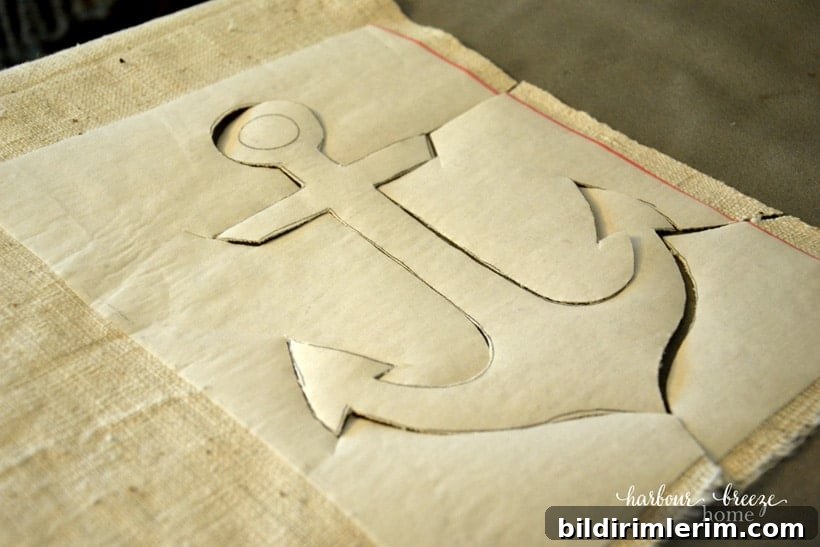
4. Peel the paper backing and press the piece firmly onto the pillow front in the placement you prefer.
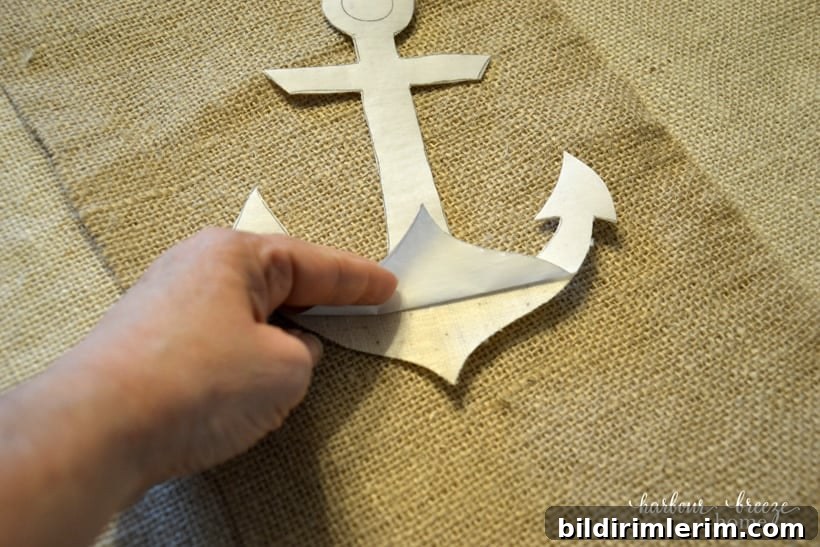
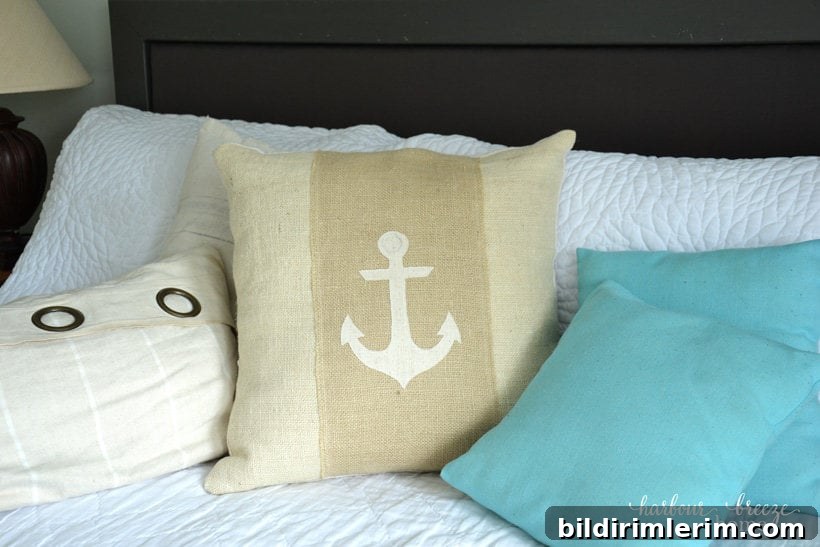
For this pillow I used three layers on the front: a linen liner, a white burlap layer, and a strip of brown burlap. The anchor itself was cut from the linen layer and fused in place.
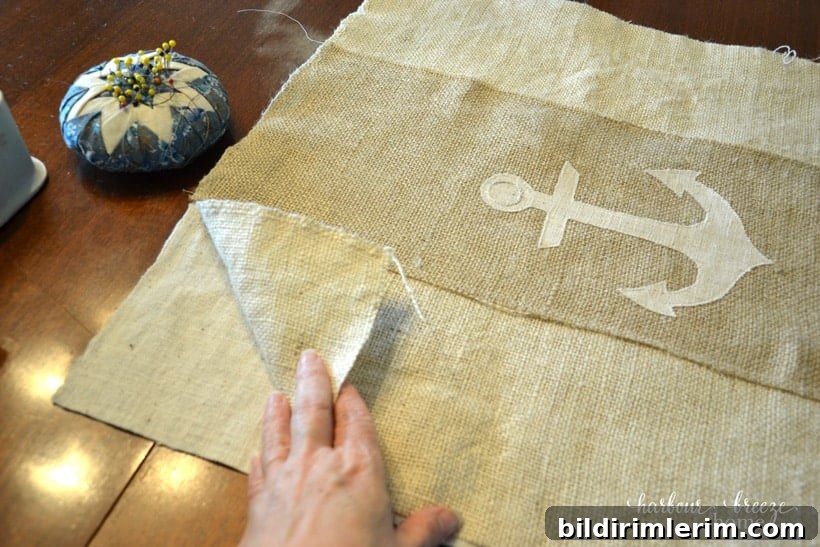
The fusible web will hold the shape securely, but for added durability and definition I stitched close to the edge of the applique with a sewing machine. A narrow zigzag or straight stitch both work well; topstitching gives the image a crisp outline and helps resist fraying on loose-weave fabrics like burlap.
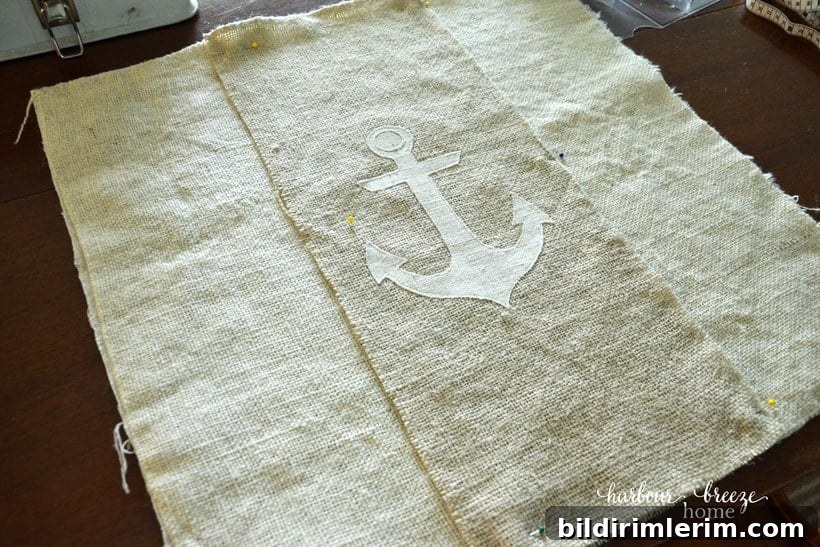
I also added a small hand-embroidered detail—a circle of stitching at the top of the anchor—to give the applique more character and a handmade look.
Extra tips for best results:
- Prewash and press any fabric you’ll use to avoid shrinkage or puckering after the applique is attached.
- Use a pressing cloth over the applique when fusing to protect delicate fabrics or printed surfaces.
- Test your printer and fabric combination if you plan to print on fabric—some fabrics perform better than others in home printers.
- Trim applique edges carefully and finish with stitching or fray-check for longer-lasting edges on burlap.
If you’d like to see the Heat n Bond method in action, I previously demonstrated this step live on Facebook.
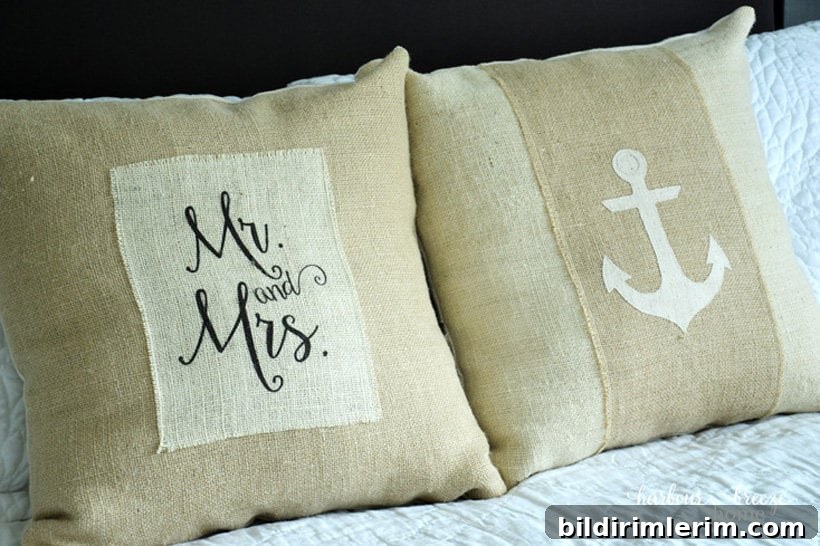
I also experimented with printing the words “Mr. and Mrs.” directly onto burlap using my home printer—a little trial and error produced a charming result, and it’s a fun way to personalize pillows for weddings or anniversary gifts.
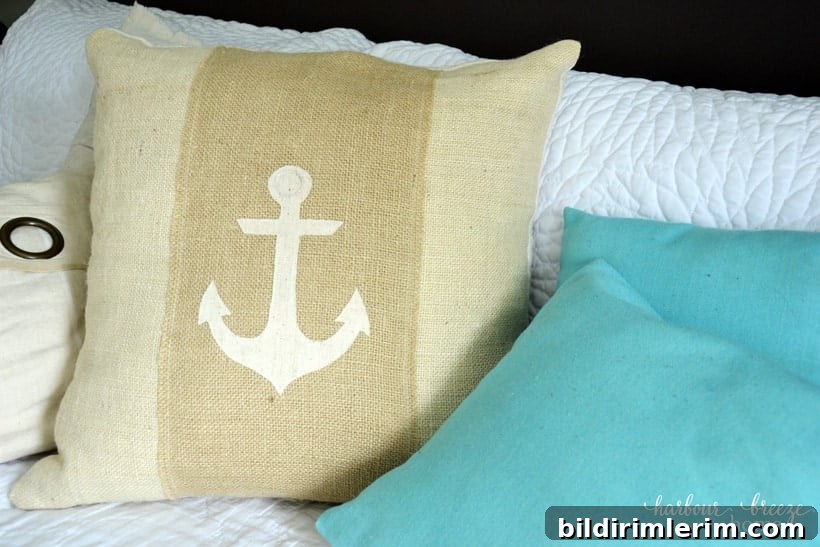
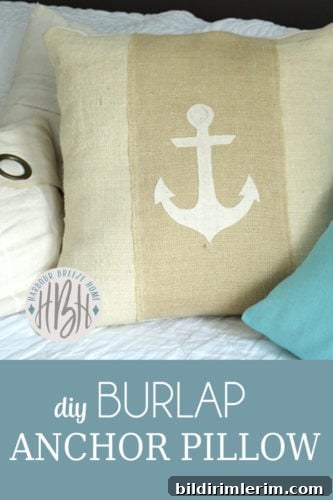
If you want a full sewing walkthrough of how I constructed the pillow cover and assembled the layers, I shared a detailed tutorial on my guest post at Kenarry: Ideas for the Home.
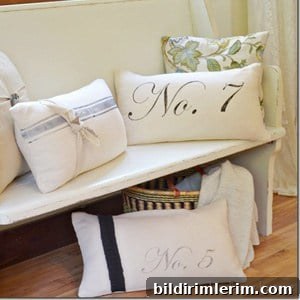
Hand Painted Pillows
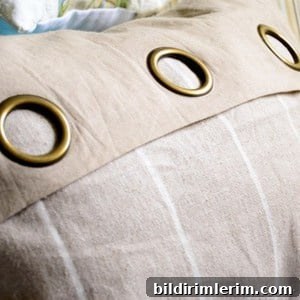
Turn a Grommet Curtain Into a Pillow
And here’s a simple envelope pillow tutorial I’ve shared earlier for an easy, no-zipper closure option.
Envelope Pillow Tutorial
Happy sewing—enjoy making your own burlap anchor pillow and customizing it with personal touches!