In this article: A step-by-step guide for a painted dresser makeover. Learn the tools and techniques for a professional-looking result.
It’s no secret—I’m fond of dressers. Of all the pieces of furniture in a home, the dresser is one of the most useful and versatile. It stores clothing, corrals clutter, and often doubles as a surface for lamps, photos, and decorative accents.
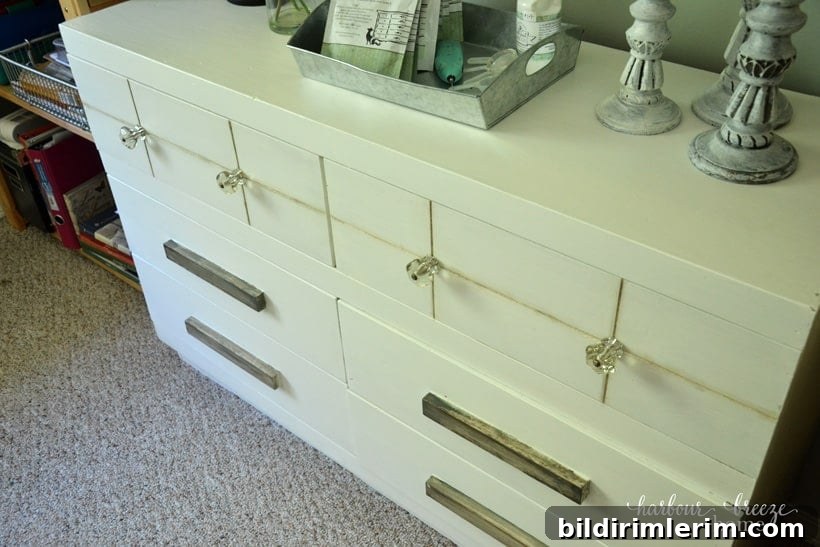
I keep at least one dresser in nearly every room. They vary in size and style, but a well-built dresser is always worth saving. When we downsized, choosing which pieces to keep was difficult, and I had to part with several favorites. Thankfully, this dresser earned a place in the new home.
I cherished its sturdy drawers and how smoothly they glided. I also loved the story behind it: it was hand-built many years ago and had belonged to a couple who mean a lot to us. That sentimental value made the makeover even more worthwhile.
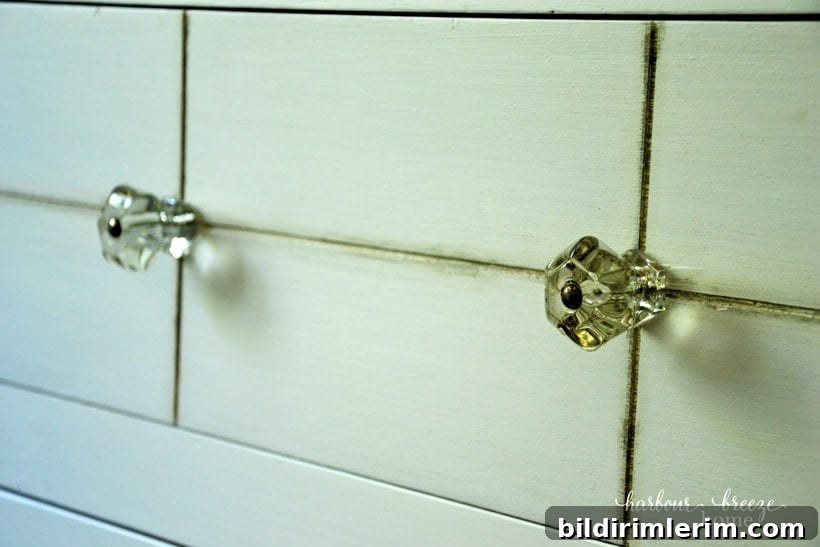
Before its refresh it didn’t start off in bright white with glass knobs. It was a different color and finish that didn’t suit my new space.
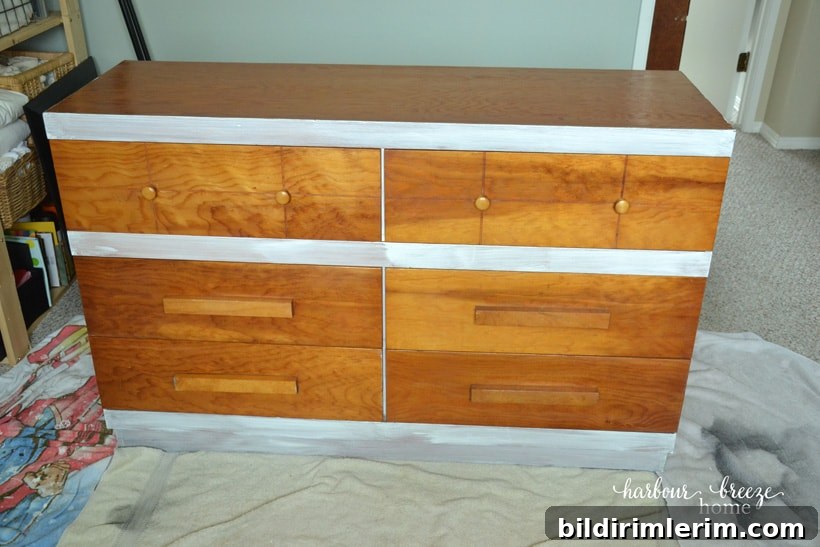
Note: I didn’t capture an exact “before” photo before I began priming—classic! I remembered to photograph just after I had already applied the first coat of primer.
This makeover was completed in careful stages. I made design decisions as I worked so the final look evolved organically. I also shared progress in a live video series, so if you follow along on my social channels you can see the process in real time and hear the stories that went with each step.
Painted Dresser Makeover: Step-by-Step
1. Prime the dresser
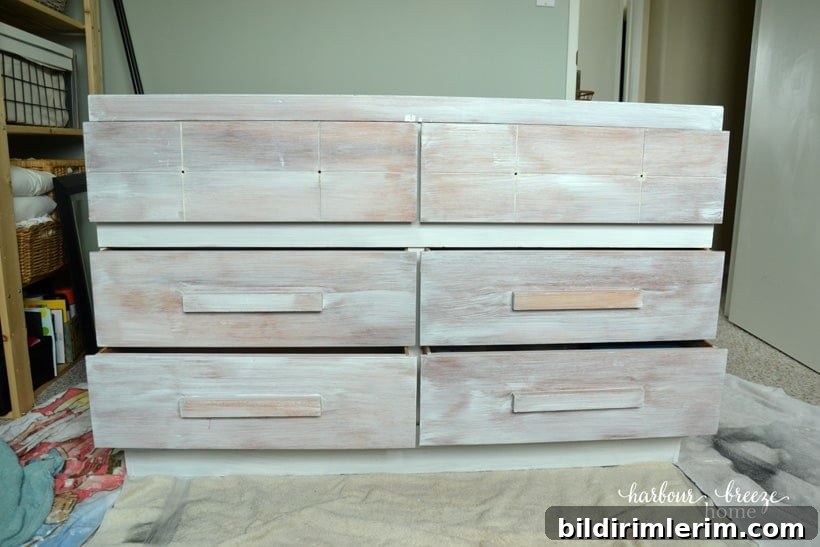
Start with a high-quality primer. I recommend a trusted brand known for good adhesion and stain blocking. One solid coat of primer creates a consistent base, improves paint coverage, and helps new paint adhere to older finishes or raw wood. Priming is especially important when transitioning from a dark or glossy finish to a light color.
2. Paint the dresser
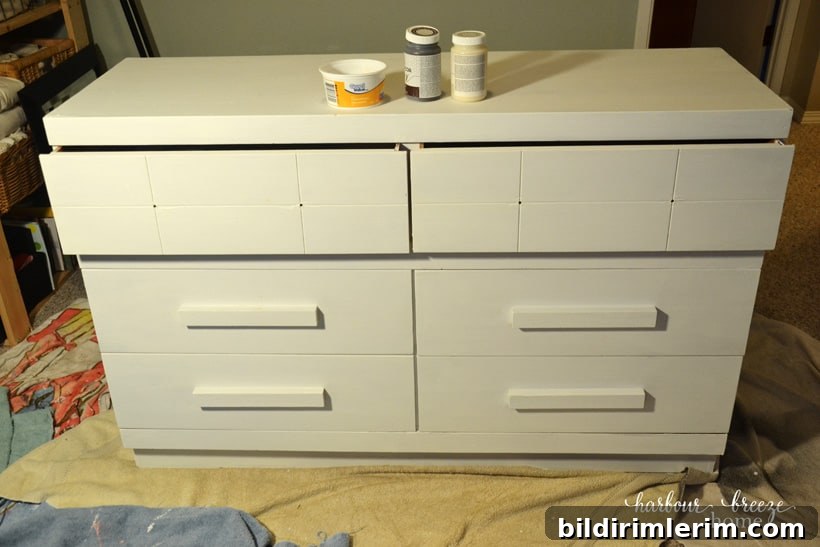
Choose a durable furniture paint in a color that complements your room. For this project I used a combination of Sherwin Williams Alabaster as a base and two coats of a soft white called Cloudy White to get an even, warm finish. Apply thin, even coats and allow adequate drying time between layers to avoid brush marks and drips.
3. Highlight and enhance details
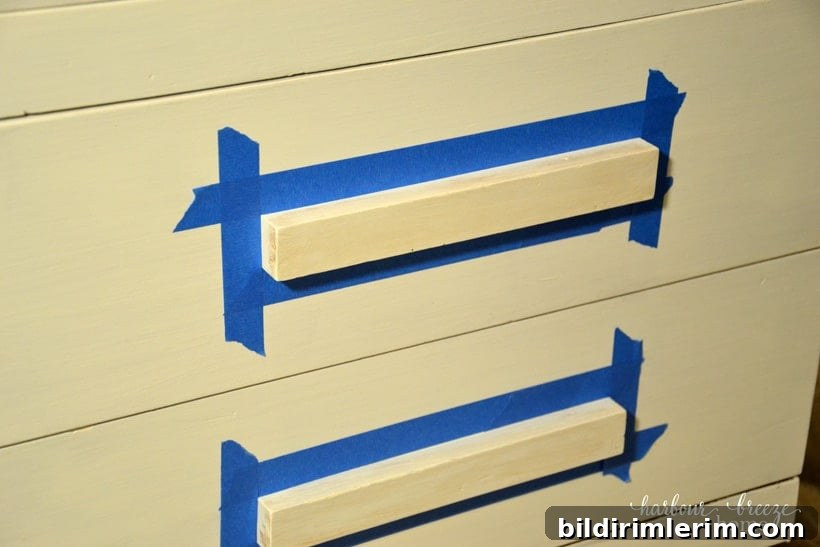
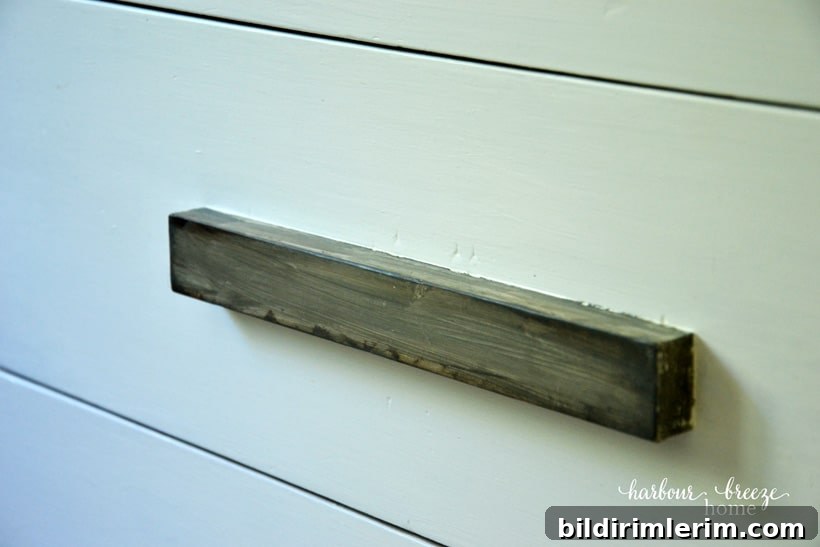
Add visual interest by emphasizing the dresser’s carved details, grooves, or drawer cutouts. For subtle contrast I used layered acrylic craft paints to accent the edges and cavities so the features read more clearly from a distance. I also painted the handles with a weathered, driftwood-like finish to create a coastal, casual look that pairs well with whites and neutrals.
4. Seal the finish
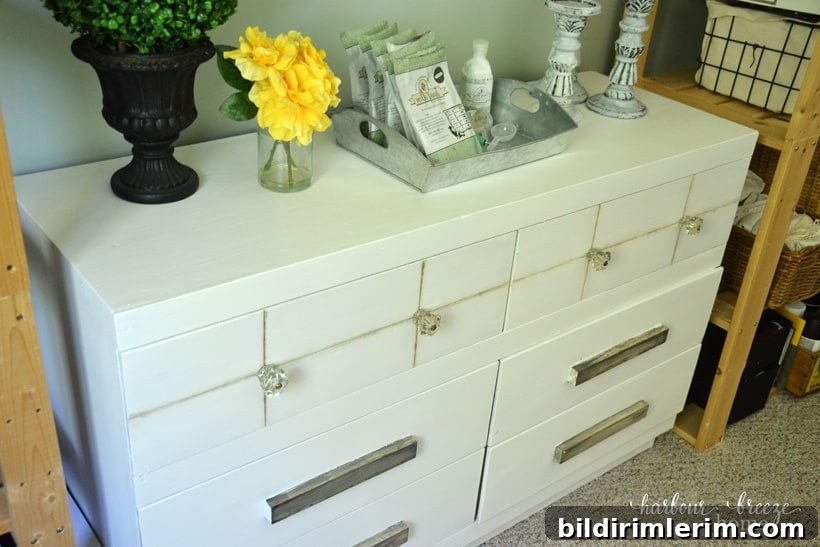
Protect the paint with a clear sealer appropriate for painted furniture. I used an acrylic sealer that provides durable protection against daily wear while keeping the surface easy to clean. Apply the sealer in thin, even coats and follow the manufacturer’s instructions for drying and curing times.
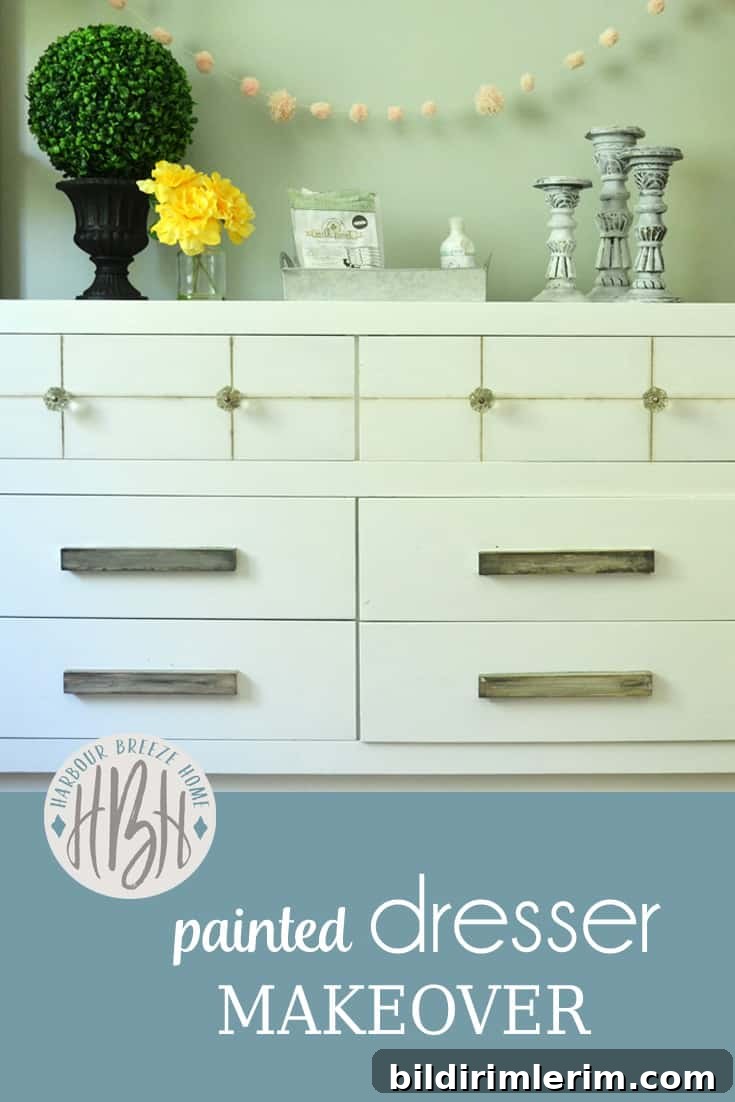
This dresser became a practical and attractive element in my temporary craft room and office while we settled into the new house. The layered paint, highlighted details, and durable sealer transformed a plain, sentimental piece into a fresh, functional focal point.
Tips for a Better Furniture Makeover
– Prepare the surface thoroughly: clean, sand lightly if needed, and repair any damage before priming. - Use good-quality brushes or a small foam roller for furniture paint to minimize brush strokes. - Test paint colors on a scrap board or an inconspicuous area before committing. - Work in thin coats and allow full drying time between layers for a smooth, durable finish. - Seal painted surfaces to protect against chips and stains.
More Makeover Ideas
- Chalk Paint Bookcase — techniques for painting open shelving and bookcases
- Kitchen Cart Makeover — spray paint tips and finishing touches for small utility furniture
- How to Stencil Dresser Drawers — decorative stenciling ideas to personalize drawer fronts
- Farmhouse Table Makeover — stripping and refinishing techniques learned from a table project
- Painting an Electric Fireplace — ways to refresh fireplace surrounds and mantels
- Quick Dresser Repaint — tips for speed and efficiency when repainting a dresser