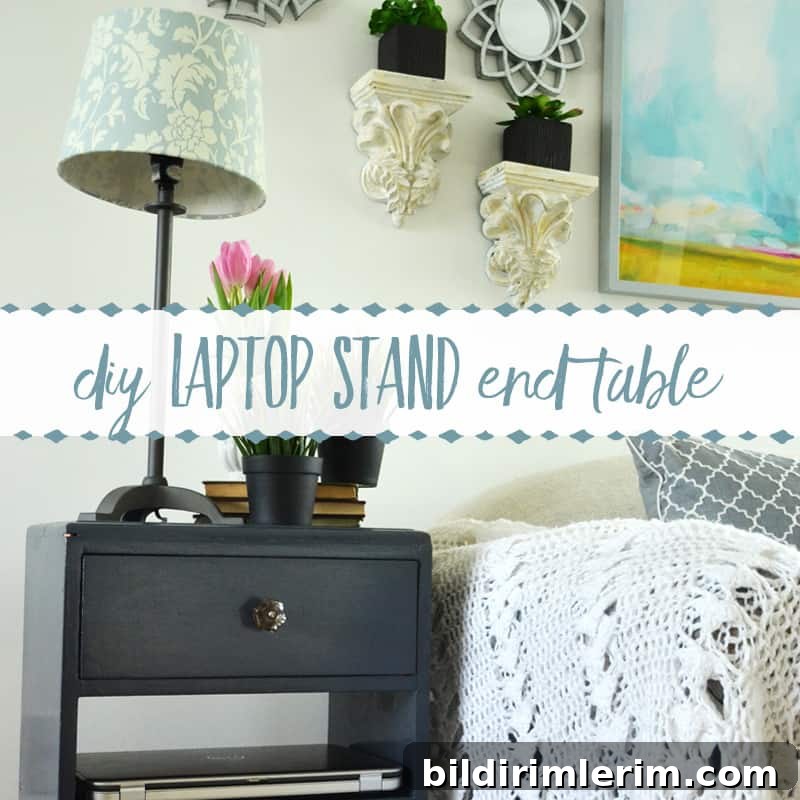
DIY Laptop Stand End Table: A Space-Saving Solution for a Small Living Room
This DIY laptop stand end table began as a simple, practical solution to a problem every family faces when space is limited: where to keep everyone’s tech. After moving into our townhouse, we quickly learned that laptops, chargers, and other devices were ending up wherever there was room, and that meant constantly tripping over expensive electronics in the living room.
We needed a compact solution that would store multiple laptops, keep cords organized, and remain easy to access without taking up the floor space of a bulky cabinet. This end table turned out to be the perfect fit once we made a few straightforward modifications.
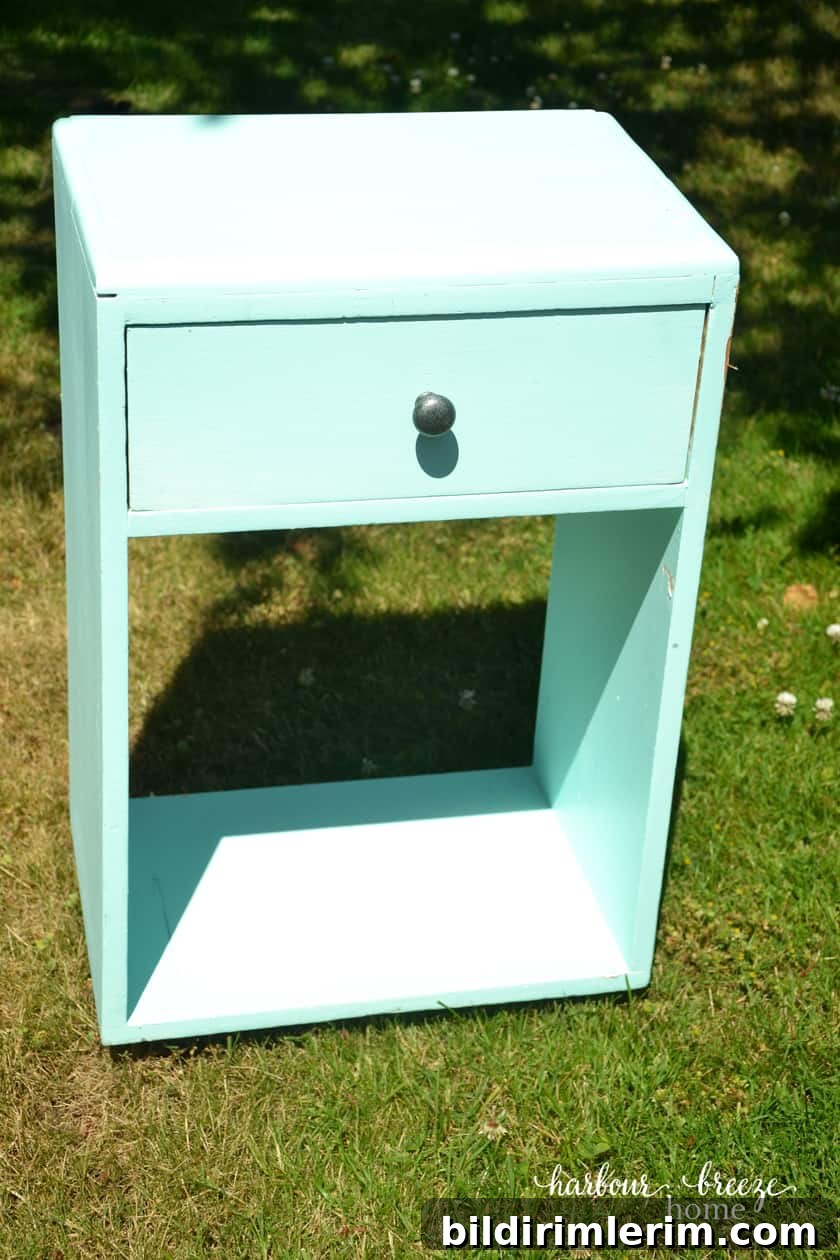
The table had been given to us by a friend and had already had several lives. After finding it while cleaning the garage, we realized it could be adapted to hold laptops and tech accessories with minimal effort.
How we modified the table
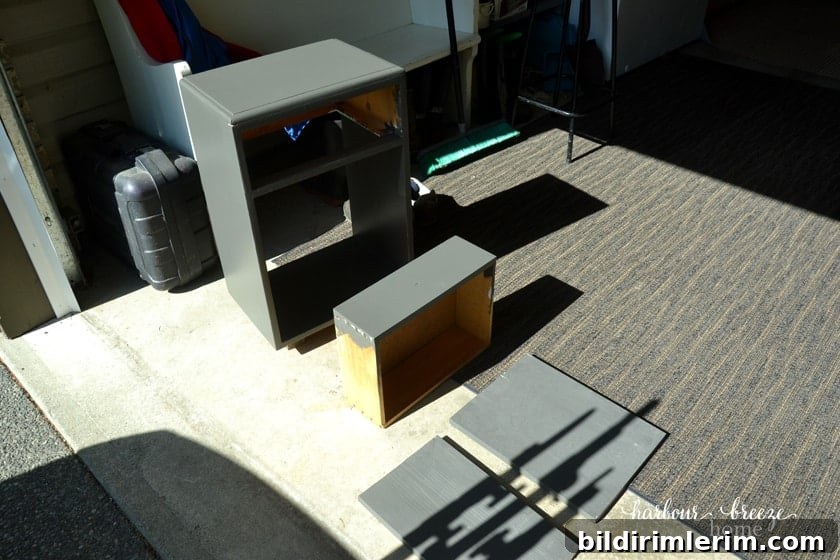
My husband cut two scrap pieces of plywood to create extra shelving inside the table. These shelves provide horizontal storage for laptops, so each computer can slide in and out easily. He painted the plywood in a rich Urbane Bronze before screwing the shelves into place, giving the interior a clean, finished look that complements the living room décor.
Although I wasn’t initially in love with the original color of the piece, its functionality won me over. Now, on a fresh organizational mission, I decided it deserved a proper refresh. I found some Benjamin Moore paint at a discount in the color Navel and used it to give the table a new, cohesive look that ties into the rest of the room.
If you want a glimpse of the project process and a few hiccups along the way, there is a behind-the-scenes Facebook Live where I talk through the work and the paint choices.
Why this works in a small living room
Placed at the end of the couch, the table becomes a dedicated laptop station. The top surface acts as a small end table for a lamp or a cup of coffee, while the interior shelves hold laptops upright and accessible. Because the shelves are open enough for cords, devices can remain plugged in and be used on the chairs or couch without having to move them to a charging area.
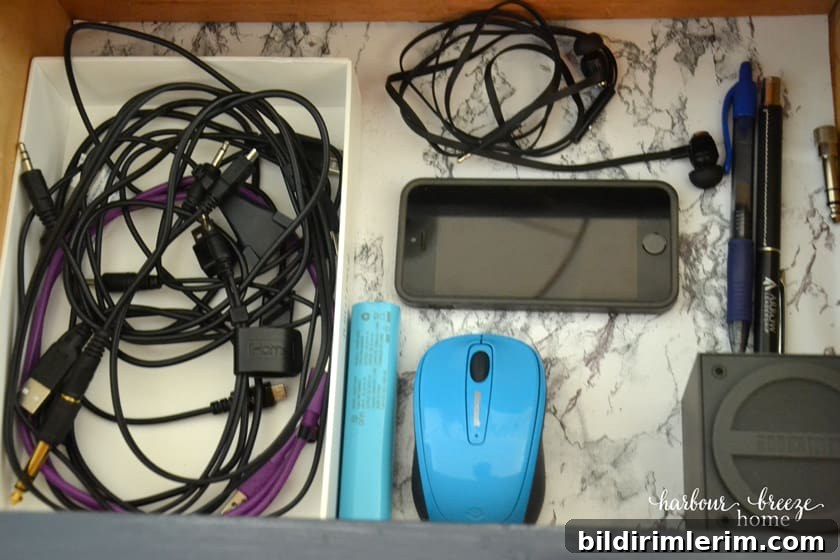
The top drawer is ideal for storing cords, chargers, speakers, mice, and other small tech accessories. Keeping all of these items in one centralized place reduces clutter and makes daily routines smoother—no more searching for the right charger or untangling cords on the floor.
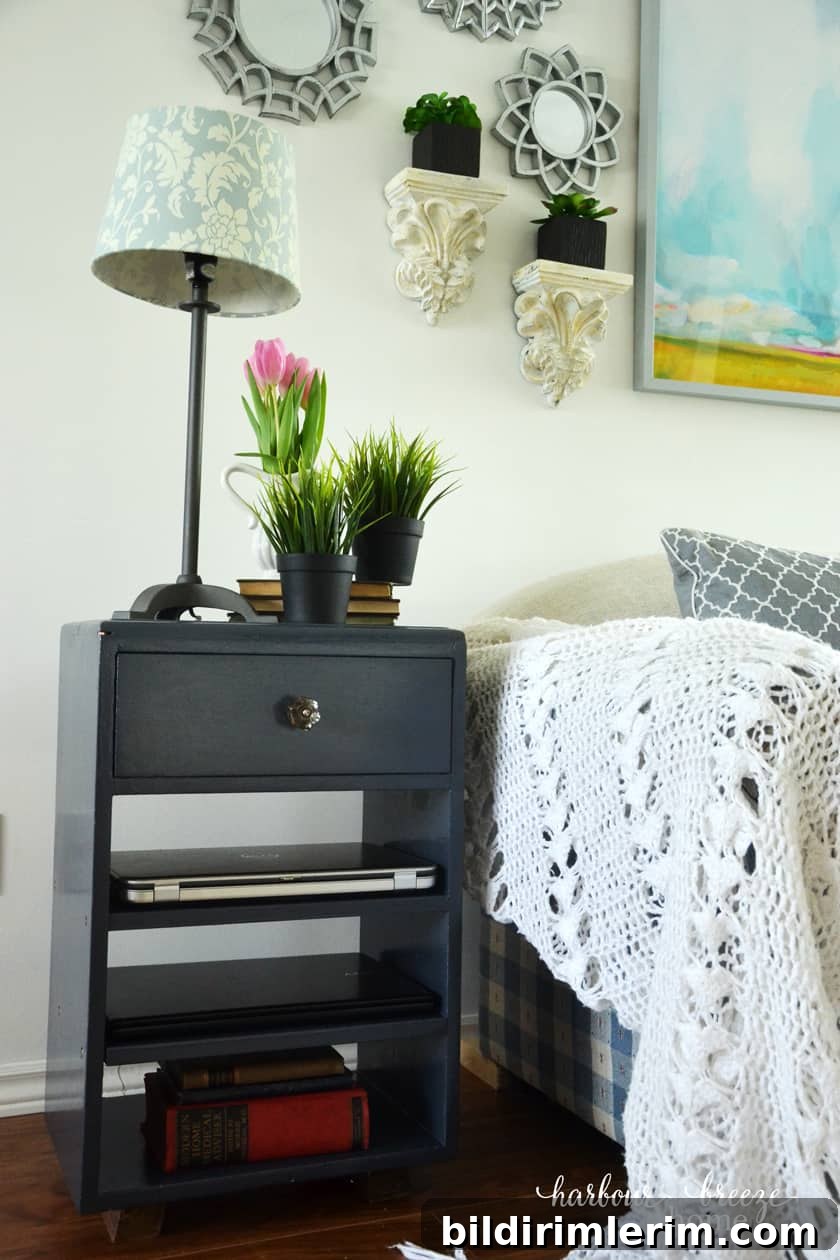
I love how the finished piece looks and functions. It’s a small makeover with a big impact: the table now performs double duty as both furniture and organized tech storage, and it keeps the living room safer and neater.
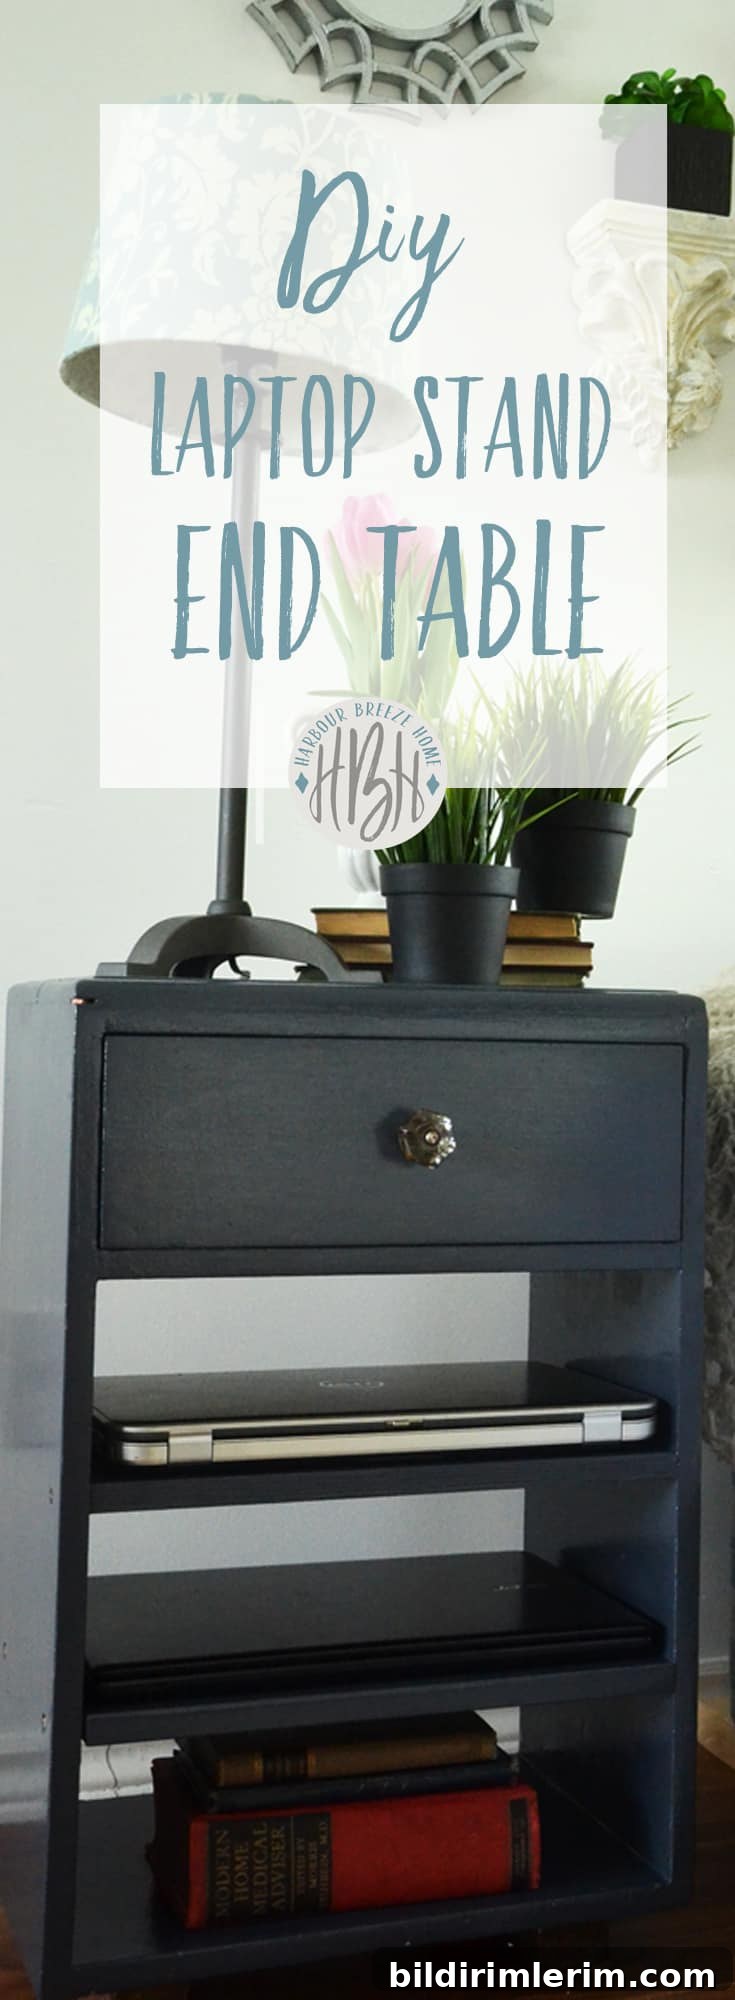
Tips for creating your own laptop stand end table
- Start with a sturdy end table or small cabinet that fits the scale of your seating area.
- Measure your laptops or devices before cutting shelves to ensure they fit comfortably and slide in and out with ease.
- Use scrap plywood for shelves and finish them with paint or stain that complements the exterior for a unified look.
- Design one compartment for cords and small accessories—add a small drawer or a removable bin to keep things tidy.
- Leave openings or cutouts for cords so devices can remain plugged in without creating a tangle behind the table.
If you’re participating in an organization challenge or simply trying to tame living room clutter, consider a dedicated tech station like this. It’s an inexpensive update that adds function and style to a small space.
If you have living room storage solutions of your own, I’d love to hear about them in the comments or see your before-and-after photos on Facebook.